Easy DIY Fabric Garland Tutorial
I recently made an easy DIY fabric garland for my little boy’s Peter Rabbit themed first birthday party. I got asked a lot of questions about it so today I’m sharing a step by step tutorial on exactly how to make it.
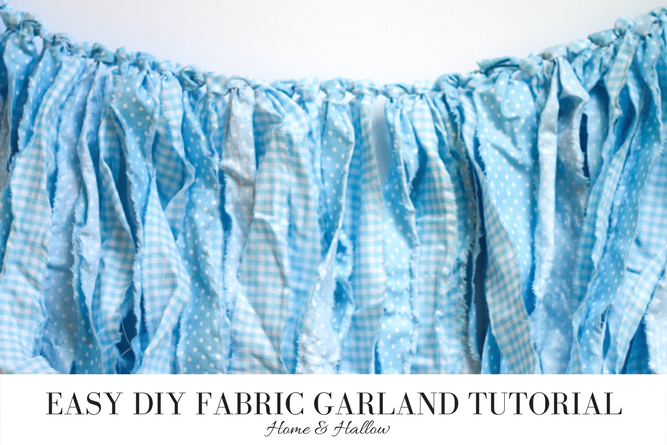
Here is a photo of the finished fabric garland used as the backdrop behind the party table.
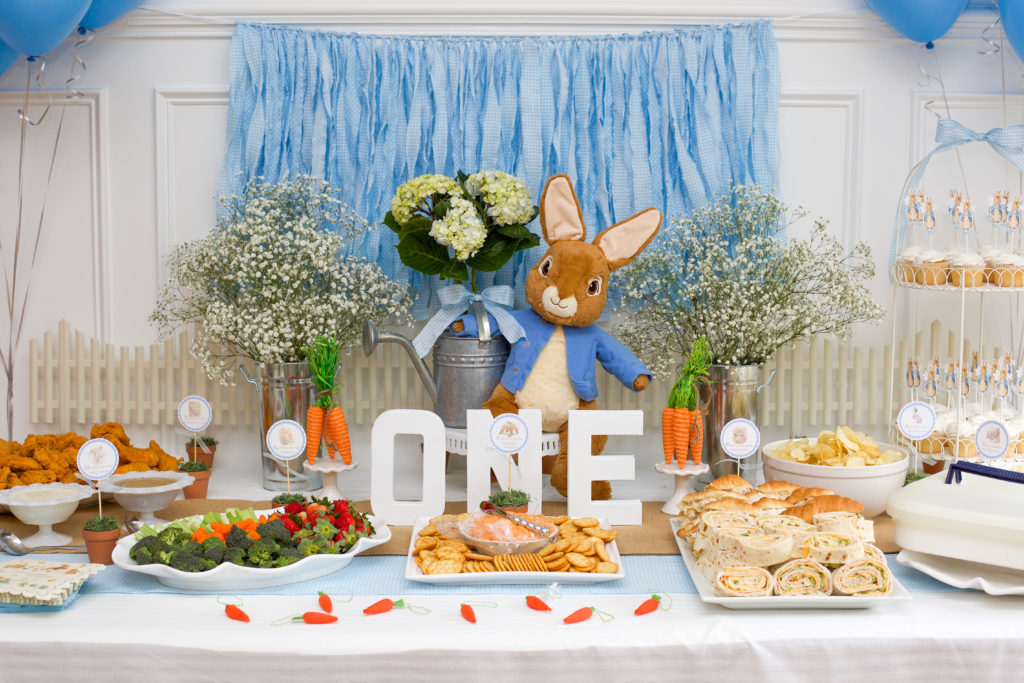
Easy DIY Fabric Garland Tutorial
This easy DIY fabric garland is so simple to make that I’m not even sure you can call this a tutorial. If you want the short version here it is: Rip fabric into strips. Tie onto a ribbon. See, I told you it was that easy : )
Fabric garland is so cute, quick and easy to make, and inexpensive. It makes a great backdrop or decoration for nurseries, kids rooms, playrooms, parties, showers, holidays and birthdays!
What You Will Need
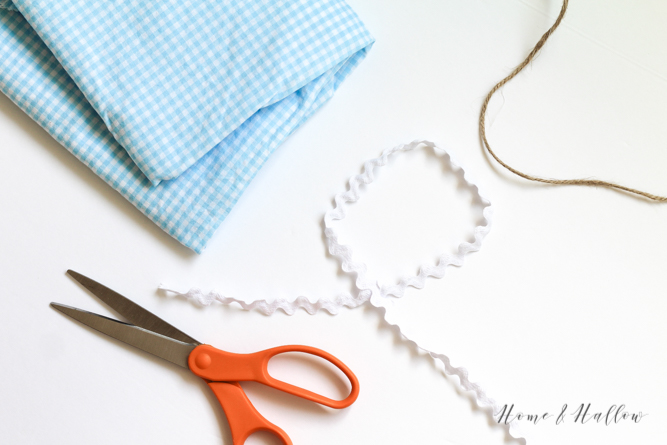
- Rope or ribbon of your choice – I used this white ribbon
- Fabric – I used this baby blue gingham fabric and this blue and white polka dot fabric. You can use one fabric or mix and match different patterns and colors
- Sewing Scissors
- Optional Extras: Add playful texture with ribbon, pom pom trim, rick rack, lace, etc. Get creative!
Rip Fabric into Strips
Decide how long you want your garland to hang: Your fabric strips will need to be twice as long as that. Mine hangs about 20 inches long (none of them are exact) so my strips were 40 inches long.
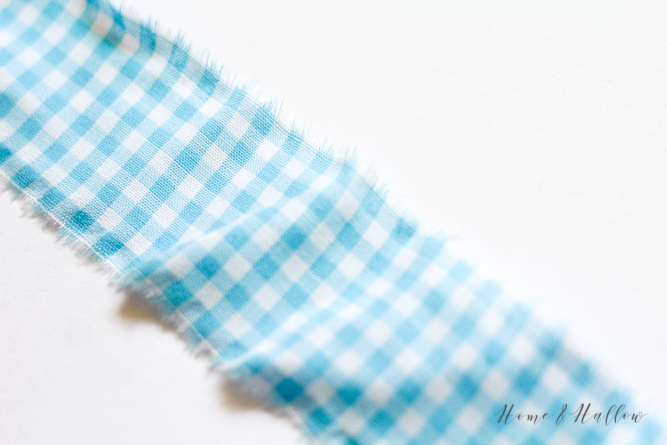
Decide how thick you want your strips. Mine are about 1.5 inches wide. I did not measure, I just eyeballed it. If they are not exactly the same you will never know once the garland is finished.

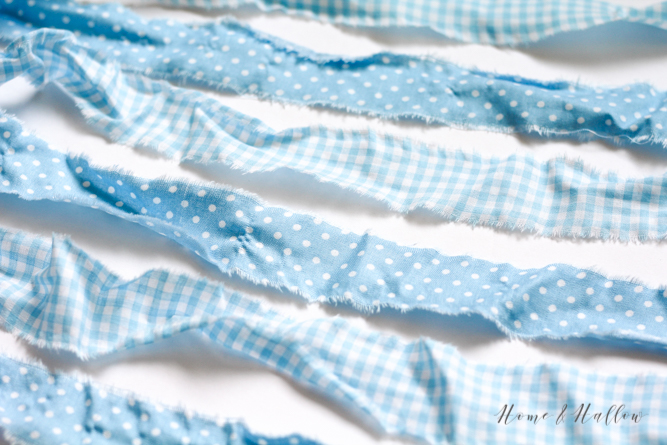
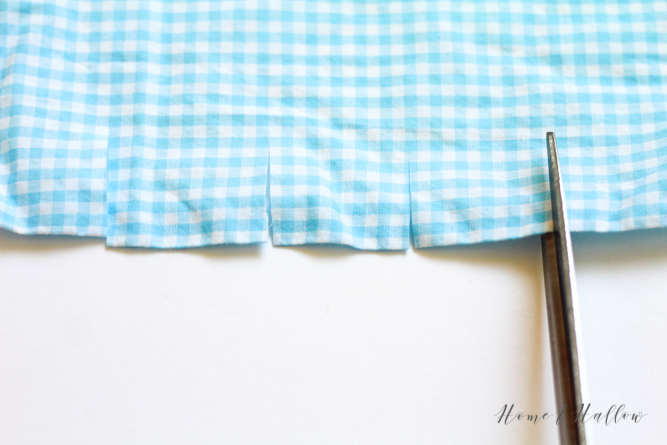
Cut about an inch into your fabric at approximately 1.5 inch intervals. You can see that mine are very imperfect!
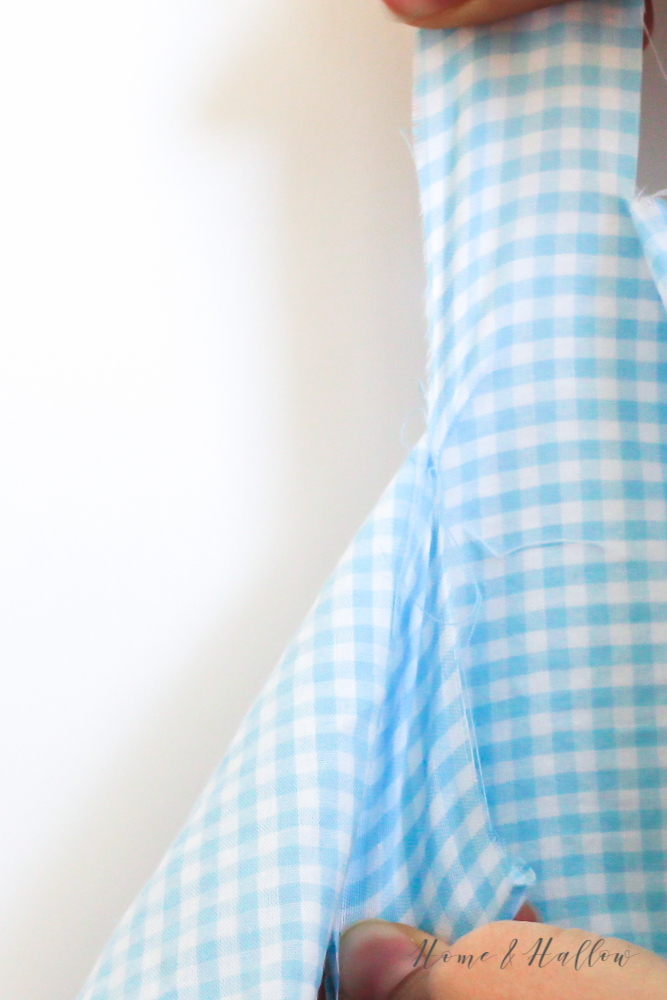
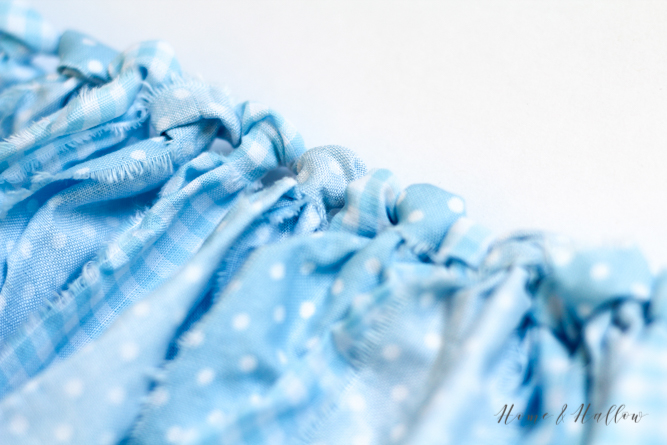
Rip your fabric along your cuts. Rip fast to make the fabric tear more easily. The fabric will fray as you rip it but the imperfect frayed edge is what gives the finished garland a whimsical look.
There is no right or wrong number of how many fabric strips you need. But I will say the more fabric strips you have the fuller the garland and the better it will look. My garland is about 33 inches long and I used 60 fabric strips.
Tie Fabric to Ribbon
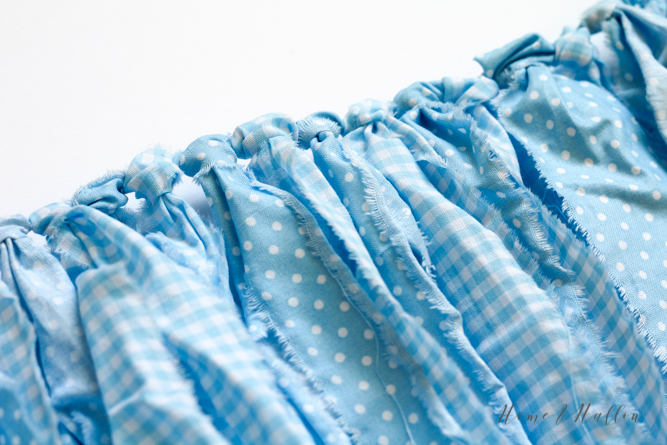
Make a knot to tie each fabric strip onto the ribbon. Knot them in the same direction for a uniform look.
Helpful Tip: Tie each end of your ribbon onto a stationary object while you knot your fabric (I tied mine in between two chairs). This holds the ribbon in place and makes knotting the fabric a lot easier.
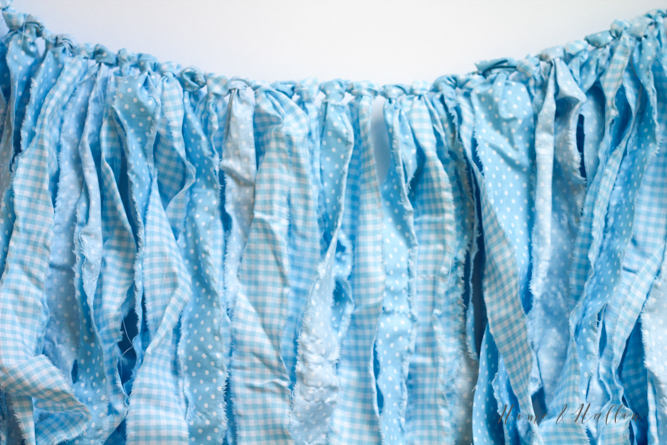
All Done!
Once you’ve finished tying all of your knots your easy DIY fabric garland is ready to hang. That couldn’t have been any easier!

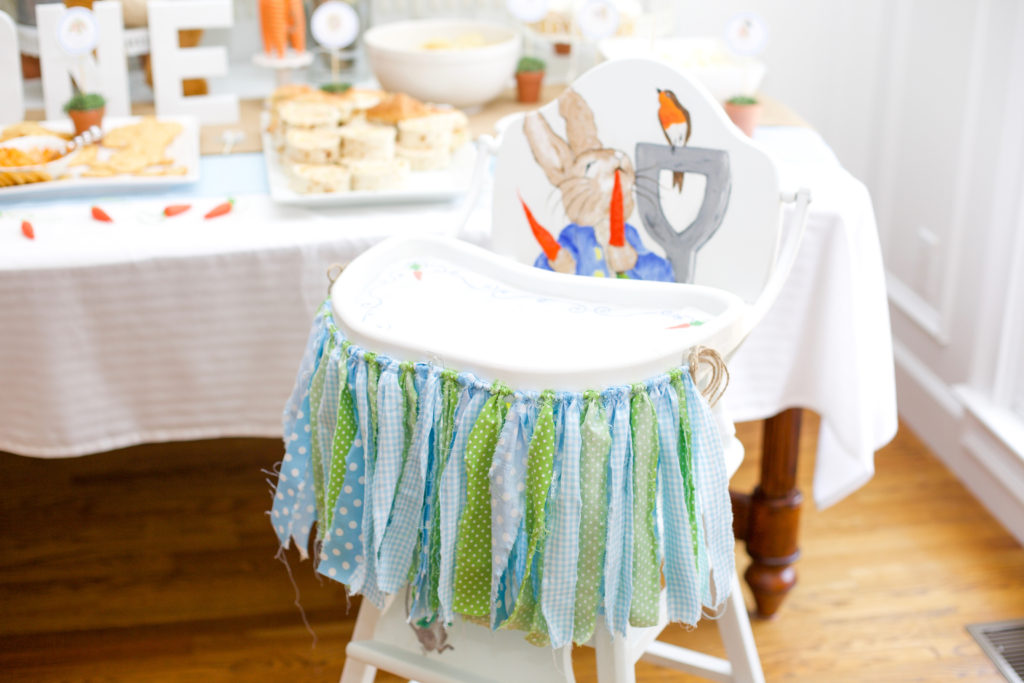
After I saw how cute the first fabric garland turned out I decided to make a second one to hang on the front of the highchair for John Davis’s smash cake.
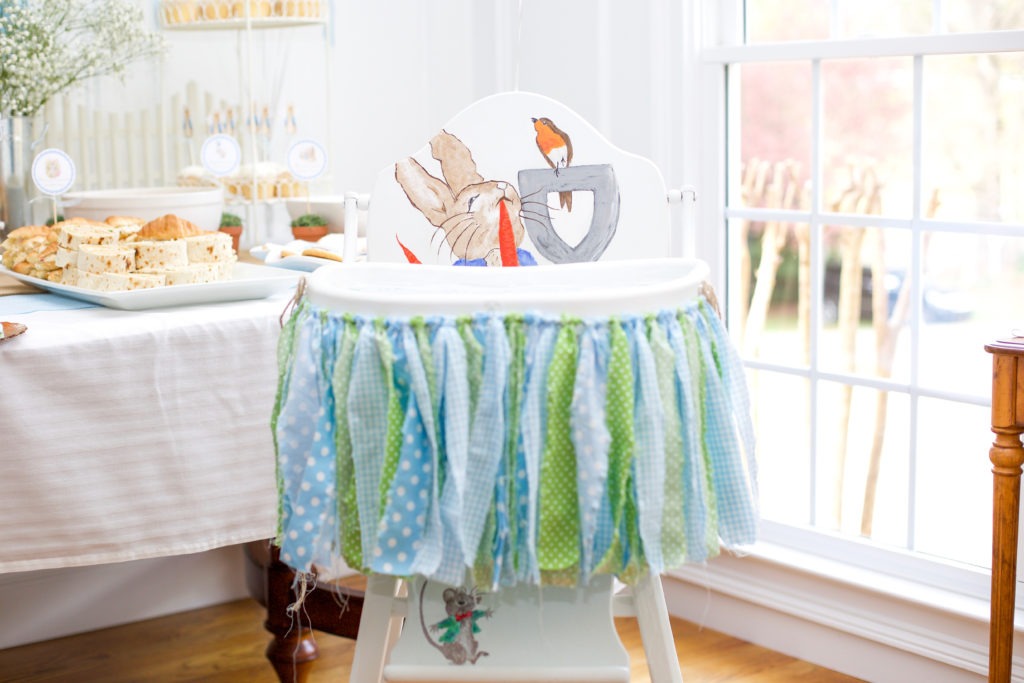
You can see how I used different colors of fabric and jute rope instead of ribbon and it has a completely different look.
I love the big impact the fabric garland makes and I will definitely be making this again for future parties and holidays. For now I’m going to hang it on the playroom wall!