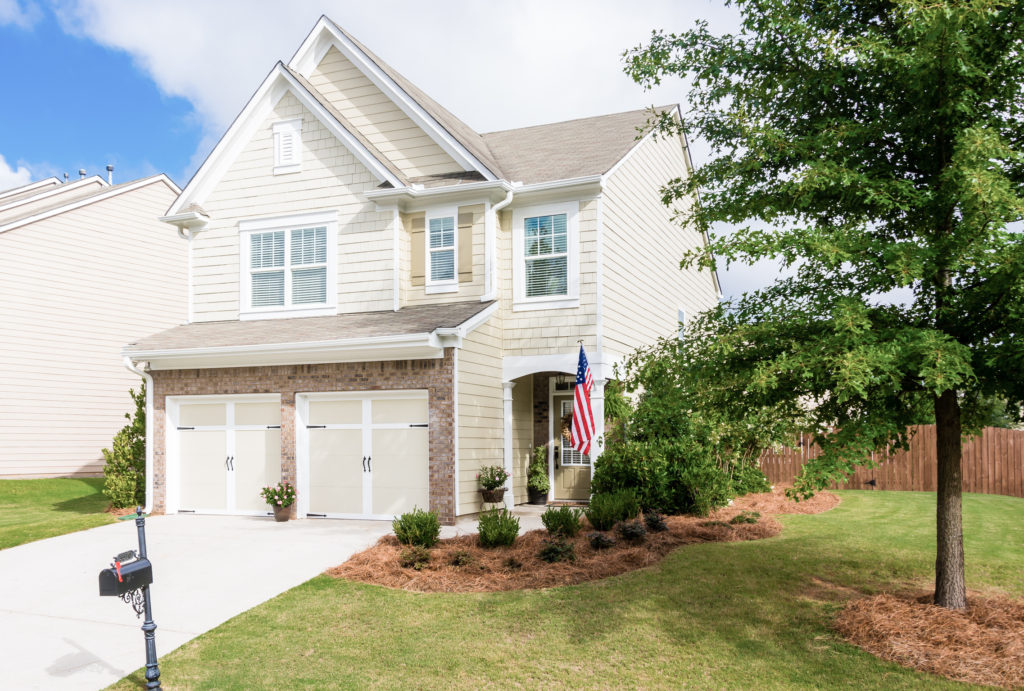
Saying Goodbye to Our First Home
We talked about it for months, but one day we finally decided it was time to list our very first little home on Weddington Drive. Maybe not the best timing practically speaking since we had a 6 month old at the time, but the market was telling us that now was the time to act. It was such a bittersweet decision. We invested so much time and work into this little house to make it a home that we loved and were proud to call ours. It’s the house that we first came home to after our honeymoon as newlyweds. And it’s the house that we recently brought our newborn baby home to after he was born.
Our Very Own Fixer Upper
Back before Chip and JoJo glamorized house flipping and before Fixer Upper even existed we knew that a fixer upper was the only way we could afford to buy a home at the time. We were just two young kids in love and about to get married. We had big dreams of starting our married life together in our own home but we didn’t have the budget to go along with it. Craig was a brand new attorney who worked his butt off to get himself through law school on his own. I was working part-time as an RN while also attending school full time to become a Nurse Practitioner.

It was 2012 so luckily for us the market was still at an all-time low and there were foreclosures popping up left and right at amazing prices. We could get into a home with a mortgage for less than what we would have payed for rent somewhere. The only problem was that everyone wanted in on the investment opportunity. We had our hearts broken on a few different homes that ultimately did not end up working out.

After a few months we had all but pretty much given up because we were running out of time before the wedding. I came across a home on the MLS listing that caught my attention. As always we drove by in person to decide if it was even worth seeing with our realtor (we learned the hard way that you can’t trust the listing pictures). We loved the location and could see all of the potential in the home.
The bank that owned the home was opening up bids in two days and we knew that it would go fast. Our realtor said we needed to go first thing the next day and make an offer if we were truly interested. There was only one problem: I was working a 12 hour shift at the hospital that same day. Since I had already seen the outside of the house in person (and peeked through all the windows trying to get a good look at the inside), I sent Hubby and Mother to see the house without me. They took a lot of pictures, and that night without me having ever stepped foot inside the house, we put in an offer.
We got the house after a few back and forth negotiations with the bank and we started working on it the very next day.
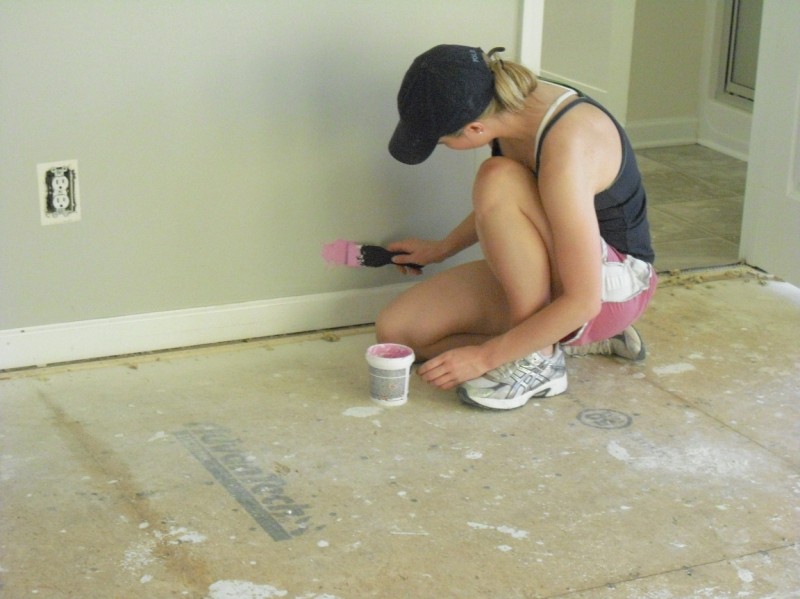
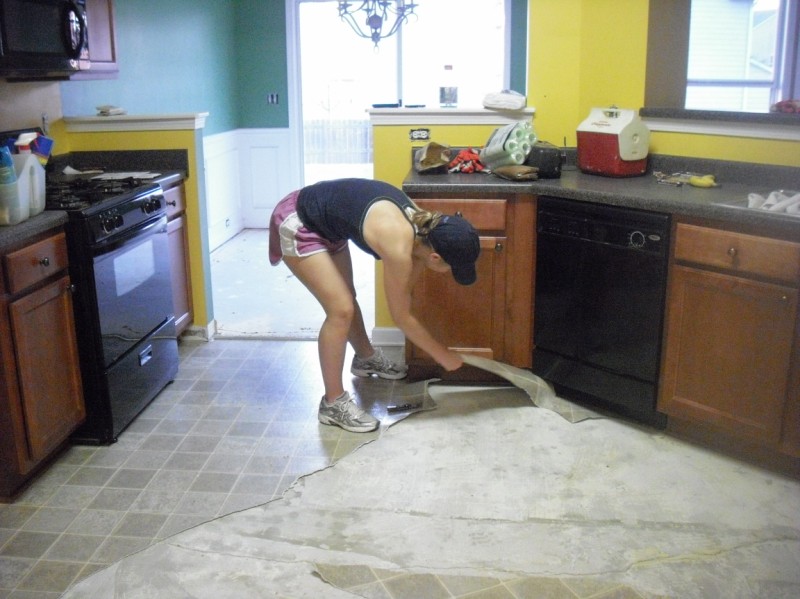
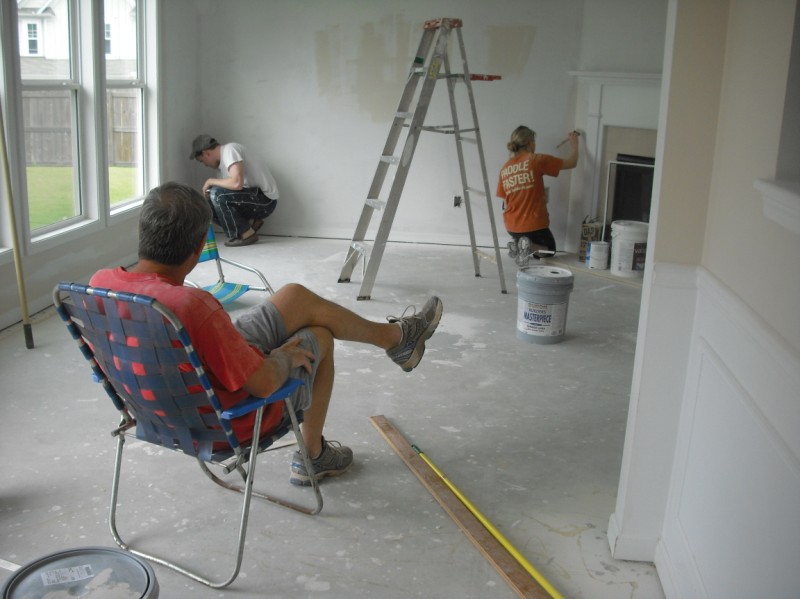
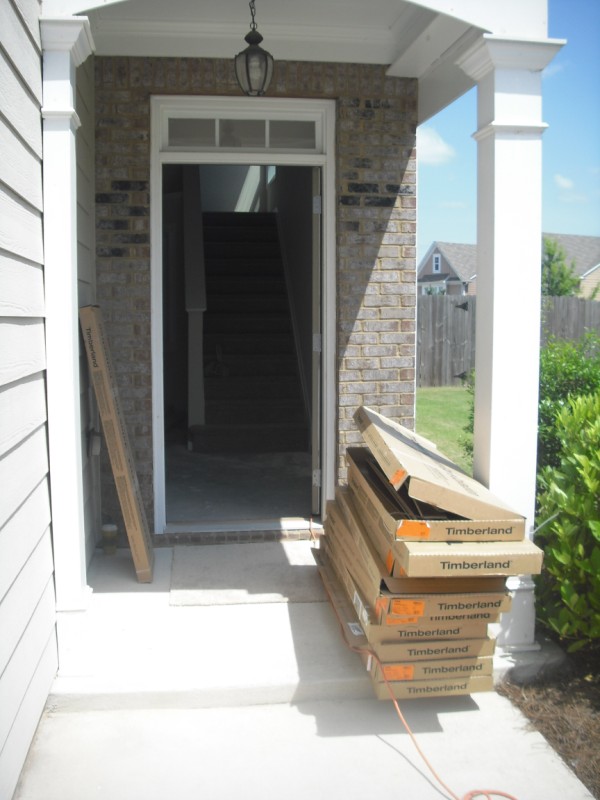
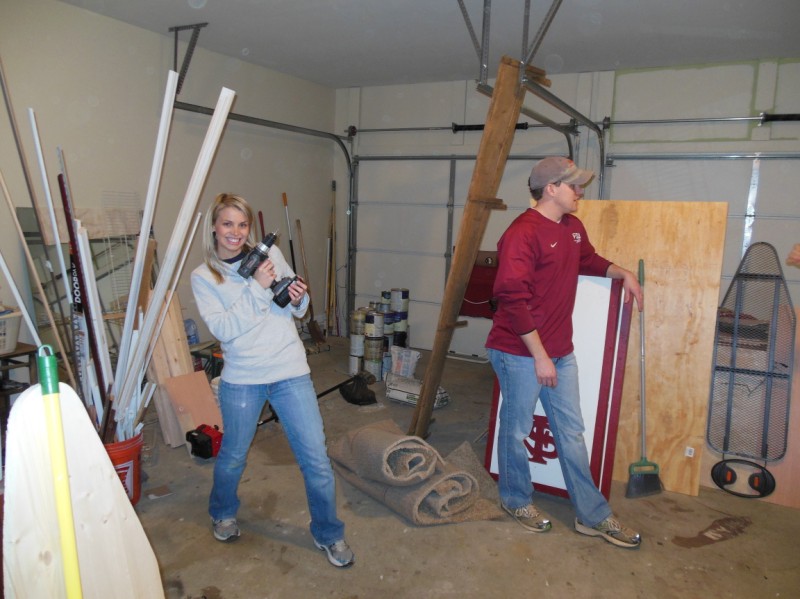
We (including Mother, Daddy and Brother) worked our tails off trying to get the house ready before our wedding date. The house had great bones but needed a complete overhaul cosmetically. We painted every square inch of the house. Literally. And you will die when you see the original paint colors. Every single room in the house was painted a different color. Even the garage was painted lime green (why??) and the ceilings were pale yellow. All of the original flooring had to be replaced. We ripped out linoleum in the kitchen and bathrooms, installed new carpet upstairs and hardwood floors downstairs, and tiled the bathrooms and laundry room. It seemed like a never ending project but it made us appreciate and take pride in our first little home.
Before and After
Looking back at photos it’s amazing to remember where that little house started. My decorating style has definitely evolved since then and there are things that I would do differently now. You live and you learn! But at the time we did what we could on the little budget that we had and we absolutely loved it. We took pride in our home and it ignited our never ending love affair with DIY projects.
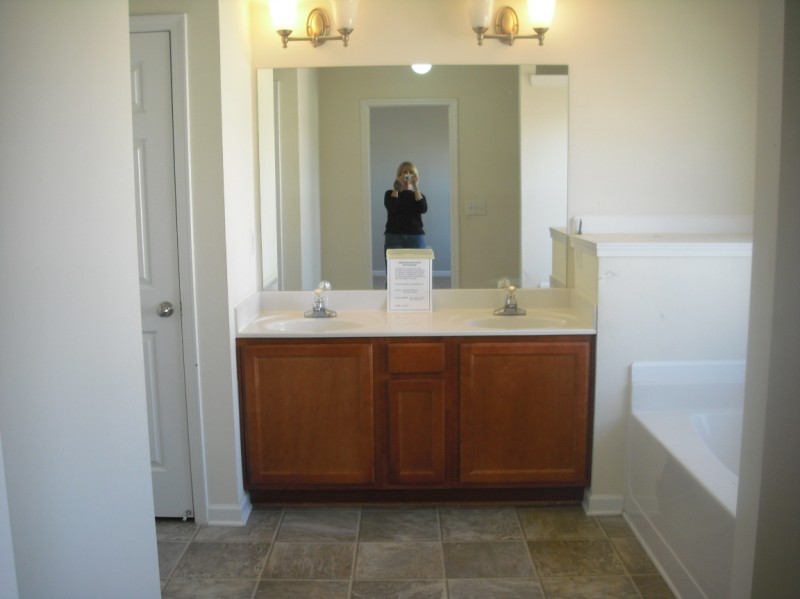
Master Bath Before
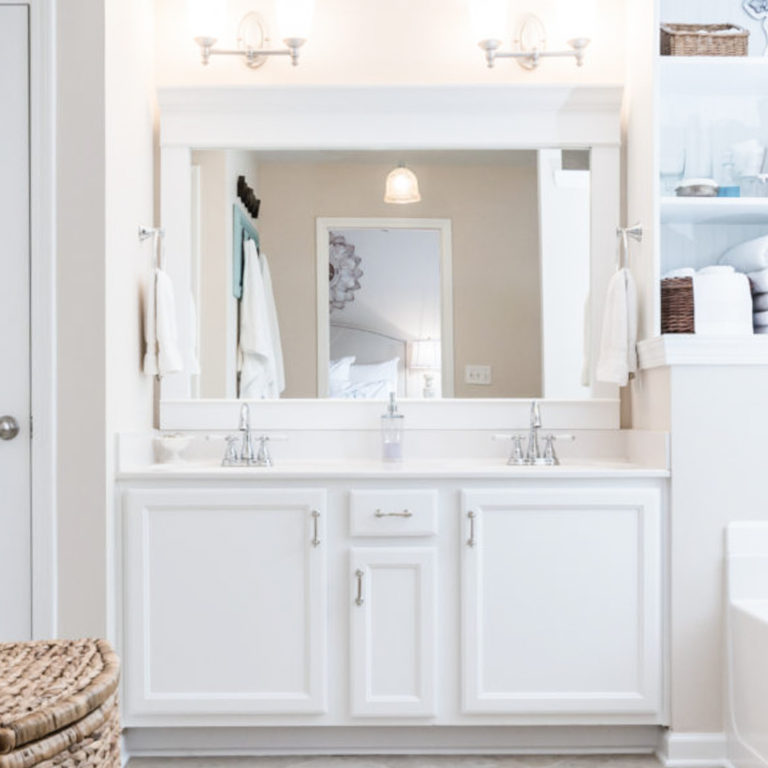
Master Bath After

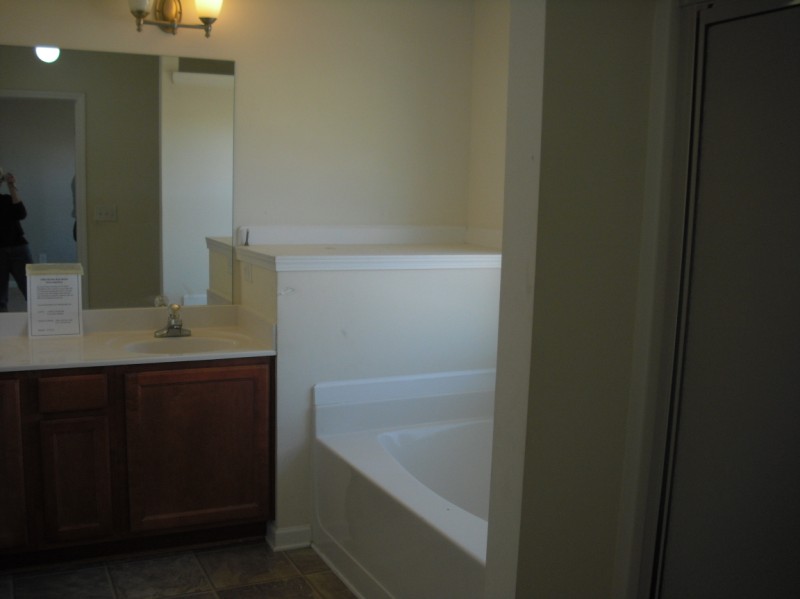
Master Bath Before
Master Bath After
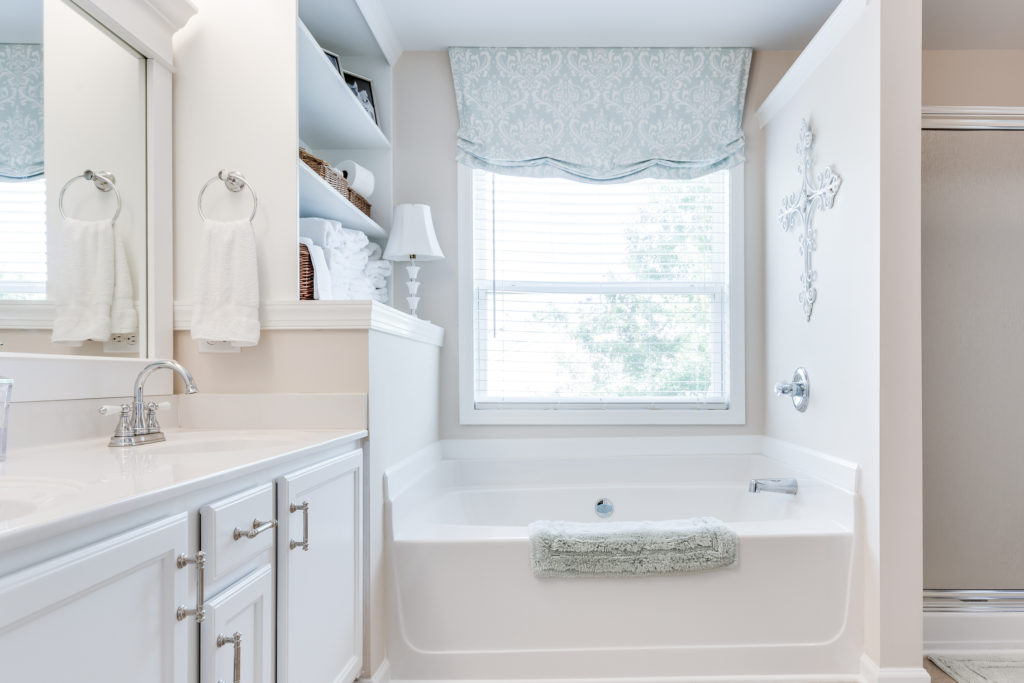
The master bath was and still is one of my favorite transformations. We completed inexpensive DIY projects to give this plain, builder-grade bathroom a more updated look. Painting the bathroom vanity with Benjamin Moore Advance Paint made the largest impact by getting rid of the red-toned cabinets. We also replaced the linoleum with tile (well I should say my brother did – we “helped”), added wood trim around the mirror, and built custom open shelving to add function and storage to the empty wasted space above the tub. We replaced the faucets, added hardware pulls to the cabinets, and added a coat of spray paint to the rusted light fixtures above the vanity. Mother made the pretty valance for the window over the tub.
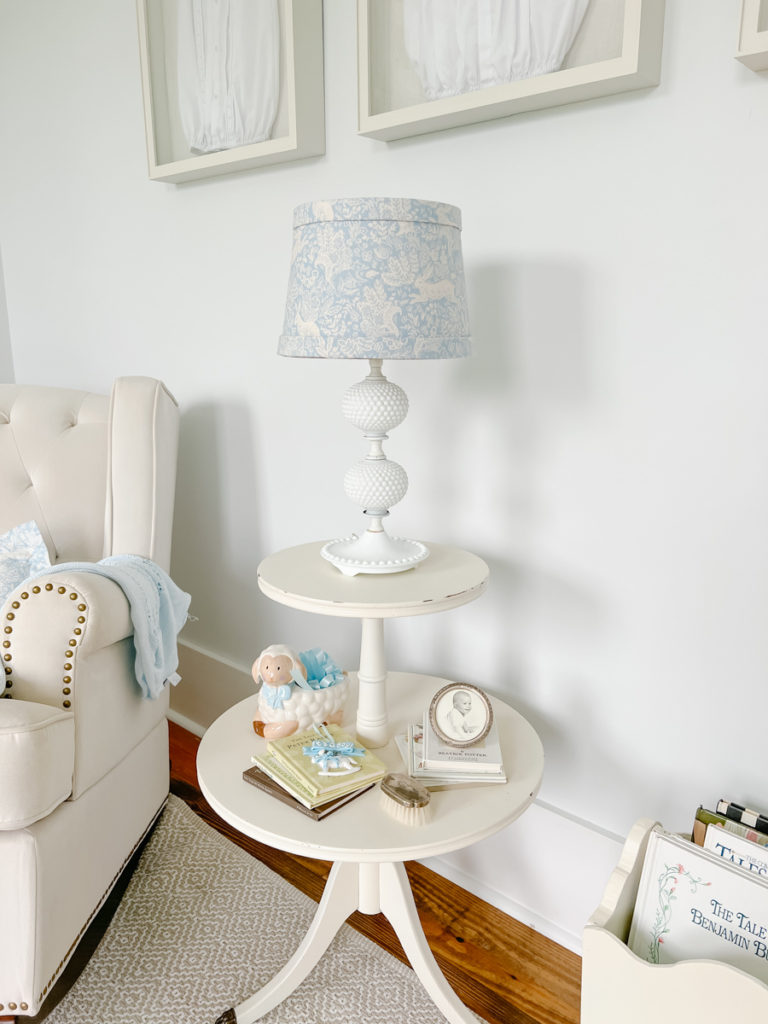
Nursery Before
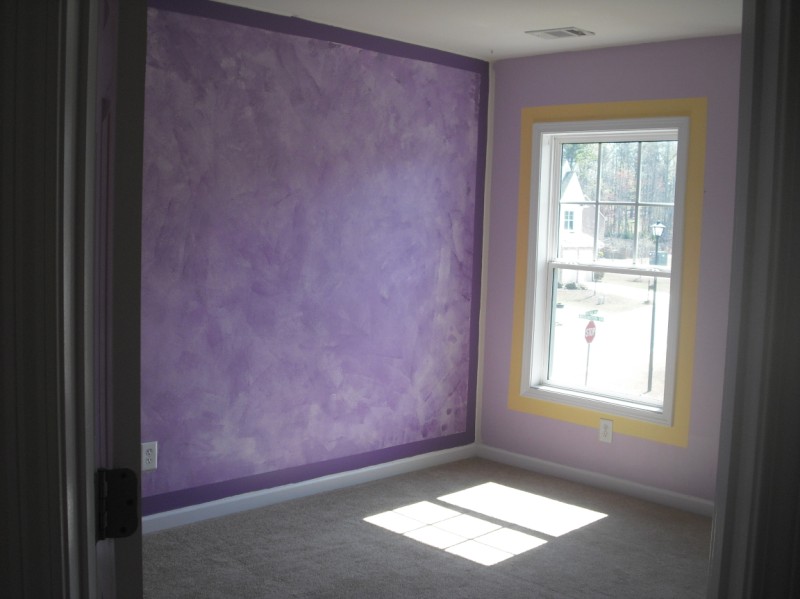
Nursery After

You can read about the entire nursery transformation as well as see many more detailed photos here.
Family Room Before
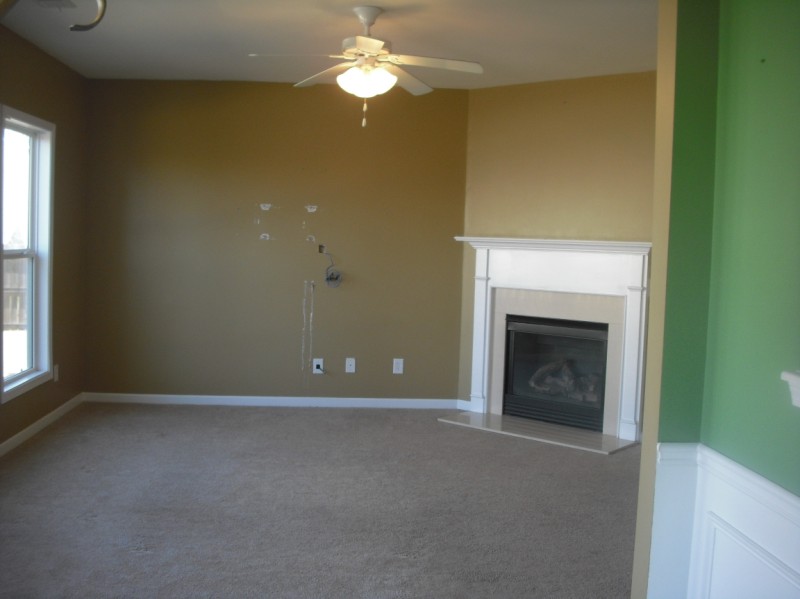
Family Room After
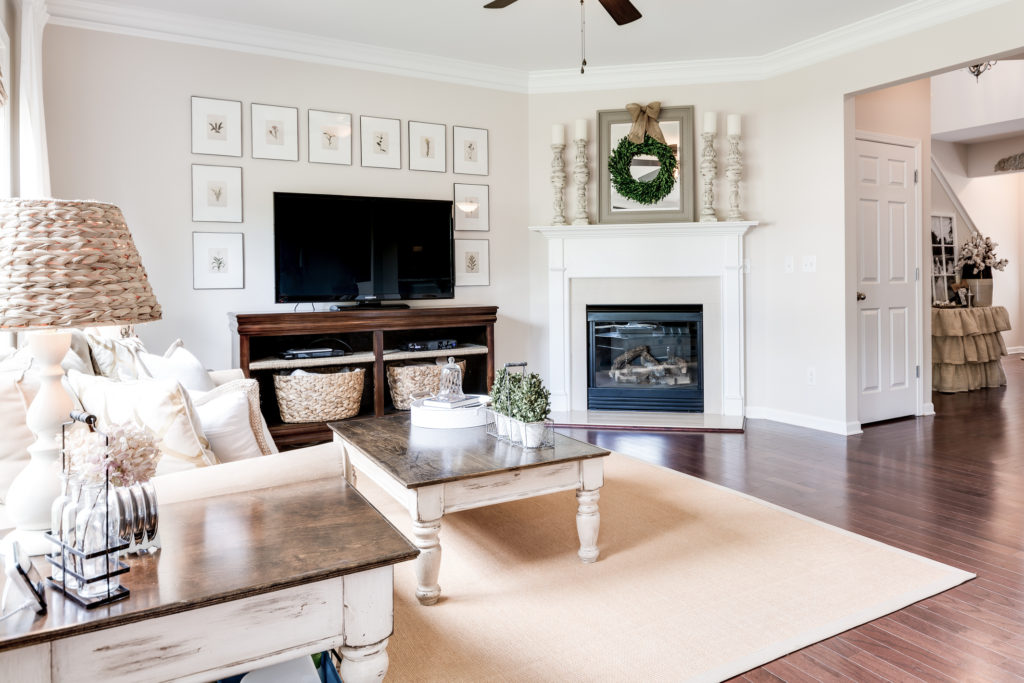
The family room was fairly straightforward: new paint, new hardwood floors, a new fan and crown molding to finish it all off. Almost everything else in the room was a DIY project or upcycled thrift store find. I found the mirror above the fireplace at a garage sale, painted it with craft paint and hung this boxwood wreath on the front. The candlesticks on the mantle could be an entire blog post in and of themselves. Long story short they were originally table legs that we cut down and painted to use as candlesticks at our wedding ceremony. The TV console is a dresser I bought from the thrift store. I refinished the wood, removed the drawers and added baskets for open storage. You won’t believe it but the frames around the TV are from the Dollar Store. I added a white mat and free vintage botanical prints that I found on Pinterest.
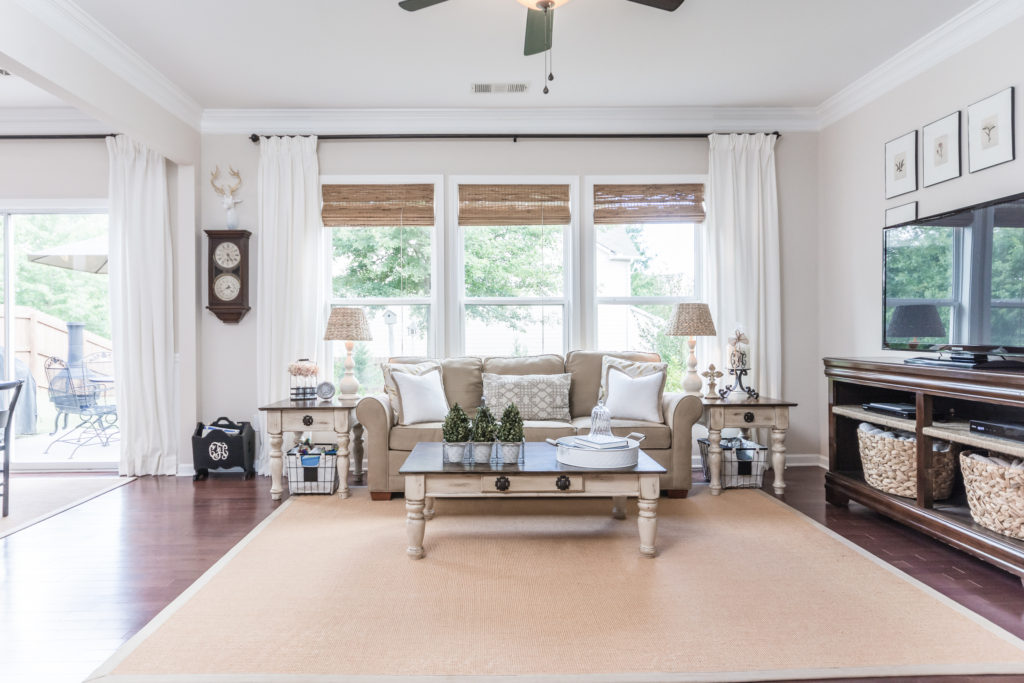
We bought the coffee table and end tables off Craigslist and gave them a new look: painted and distressed the bottoms, stained the tops, and added new knobs. The sofa is actually a microfiber Cindy Crawford sofa my parents bought from the Rooms to Go outlet for my college apartment. I found the lamps at the thrift store, spray painted them a cream color, and added lamp shades from the Ballard Designs Outlet. (FYI – If you’re in the Atlanta area and you’ve never been to the Ballard outlet you must check it out! The Ballard catalog is very pricey but the outlet always has 40-60% off of already discounted inventory. I’ve found some great things at unbelievable prices.) We opted for bamboo shades and finished the windows with these inexpensive white curtains (the best white curtains in my opinion!) The antique clock was Hubby’s grandfather’s and my grandfather made the magazine holder underneath. The sisal rug was another Ballard Designs Outlet find that I got on sale at an amazing price.
Breakfast Nook Before

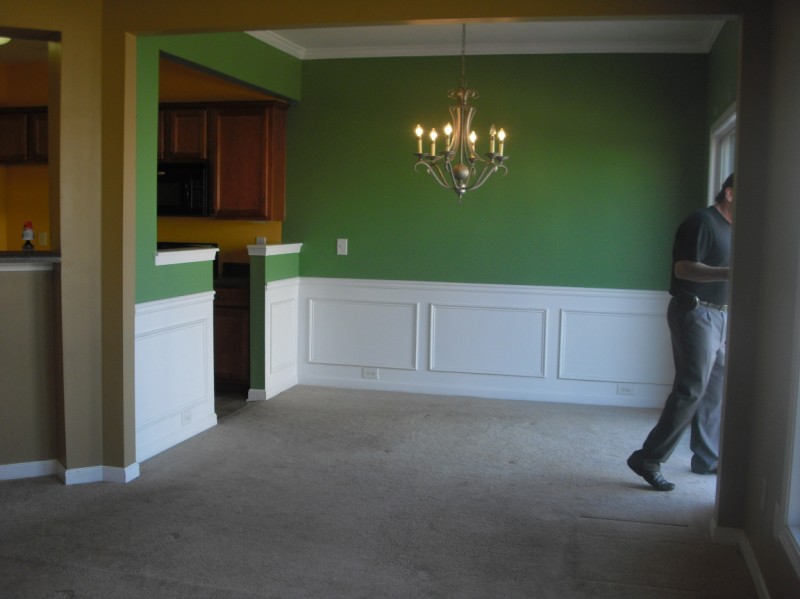
Breakfast Nook After
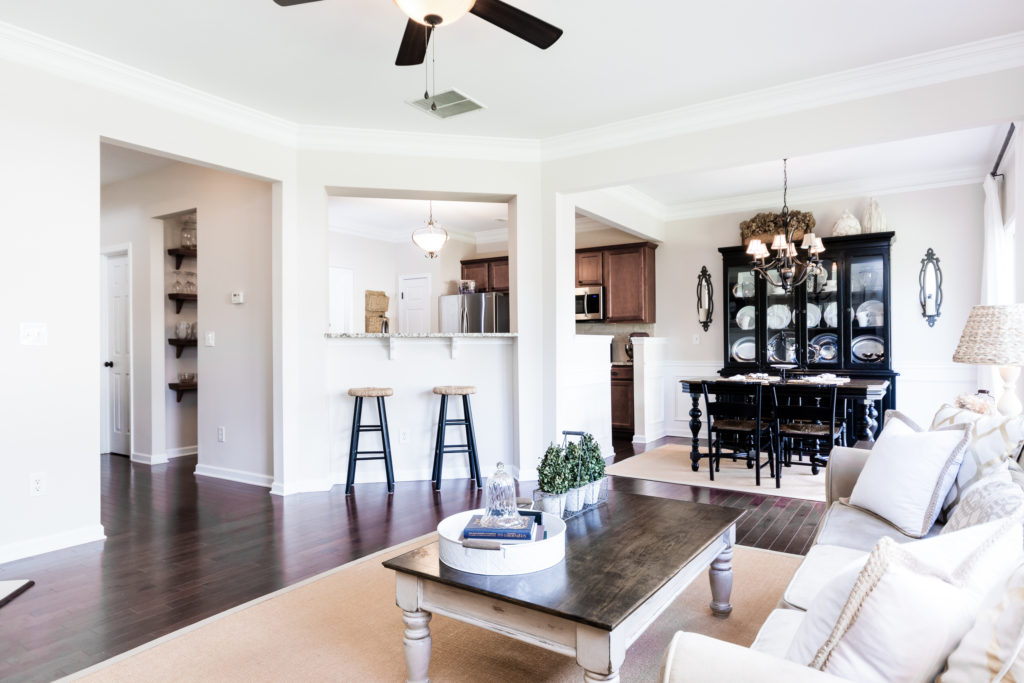
We spray painted the chandelier with oil rubbed bronze spray paint and added seagrass chandelier shades from you guessed it – Ballard Designs Outlet. The table and chairs were hand-me-down from my parents and I bought the china cabinet off Craigslist for $100. I sanded them and then painted them both with black satin paint.
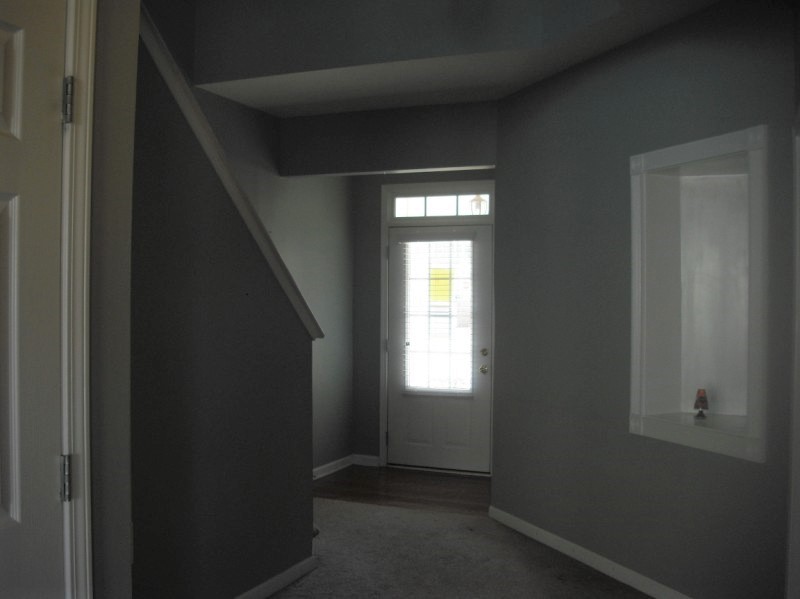
Foyer Before
Foyer After
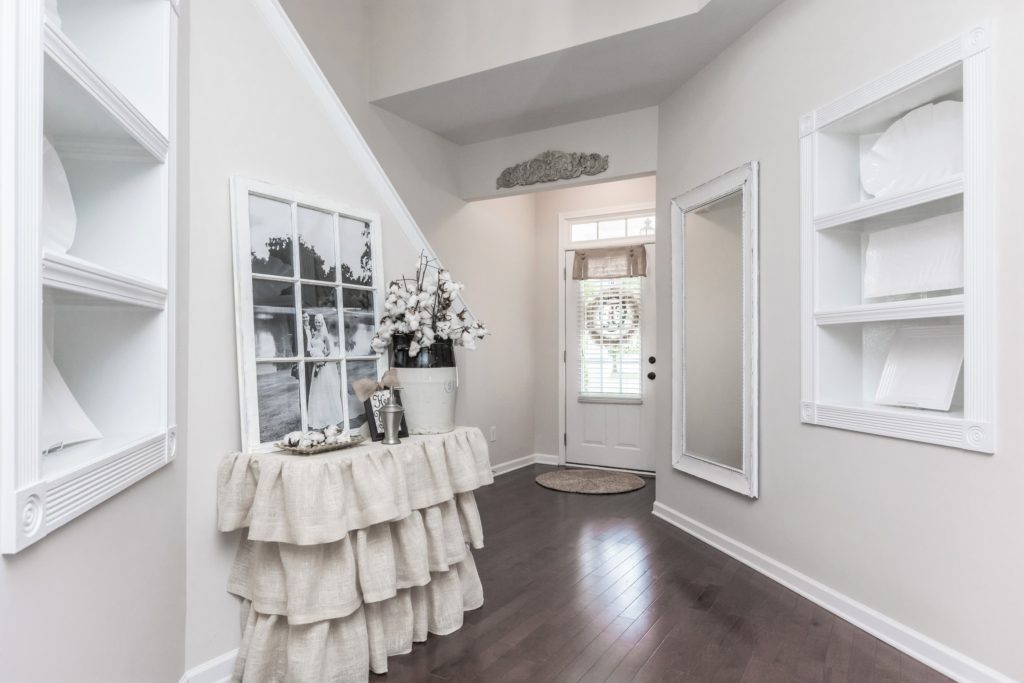
The foyer was mostly fresh new paint and hardwood flooring. We added shelves to the empty built in nooks and hung a large mirror from HomeGoods. Mother made the ruffled burlap table cover and I had one of our wedding portraits printed as an engineer print to go behind the antique window. My cotton is displayed in a vintage butter churn that has been passed down through my family. (Can you spot what I accidentally left out on the table during these photos? Oops!)
Powder Bath Before
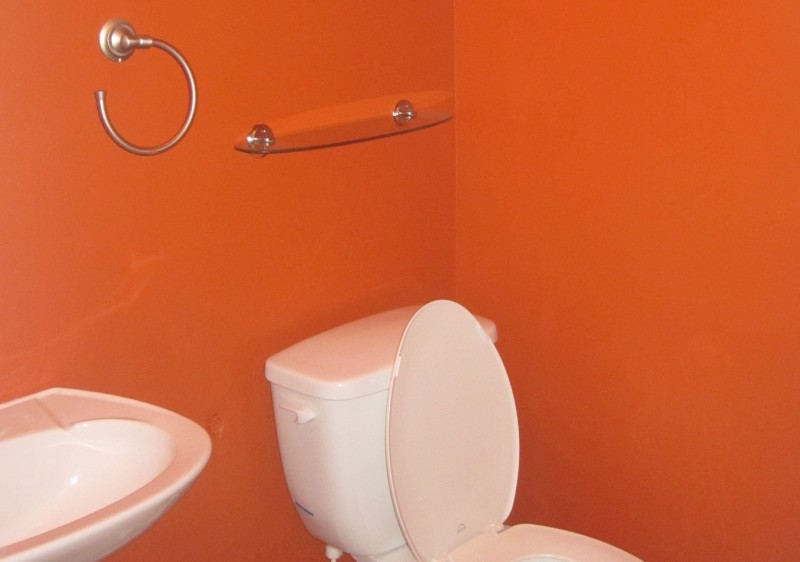
Powder Bath After

It still makes me laugh to see what the orange bathroom looked like before. The bathroom was purely cosmetic: new paint, new hardwood floors, a new faucet and new mirror. The faucet is the same faucet we used in the master bathroom but in an oil rubbed bronze finish.
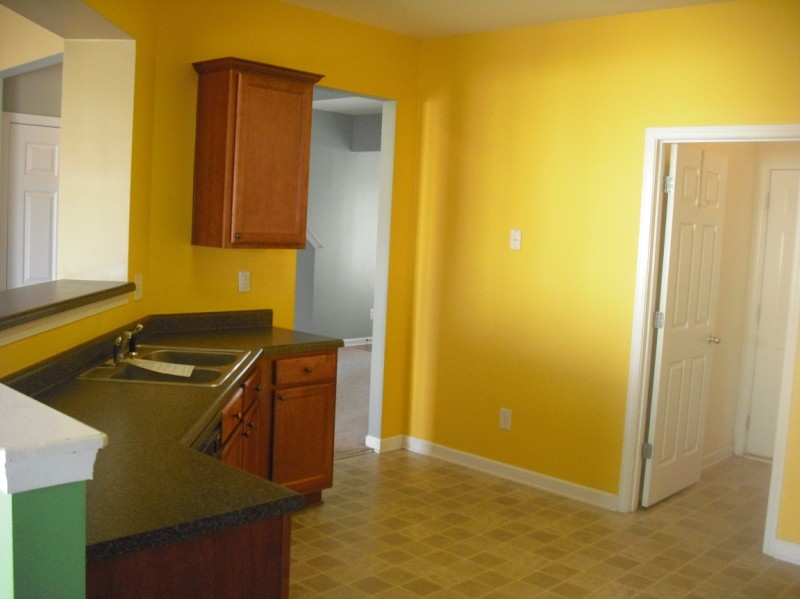
Kitchen Before
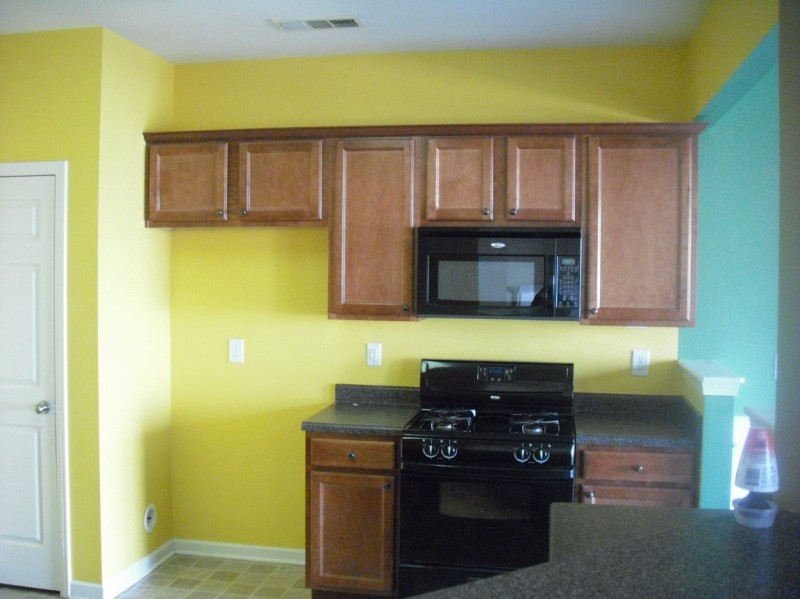
Kitchen After
Oh the kitchen. It came such a long way but I still wish I had had the chance to paint the cabinets. I had intentions of painting the kitchen cabinets since the day we moved in but it just never happened. It’s not like we were busy doing other things so I can’t imagine why?! The wood cabinets aren’t what I would choose but I can still appreciate how far this little kitchen came along. We painted over the horrible school bus yellow, traded out the fluorescent track lighting for a chandelier, and replaced linoleum with hardwood flooring. About a year after moving in we replaced the countertops with granite, added a new sink and faucet, and DIY’ed the travertine subway tile backsplash. We lived with the black appliances for a few years before the microwave stopped working and soon after the oven did the same. We replaced all the appliances with updated stainless steel.
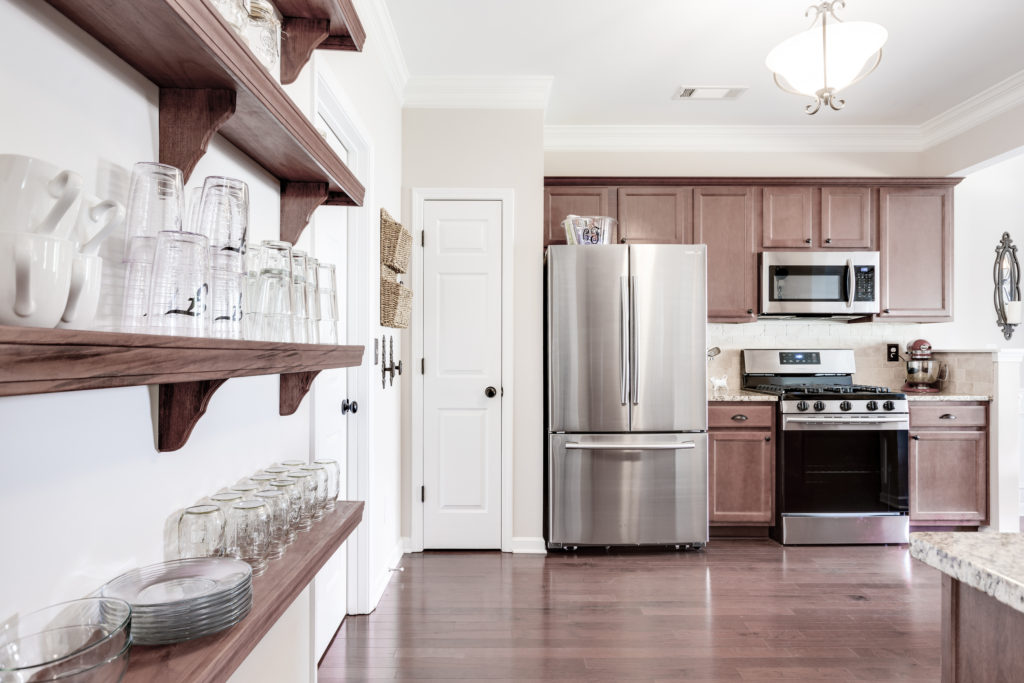
Kitchen Before
Kitchen After
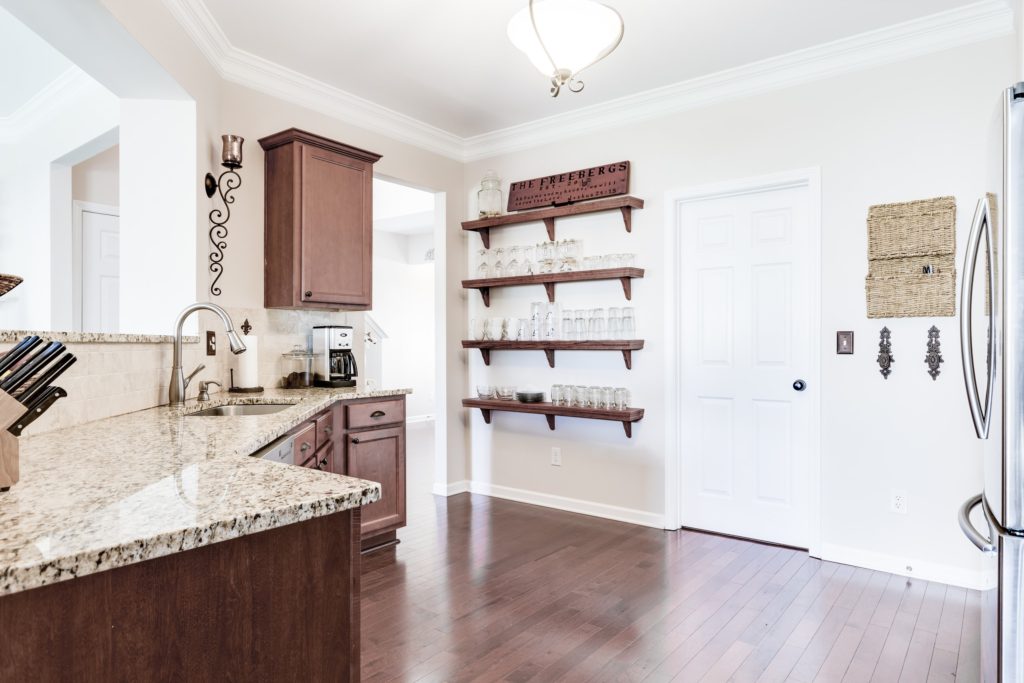
One day Hubby came home from work to find that Mother and I had DIY’ed these open shelves while he was gone. This empty wall was awkward and lacked any function or purpose. Our kitchen was already small and we had limited cabinet space. The open shelving provided a practical and cute way to display plates and glasses that we used on a day to day basis. We mixed a few different stains together to match the existing cabinet color.
Garage After
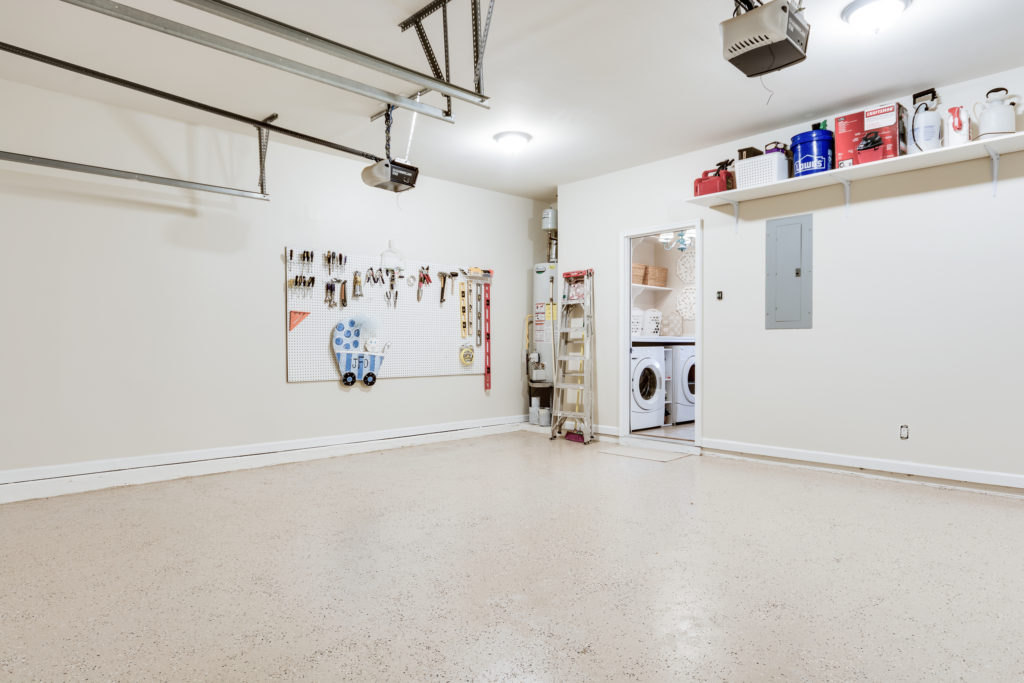
I wish I had a before picture of the garage. Since you’ve seen the other before photos you can probably use your imagination to guess what the garage looked like when it was painted lime green. We painted the walls the same color as the interior of the home and used this garage floor epoxy kit to paint the floor. It was actually a very simple project that we completed in one day and it gives the garage a clean and high-end look.
What We Learned
Our little 1600 square foot home taught us so much and it was really bittersweet to sell. We learned countless DIY skills, many by trial and error. We learned that you can create a beautiful home you love on any budget if you are willing to invest a little time and (a lot of) work. We learned to take pride in our home. We learned to have patience: creating a home doesn’t happen overnight.
And we learned that your home is your greatest investment. This house was such a blessing to us. We bought during a buyer’s market and sold during a seller’s market. We received multiple offers the day our house went on the market and we were under contract in less than 48 hours. We were able to reap the benefits of all of our hard work and it more than paid off in the end.
A New Beginning
We looked and looked for another fixer upper to call our next home. The housing market in Atlanta is so hot right now that we could not find a fixer upper that made sense as a smart financial investment. We had never even considered new construction but after weighing our options we are now officially under contract on a new build! Even though the home will be brand new there will be plenty of room for DIY projects and upgrades that will give this new builder grade home a custom look and feel. I can’t wait to make it uniquely ours. I already have big plans (first on my list: shiplap and built-ins) and I can’t wait to share them with you!