How to Paint Antique Spindle Beds with the Wagner Flexio 3000 Paint Sprayer
Thank you to Wagner for so kindly providing the Flexio 3000 and for sponsoring this blog post. All opinions are my own.
Antique Spindle Beds: Before and After
These sweet antique spindle beds turned into quite the labor of love! Today I’m showing you how I completely transformed them using the Wagner Flexio 3000 Paint Sprayer.
Before we get started, here’s a quick look at the before and the after. The intricate antique spindles paired with the classic navy paint color have me seeing heart eyes!
And if you prefer to watch the entire process condensed into a short three minute video, well here it is! If only I could work that fast in real life!!
You can also see more details and watch videos of the entire process over on Instagram!
Facebook Marketplace Antique spindle beds
I love spindle beds (so classic!), and I love the idea of little boys sharing a room with twin beds. Ever since we found out we were having a second boy I’ve had dreams of John Davis and Fletcher sharing a room together while they grow up.
I’ve been saving all the classic little boy room inspiration HERE while checking Facebook Marketplace just about every single day for a pair of matching antique Jinny Lind twin beds.
I had just about given up because they seemed almost impossible to find!! You can easily find one single bed, but it’s near impossible to find a set of matching twin beds in good condition.
I came across this listing on Marketplace one day and didn’t even think twice about it. I sent the seller a message so fast saying, “I want them!!”
She was located in Birmingham, Alabama but I was more than willing to make the three hour drive to pick them up. Turns out Mother and Daddy had already planned a quick trip to Birmingham that exact same week to visit my Grandmother for Mother’s Day. They were able to pick them up for me while they were there! I think these beds were just meant to be 🙂

I got the beds home and absolutely loved them! They were in such great condition and were so heavy and solid. Why don’t they make beautiful furniture like this anymore?!
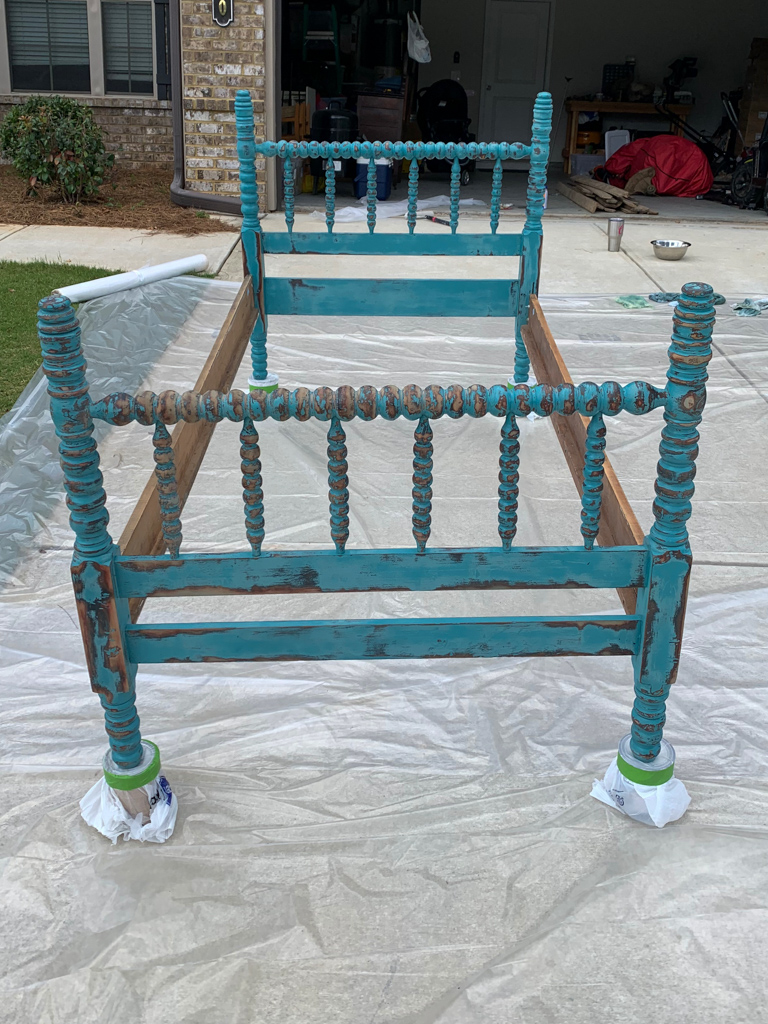
Only problem? Whoever painted them before me did an awful job!!!
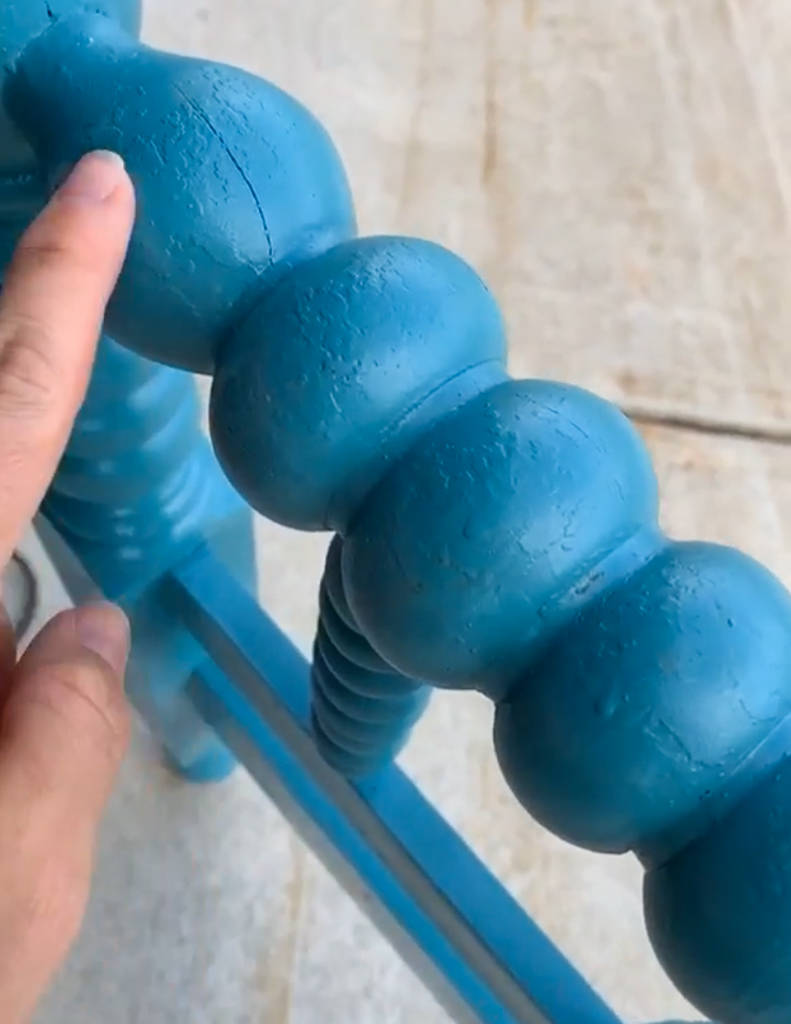
This is why paint prep is so important! They painted right over uneven surfaces and left sloppy drip marks everywhere! That just wasn’t going to work for me.
Here’s my little caveat about DIY: I like DIY that doesn’t look like DIY. If you’re going to take the time to do it, then go ahead and do it right!
So I got started on prepping these beds for paint the correct way. And my oh my was it a lot of work! I spent way more time prepping them than I did painting them, but the payoff was well worth it in the end!
Materials
Here’s everything I used to refinish and paint the antique spindle beds:

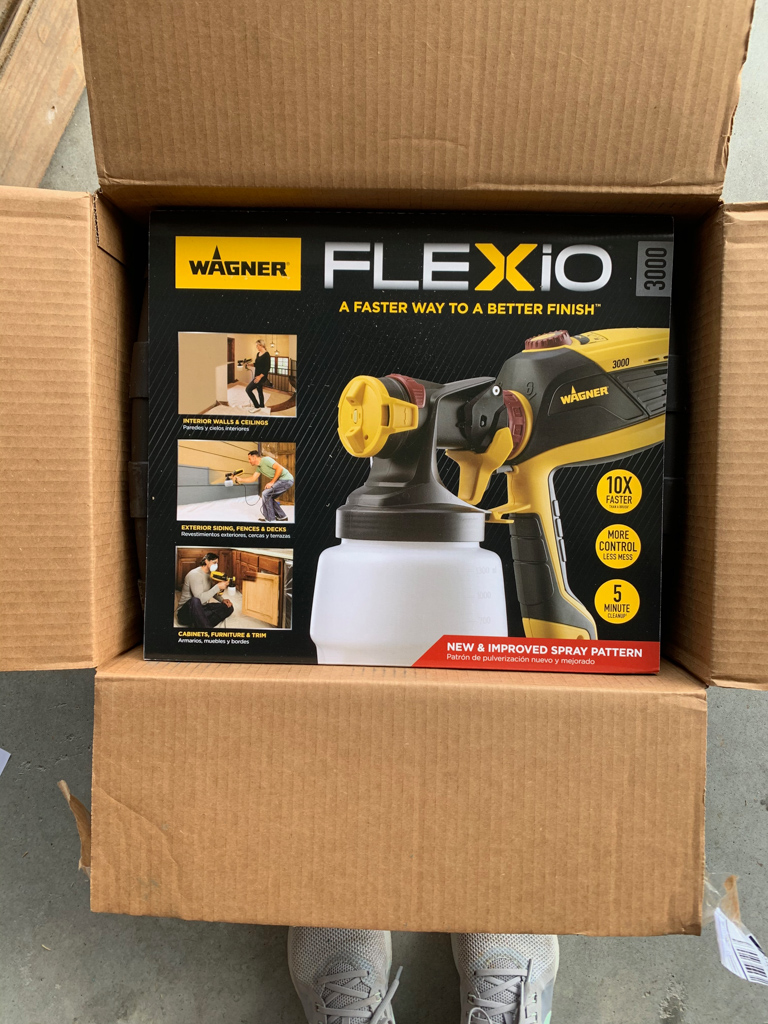
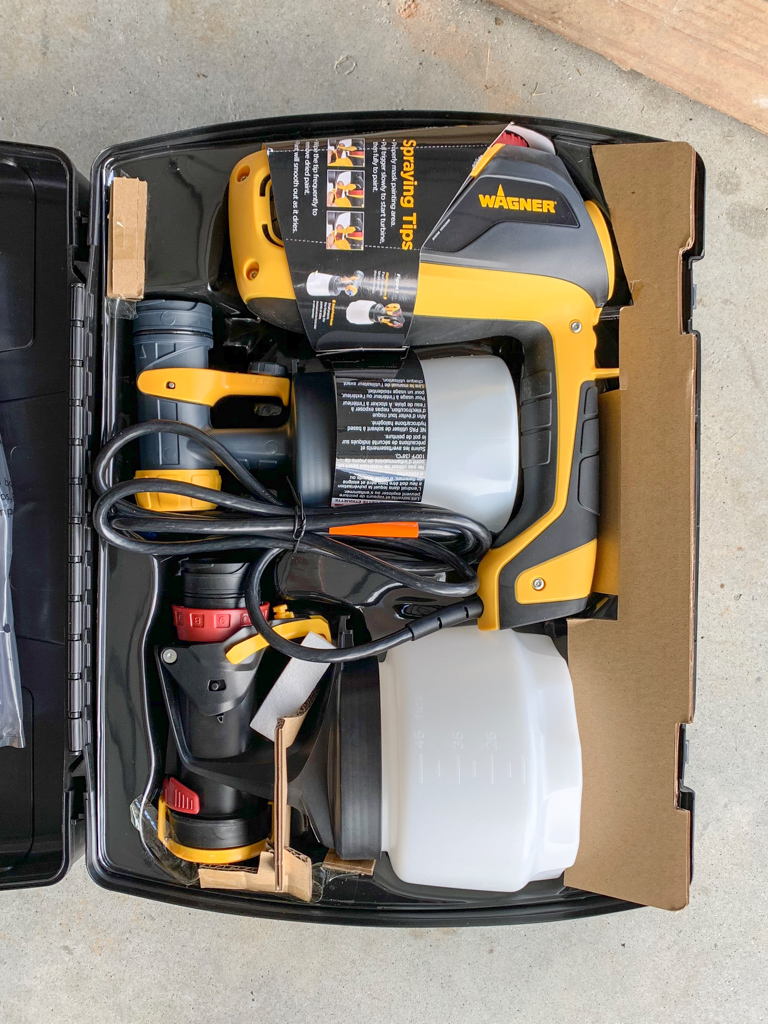
- Wagner Flexio 3000 Paint Sprayer
- Electric Sander
- Medium Grit Sandpaper
- Fine Grit Sandpaper
- Medium Grit Sanding Block
- Fine Grit Sanding Block
- Tack Cloth
- Drop Cloths
- Respirator
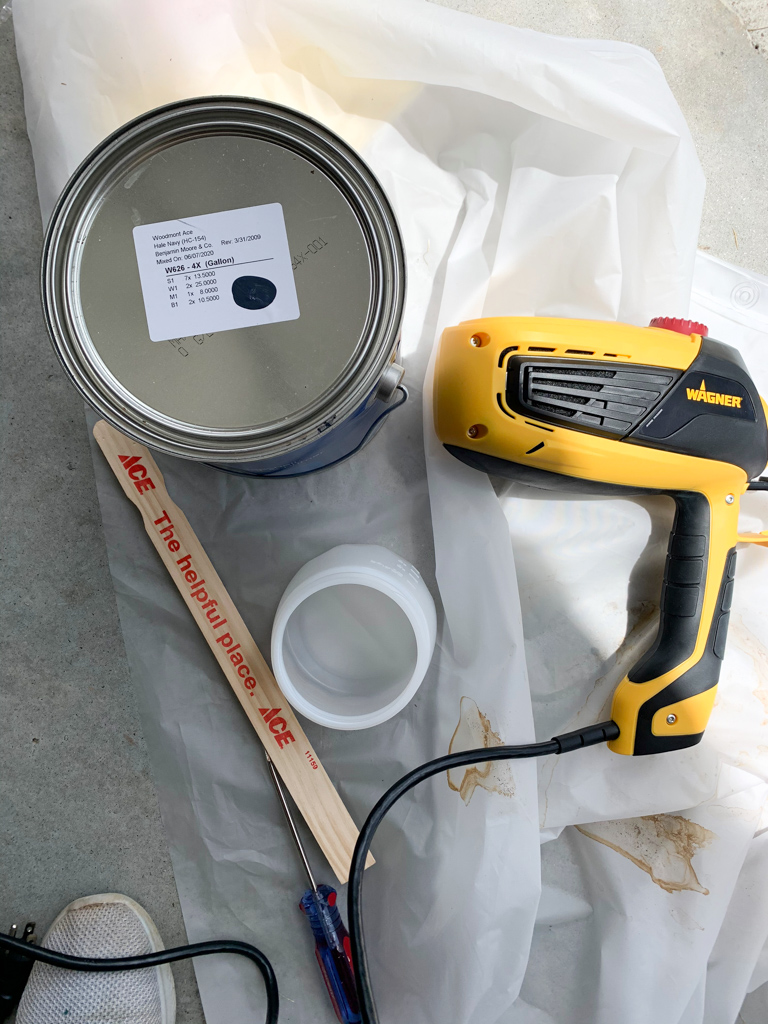
- Benjamin Moore Paint in the Color “Hale Navy”
Step One: Sand, Sand, Sand!
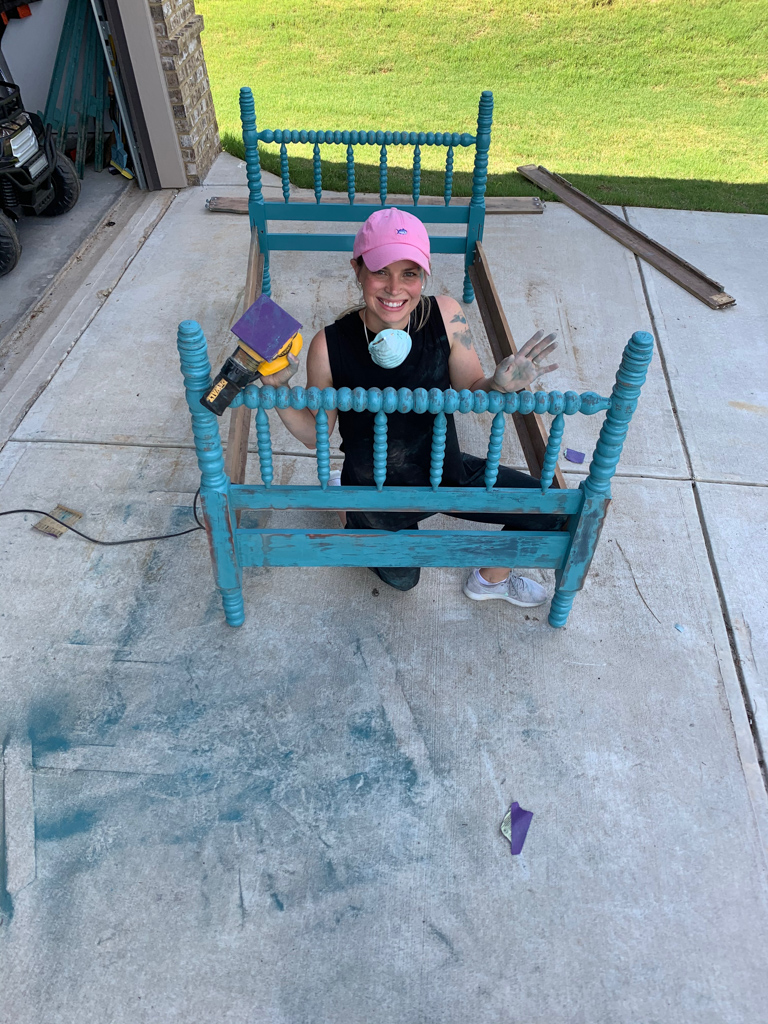
The first step is to sand all surfaces until they are completely smooth.
The previous horribly uneven paint job + intricate spindles made for an extremely time-consuming, tedious task!
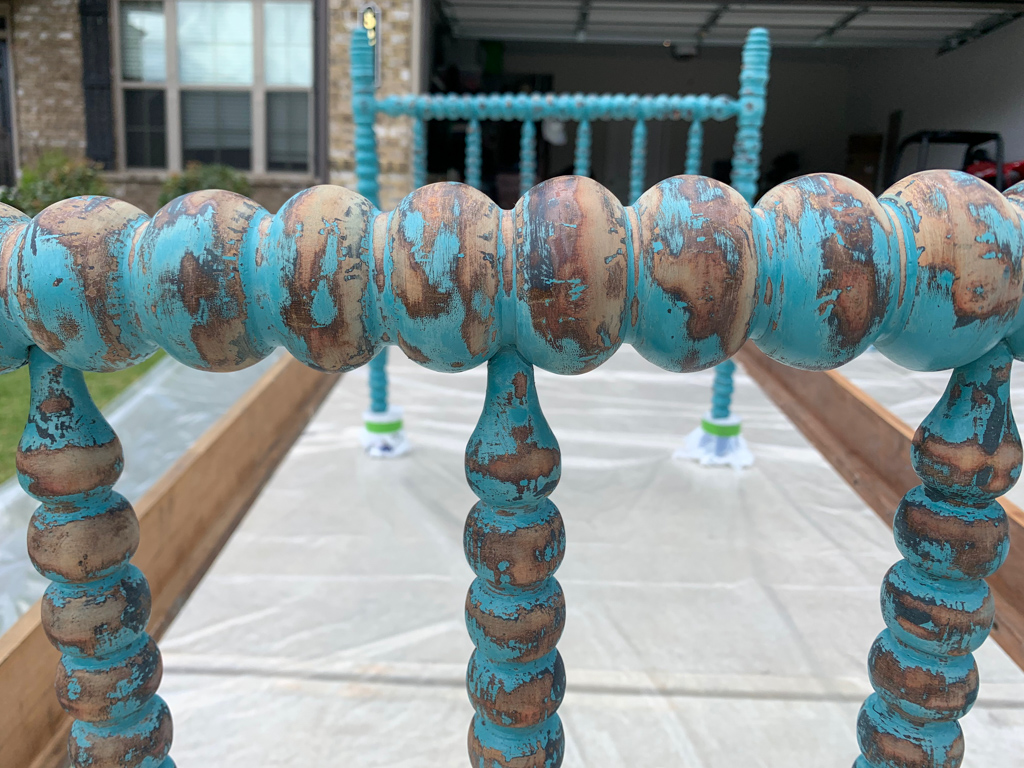
I sanded every surface twice: First with a medium grit sandpaper, and second with a fine grit sandpaper.
I used our electric sander to sand all of the flat surfaces. This was so easy and took hardly no time at all!
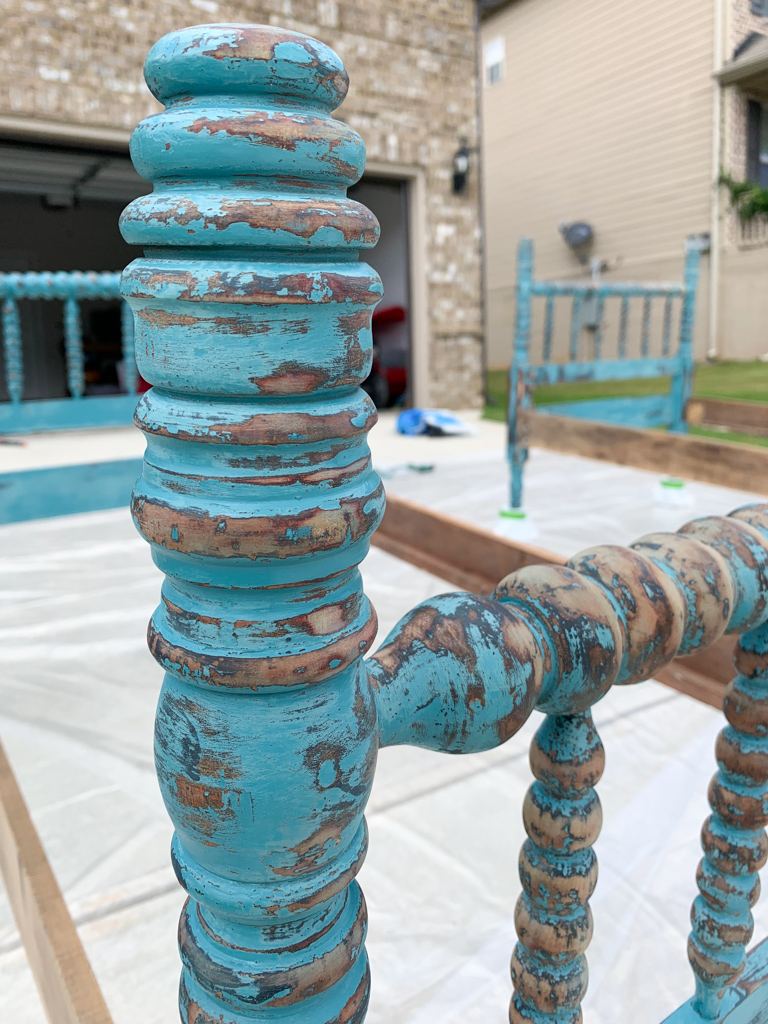
Next I used sanding sponges to sand all of the spindles. Talk about tedious!! I thought I would never finish.

It was extremely messy and I was covered in blue dust from head to toe!
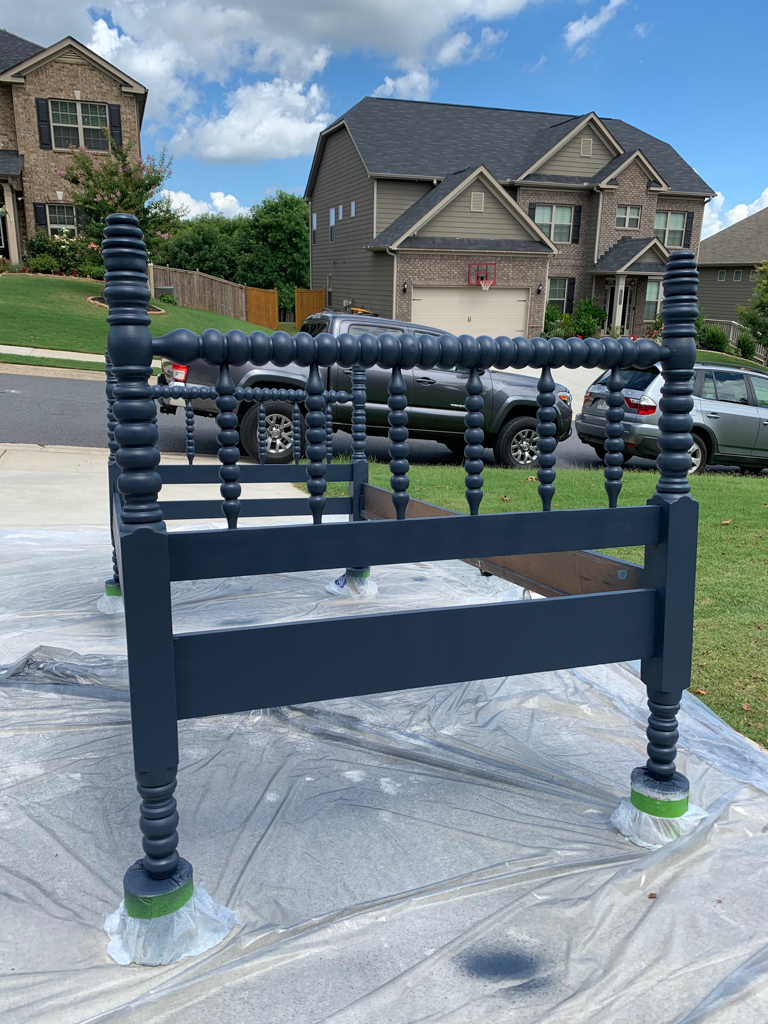
Step TWO: Prepare a painting area
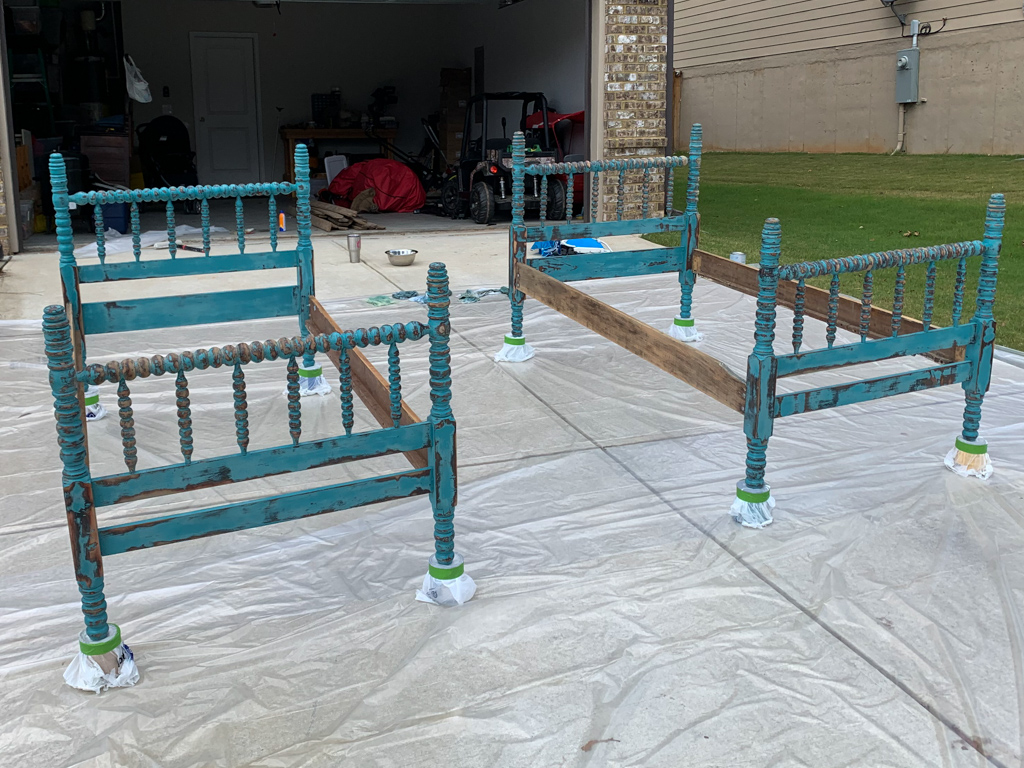
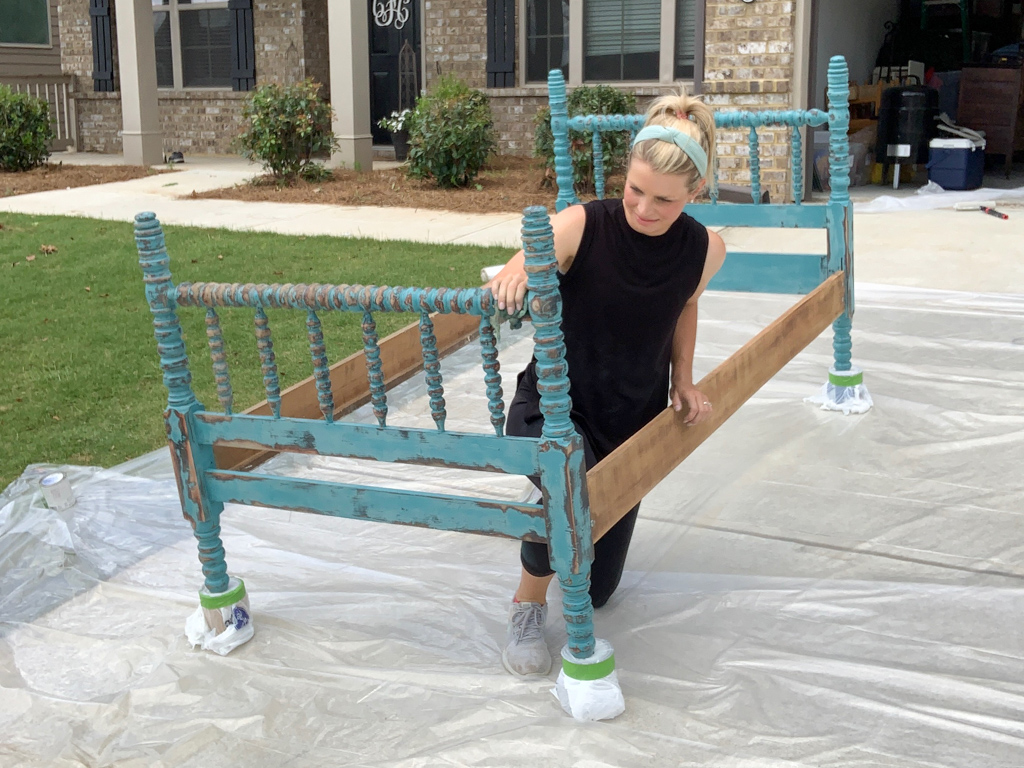
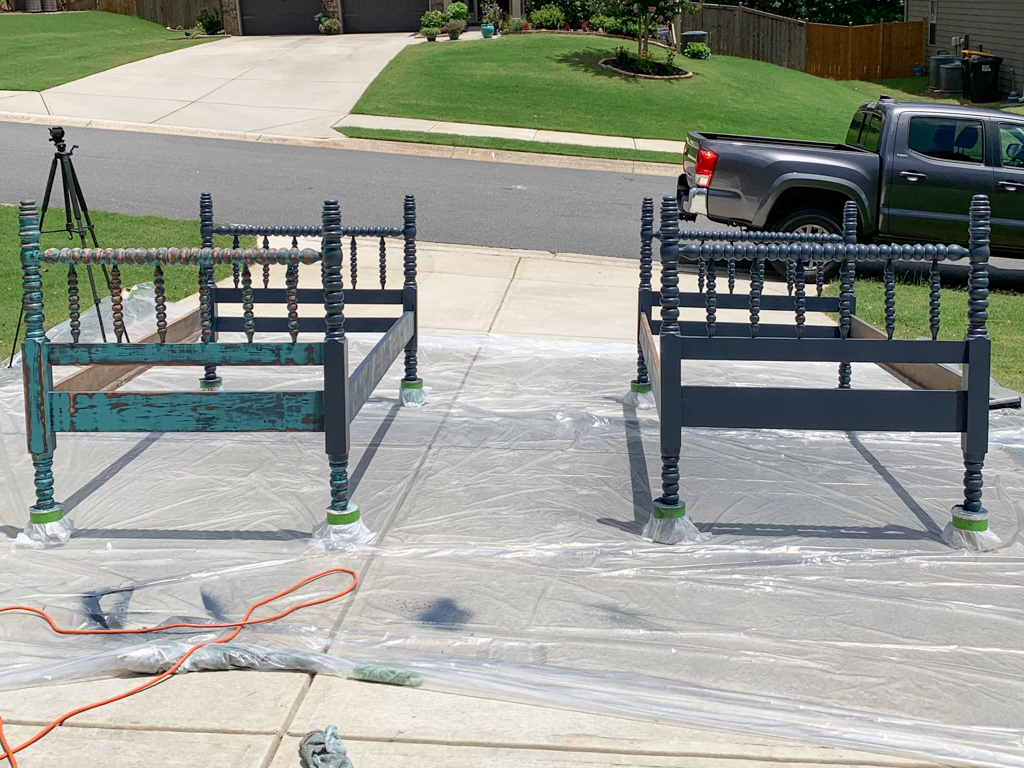
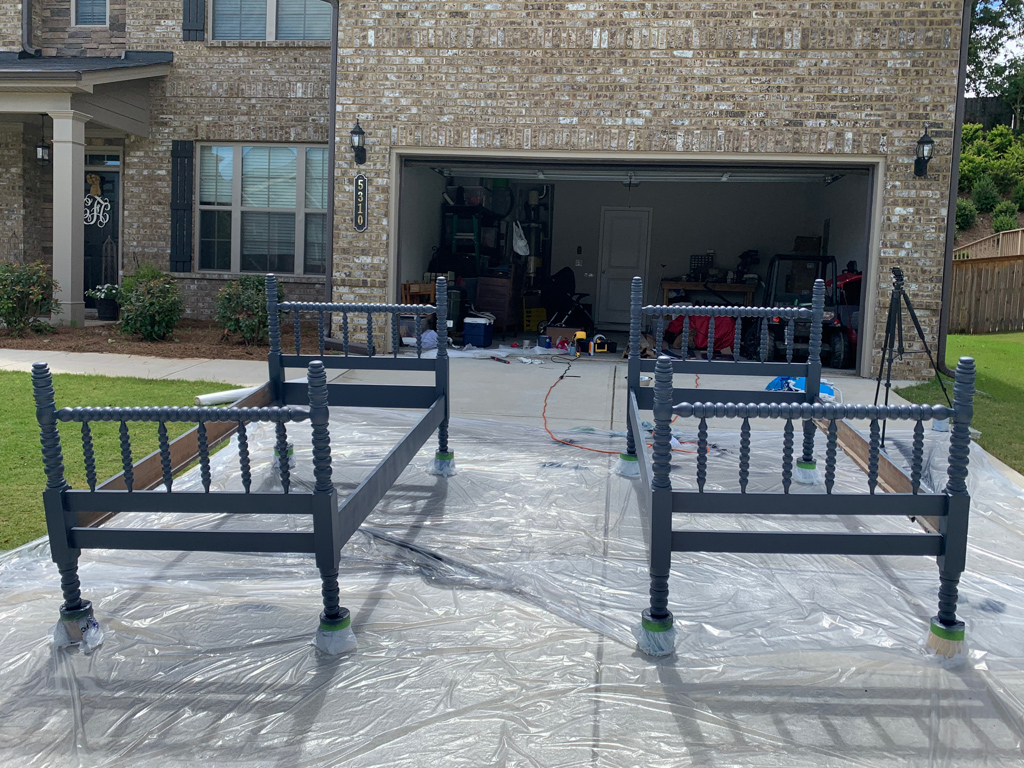
To prepare a panting area I pulled the beds out into our driveway.
I covered the driveway with plastic drop cloths to prevent any overspray from getting on the concrete.
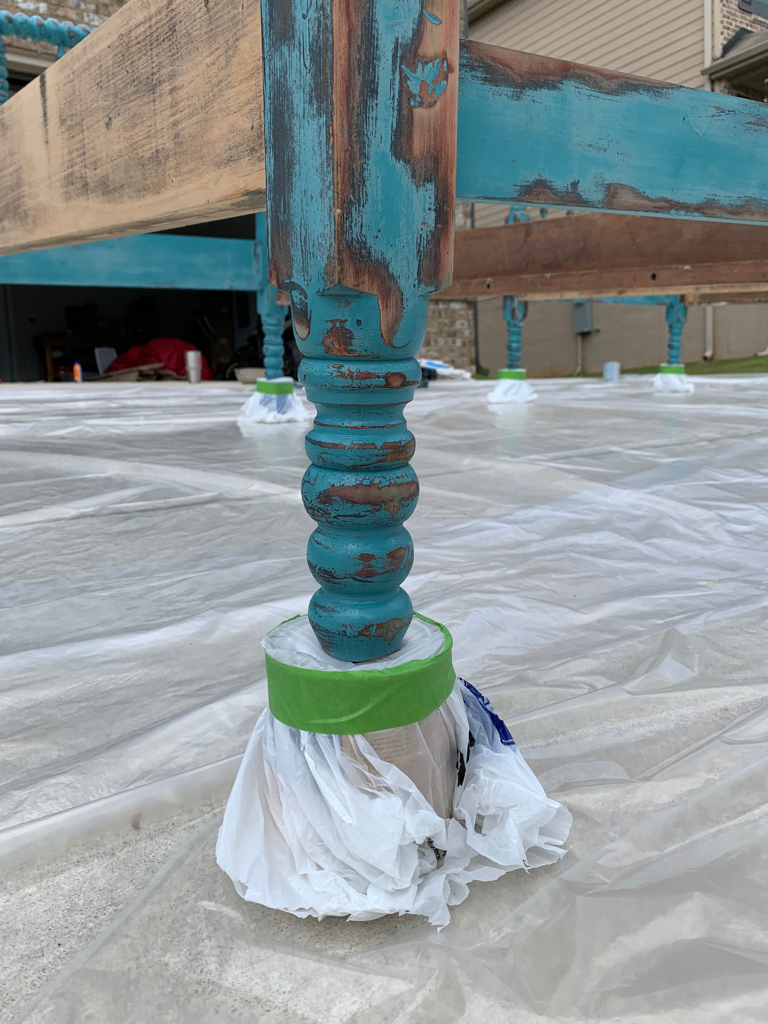
I propped each bed leg on a paint can to elevate the beds above the ground. This allows you to get the bottom of the bed legs.
I covered the paint cans in plastic grocery bags and secured them with painter’s tape. This kept the paint cans from becoming covered up in paint! (There would be nothing worse than having a bunch of paint cans in the garage and not being able to read the label to tell what was inside of them!)
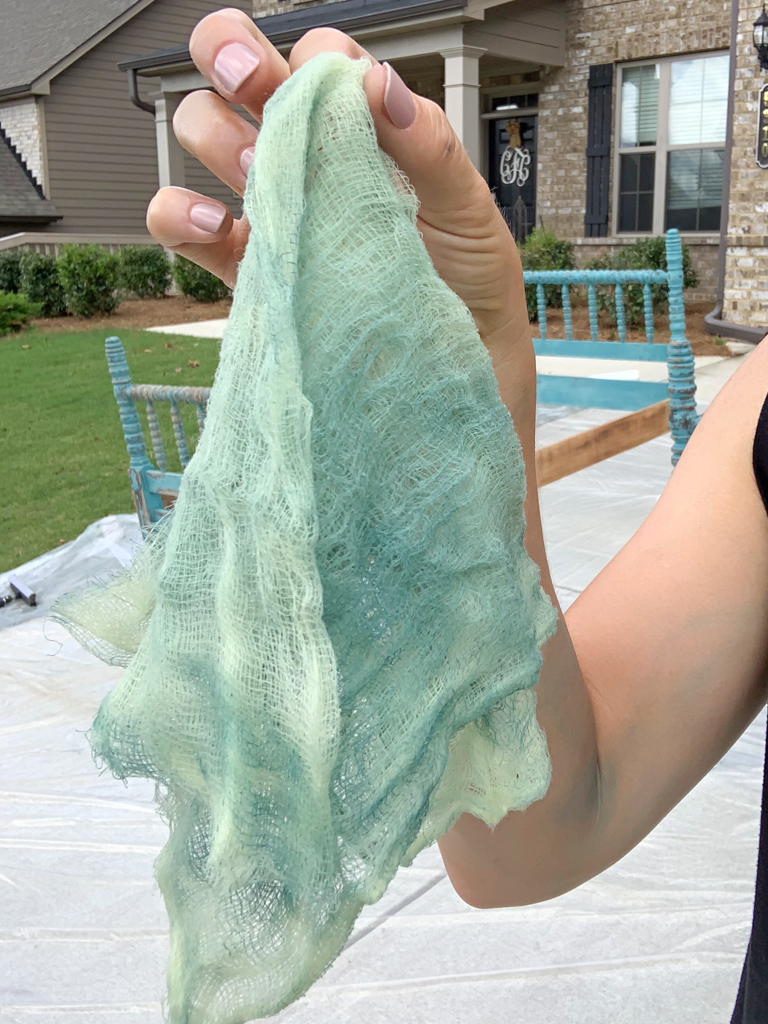
Step Three: Wipe away dust with tack cloth

The next step, and arguably one of the most important steps, is to wipe away all dust from the beds.
If there is any remaining dust on the beds your paint will not adhere correctly and you will end up with an uneven and rough finish.
There was so much dust from sanding that I used a two step process: first I wiped down the beds with damp old rags.

Next I used tack cloth to wipe down the beds a second time.
Even though they felt clean to the touch after the first wipe down, the tack cloth pulled off so much more blue dust!
Step four: Picking a paint color

Finally! After all that prep it was finally time for the fun part: paint!
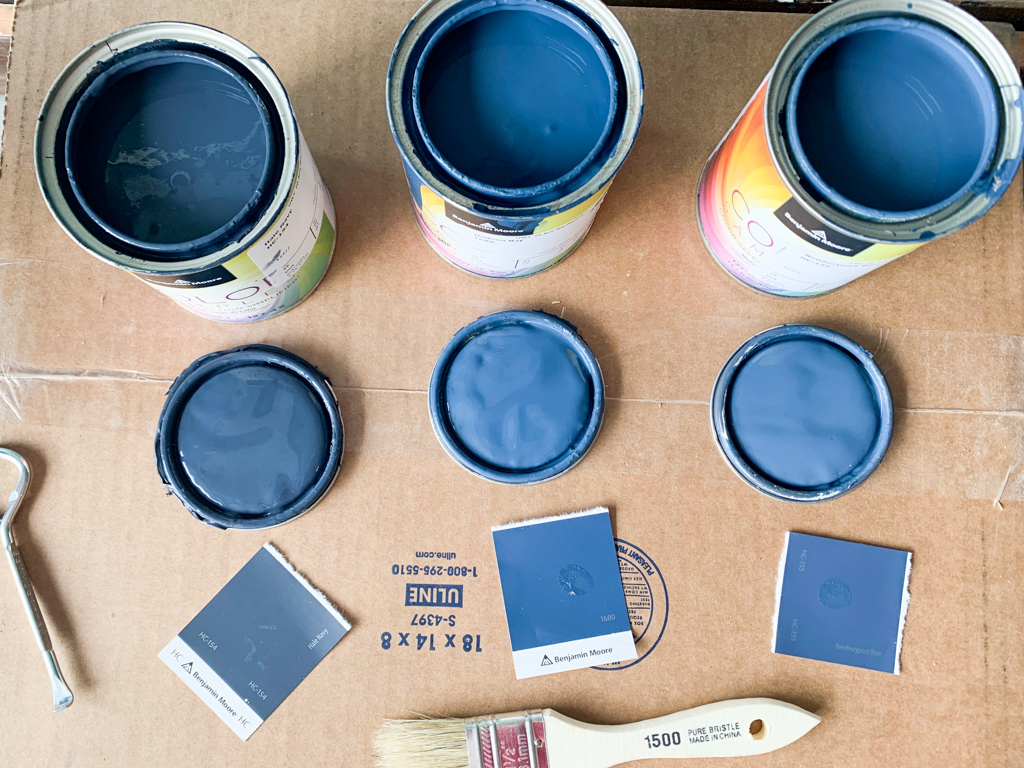
I went to our local Ace Hardware store and picked up three samples of Benjamin Moore navy paint.
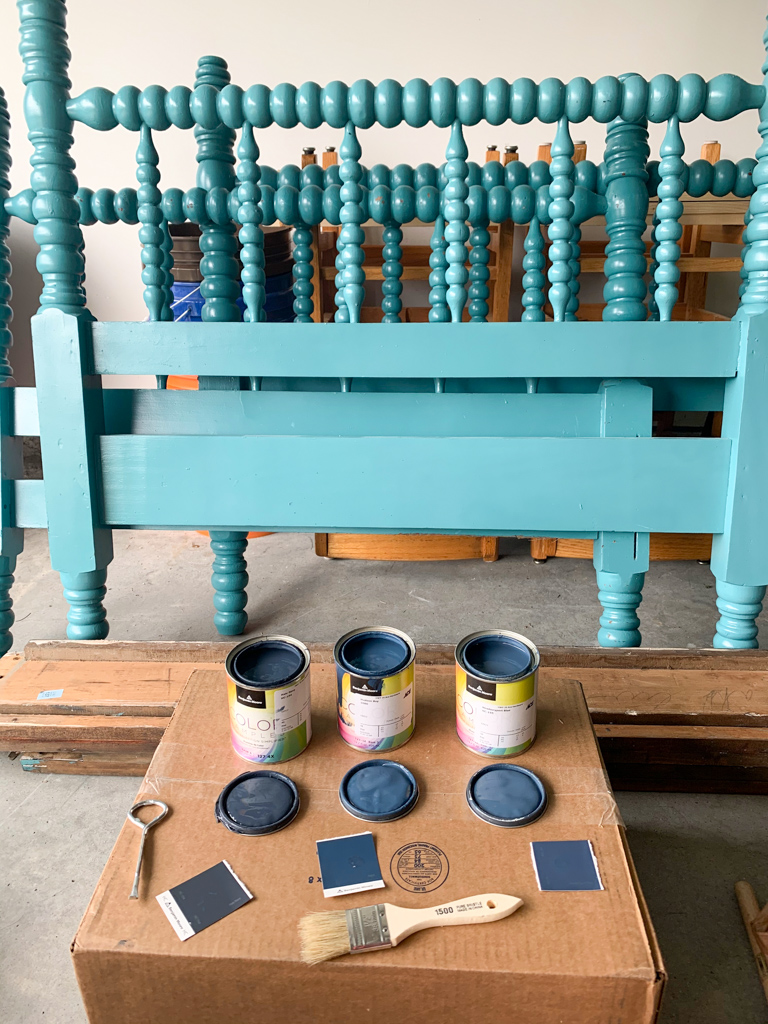
The clear winner was Benjamin Moore “Hale Navy.” It is the most beautiful true classic navy paint color!
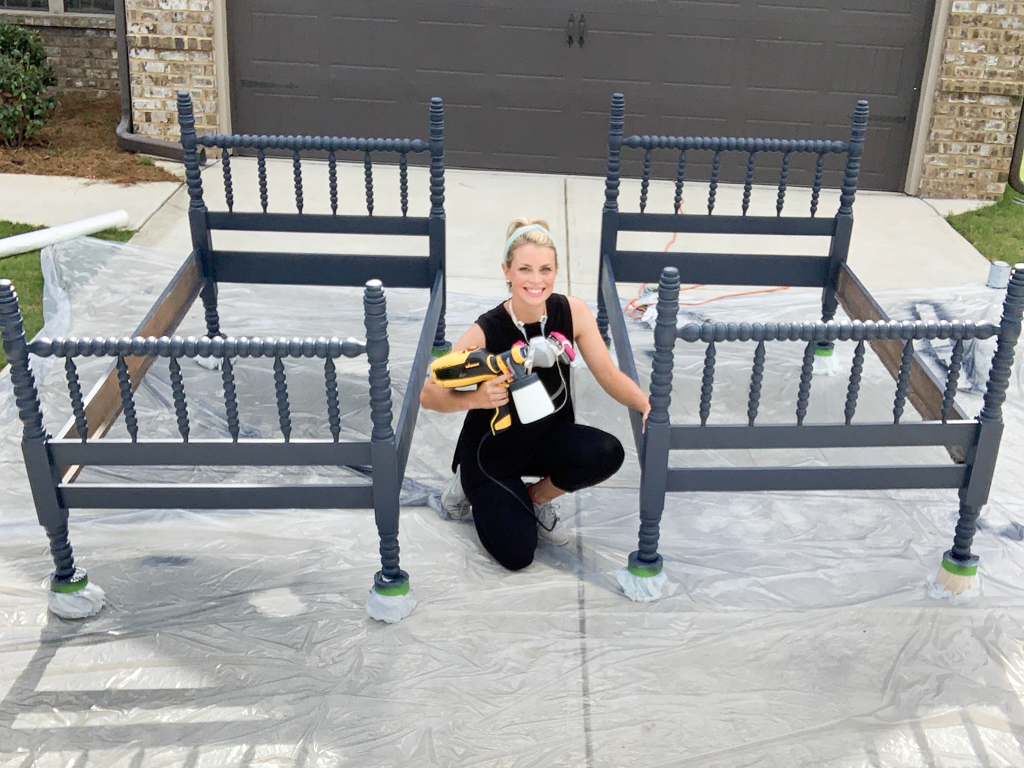
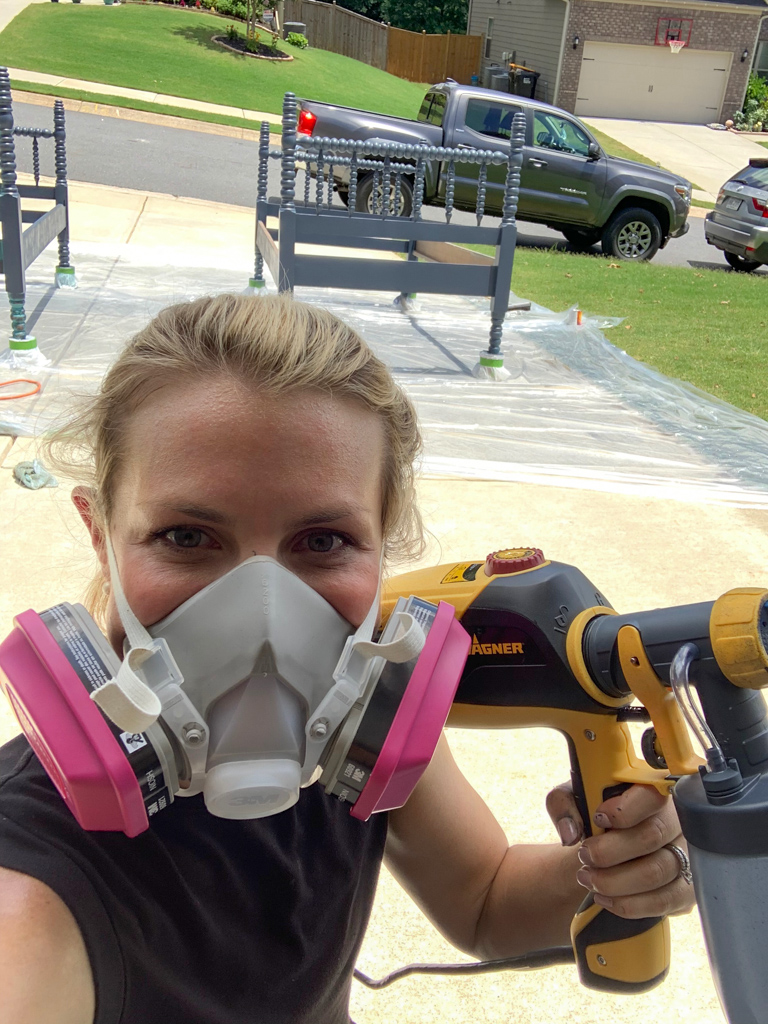
Step five: Time to paint!
After spending so much time sanding these spindle beds by hand, I knew that trying to paint them by hand with a brush would not only be an extremely time consuming task, but it wouldn’t give me the smooth, professional-looking finish that I was going for.
Wagner was so kind to send me the Flexio 3000 Paint Sprayer, and let me just say that it is now by far my favorite DIY tool I own! I don’t know how I lived without one for so long!
I met with some of the Wagner associates last year at the Haven Conference and got to try out the Flexio 3000 in person while I was there. I was instantly sold!
This sprayer is hands down amazing and so much fun to use! It comes with two different nozzles and every single setting is completely customizable. This makes it perfect for any size or scope of project: from painting detailed pieces (like spindles!) or cabinets and trim, to painting large walls and siding- it will do the job!
It’s very intuitive and easy to use, and Wagner walks you through exactly which settings to use on every project.
I used the smaller Detail Finish Nozzle for the spindles and the paint went on as smooth as butter!
Not only was it ten times faster than a brush, I could have never achieved even close to as smooth of a finish without the sprayer.
Once I got spraying this job went extremely fast!
I think I picked the hottest day in the Georgia summer to paint these beds!
I sprayed two full coats on both beds in less than two hours!
Other than being completely blown away by the time saved and the professional grade smooth finish, I was shocked at how much paint I saved by using the sprayer. I barely used any paint at all!
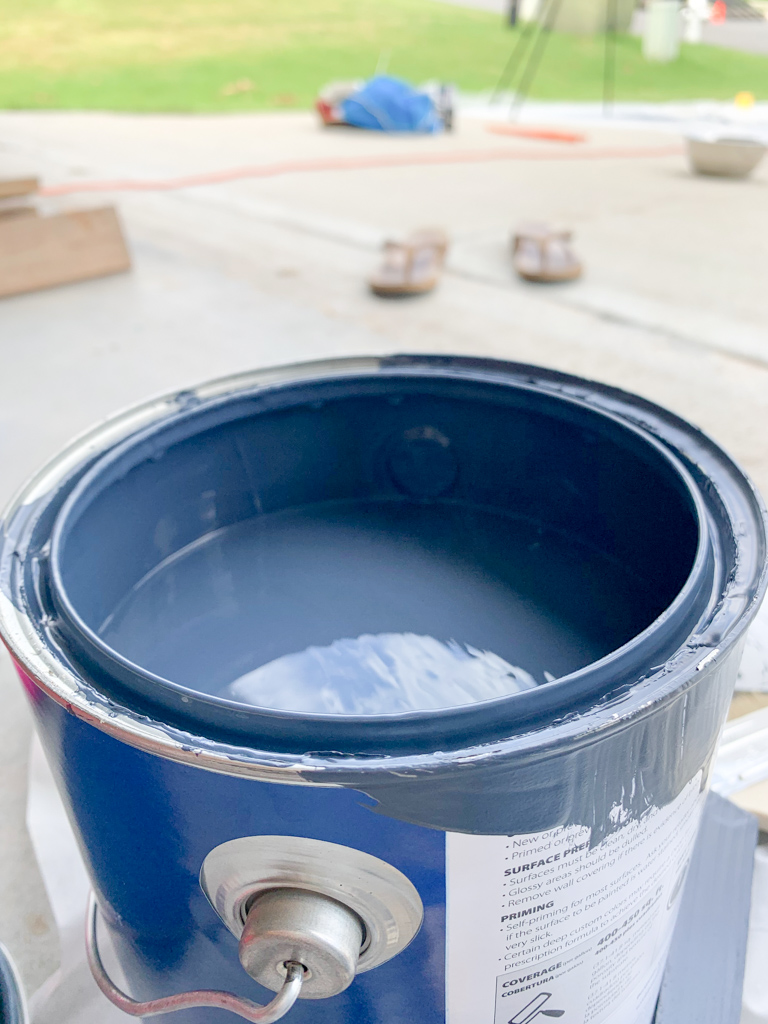
The picture above shows how much paint was gone after painting two full coats on both beds. I could have gone with a quart of paint instead of a gallon and still had some left over!
A huge time and money saver.
The Wagner Flexio 3000 far exceeded my expectations and I couldn’t love these beds any more!
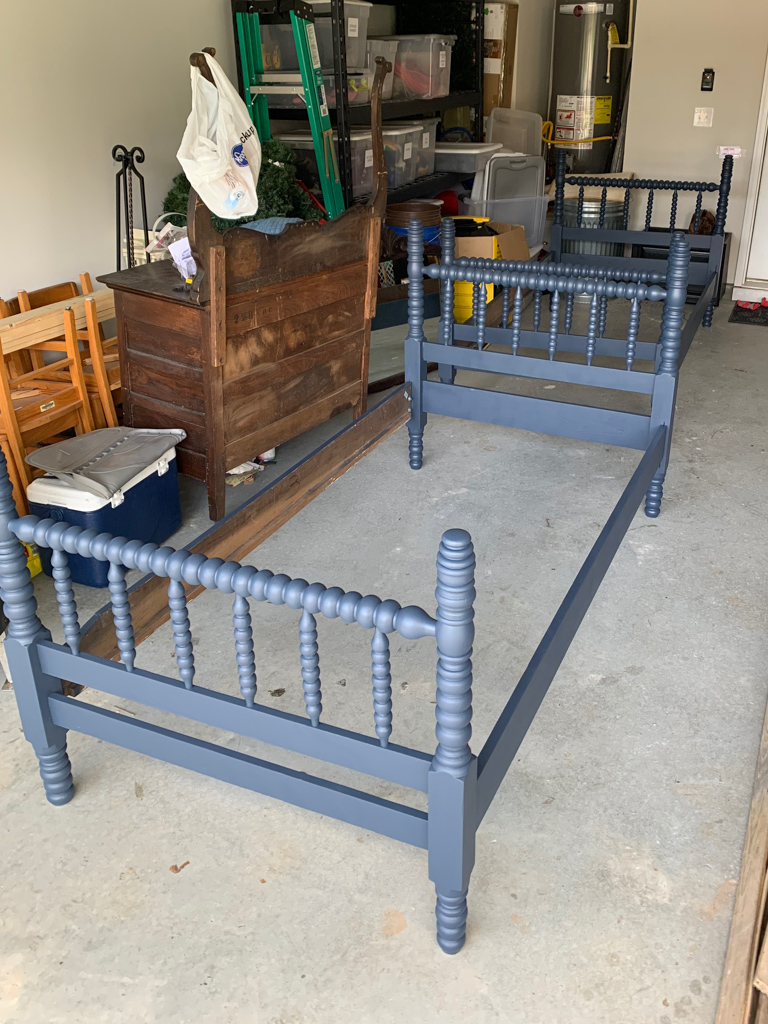
The paint dried very quickly in the hot Georgia sun.
Once they were dry to the touch I pulled them inside the garage to let them cure over night before bringing them inside.
Putting the beds together
Once I got them inside I had SO much trouble trying to get these beds put together. No matter what I tried the bed rails just didn’t “fit.”
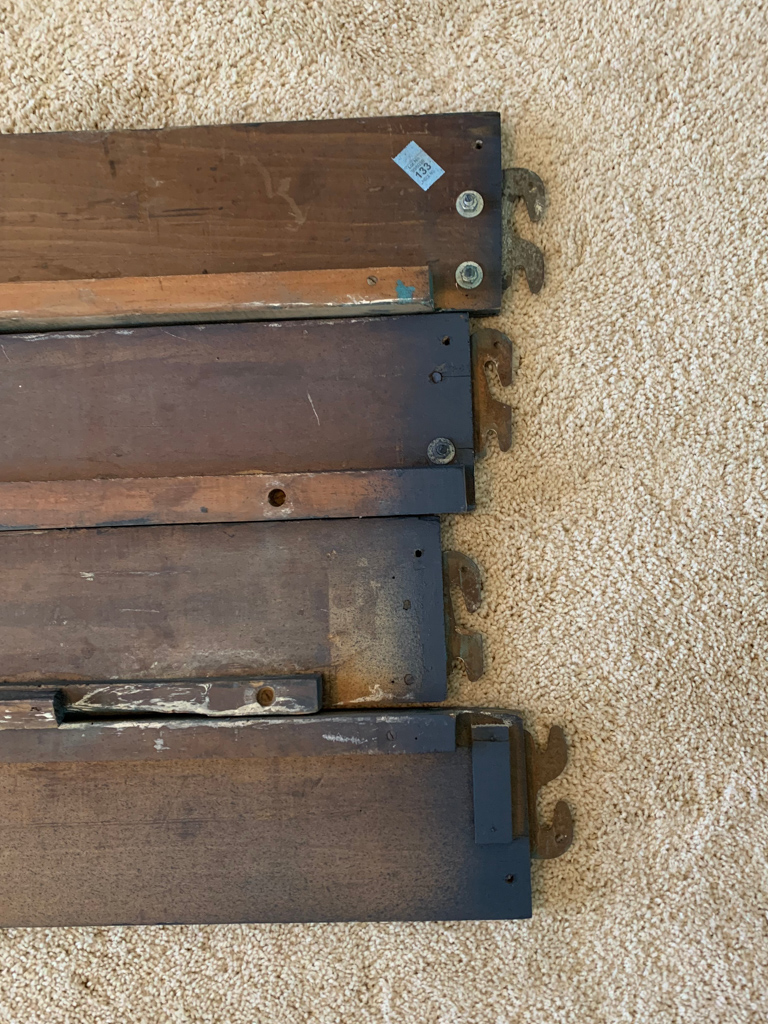
I spent way too much time trying every single configuration that I could think of. I finally laid the rails out and realized that every single bed rail was a completely different length!
I came to the realization that these bed rails were not the original bed rails. Antique bed rails were shorter and will not fit our modern day size mattresses. So at some point someone replaced the rails with whatever they could find to make them work.
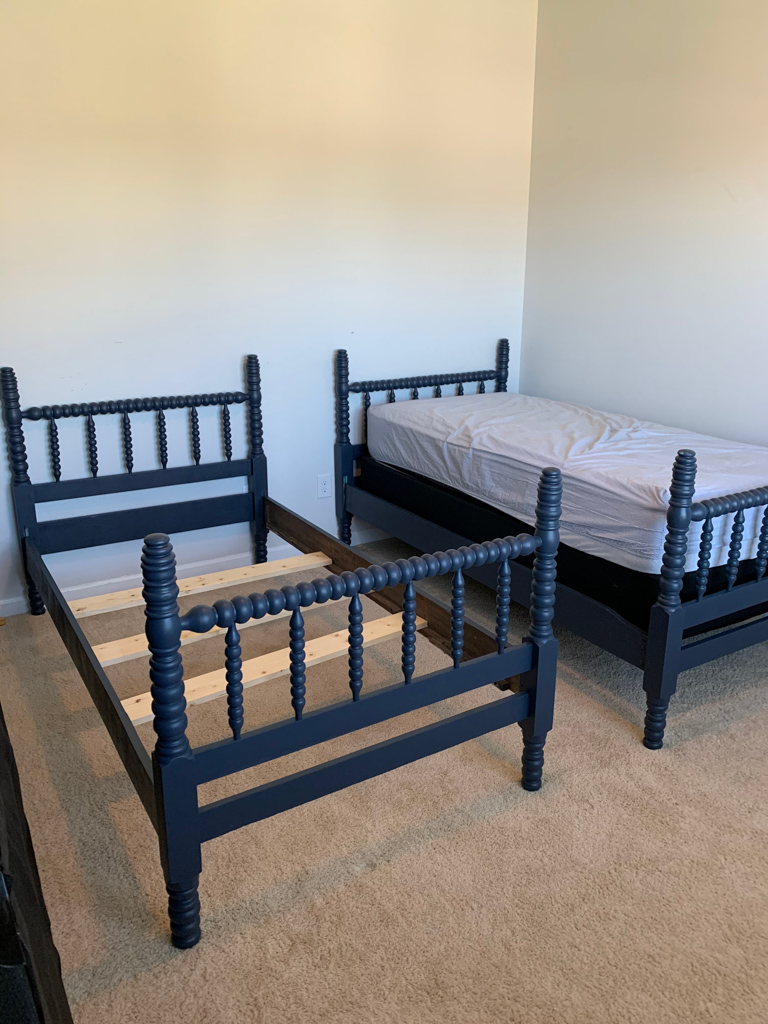
I finally got them together (they are definitely not perfect, but they work!) and put the box spring and mattress on one of the beds.
Another roadblock! Modern day mattresses and box springs are not only longer than antique mattresses, but they are also a lot deeper/taller.
Once I layered the box spring and the mattress on the bed, they sat up way too high and covered up all the spindles that I had worked so hard on.
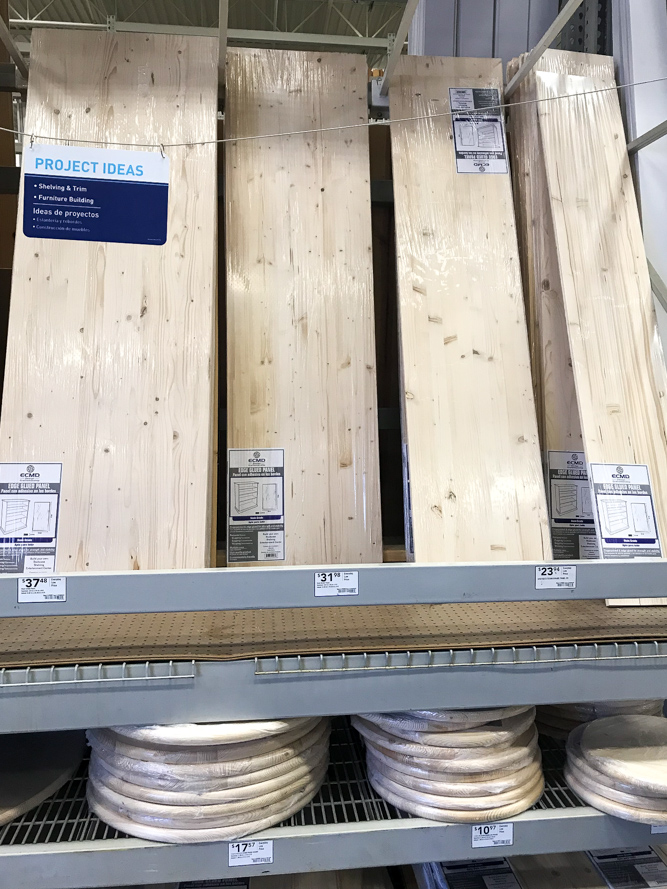
I set out to Home Depot to create my own easy fix.
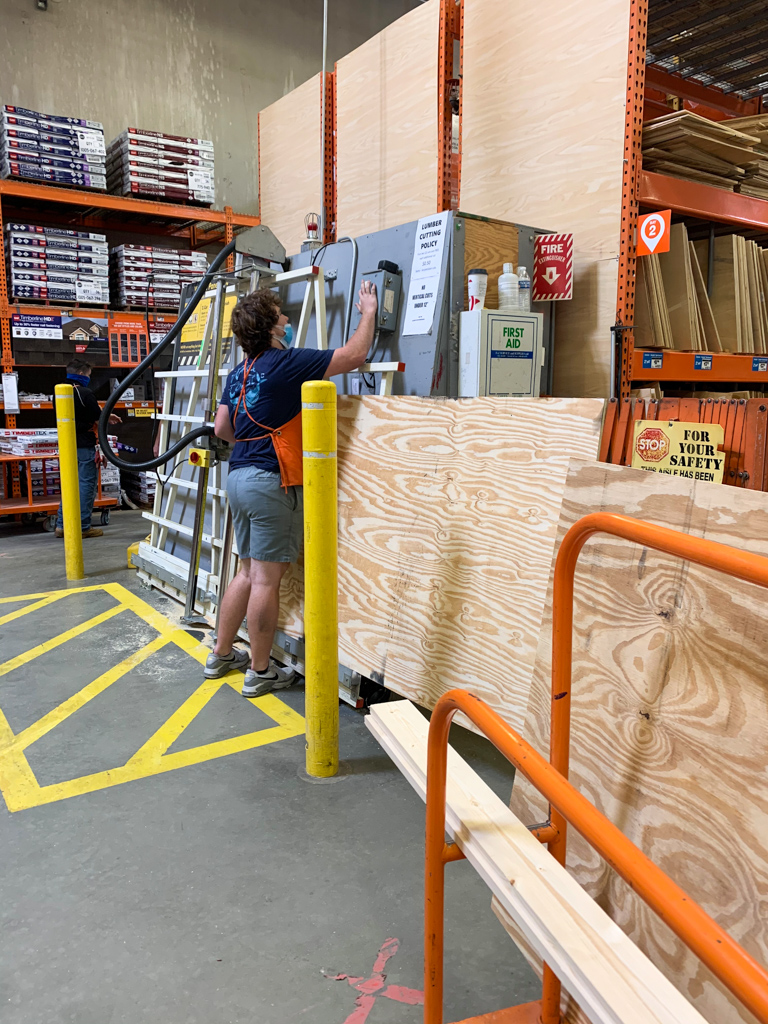
I selected two pieces of plywood and had Home Depot cut them to size in the store. This saved me time and work and made it easier transport them home.

I added additional bed slats for more support and then set the mattresses right on top of the plywood.

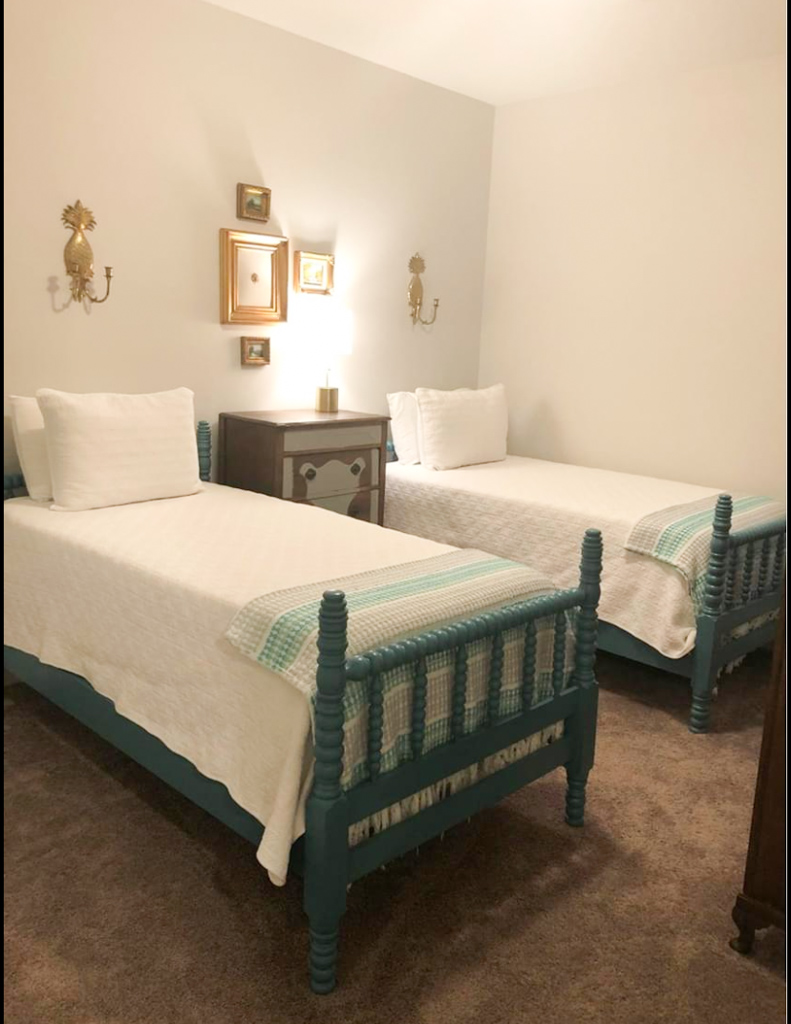
Such an easy fix and now the mattresses are the perfect height! John Davis and Fletcher gave their approval : )
When the beds aren’t made (see bed on the left), you can see some of the plywood. I plan to either paint it or cover it in a white sheet to conceal the plywood. Not a big deal though, because you cannot see it once the bed is made up with the duvet.
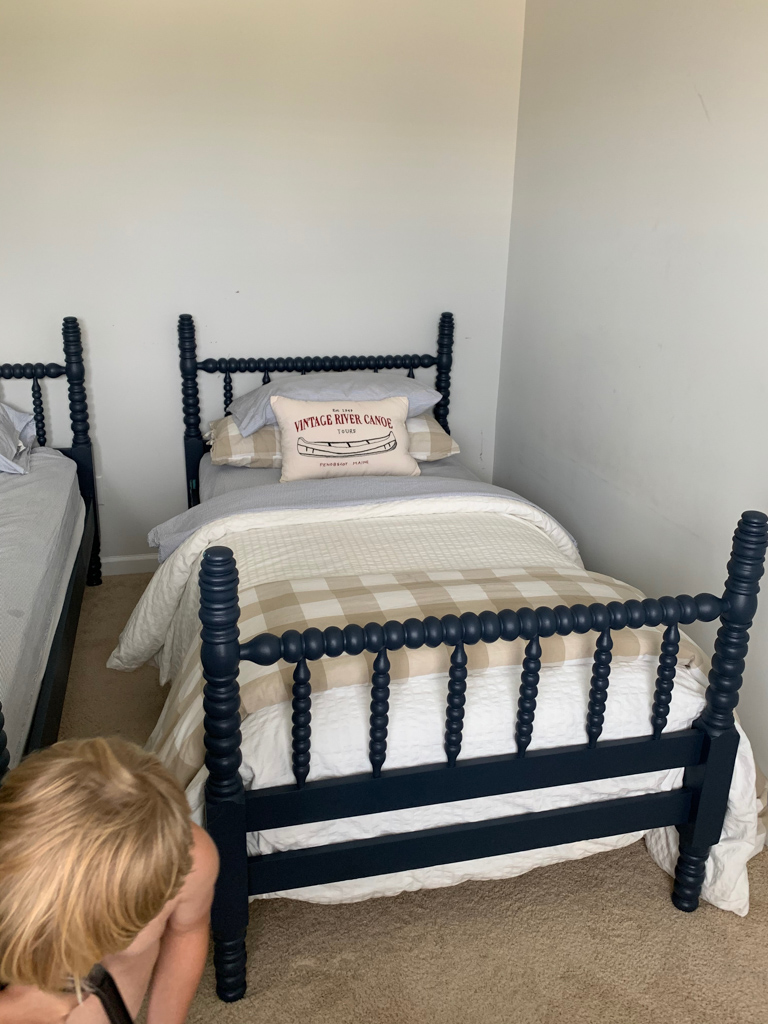
Here’s a peek at what the beds will look like all made up!
I can’t wait to finish up this space! I will be repurposing two statement pieces we already have to go above the beds (hint: monograms 🙂 ) and I will be refinishing a nightstand to go in between them. Stay tuned!
Pin For Later
Pin this image to your favorite Pinterest board for later!