DIY: How to Frame A Builder-Grade Bathroom Mirror
This DIY tutorial will show you how to frame a builder-grade bathroom mirror to add instant character and equity to your bathroom. Adding a frame to a builder grade bathroom mirror is an easy and cost effective way to update the mirror without having to remove it or replace it. This project can be completed in one weekend and is extremely budget friendly. Each bathroom mirror costs around $20 total!
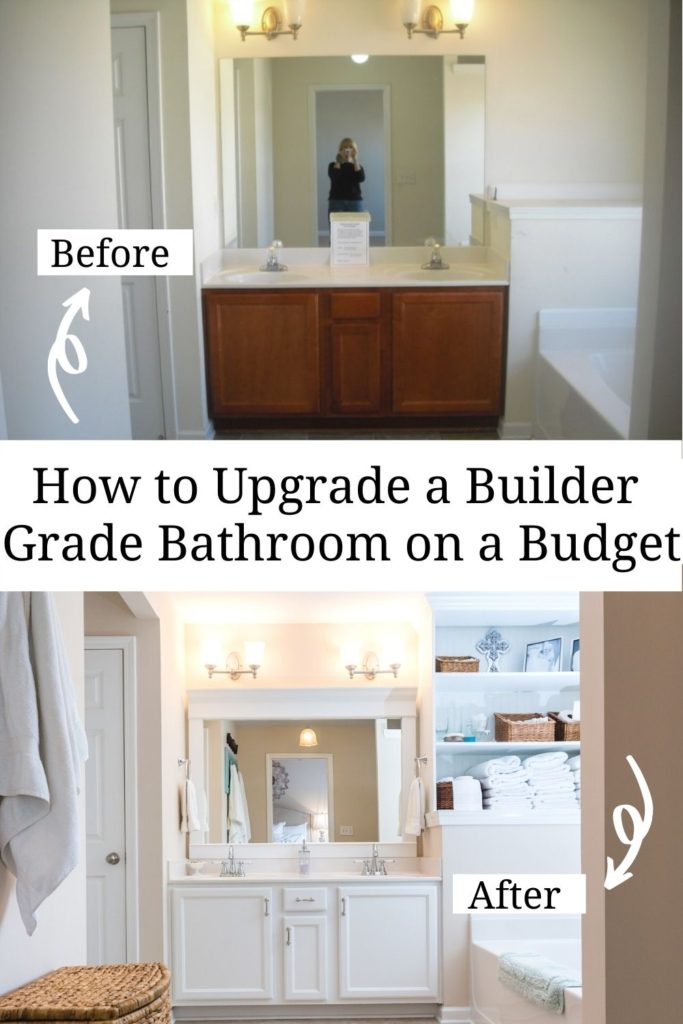
How to Frame A Builder grade bathroom mirror: before + after
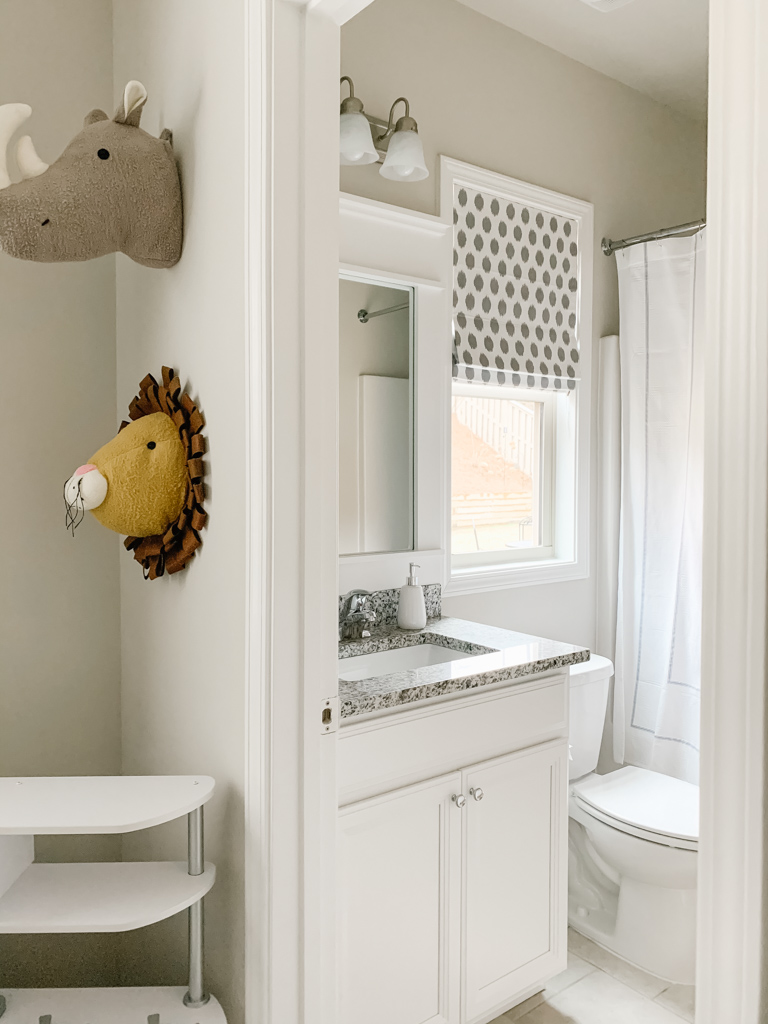
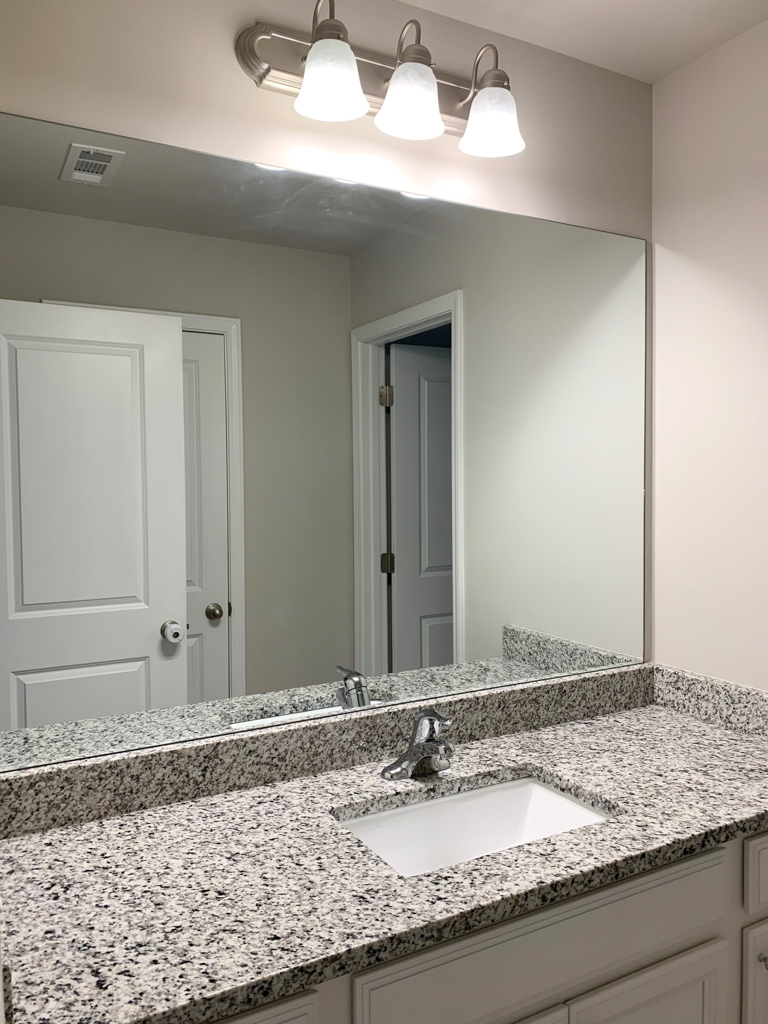
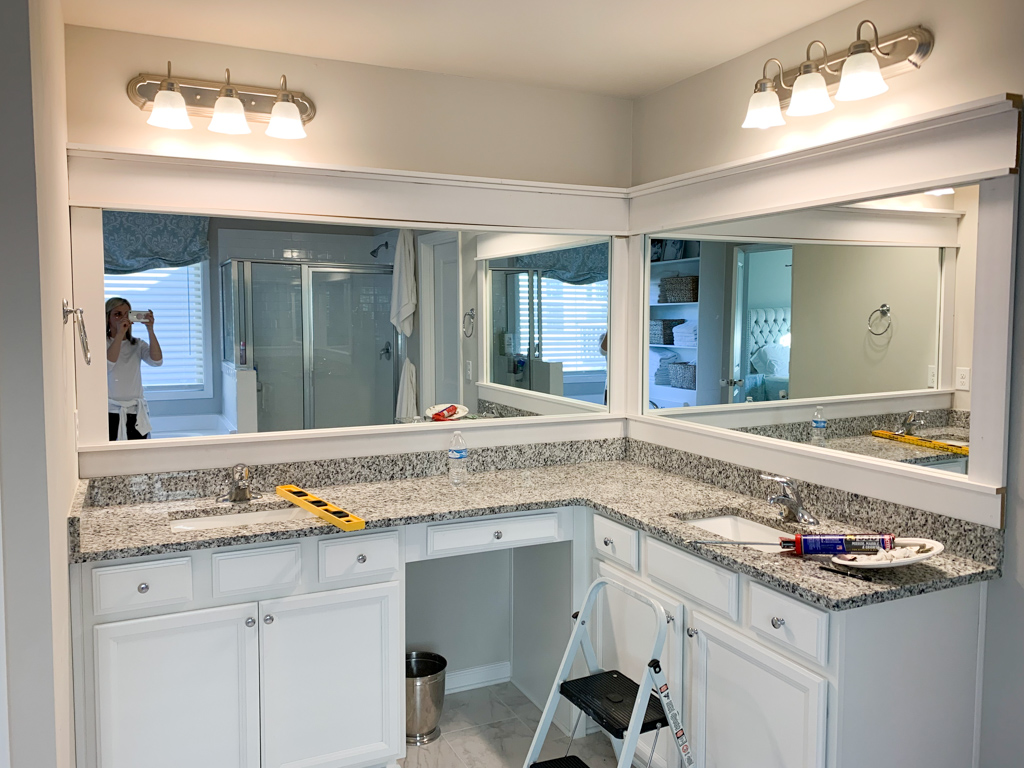
If you’re anything like the other 90% of suburbia America living in a builder grade house, chances are you have a mirror in your bathroom that looks something like this!
While there is technically nothing wrong with it, it looks looks unfinished and certainly lacks any character. It’s obvious that a builder just slapped it up on a wall to save time and money!
Adding a frame to a builder grade bathroom mirror is an easy and cost effective way to update the mirror without having to remove it or replace it.
You may also remember that we did this same project in our first little foreclosure fixer upper house. Here is a photo of that bathroom before.
You can read all about it and see all of the before and after photos HERE.

And here is the very same bathroom after!
Can you believe this transformation?! Framing out the bathroom mirror and painting the vanity white completely changed this space!
Materials: What you need to frame a bathroom mirror
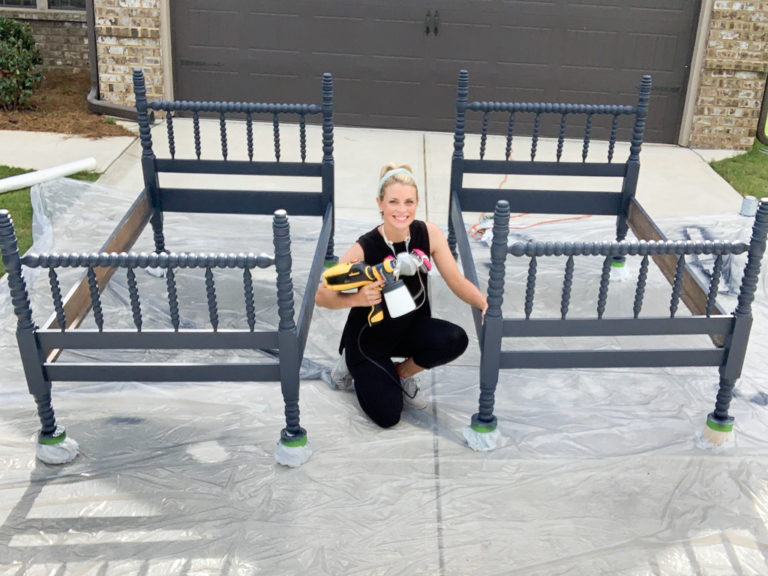
We’ve seen what a big impact framing out a mirror can have on a bathroom, so let’s get in to what you need and how to easily recreate this project yourself!

We headed out to Lowe’s to pick up the supplies to frame our builder grade mirrors.
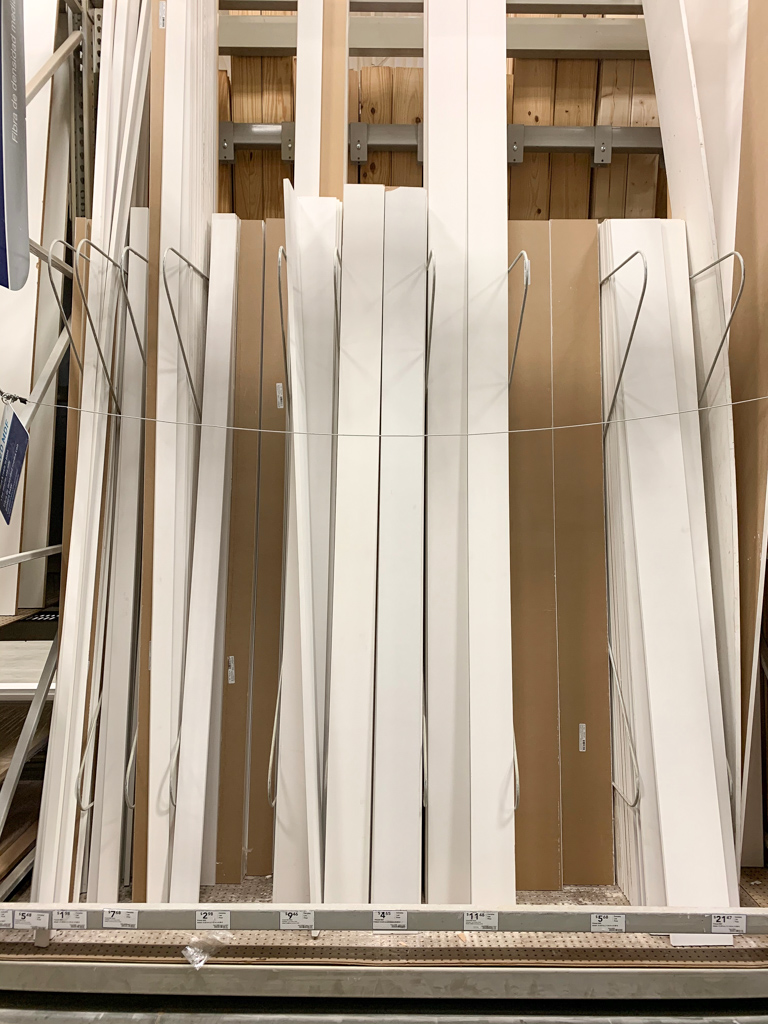
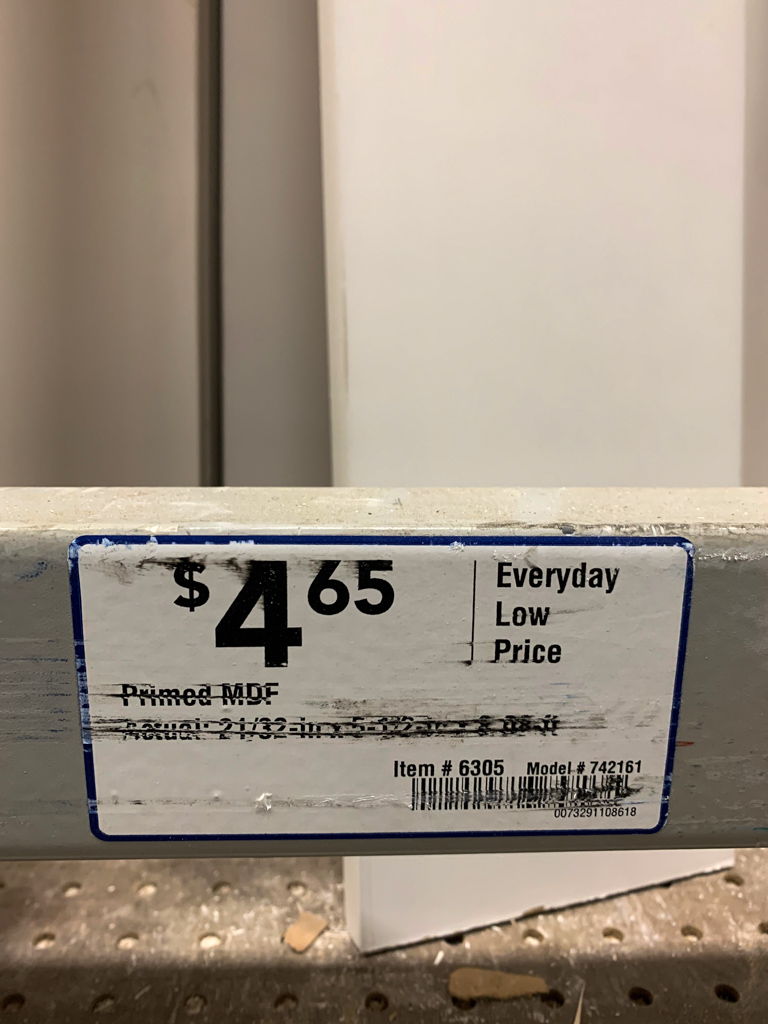
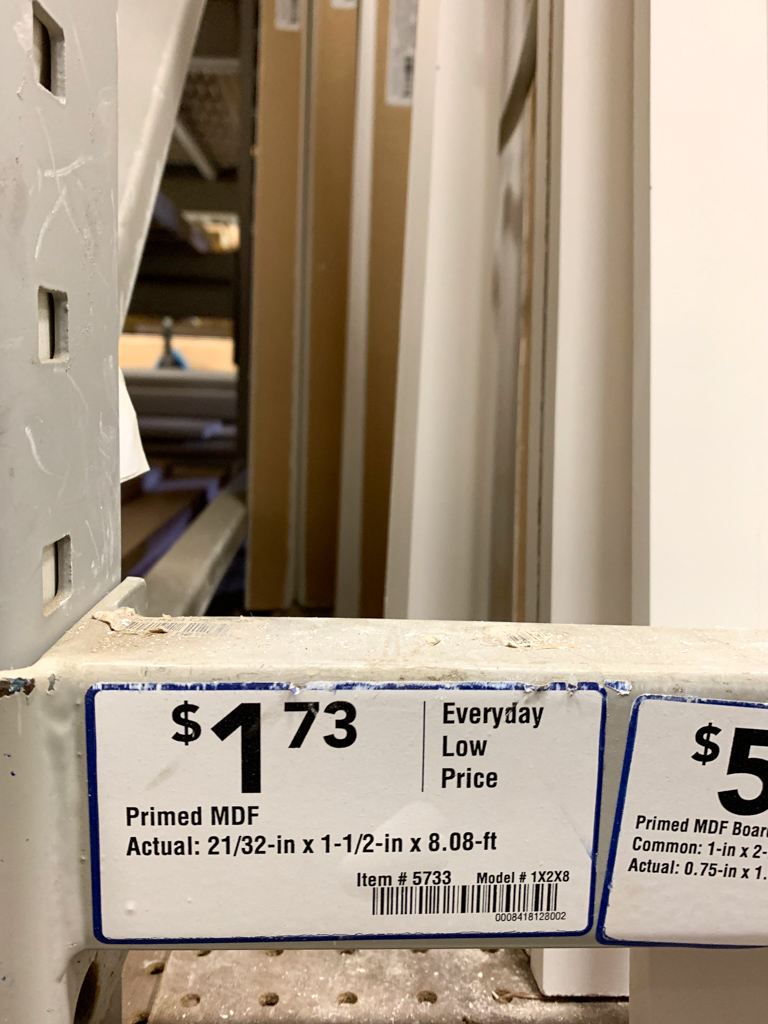
We chose to use primed MDF for this project because of the ease of use and the low price point.
Now, I know that some people will argue that MDF isn’t a great option for a bathroom because of the potential for moisture damage.
Our bathroom was large and well ventilated, and the MDF boards were going to be completely sealed with paint. As long as moisture and water cannot penetrate the surface of the MDF and you have proper ventilation in your bathroom, MDF is fine!

What you need:
- 1×4 Primed MDF
- 1×2 Primed MDF
- 1×6 Primed MDF
- 1×3 Primed MDF
- Construction Adhesive
- Tape Measure
- Level Square
- Miter Saw
- Paint Brush
- Foam Roller
- Paint

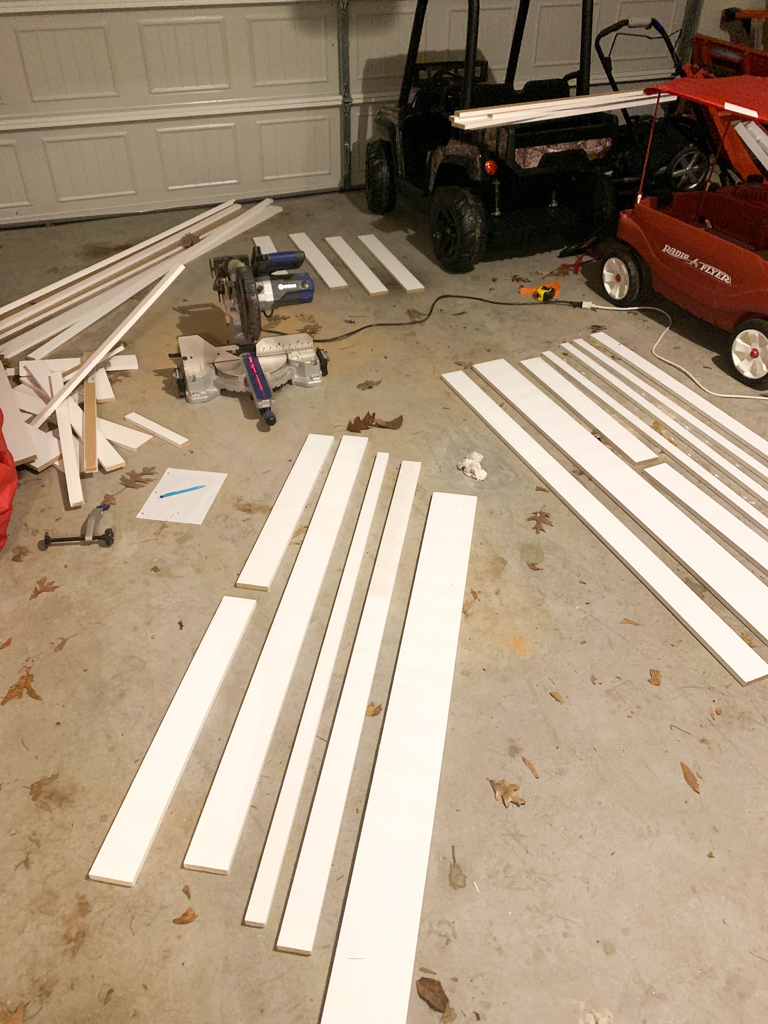
We weren’t exactly sure how we wanted to design the frame so we started laying boards out in the floor at Lowe’s to get a better idea of what the mirror frames would look like.
Would you look at that big ole bald head?! 🙂
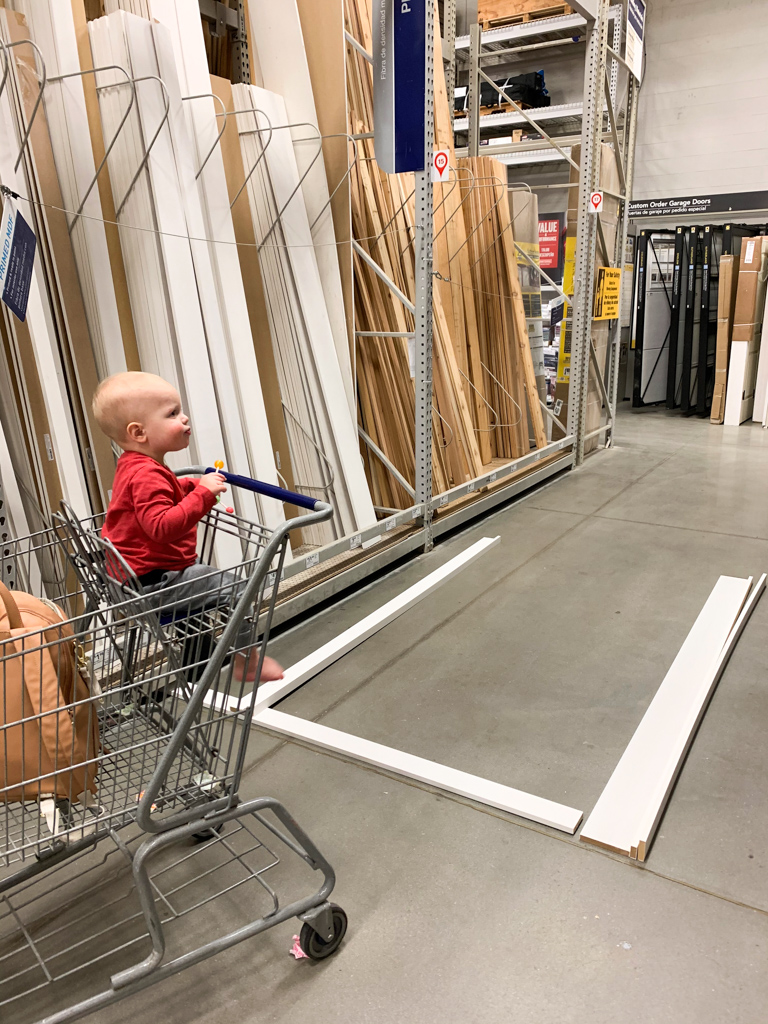
We came up with a simple craftsman style layout that involved no miter cuts!
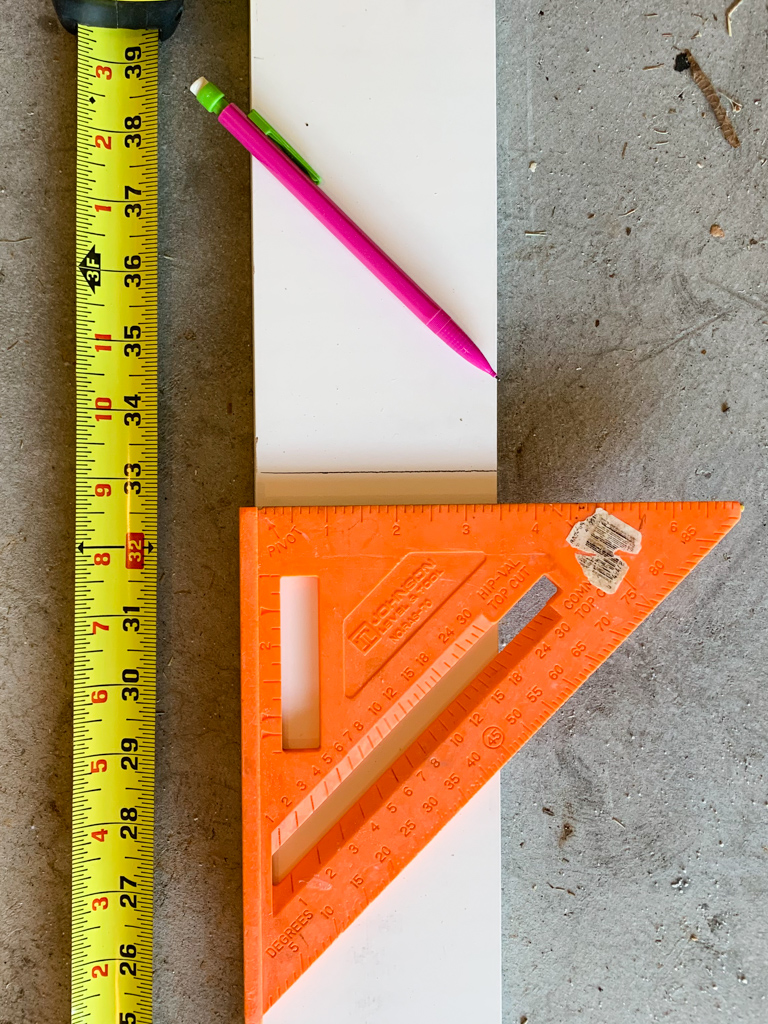
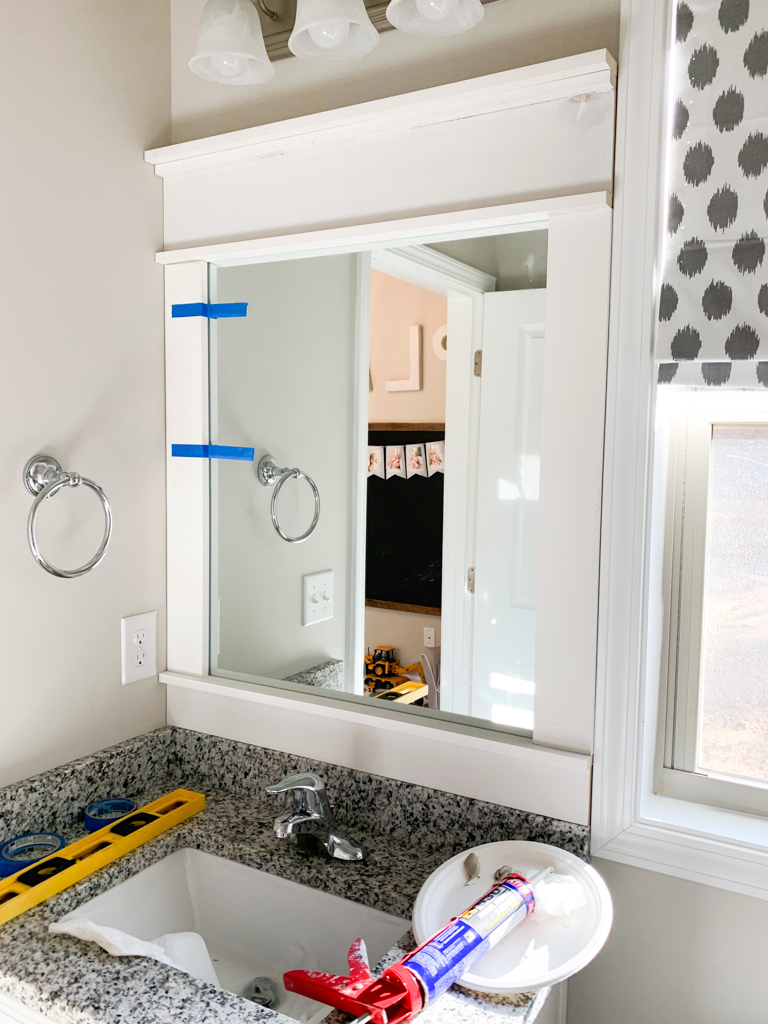
Step One: Measure and cut
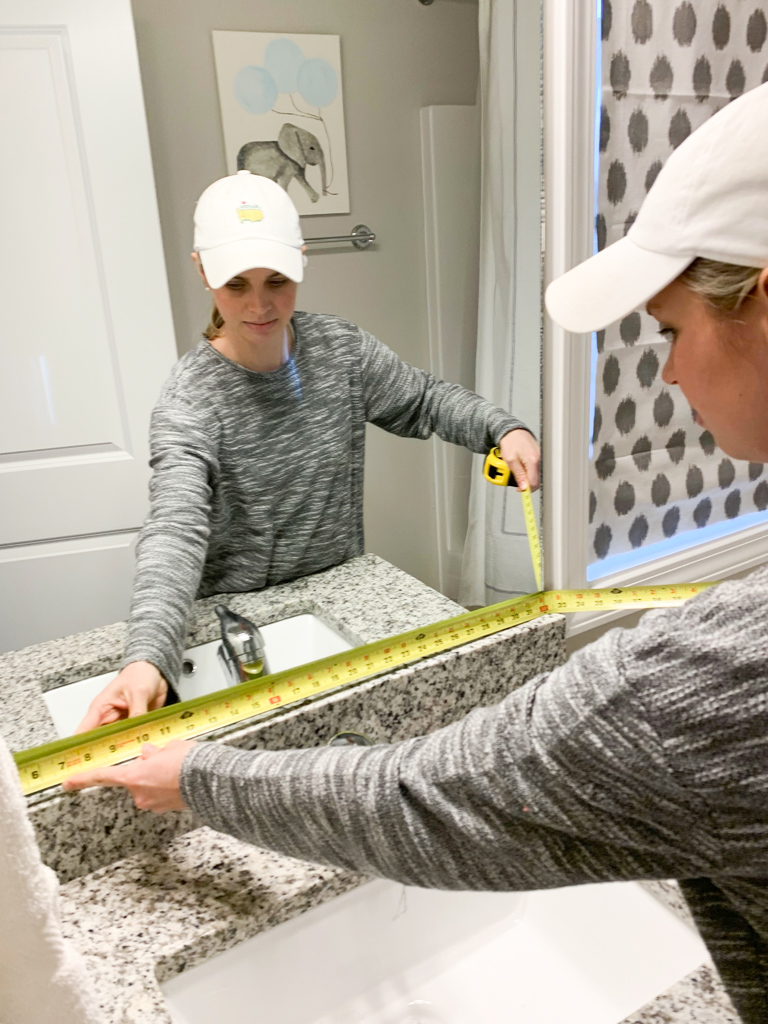
Use a tape measure to measure the width and height of your mirror. I worked my way from the bottom up!
Mark these measurements on your MDF boards and use a miter saw to make your cuts.
Before we glued anything onto the mirror I had Hubby hold the boards in place to make sure that I liked the way they looked.
Here I have labeled each individual board based on size so that you can see how we placed them.
The nice thing about this layout is that there are no miter cuts or angles; only straight cuts which makes this project much easier and faster!
Step two: paint mdf boards
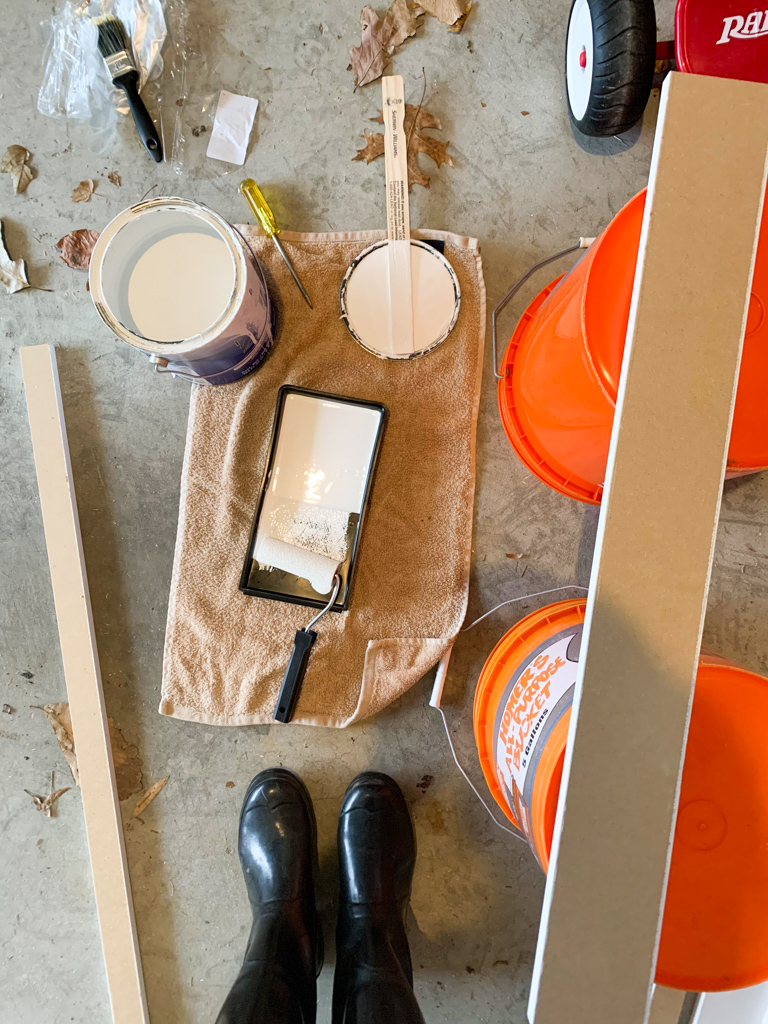
One of the most important parts of this project is that you must paint the backs of the boards as well as the front!
If you do not paint the back of the boards, you will be able to see the brown MDF in the mirror reflection. We learned this the hard way in our old house and had to rip the boards off and start over!
I laid out all of the boards in our garage and used a sponge roller to paint them.
Using a roller specifically designed for cabinets and trim will ensure that you get a super smooth, professional looking finish!
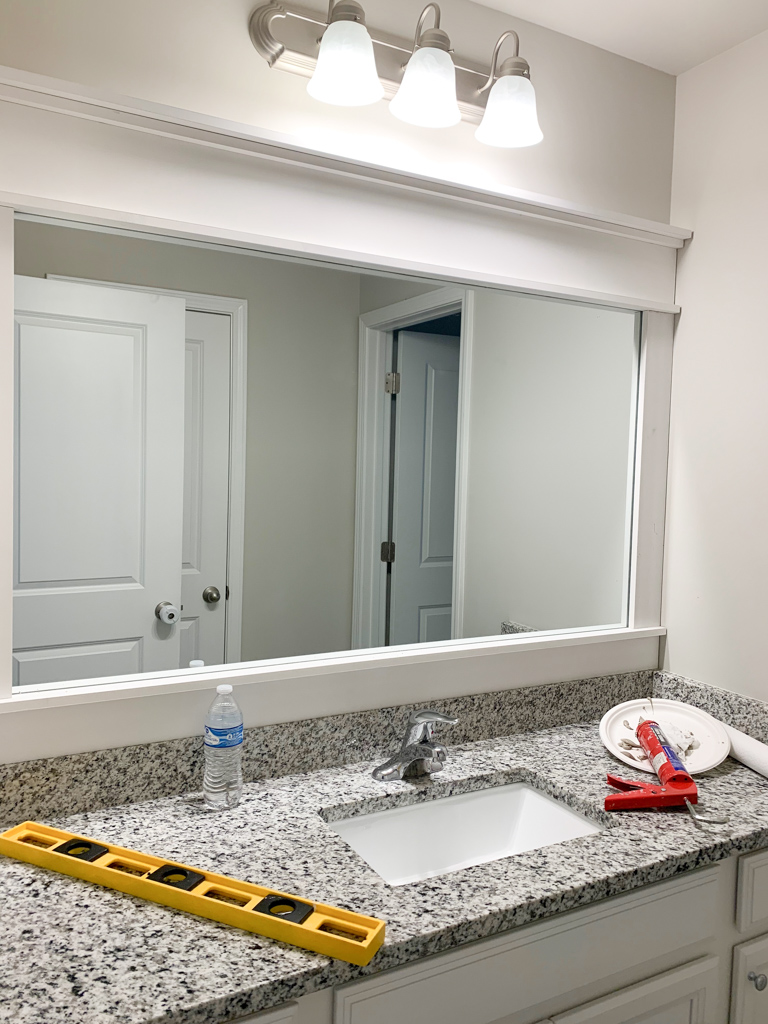
Step three: glue boards onto mirror
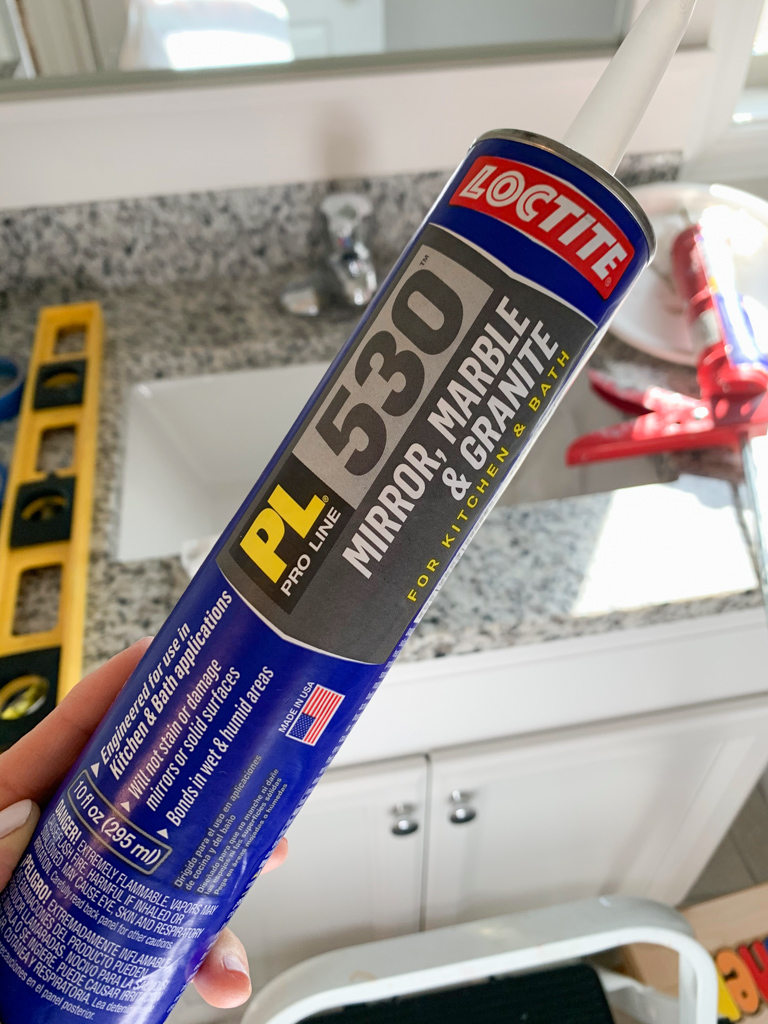
After the paint has completely dried, use a construction adhesive specifically designed for mirrors and bathrooms to adhere the MDF boards directly onto the mirror.
It’s important to choose an adhesive that is specifically made for mirrors and bathrooms. This construction adhesive can withstand the moisture and humidity in a bathroom.
The other most important part of this project is to keep the adhesive along the outer part of the boards.
Just like you can see the reflection of the back of the MDF board in the mirror, if you get adhesive too close to the inside edge of the boards you will be able to see the adhesive in the reflection as well.
Choosing an adhesive that is either white or clear can help minimize this problem.
step four: caulk and touch up paint
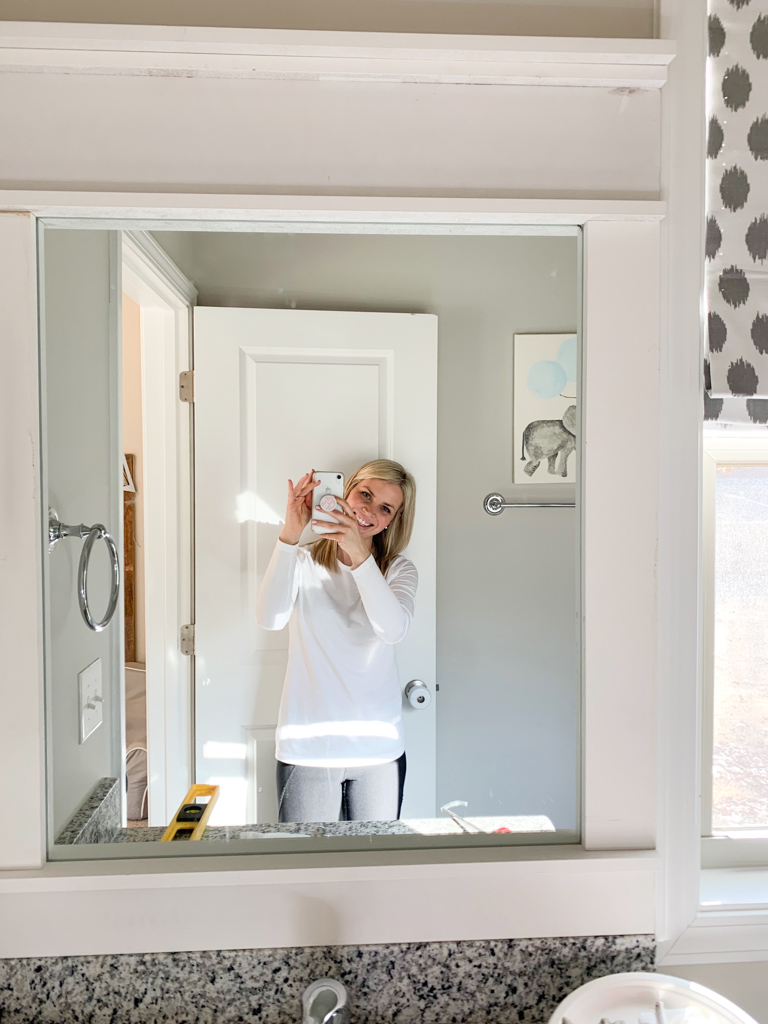
After the adhesive fully cures, caulk all of the seams and touch up paint as needed along the caulk lines.
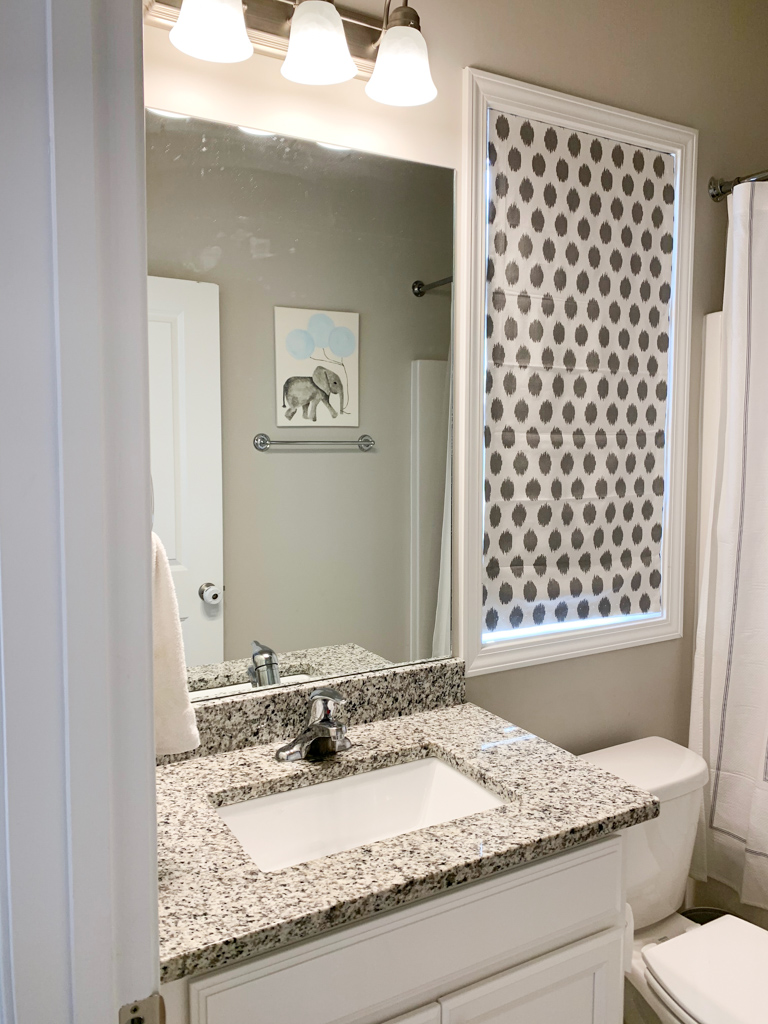
And that’s it!
Such an easy, quick, and inexpensive project that adds instant character to those boring builder-grade mirrors!
Framing Builder Grade mirrors: Before & After
Here’s a look at the before:
… and the after!
We framed every builder grade mirror in our entire house!
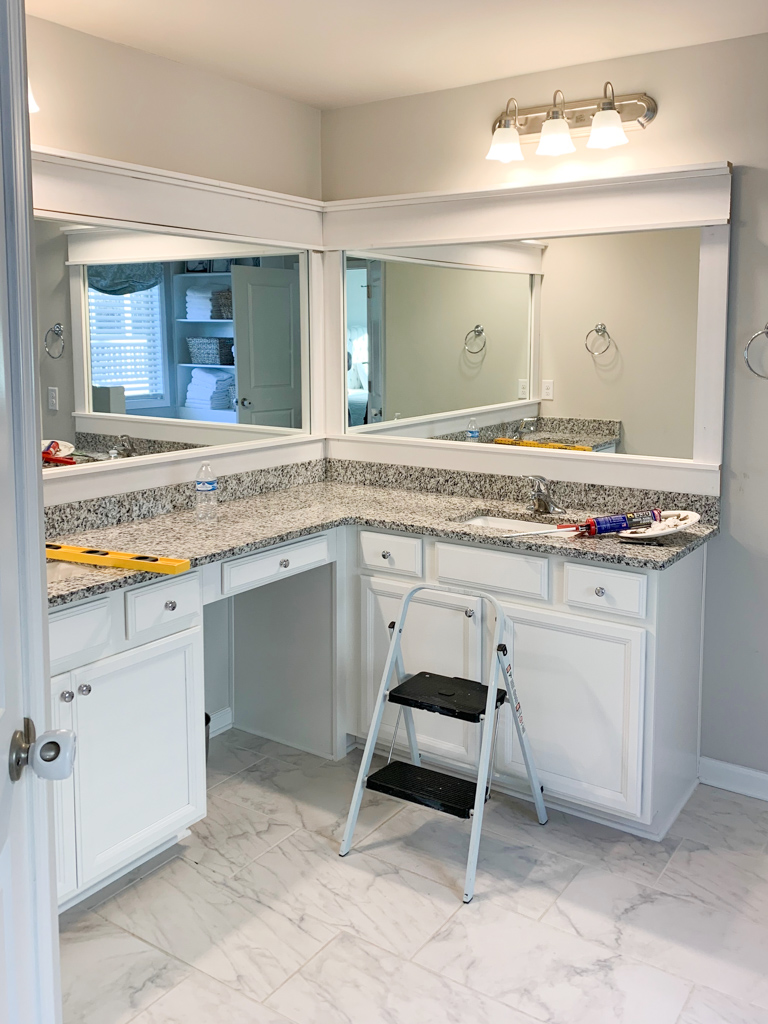
This was one of the mirrors in the boys’ shared jack and Jill bath (before caulk and touch up paint).
I didn’t do a great job of getting pictures of this project because we were in a time crunch to finish up and get our house ready to sell. This photo is before caulk!
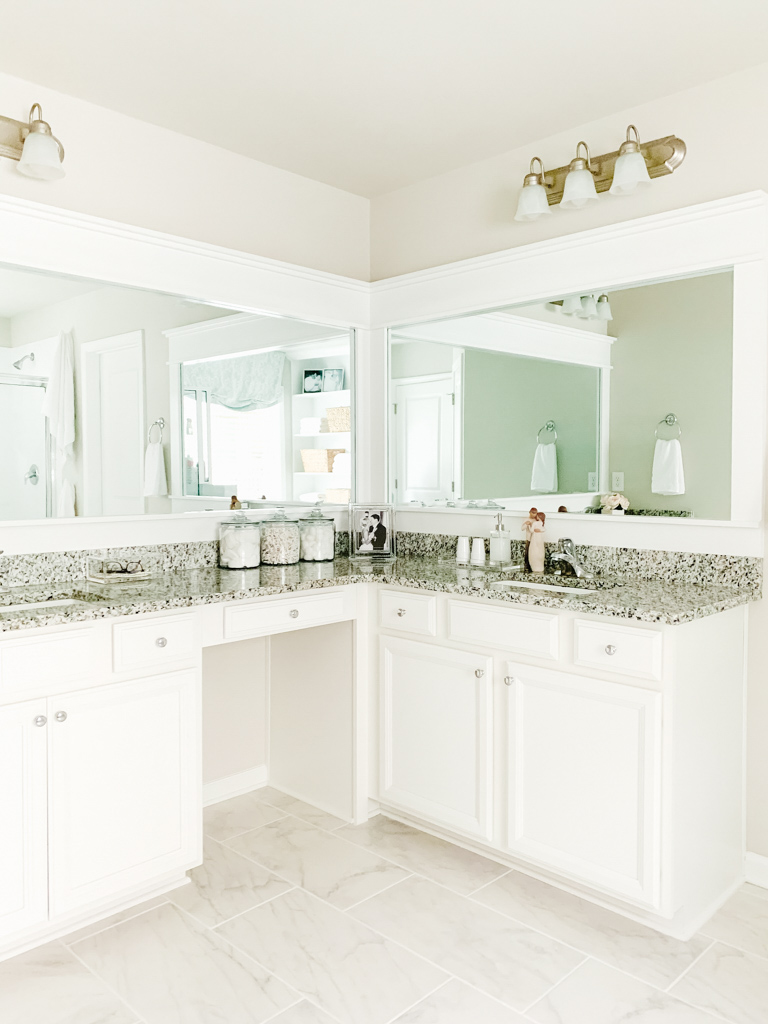
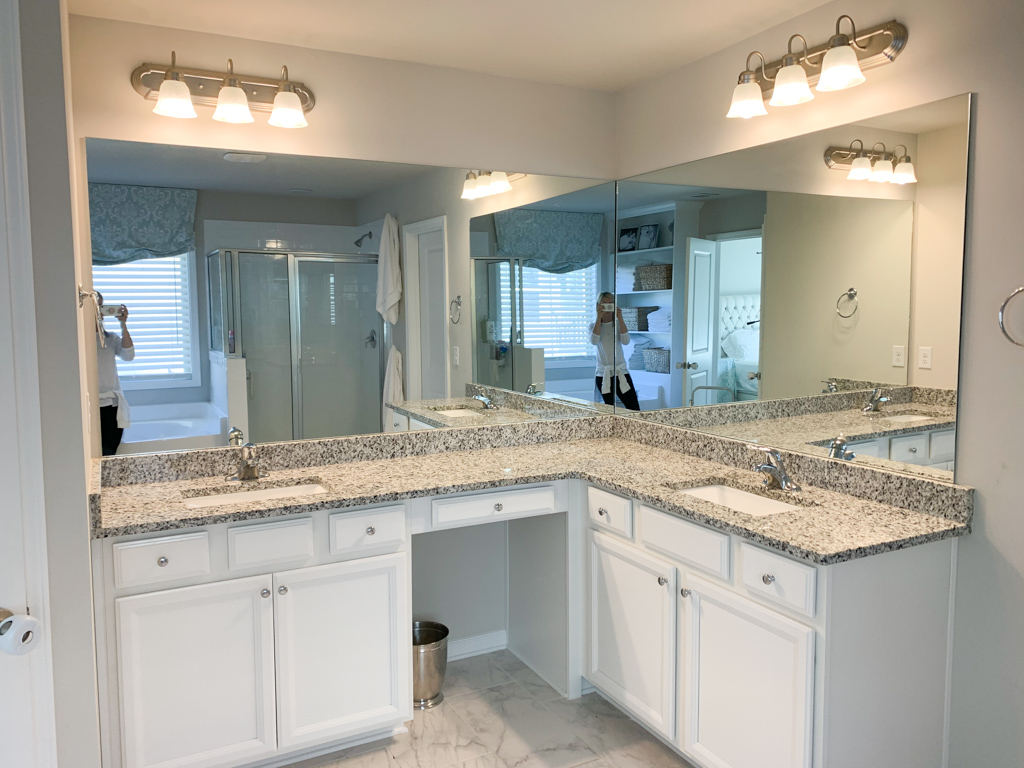
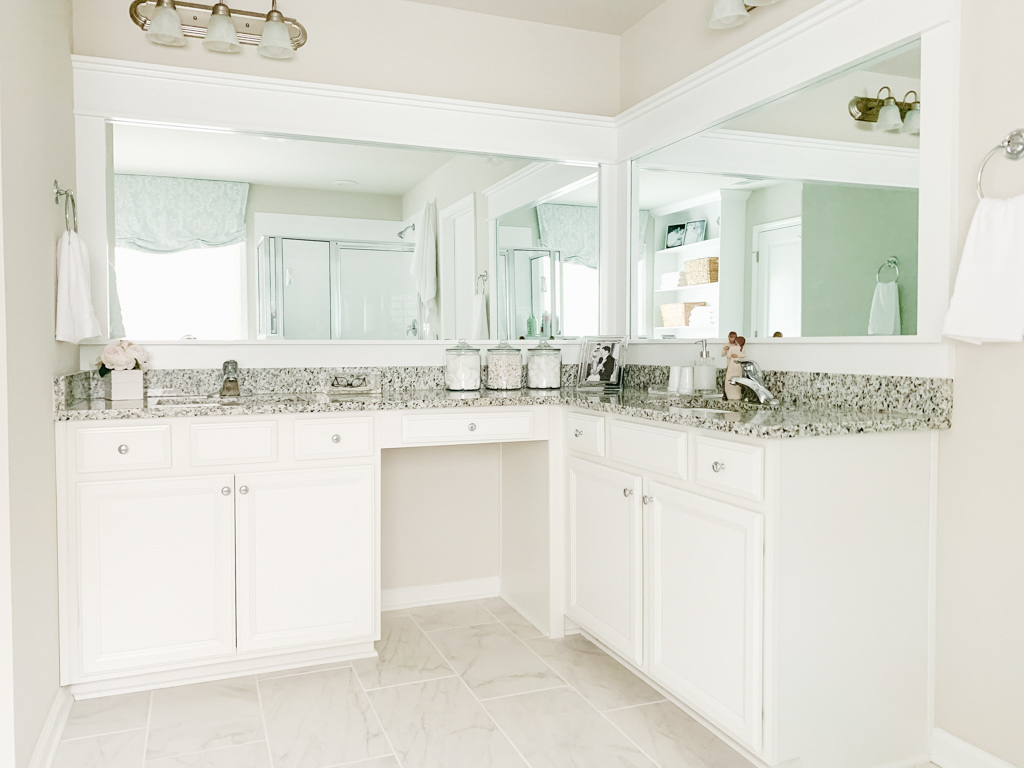
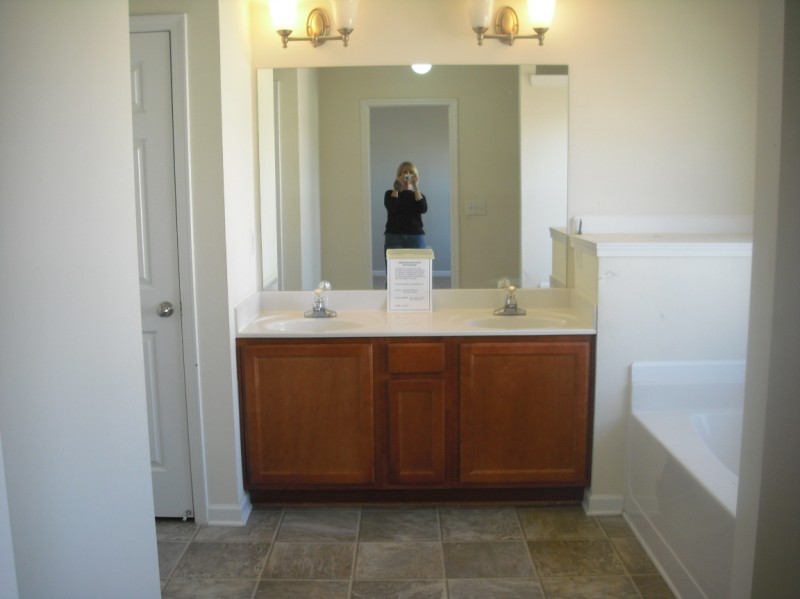
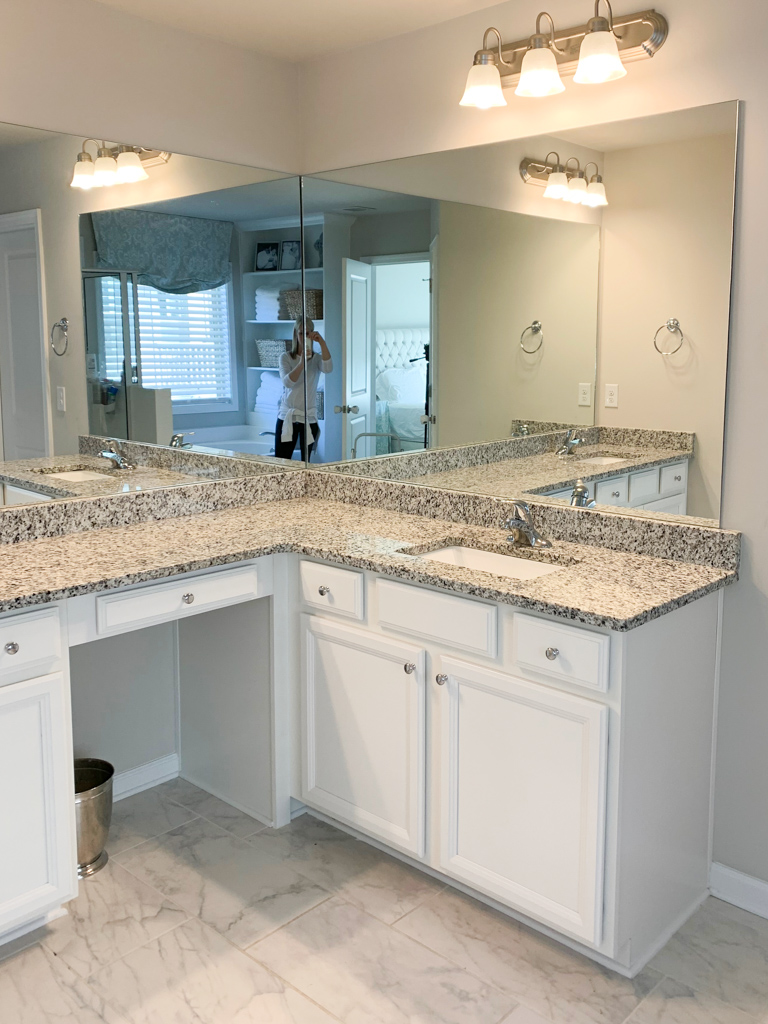
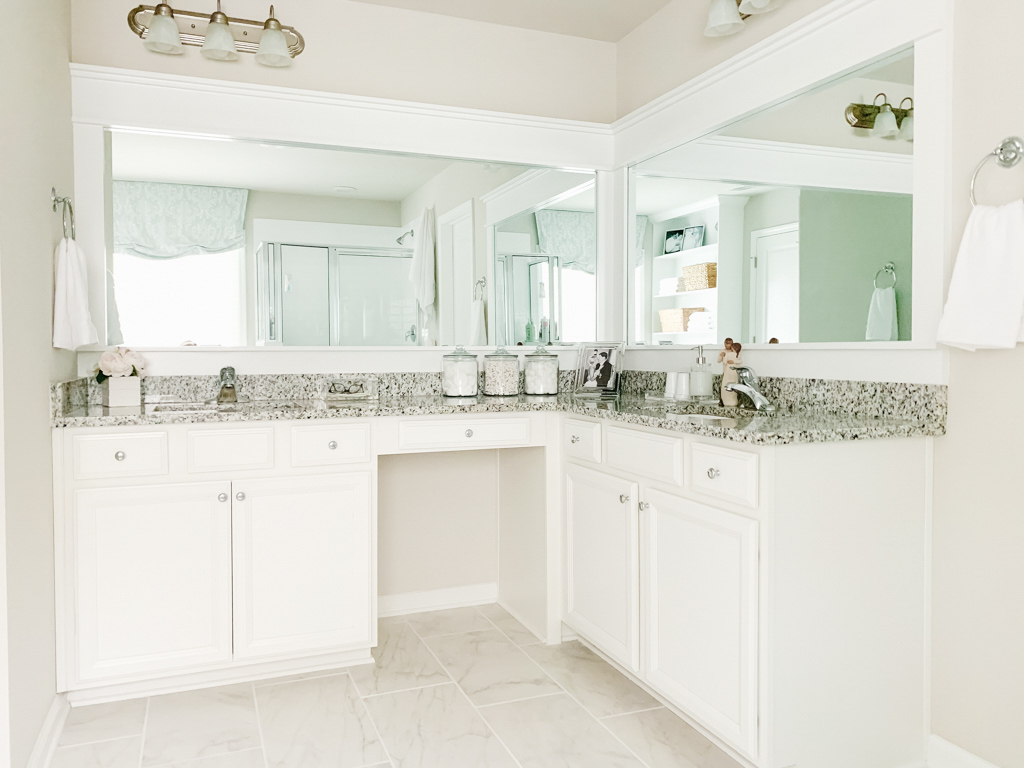
We also framed out the builder grade mirror in the master bathroom.
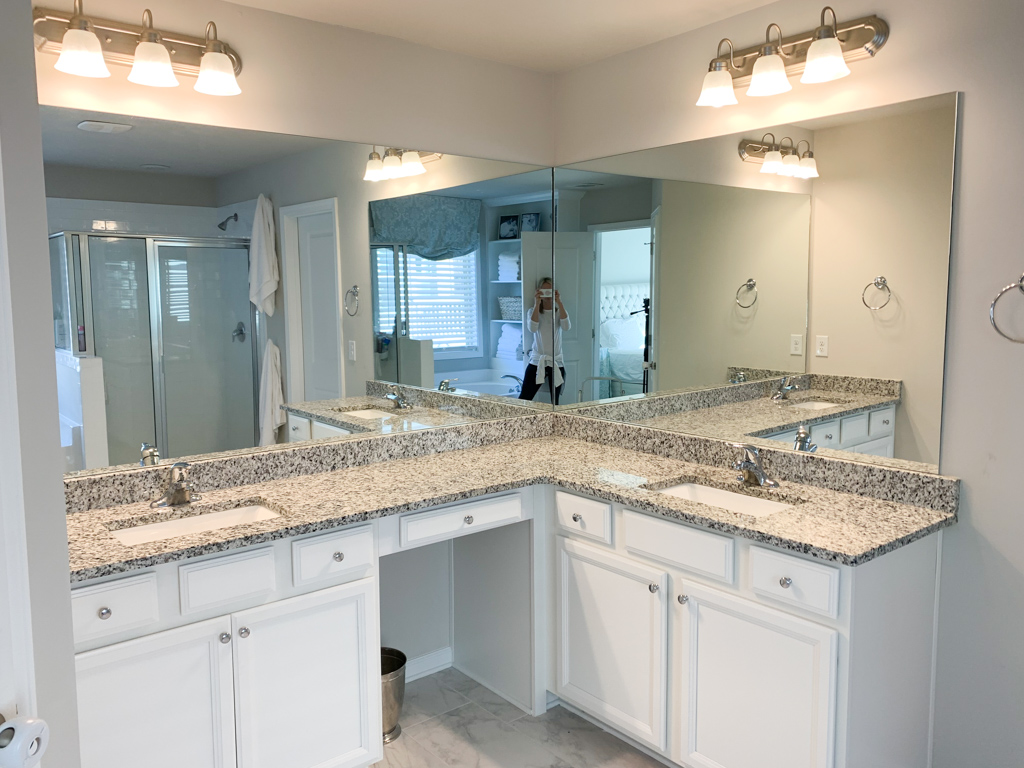
The mirror frame really brought some much needed balance to this large space.
If you look closely at the photo above, you can see that the 1×2 is sagging in the middle of the left mirror because it is spanning such a long distance. I used our brad nailer to nail it to the 1×6 above it to fix this problem.
There were so many finishes I would have changed in our bathroom if we had stayed in this house longer.
To be completely honest I didn’t like the countertops, and I wanted to change out the light fixtures, faucets, and cabinet hardware.
But we knew that this house was a temporary house and we bought and sold it solely to make a profit.
This project is a prime example of how you can update a space on a tiny budget without changing out every little thing or spending a ton of money.
Adding DIY equity is all about knowing your market and making smart choices to ensure that your time and money adds value to your home!
Here are a few photos of the space all finished!
It definitely made a great impact!


It added some much needed balance to the top of the vanity, and draws your eye away from some of the other builder-grade finishes that had not yet been updated (like the light fixtures!).

I have no doubt that this is just one of the many DIY updates that helped us sell our house fast for top dollar.