We Moved! A Look Back at our House on Poplar Ridge: Before and After
We Moved!
What a whirlwind last few months it has been! We listed our house February 7th, accepted an offer a couple of weeks later, and closed on March 20th.
We have officially moved and we are getting settled (and quarantining) in our new rental house. We are in the early stages of building our forever home on the farm, and we have been doing lots of work out at the farm and in the farmhouse.
Just like I did after we sold our first home, I sat down and looked back at all of the photos from our second home. Not only did I realize how much work we did in this house (only we would buy a brand new house and then start working on it), but seeing the amount of change that has happened in three short years is certainly bittersweet. Most noticeably we added Fletcher to our little family and John Davis has grown from a baby into a little boy.
Looking back, one thing is for certain: God has been faithful through the good times and the bad, and we have been blessed far more than we ever deserve.
Even though it’s always a little sad to walk away from the place you call home, we are more than ready and excited for this next chapter! This house gave us exactly what we needed during this season, and for that we are very thankful.
Our Decision to Buy New Construction
After we sold our first foreclosure fixer upper, buying a new construction home was never our intention!
So why did we do it?
Our first home was a foreclosure fixer upper that we bought in 2012 for an incredible price during one of the lowest points of the housing market. We put a lot of sweat equity into the home while we lived there for four years.
Fast forward to 2016 and the housing market had not only recovered, but real estate was at an all time high. We decided to list our house to “just see what happened.”
Well, less than 48 hours later we had multiple offers (all asking price or above!) and we were under contract.
We had every intention of buying another fixer upper. We saw the rewards we reaped from our hard work and we wanted to do it again!
There was one major problem: real estate was at an all time high (great for sellers, not so great for buyers). We looked and looked but we couldn’t find a fixer upper than made sense financially.
Our long term dream has always been to buy land and build our forever home. So we knew going into it that this house would be a “short term” home for us. Live there for a few years, put some sweat equity into it, then sell and hopefully reap the rewards again.
To be honest most people told us that wasn’t possible, especially with a new construction “tract home” in a such a short time period. Well… I love proving people wrong 😉
Building for Re-Sale
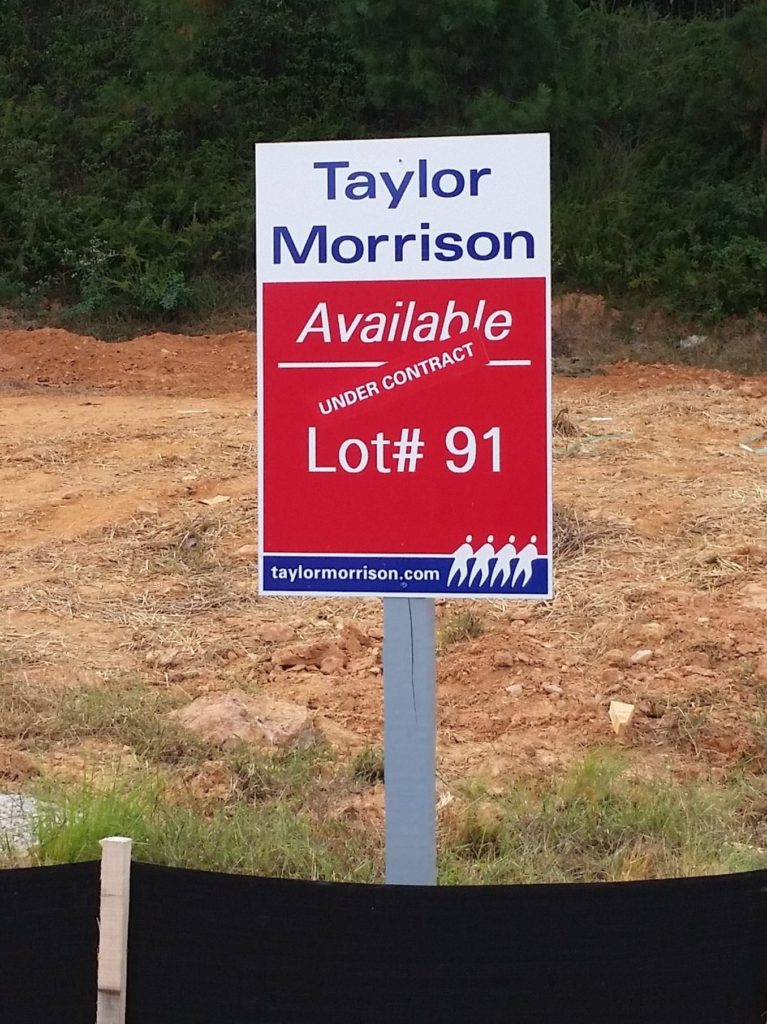
We did a lot of research and looked at a lot of houses. I could write an entire blog post on why we chose the house we did, but it really came down to this: buy a house for a low price in a desirable neighborhood that has houses with much higher comps (and where houses sell fast). We chose one of the most popular floor plans that sold over and over again (not the smallest or the largest, nor the least expensive or most expensive in the neighborhood) and built it very specifically for resale. Everything we did and every decision we made had resale value in mind.
This meant making smart decisions during the building process. National builders will nickel and dime you for every “upgrade” you put into a house, so for the most part we kept everything “builder grade” and skipped out on the upgrades (with plans to add our own upgrades by adding value through DIY and sweat equity).
The only major upgrade we made (i.e. paid for) during construction was to extend hardwood flooring throughout the entire main floor as well as up the staircase. Hardwood flooring is a major selling feature for most buyers (= more value) and something that would not have made sense for us to DIY ourselves after the house was built.
We also took advantage of negotiations and bargained for certain upgrades to be included in our sale price. One example of this was to upgrade the size and style of the kitchen cabinets. Kitchens and bathrooms sell homes, and once again, we couldn’t DIY kitchen cabinets after the house had already been built.
After we moved in we added our own DIY, budget-friendly upgrades throughout the house to add instant equity and increase the value of our home.
DIY = Sweat Equity

So did it pay off? Yes, yes, and yes!
The short story: we sold for the price we wanted and now we can move forward with building our forever home! (where we won’t be making decisions solely with resale value in mind 😉 )
*I have to admit that a little part of me is kind of sad about this – between our first two homes I’ve somewhat fallen in love with this idea of real estate “investment” and would love to buy flip properties or investment rental properties in the future. We will see where that takes us! : )
So, sorry for the long winded back story of this house, but I share it for one main reason: If we can do this, anyone can! We profited from buying a foreclosure fixer upper house during one of the lowest points in the housing market. And then we did it again by buying a brand new construction tract home from a national builder during one of the highest points in the housing market.
It’s all about adding equity and value to your home through budget friendly DIY projects. In other words, add a lot of value without spending a lot of money!
Perhaps that is an entire separate blog post in and of itself (there is just so much to consider! – I’m certainly no expert but if you have any questions please ask and I can share what we have learned), but for now I’m going to look back through the entire process of buying, upgrading, and selling our second home on Poplar Ridge.
Room by Room: Before and After
In this post I am going to share before and after photos of every room in our house. I will walk through the DIY upgrades and projects we completed in each room that helped add value to our home.
At a later date I will do room by room blog posts where I can go into much more detail about the design and decor of each space. Because after all, I think that the way a home is staged (i.e. decorated) can have just as much impact on the sale price of a home!
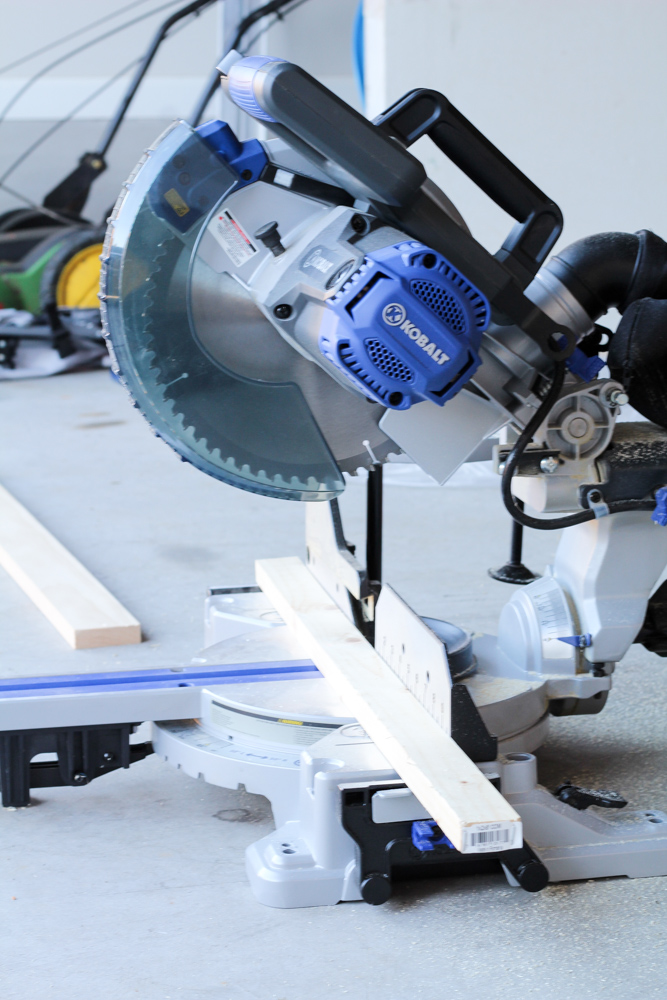
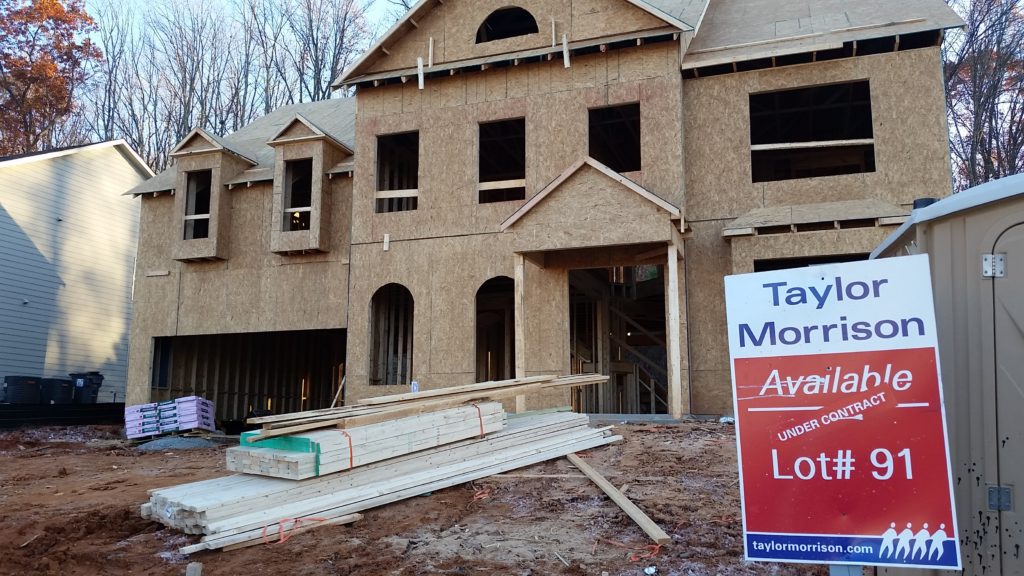
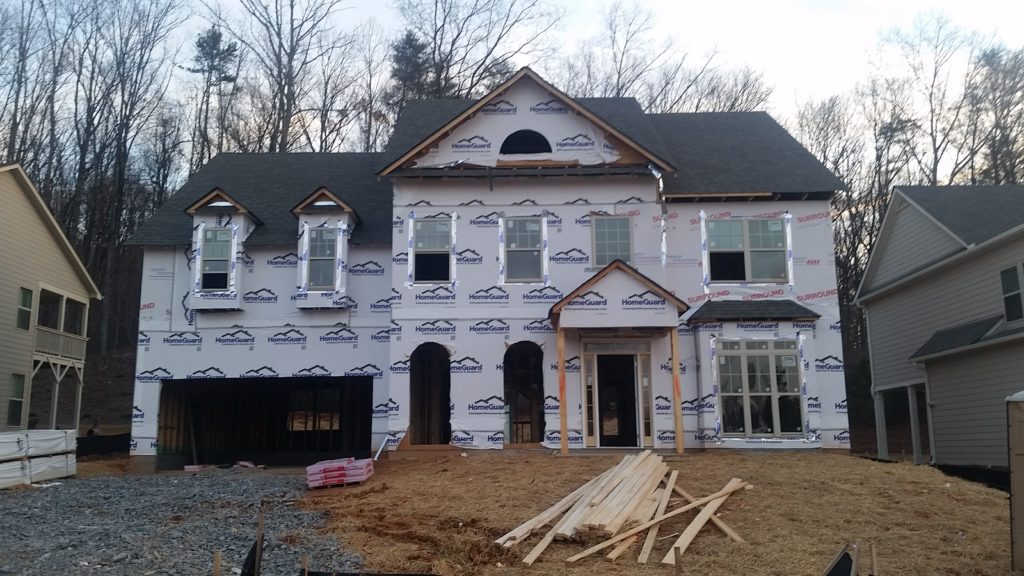
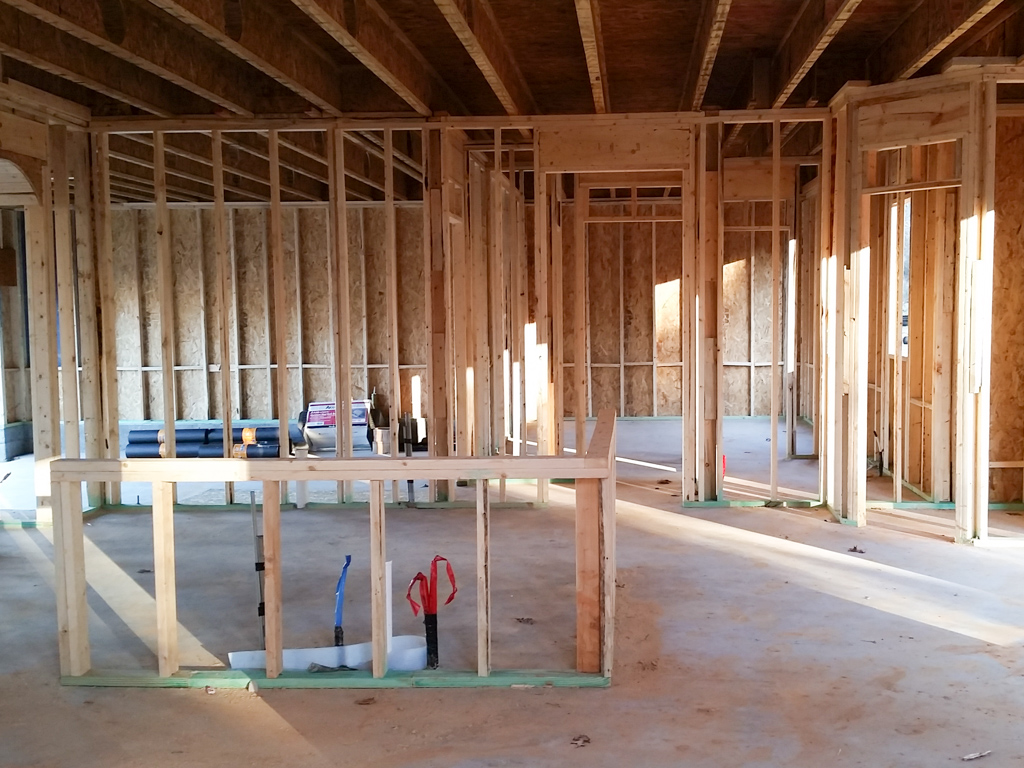
The Construction Process
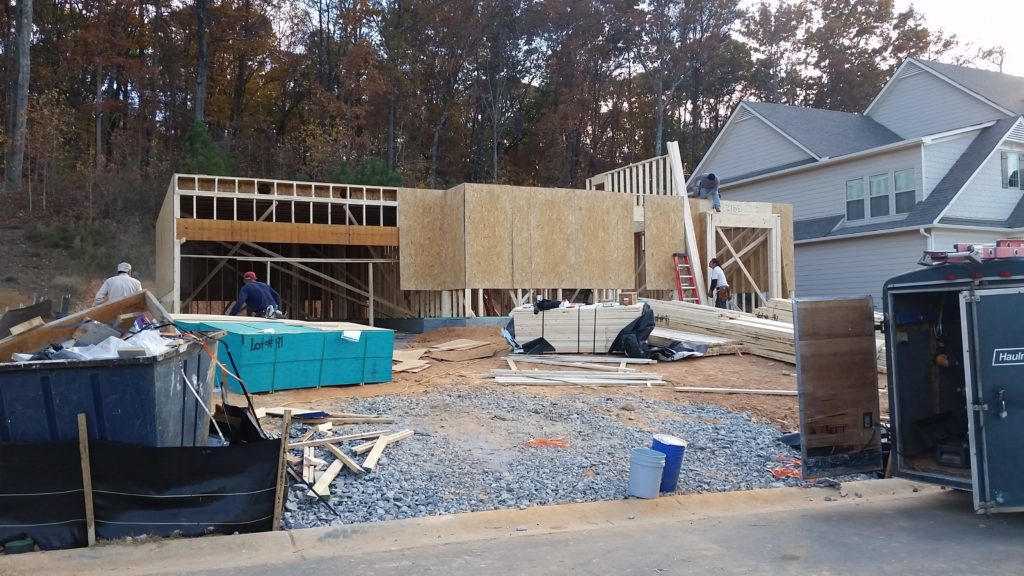
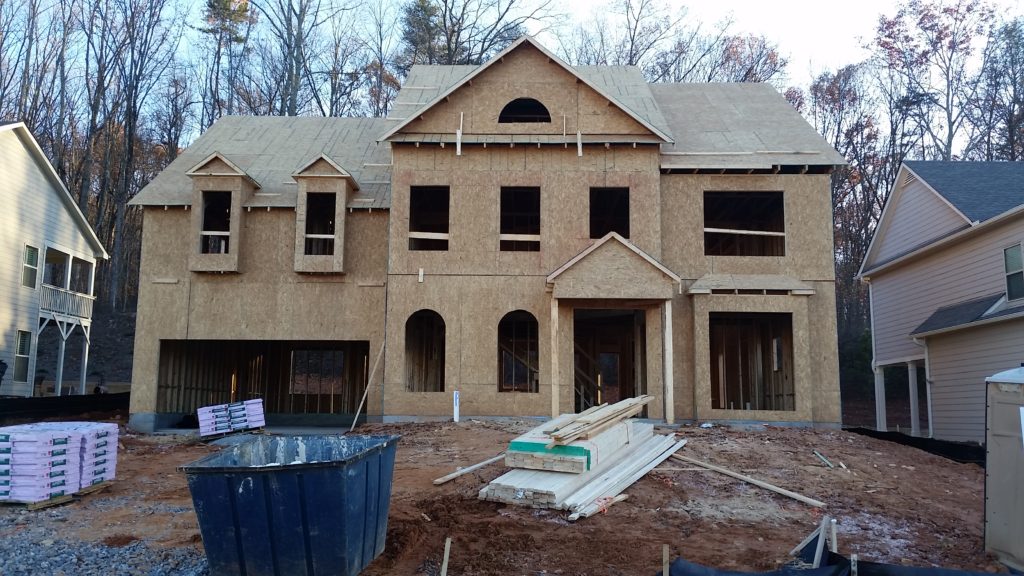
Framing
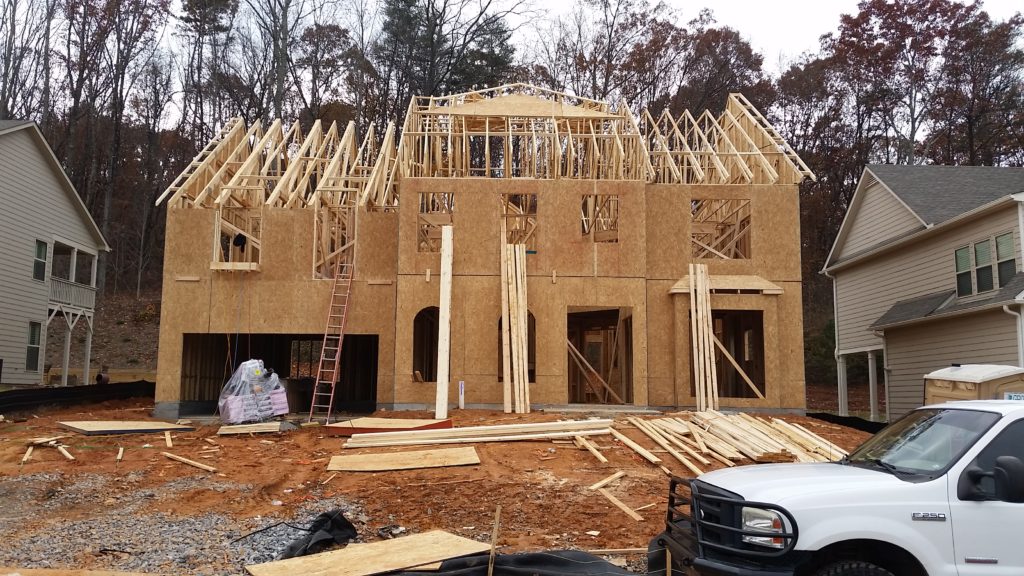
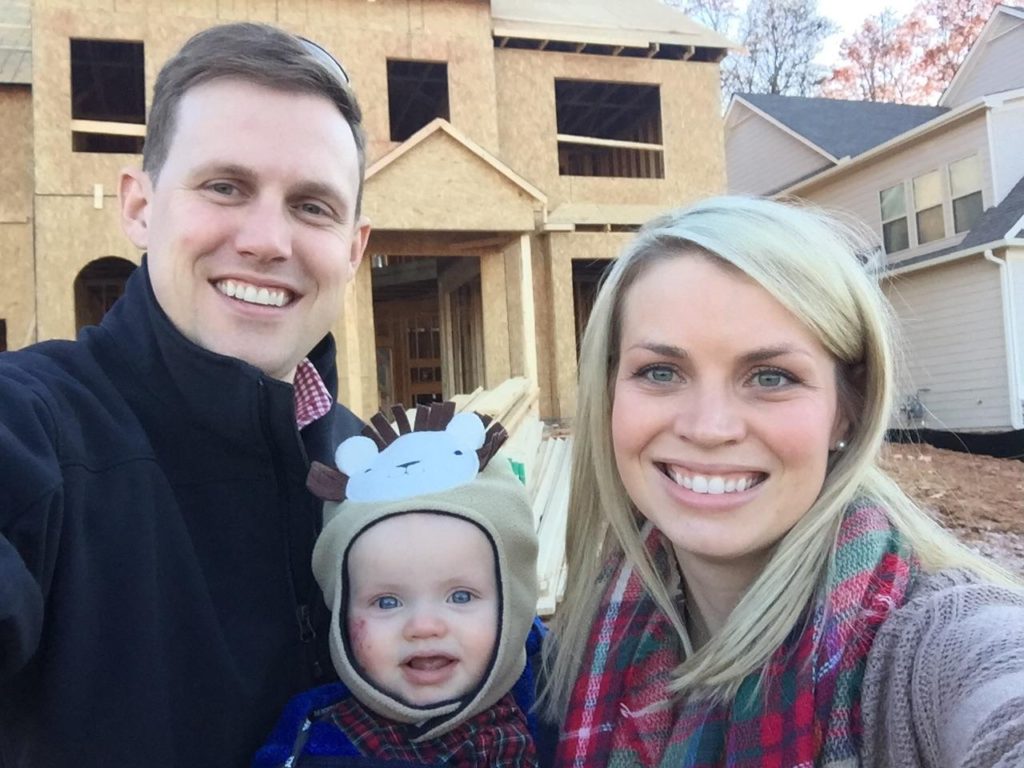
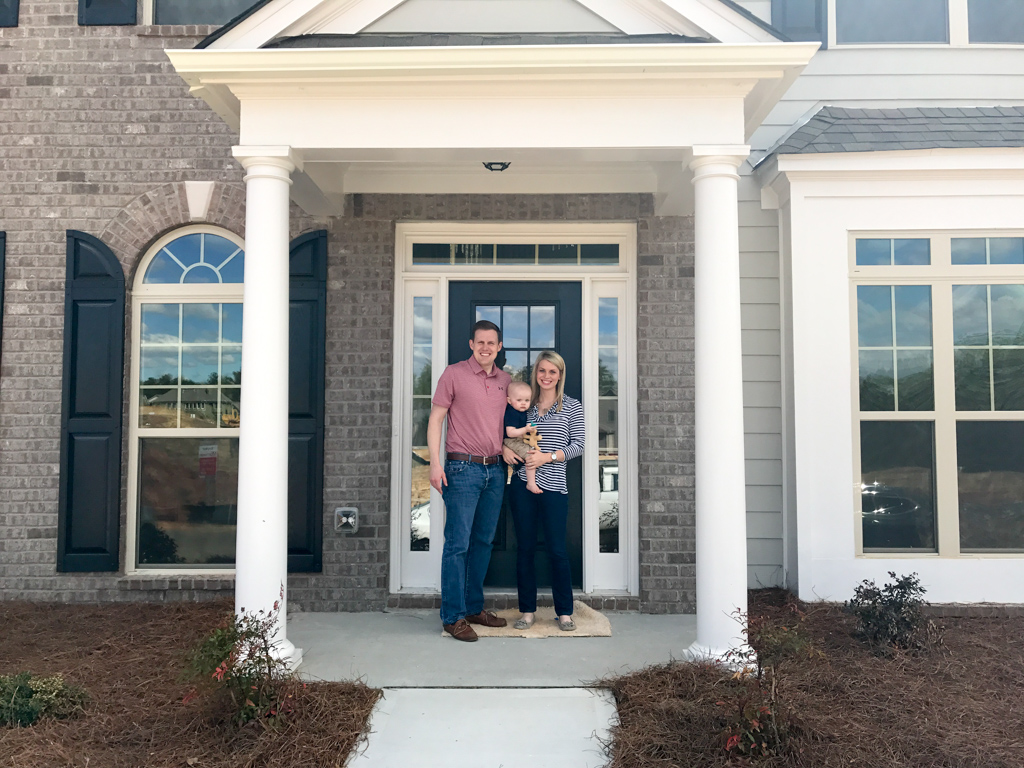
Oh my goodness, look at that baby!
Closing Day March 2017 (we lived in this house almost exactly three years). John Davis had just turned one!
Foyer
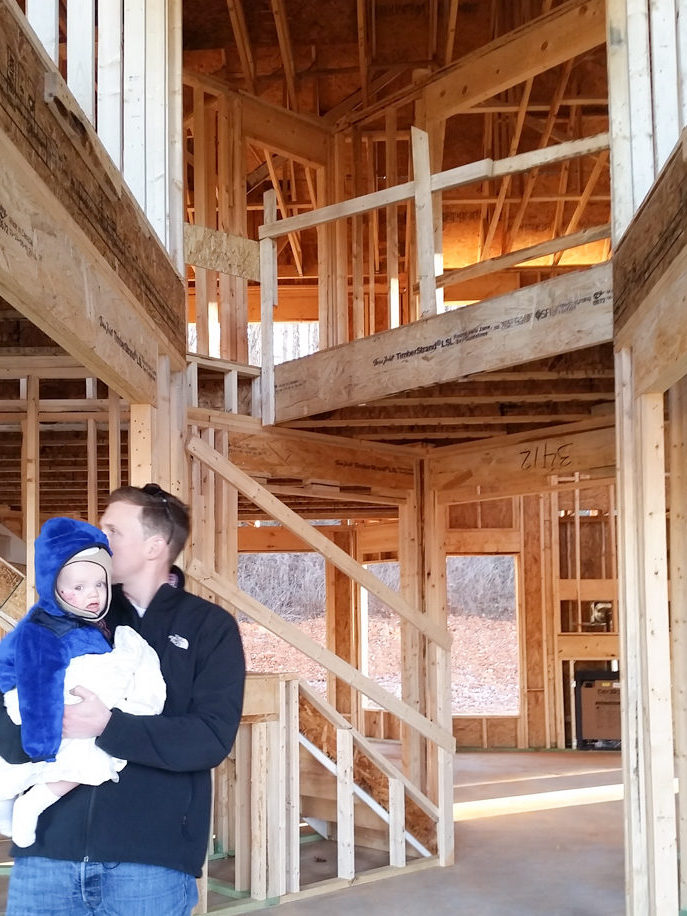
Foyer: Framing
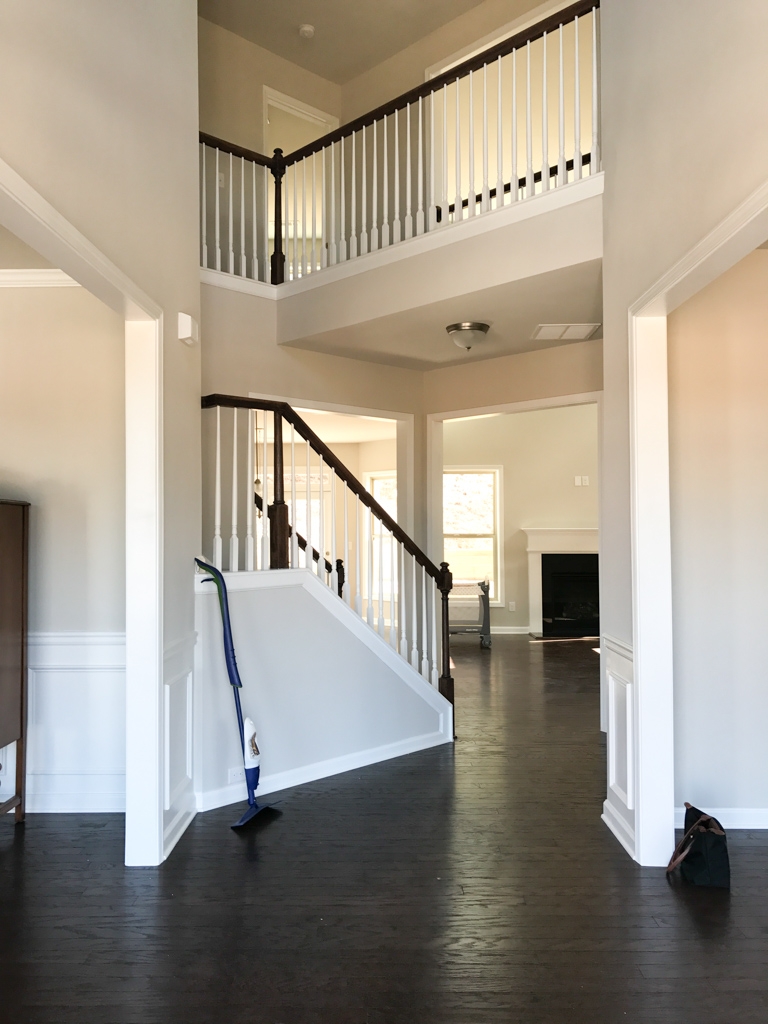
Foyer: Move-In Day
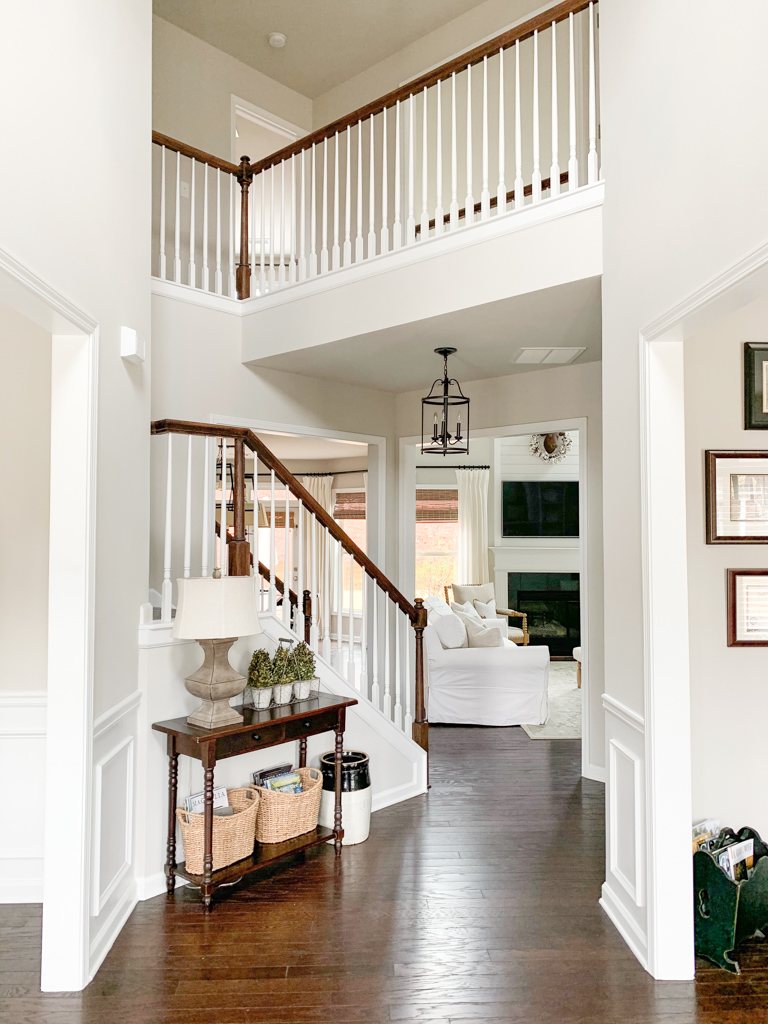
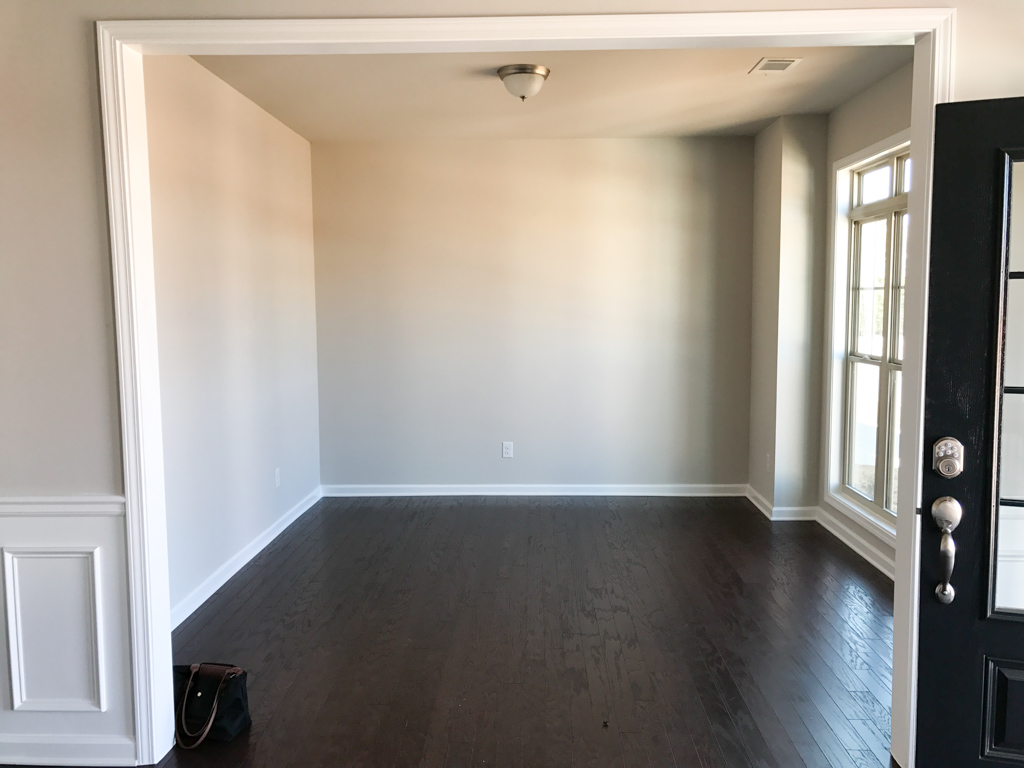
Foyer listing photo.
As you can see we didn’t do much to the foyer. The only thing we changed was the light fixture.
Lighting/light fixtures can add a lot of value to a home, but it is one of those things you never want to upgrade through a builder! We upgraded every single light fixture in our house (purchased and installed them all ourselves) which saved us thousands of dollars.
You do not have to spend a fortune on light fixtures! The light fixture you see here in the foyer is one we happened to come across in Lowe’s one day and it was on clearance for $20. We bought five total and hung three in our upstairs hallway and one in our mudroom entryway.
Dining Room
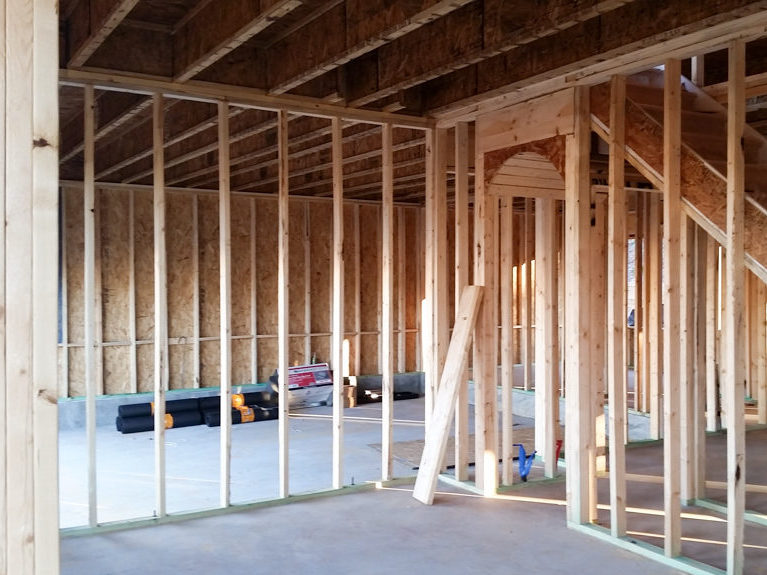
Dining Room: Framing
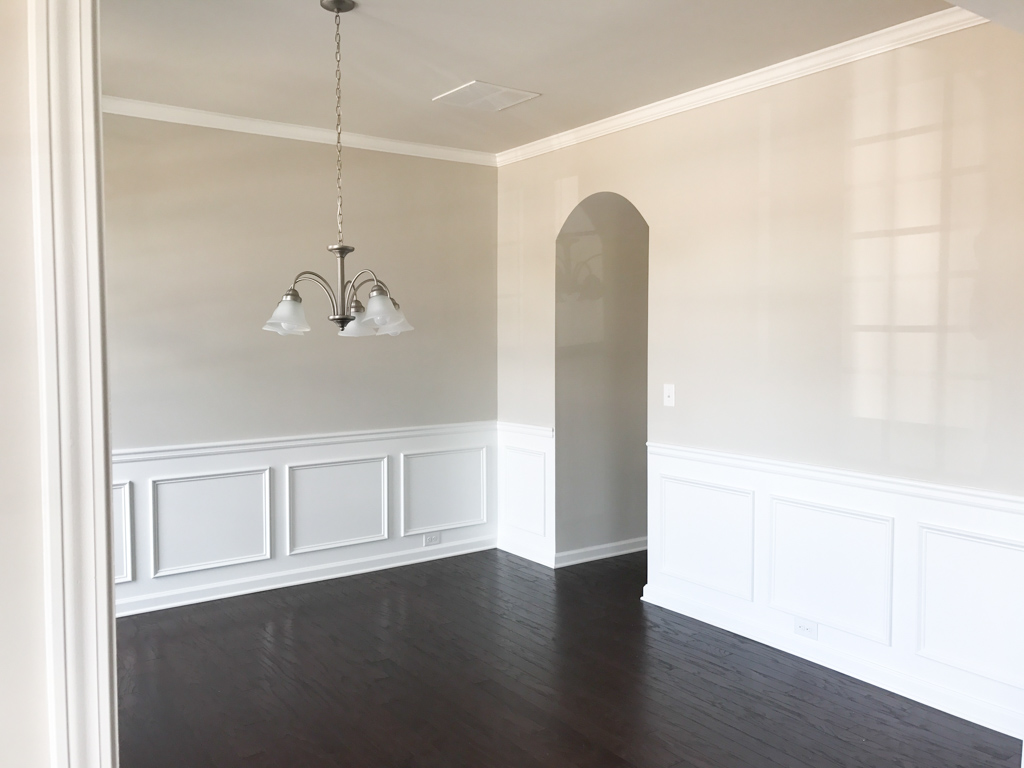
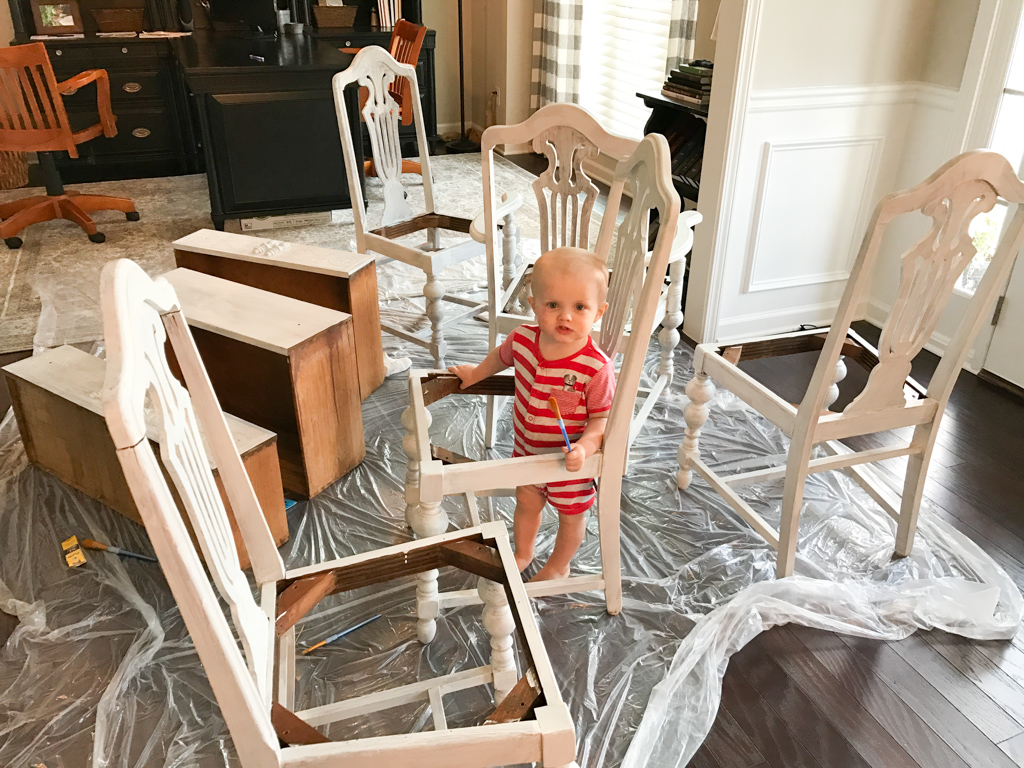
Dining Room: Move-In Day

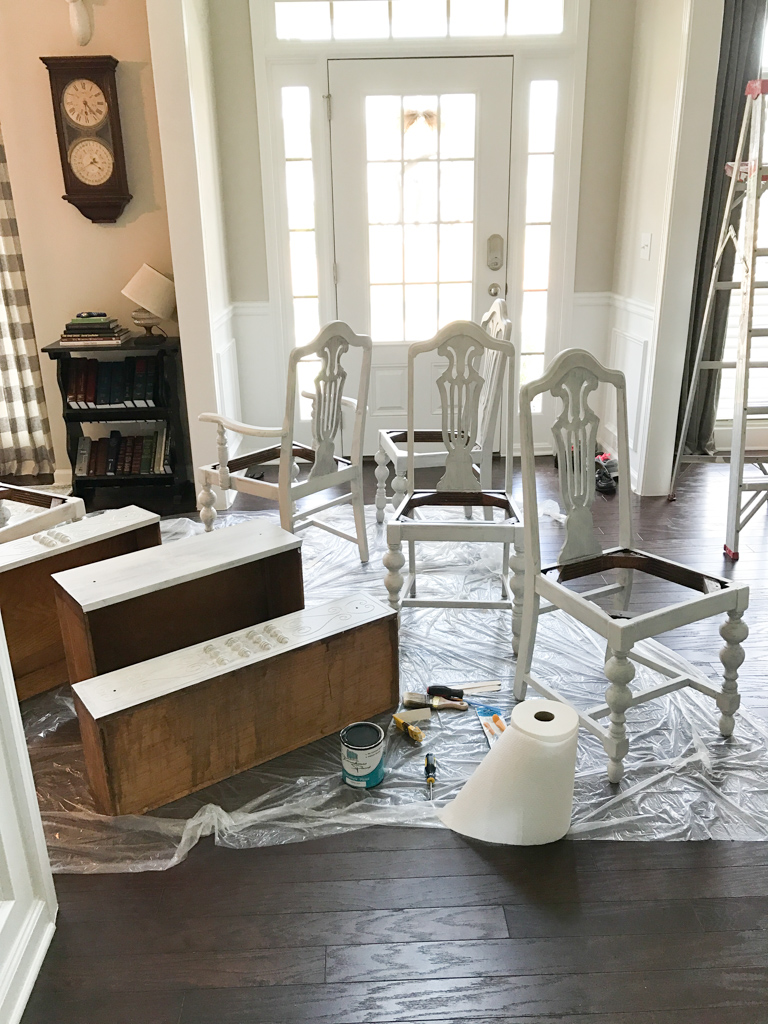
John Davis helping me paint the dining room furniture with Farmhouse Paint.
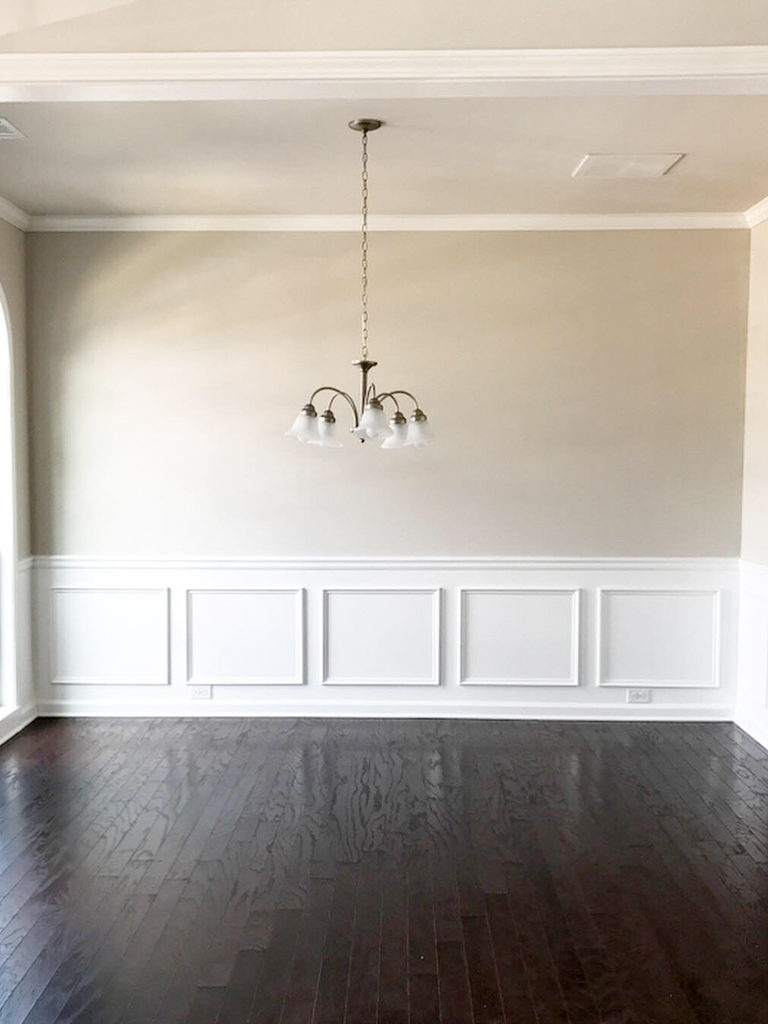
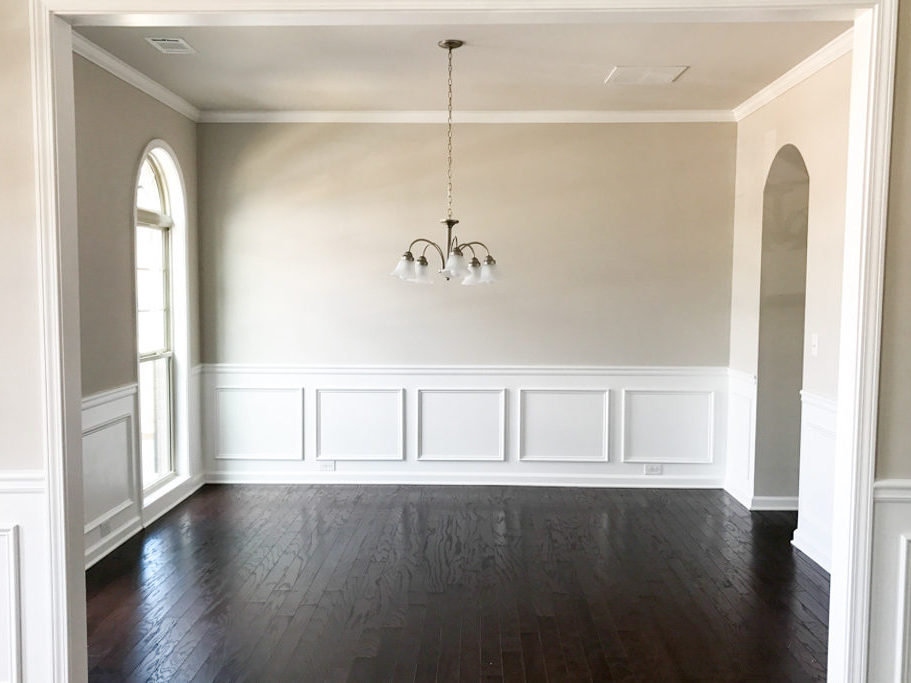
Dining Room Before
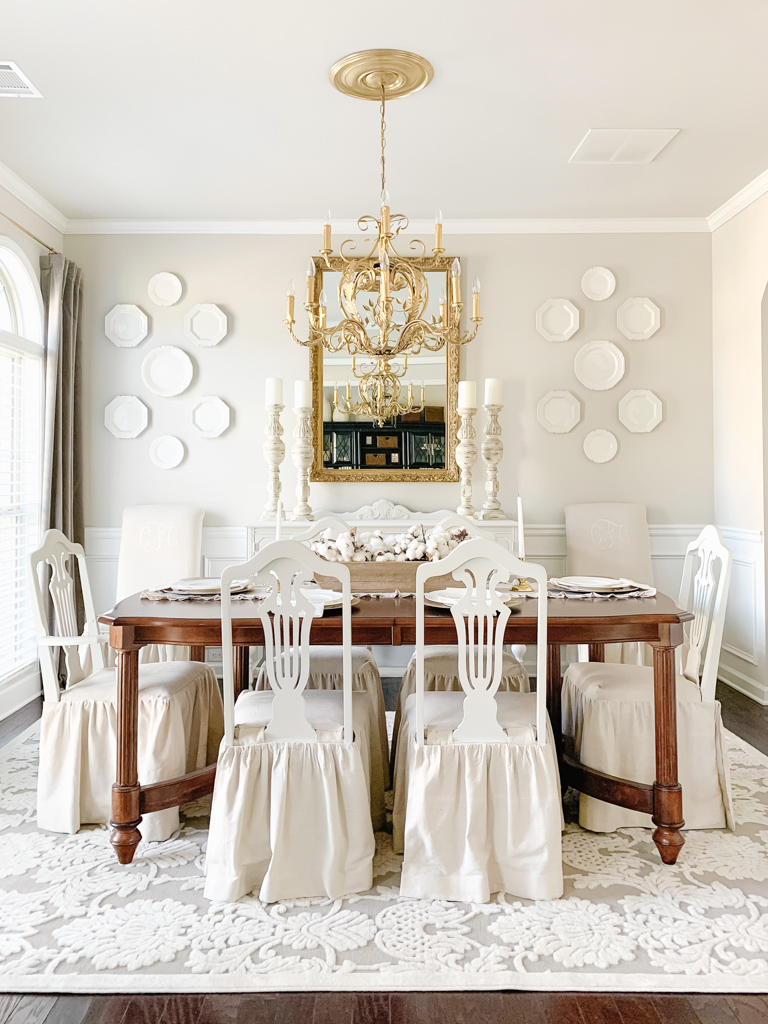
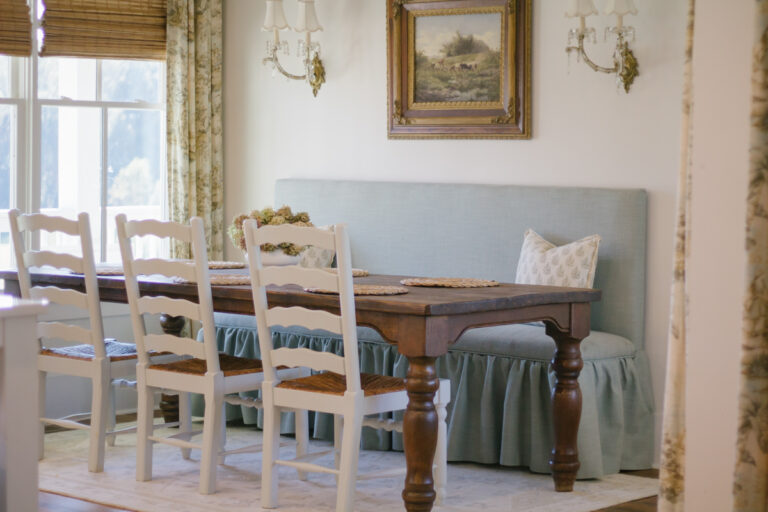
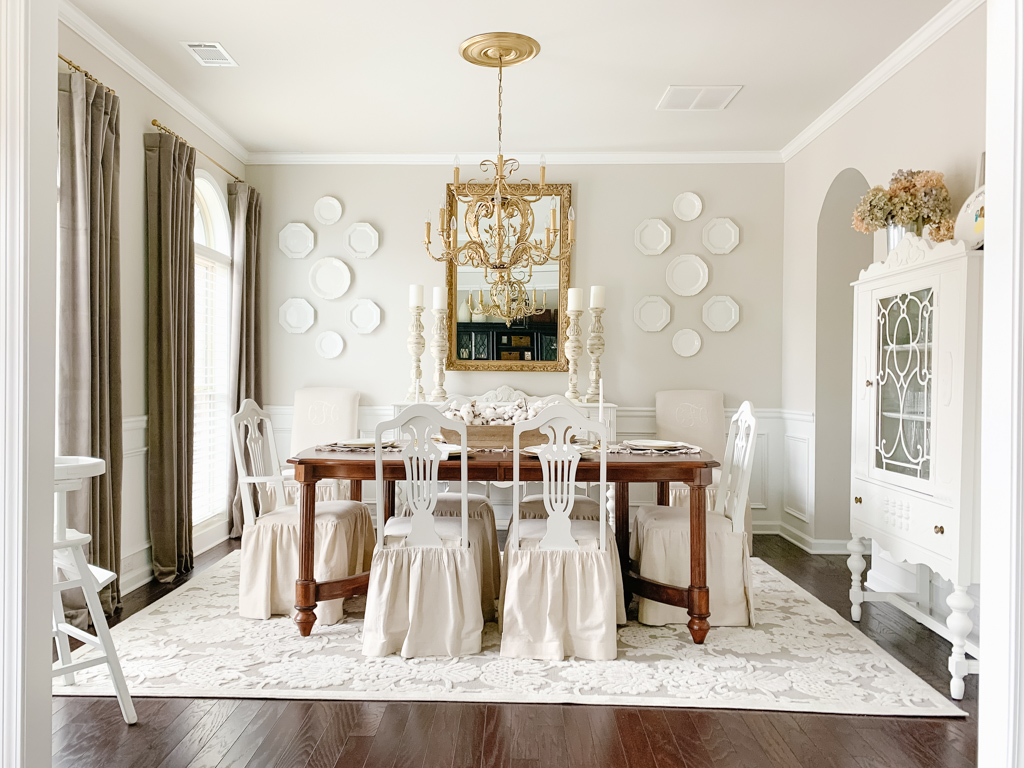
Dining Room After
The dining room was one of my favorite rooms in the house. Almost everything in this room was a family heirloom or sentimental piece that was passed down to me which makes it that much more special.
The only change we made to the actual room was installing a new (free) chandelier and a ceiling medallion. You can read all about it and see how I transformed it with a simple coat of spray paint HERE.
Family Room

Family Room: Framing
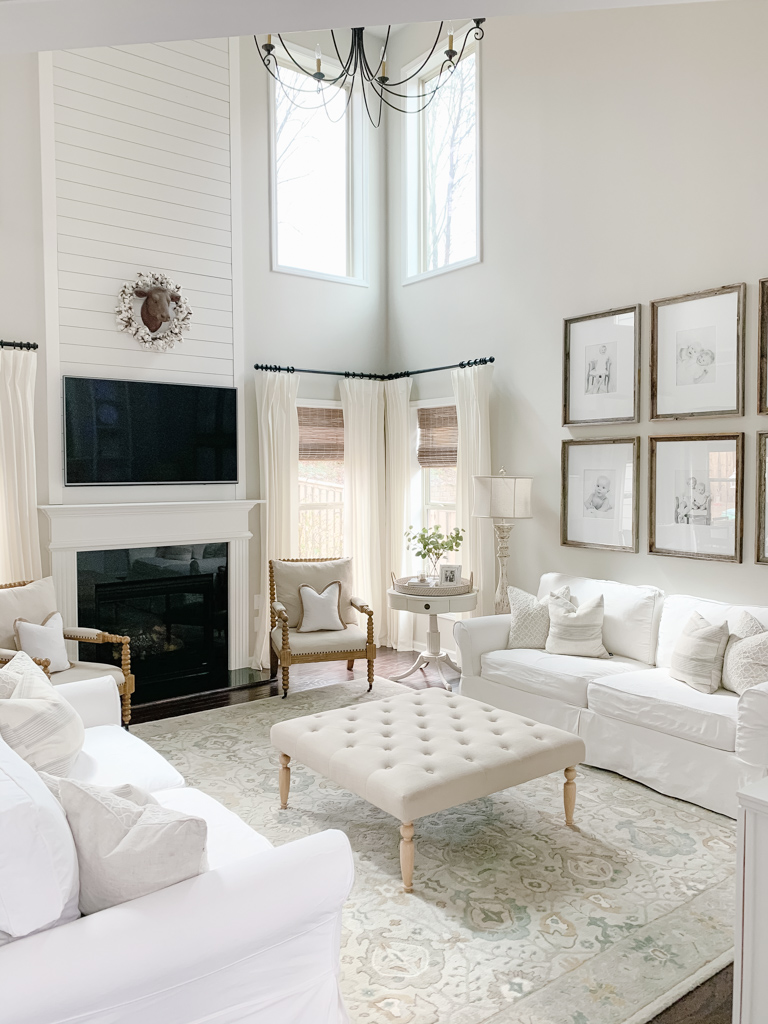
Family Room: After
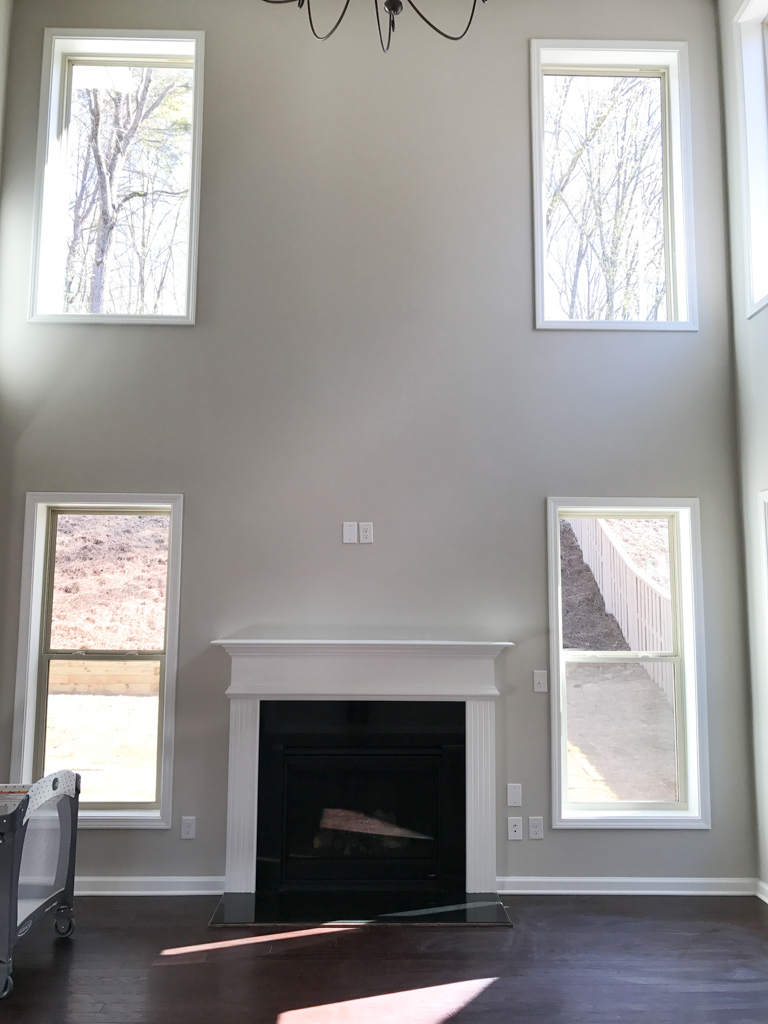
Fireplace: Before

Fireplace: During DIY Fireplace Shiplap
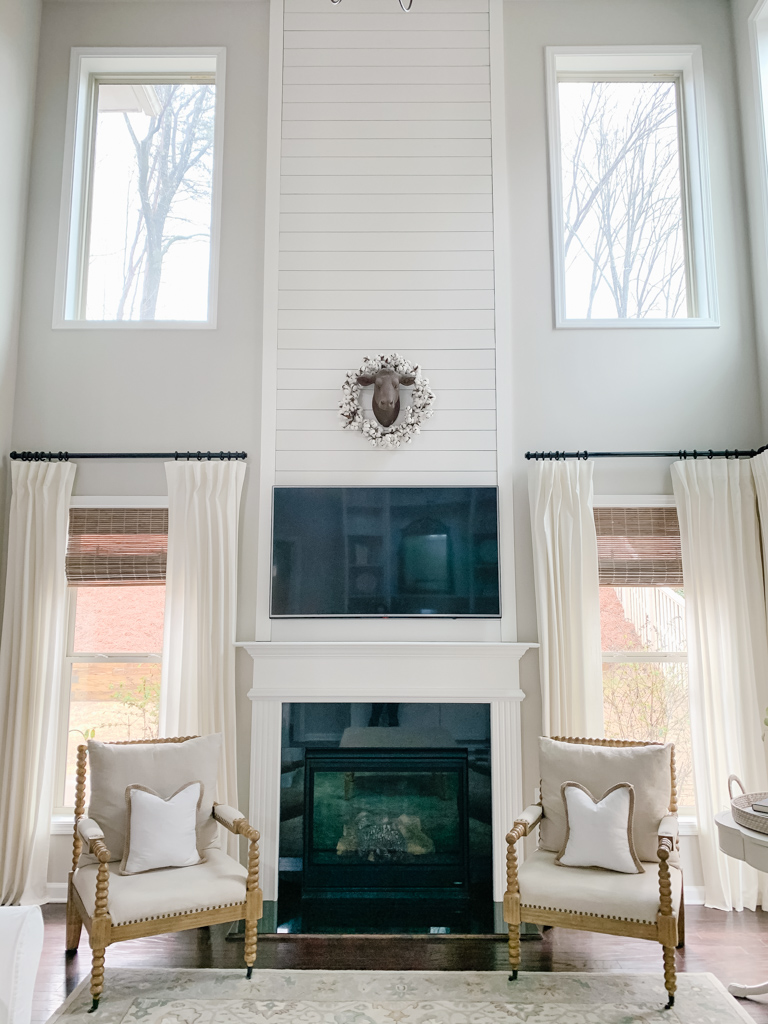
DIY Shiplap Fireplace: After
You can read all about how we added easy + inexpensive DIY shiplap above the fireplace HERE. We completed this entire project in one afternoon and it completely transformed the blank wall of sheetrock!
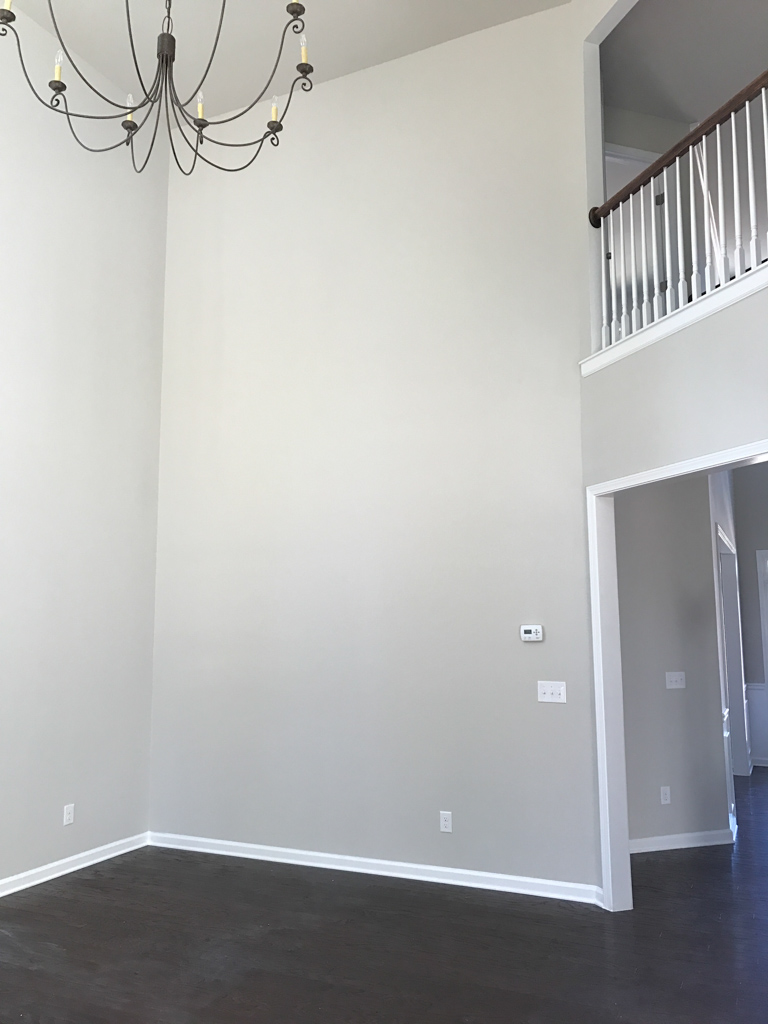
Built-In Shelves: Before
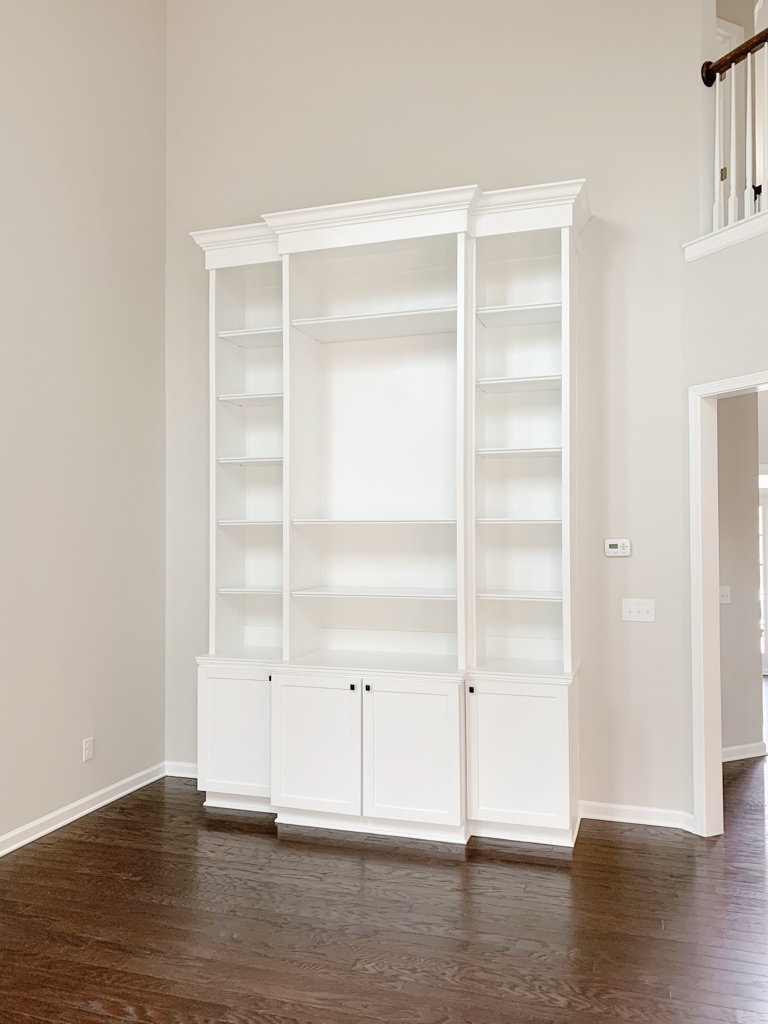
Built-In Shelves: After
Our DIY built-in shelves are probably the most extensive DIY project we have ever completed! They were a lot of work, but they completely transformed the room. Built-in shelves can certainly be a high priced ticket item if you pay someone else to build them. We saved thousands of dollars by DIYing them ourselves.
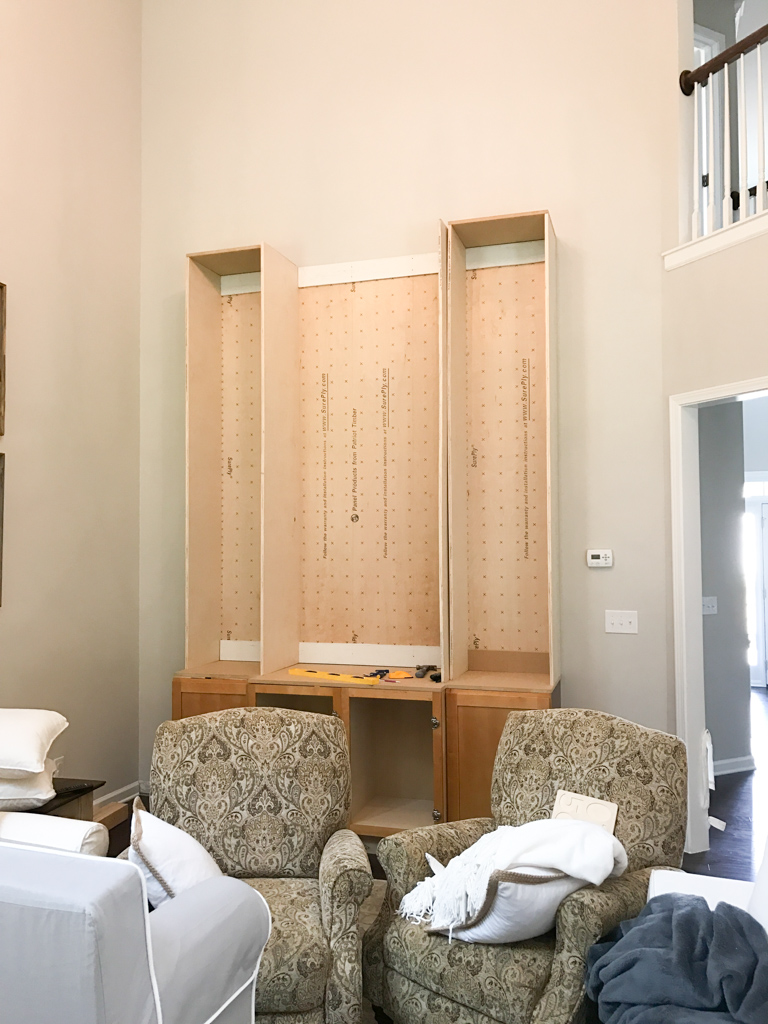
I never completed a tutorial on them (that’s on my to-do list!), but we used base cabinets on the bottom and custom-built the top shelves to fit the dimensions of our space. Our family room was two stories tall; these DIY built-in shelves were over twelve feet tall to fit the scale of the room. Anything smaller and they would have appeared dwarfed against the tall ceilings.
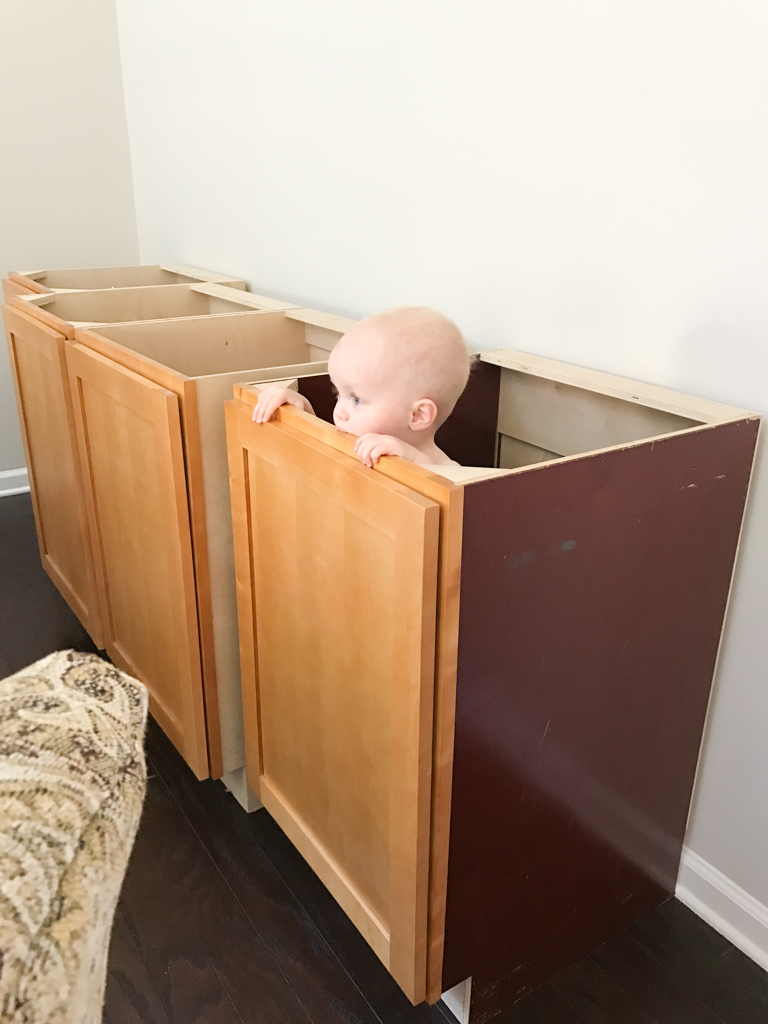
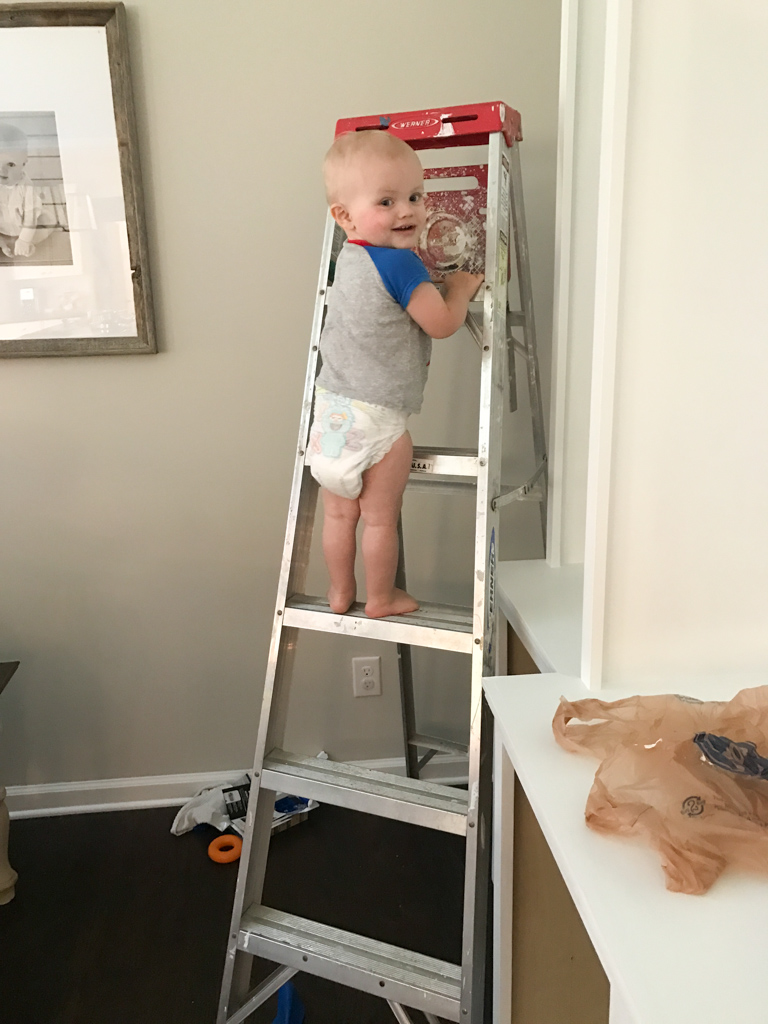
John Davis “helped” during the DIY built-in builing process : )
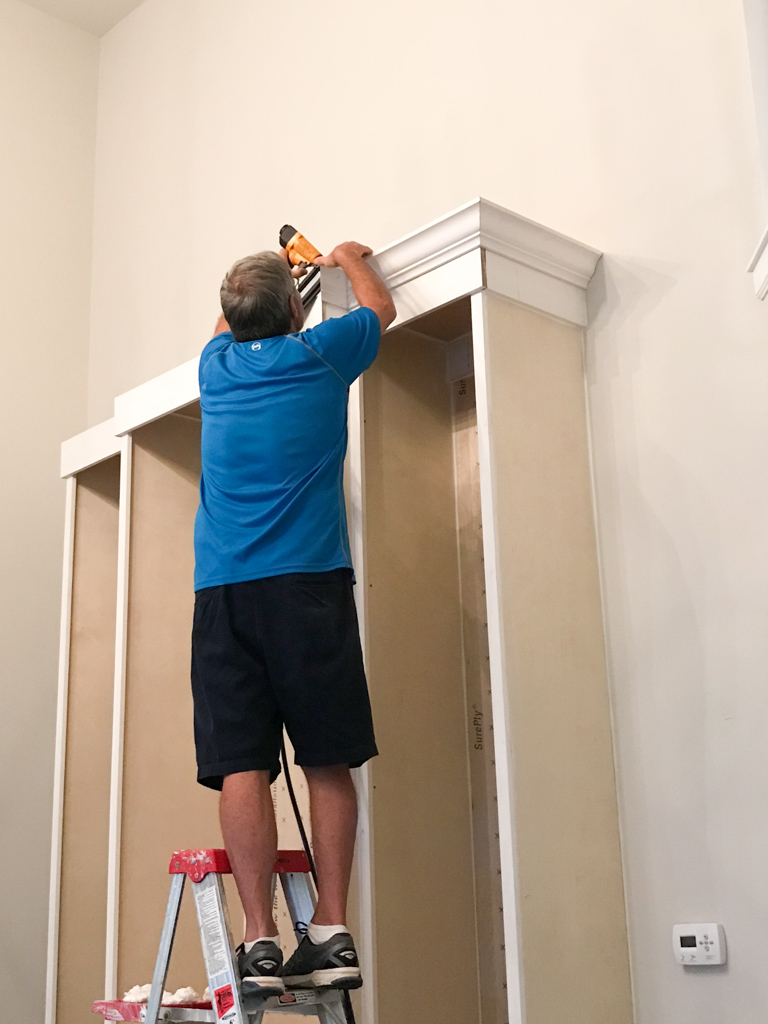
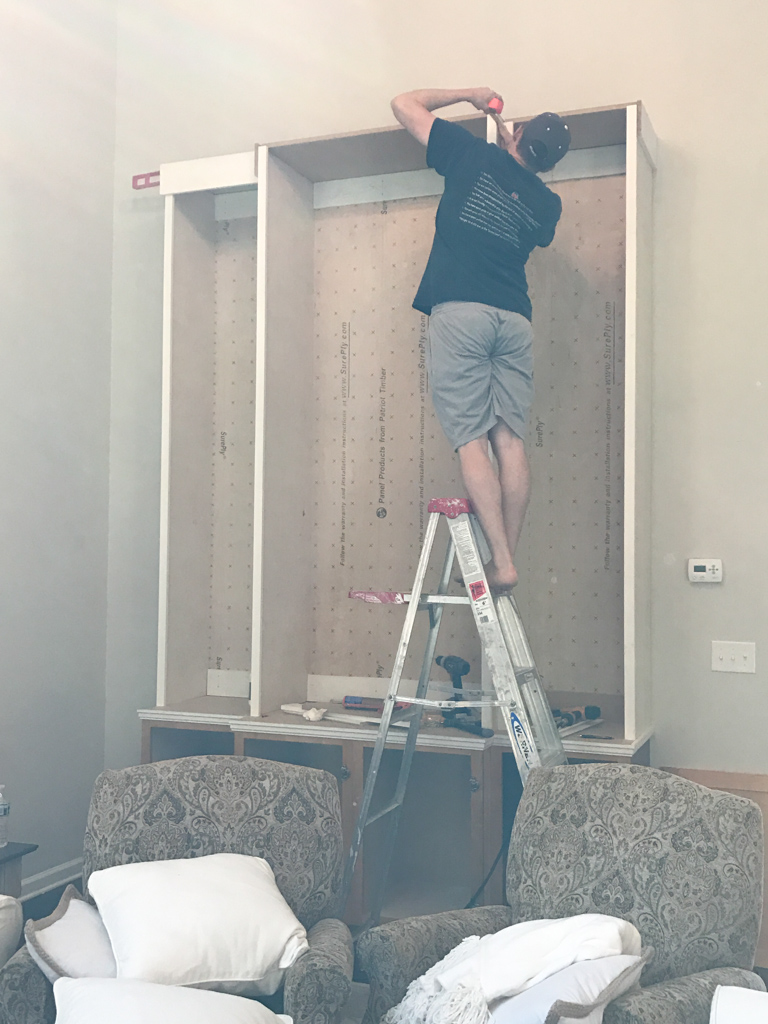
DIY Built-In Shelf: Progress Photos. As usual, it was a family affair!
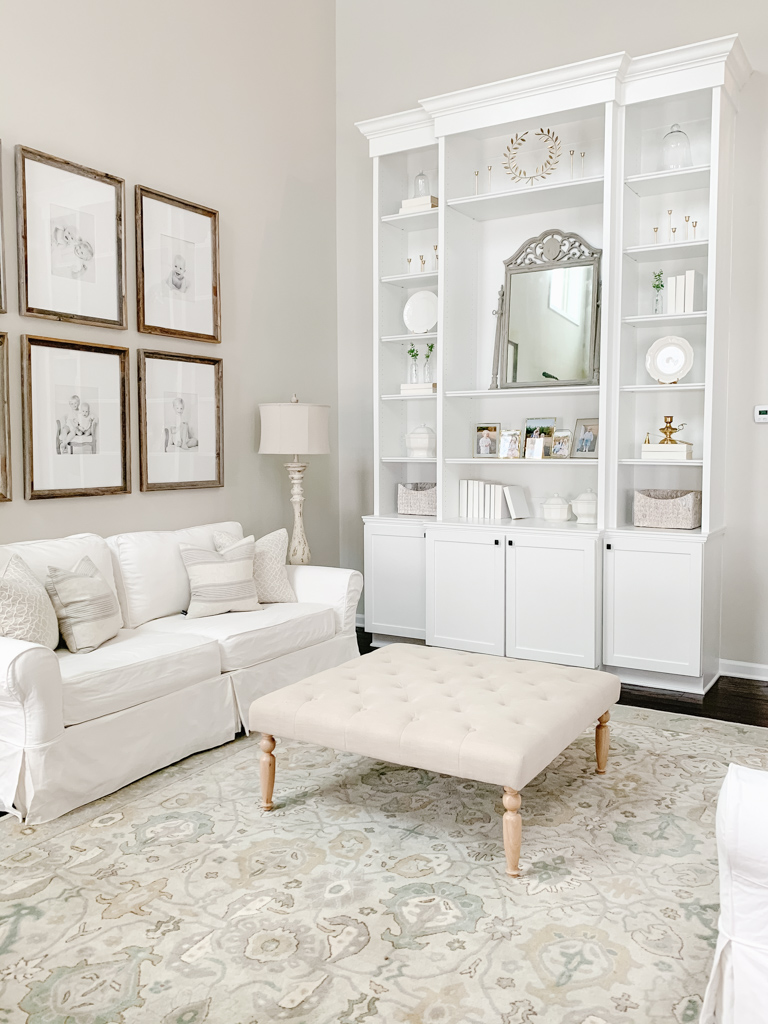
Styled DIY Built-In Shelves
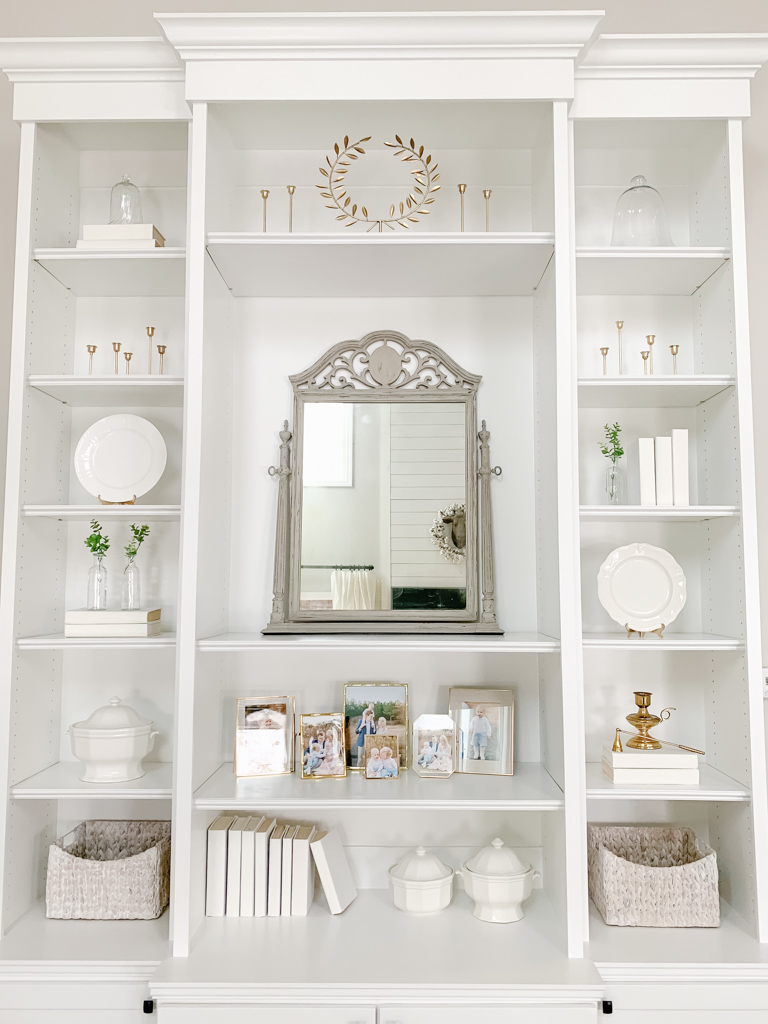
Styling shelves is definitely not my forte. Building shelves? No problem! Styling them? That’s hard! 🙂
I was always in a constant state of “tweaking” them the entire time we lived here, and I finally got them looking exactly the way I wanted right before we moved! Why does it always happen that way?
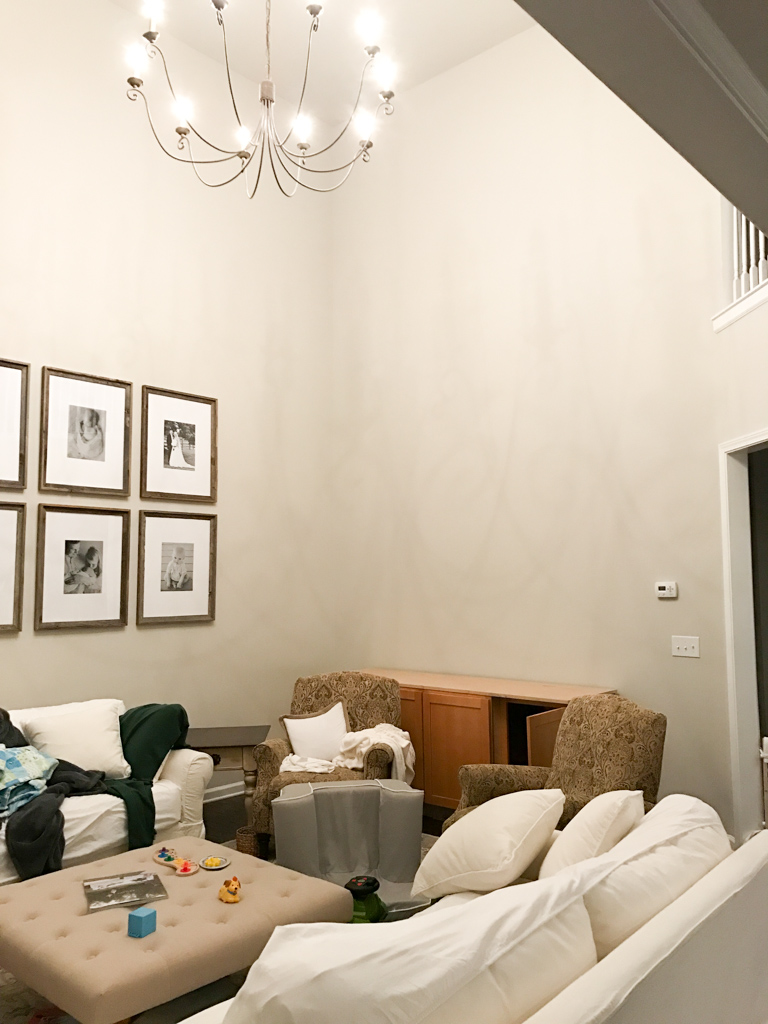
Family Room: Before
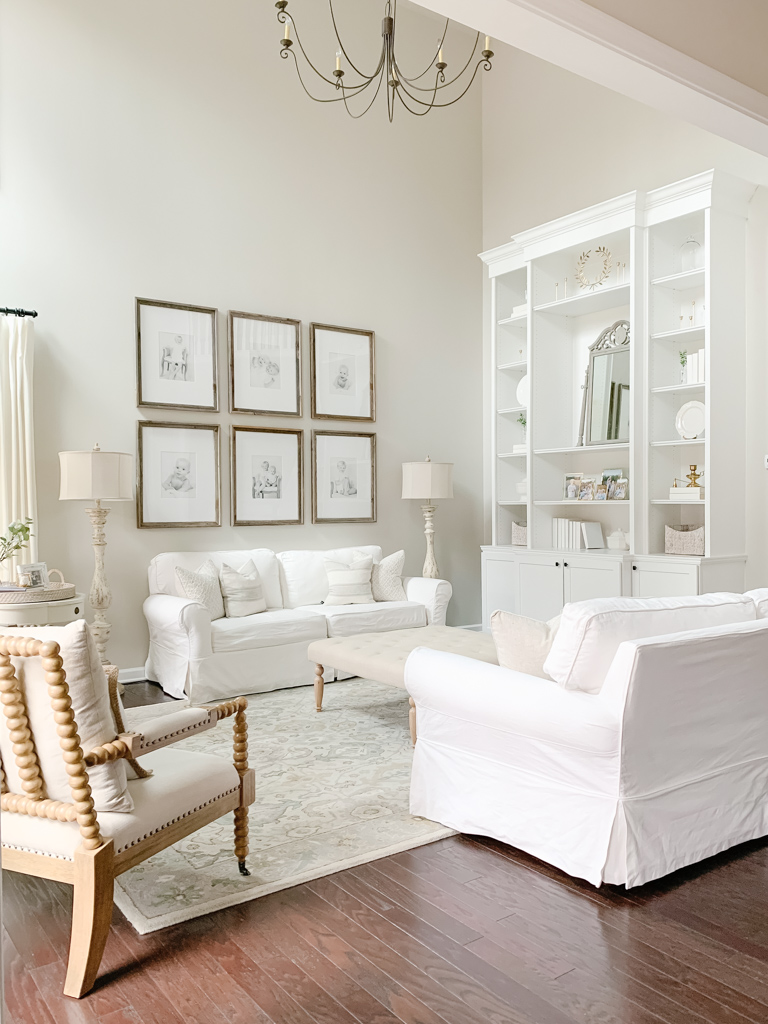
Family Room: After
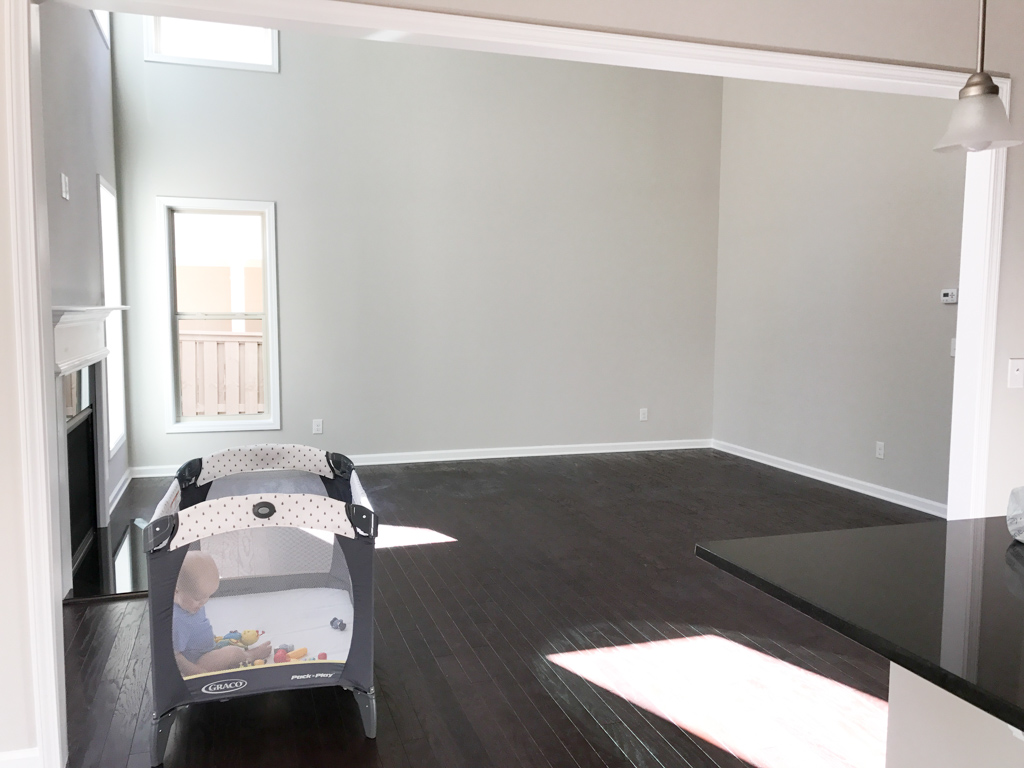
Family Room: Before
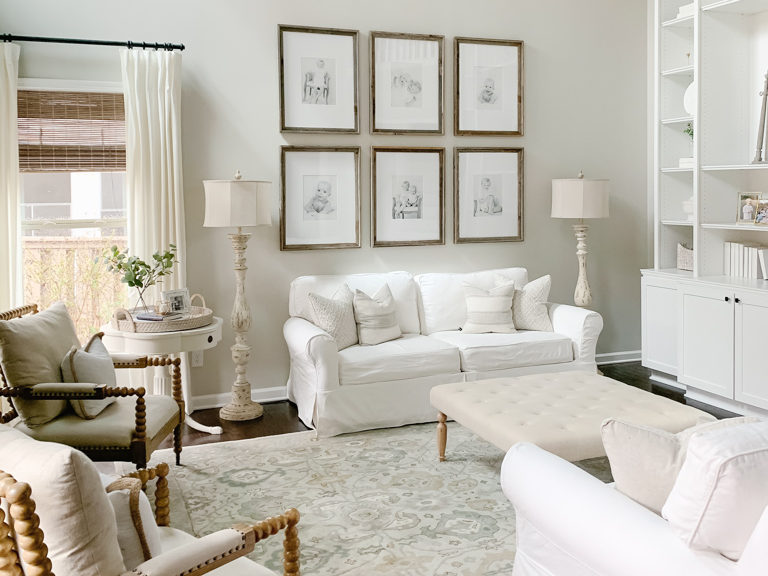
Family Room: After
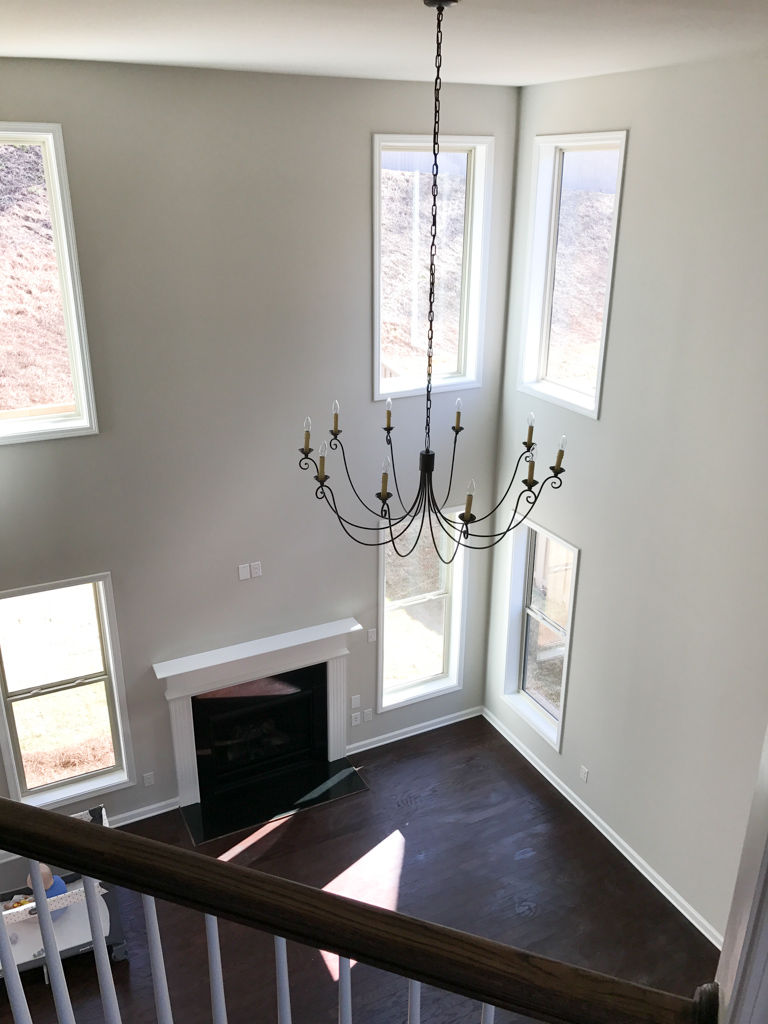
Family Room: Before
I do not have a “before” photo of the builder grade chandelier. We upgraded the chandelier to a chandelier I found at the Ballard Designs outlet for an excellent price. HERE is a very similar option.
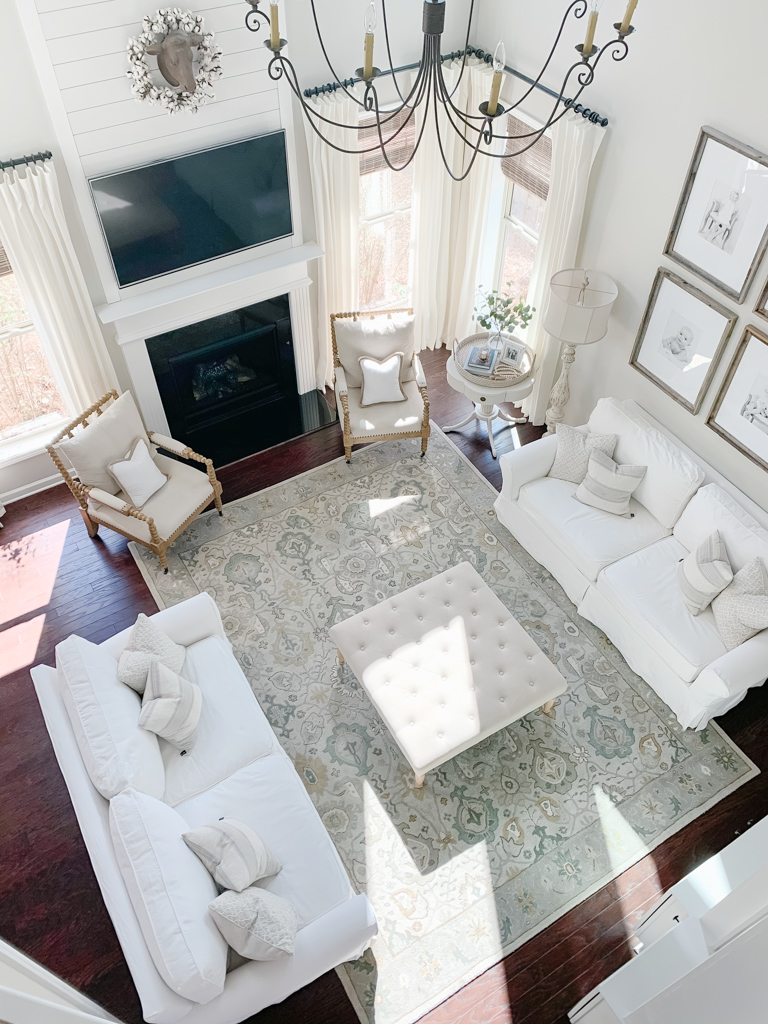
Family Room: After
Playroom
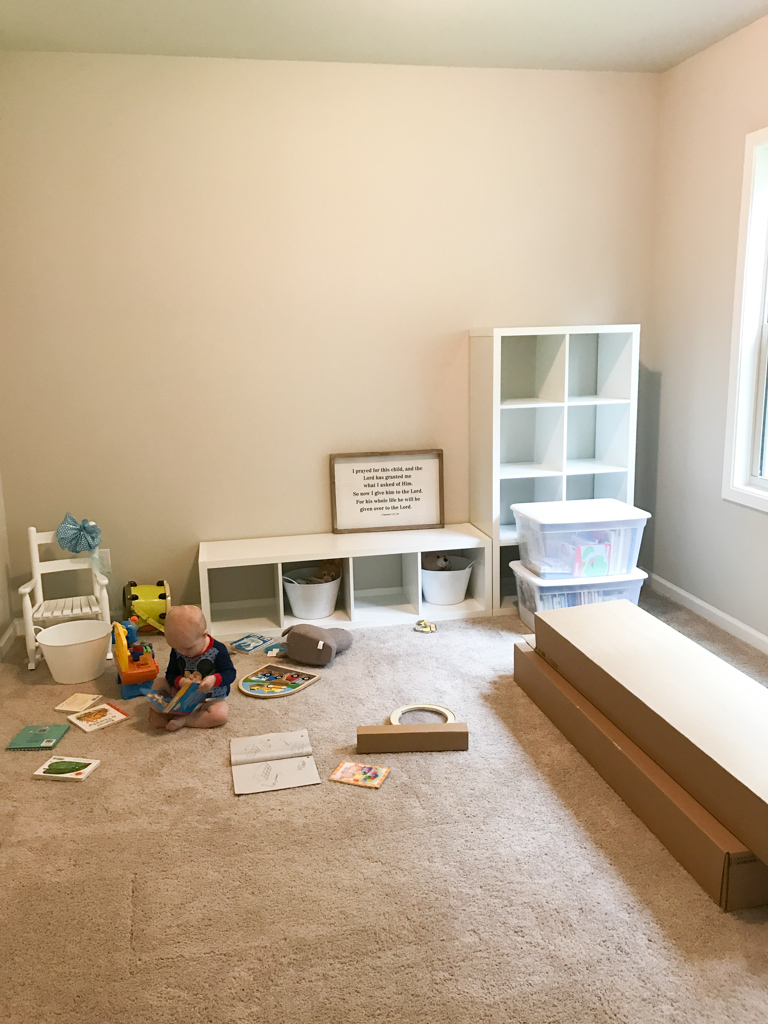
Playroom: Before

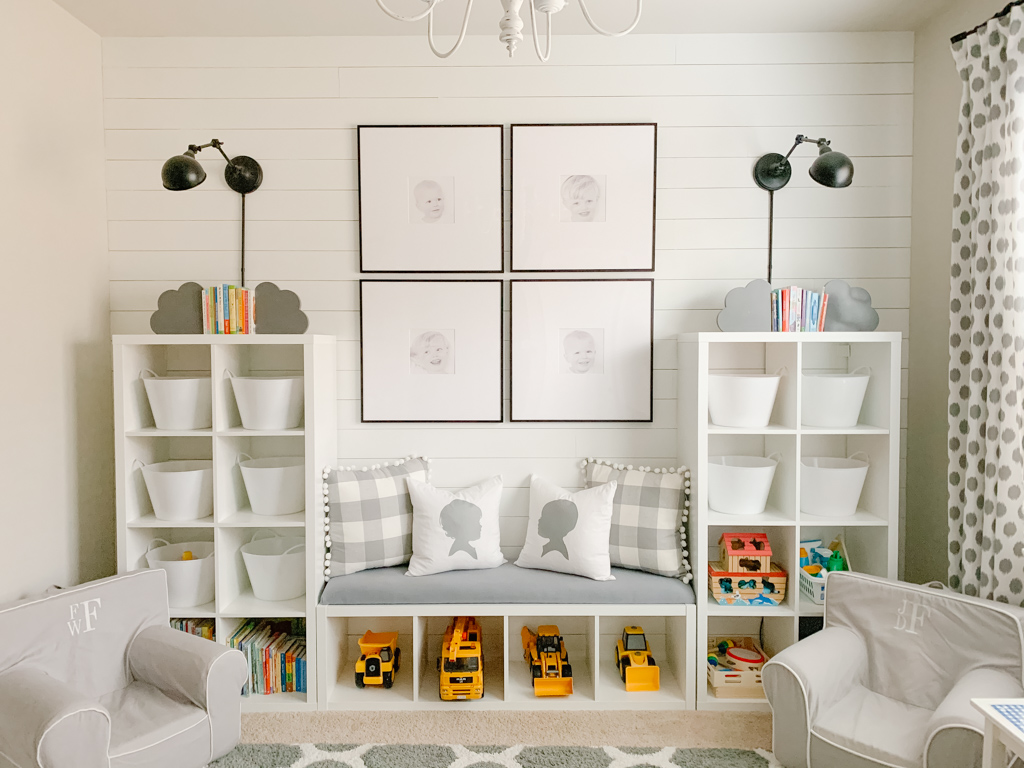
Playroom: After

I added an inexpensive DIY Shiplap feature to the back wall of the playroom. You can read about the process of how I did it HERE.
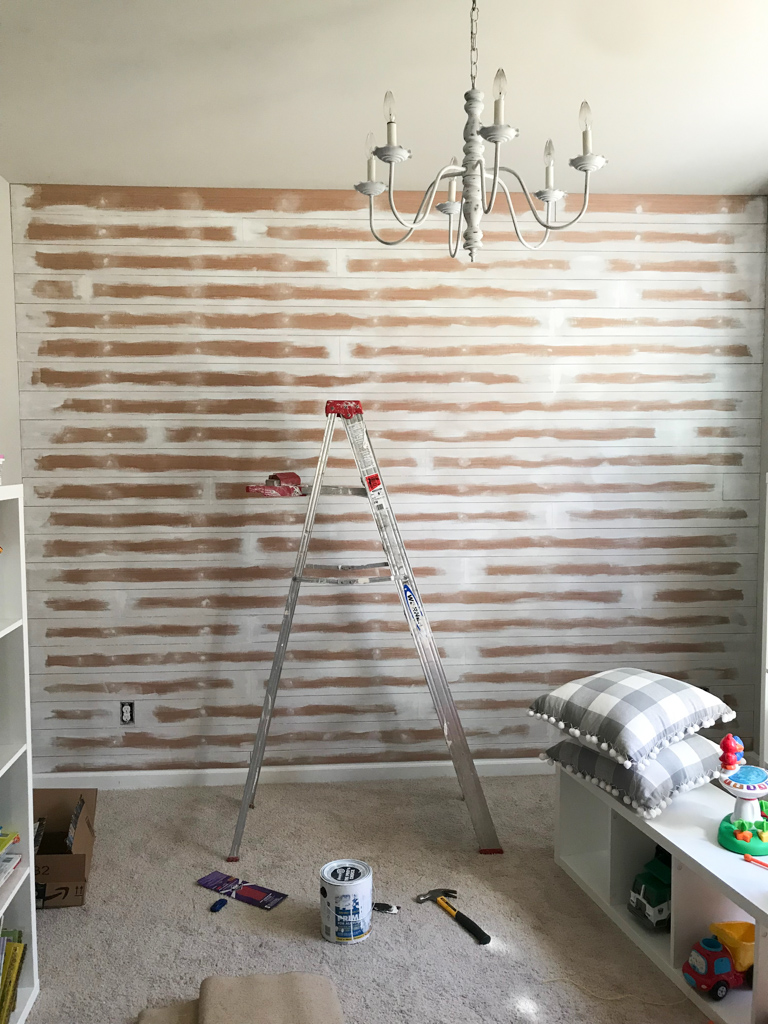
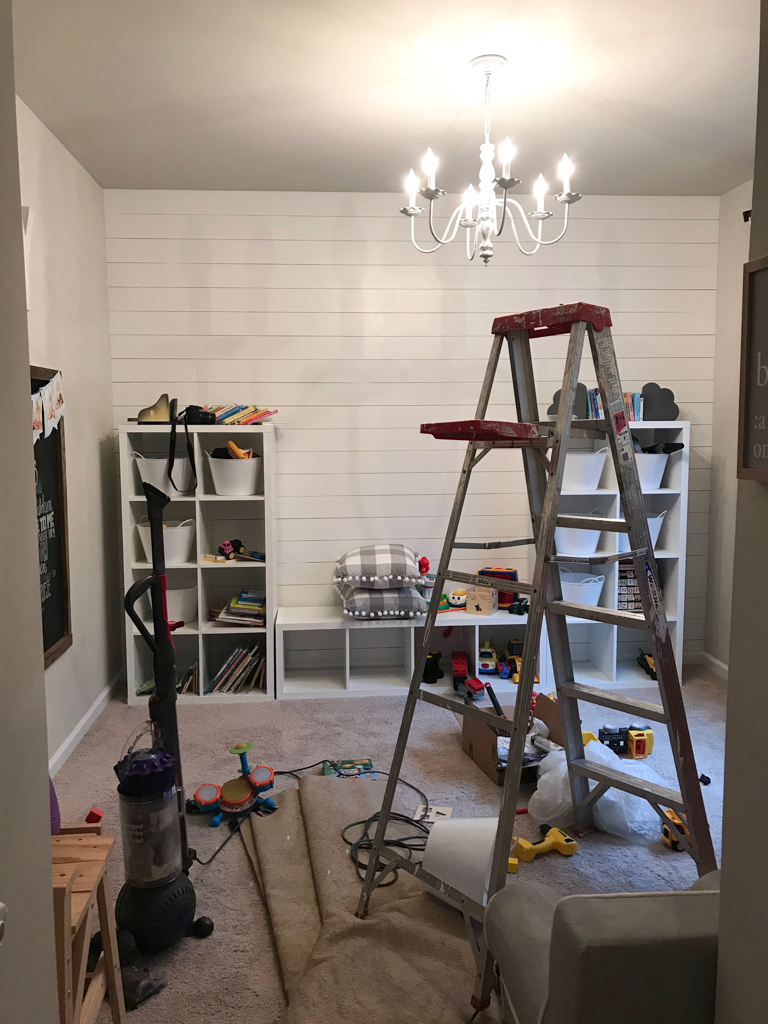
I found the chandelier at one of our local antique stores for $25 and spray painted it with Rustoleum Chalked Spray Paint in the color “Linen White.” Another example of a creative way to save on lighting!
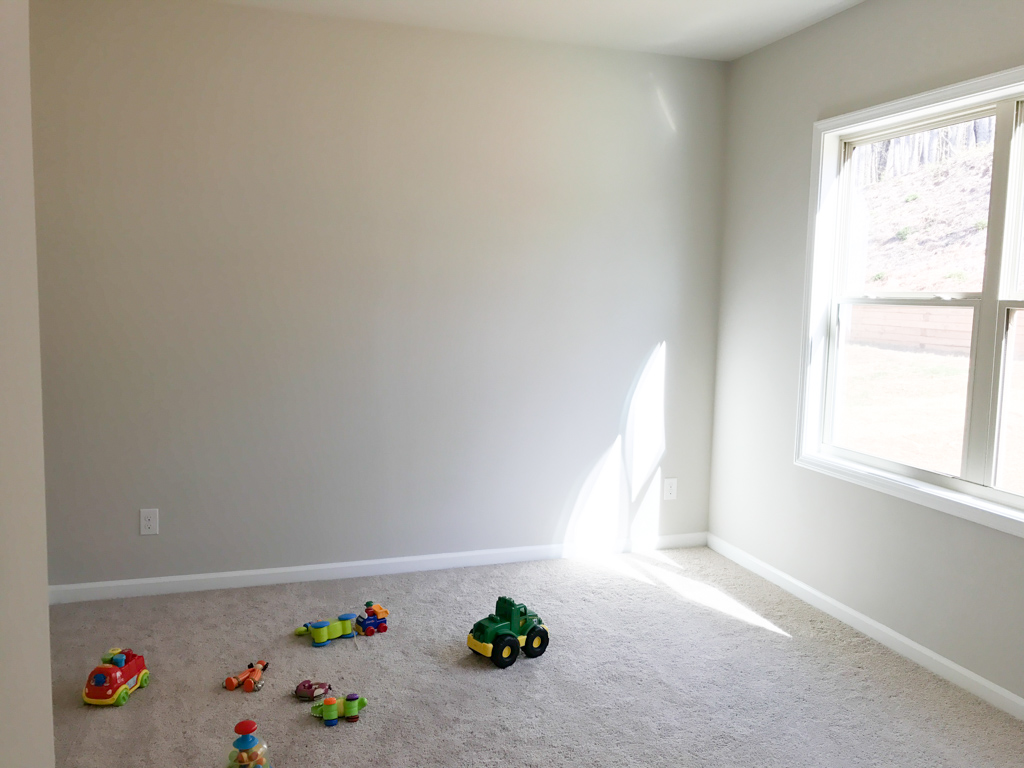
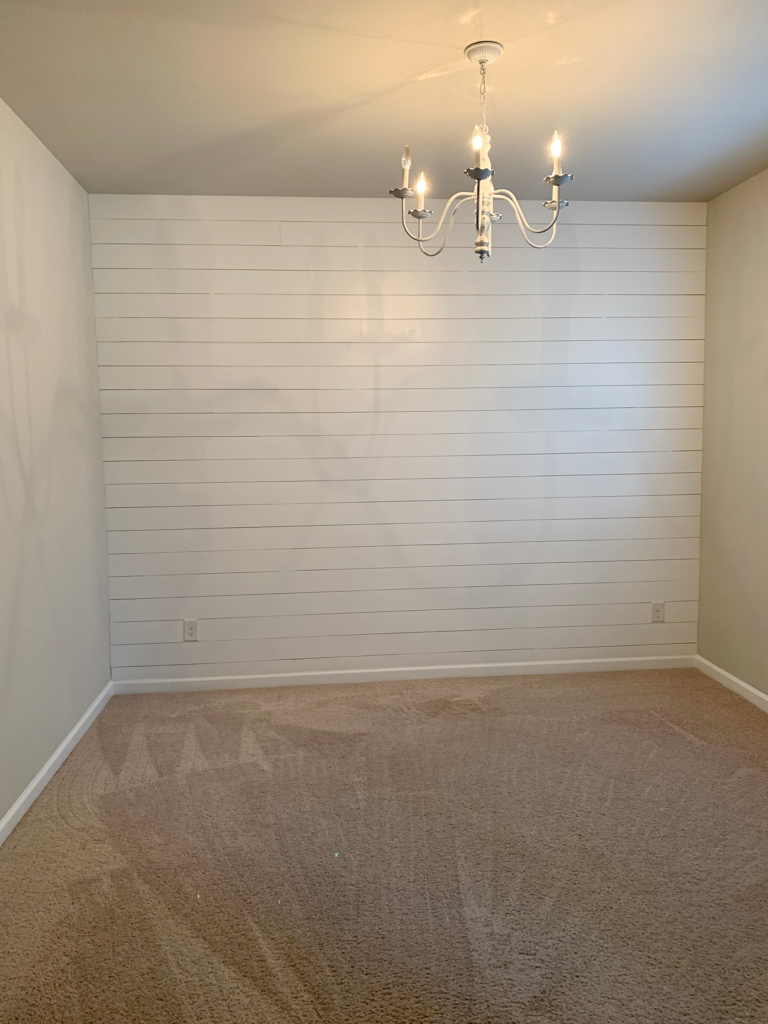
Playroom: Before
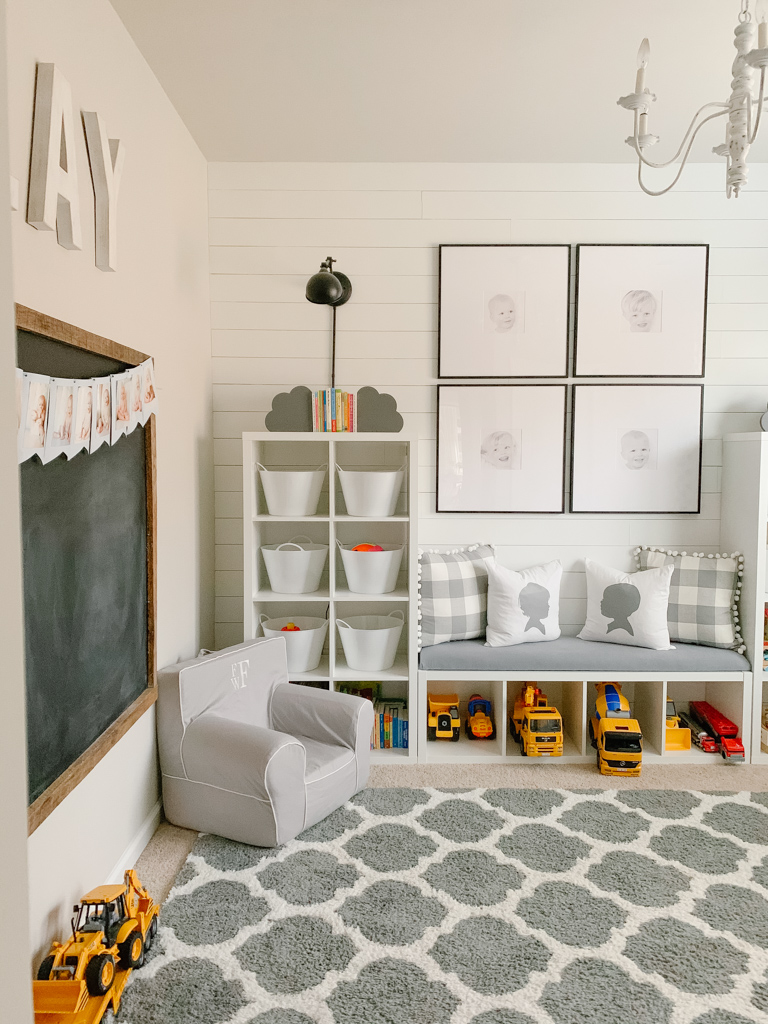
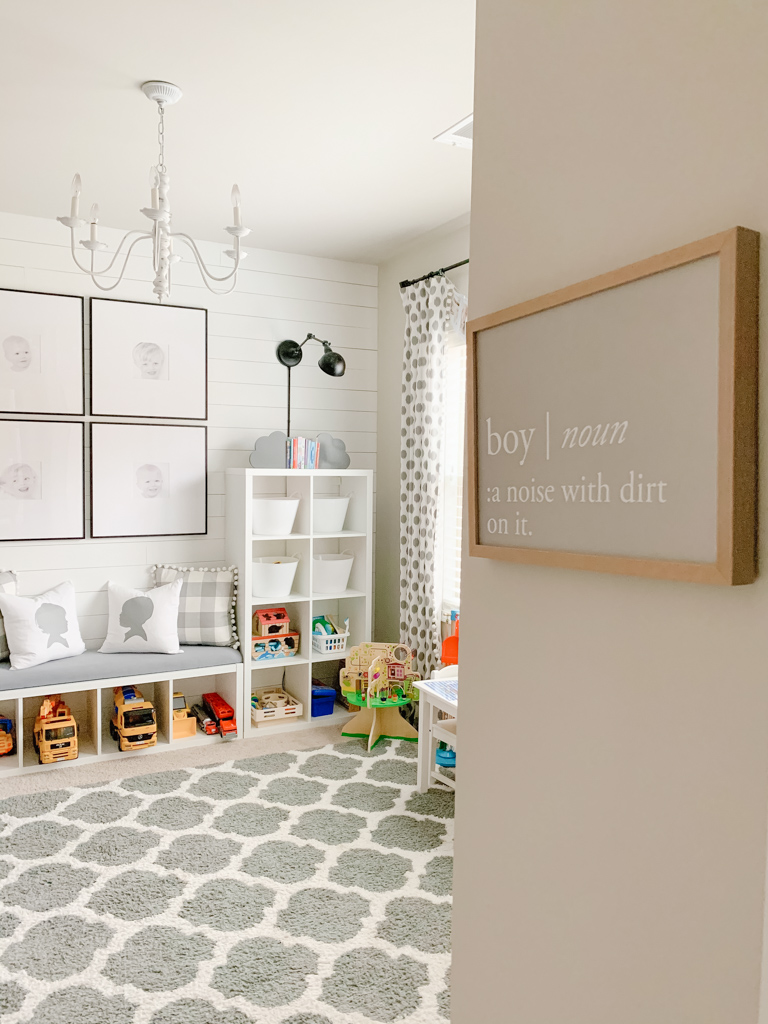
Playroom: After
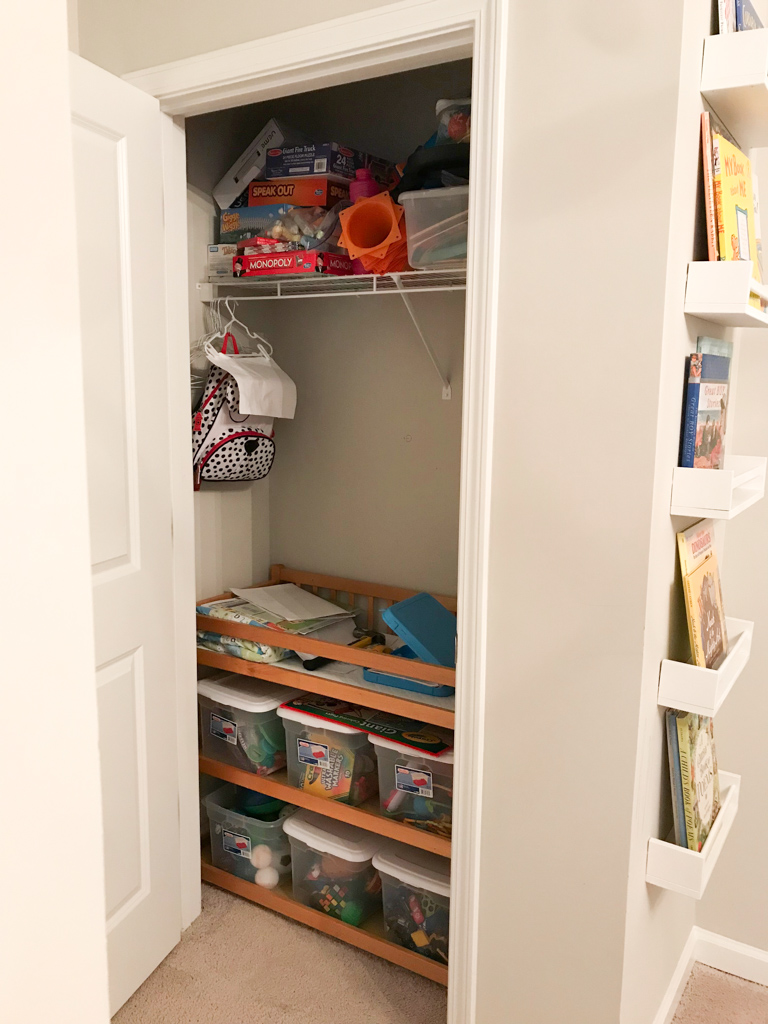
Playroom Closet: Before
I removed the wire shelving and added new custom shelves to the closet in the playroom. It was the perfect solution for keeping toys neatly organized and stored away. More storage always = more value!
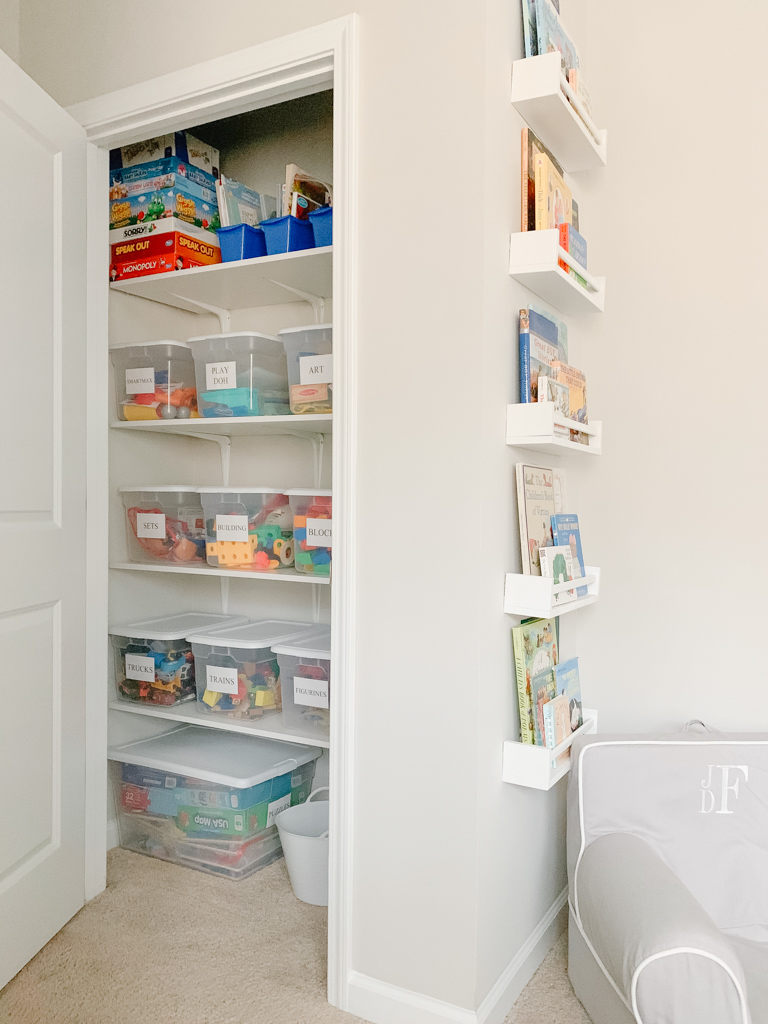
Playroom Closet: After
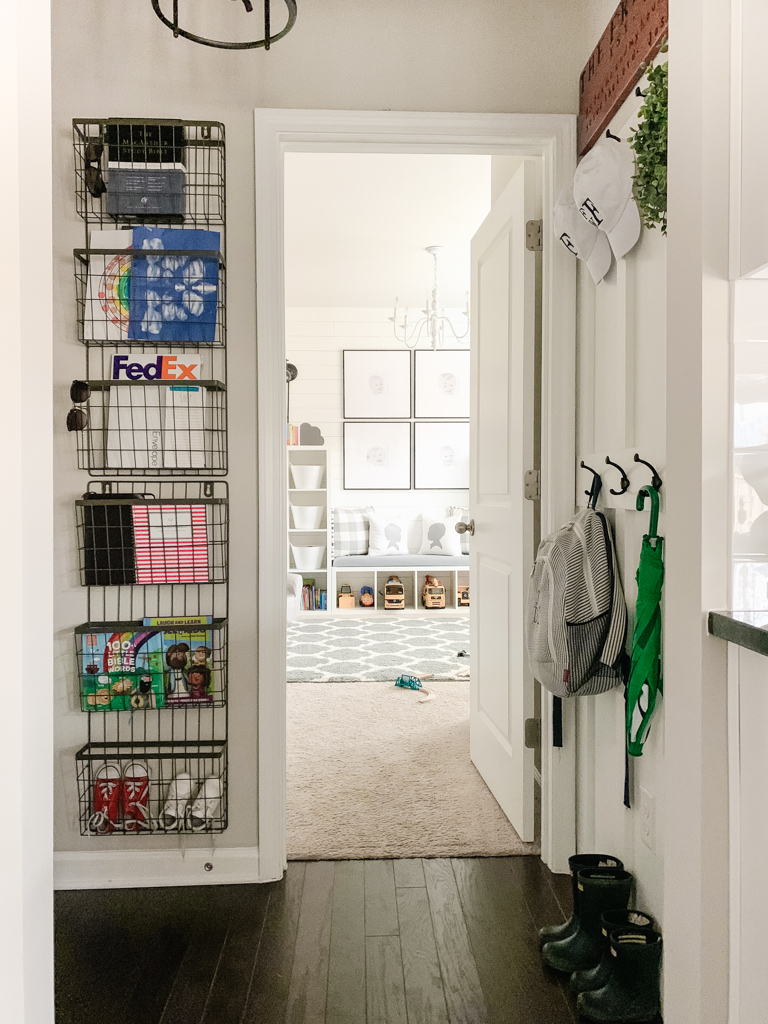
Mudroom
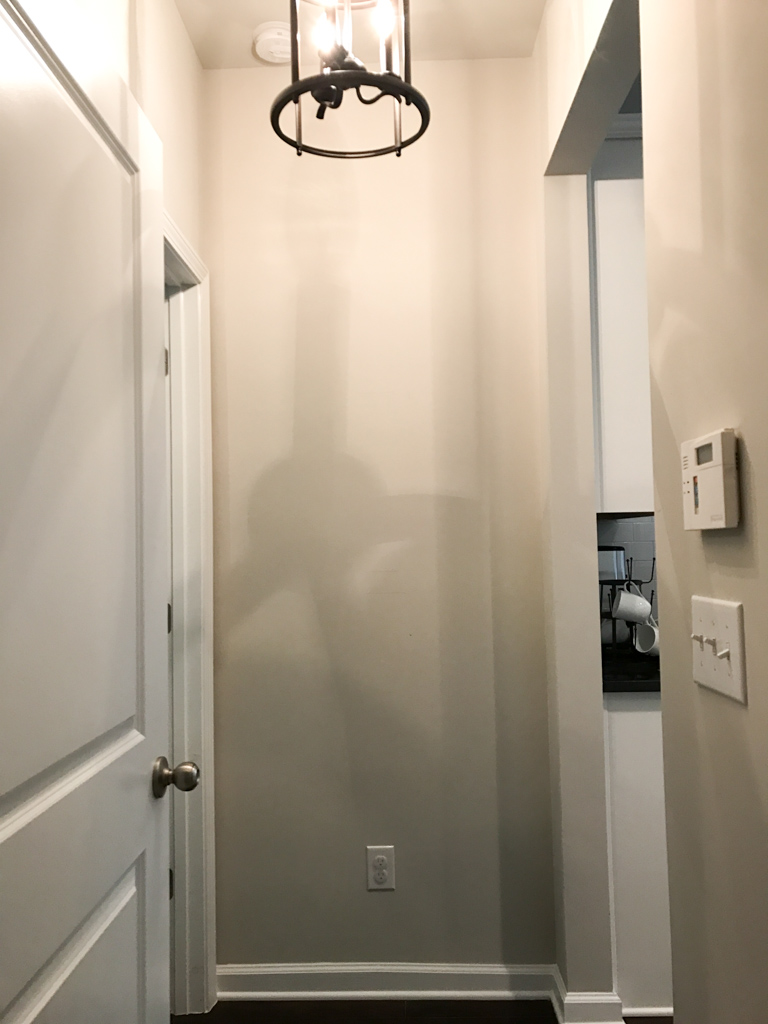
We didn’t actually have a “mudroom” in this house. We had this little entryway from the garage into the kitchen.
We desperately needed a drop zone for coats, backpacks, purses, etc. We utilized this blank wall and added board and batten with hooks for an easy and inexpensive solution.
Two things that always add value to a home? Custom woodwork and storage solutions!
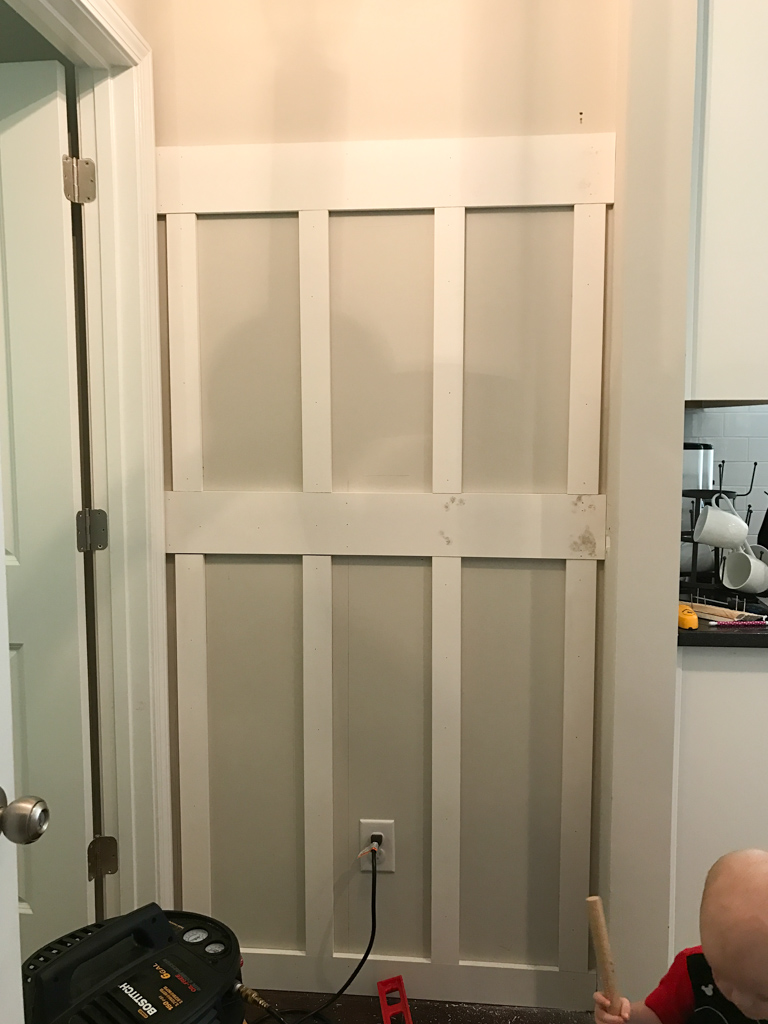
It was such an easy project and added so much function to this small space.
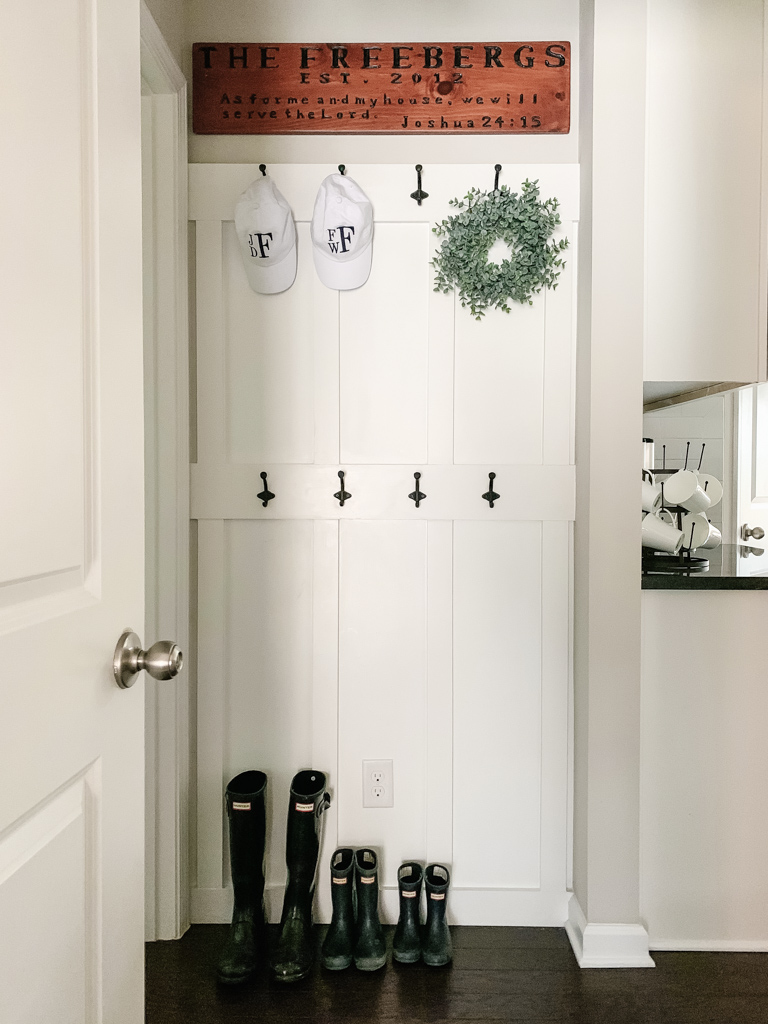
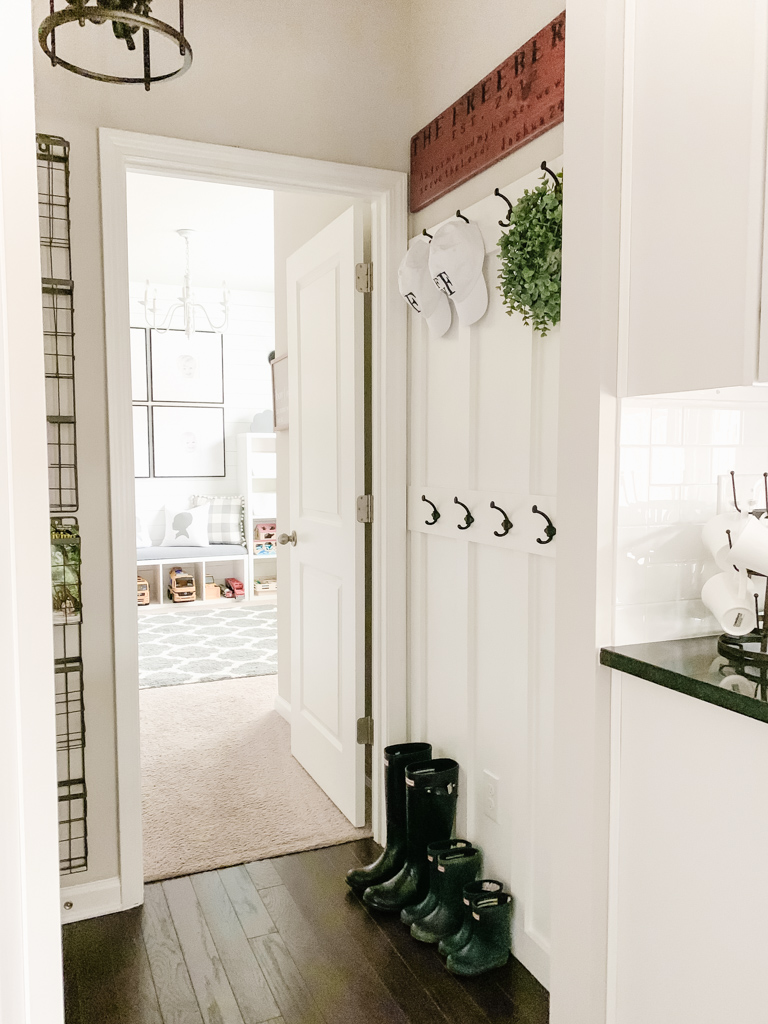
The hooks were great for hanging items like backpacks and coats, but I still lacked somewhere to store items that cannot be hung (my planner, mail, schoolwork and art, even the children’s shoes!). I found two metal magazine wall racks at HomeGoods and hung them on top of one another. It was the perfect solution!
In addition to the board and batten, we also updated the chandelier in this space. It is the same chandelier that we installed in the foyer – the one we found on clearance at Lowe’s for $20.
Kitchen
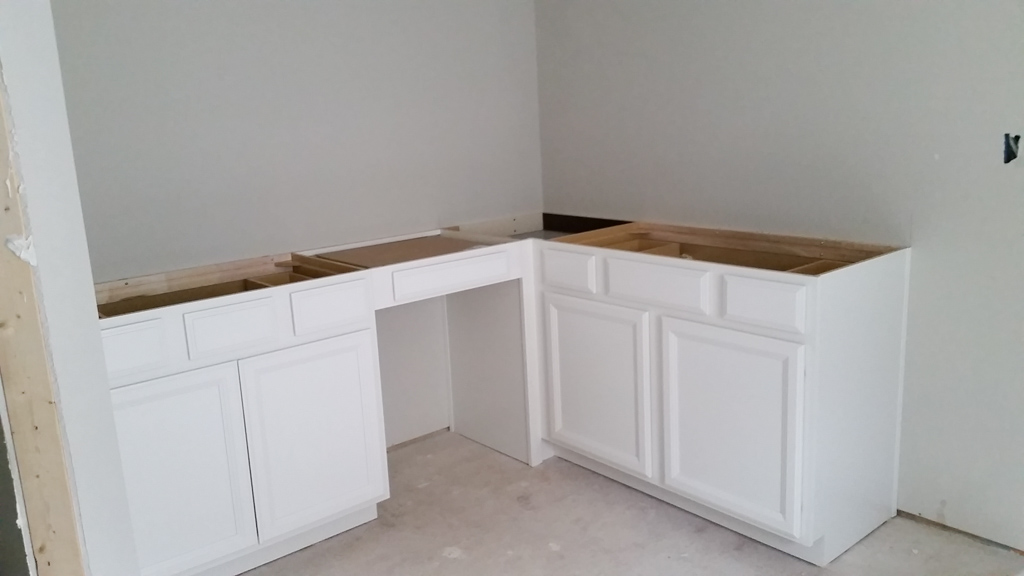
Kitchen: Framing
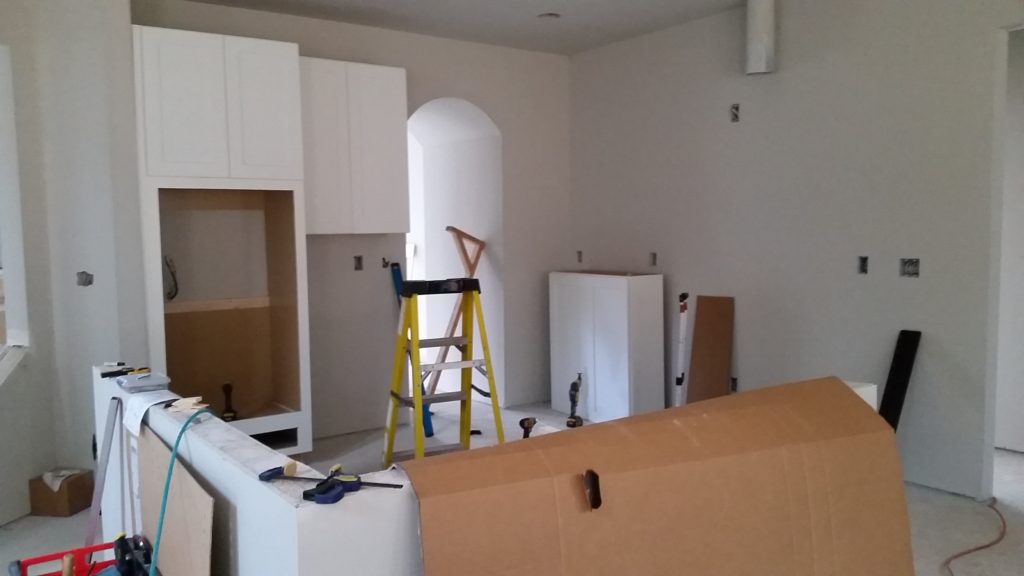
Kitchen: Cabinet Installation
Kitchen: Progress
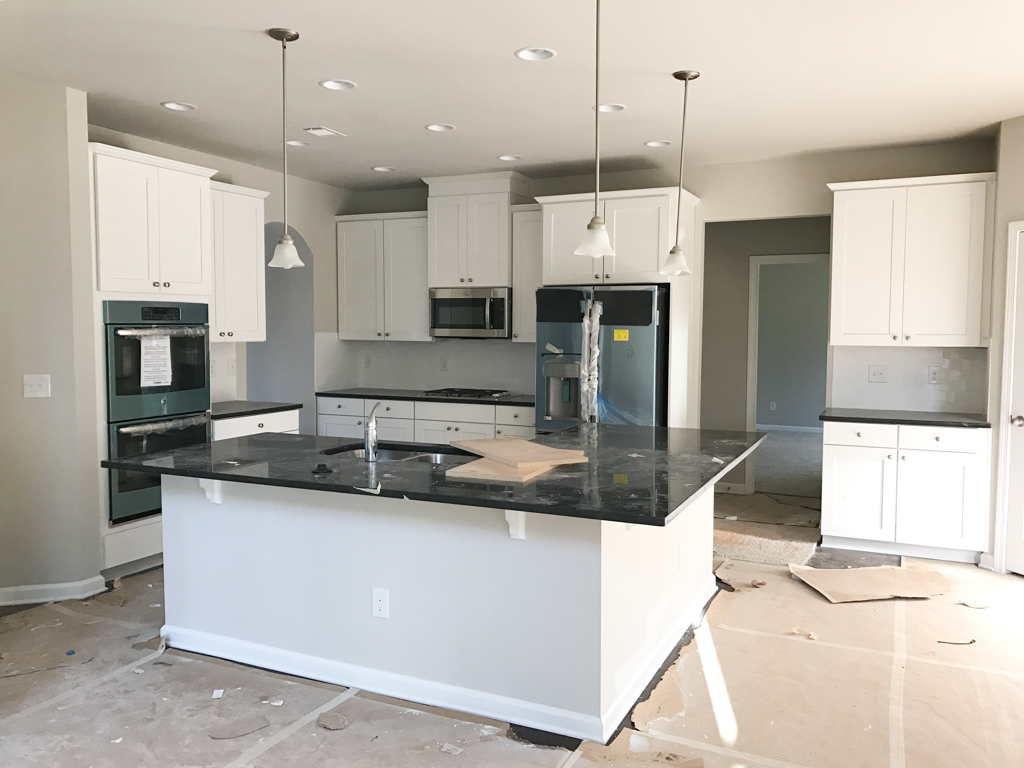
Kitchen: Move-In Day
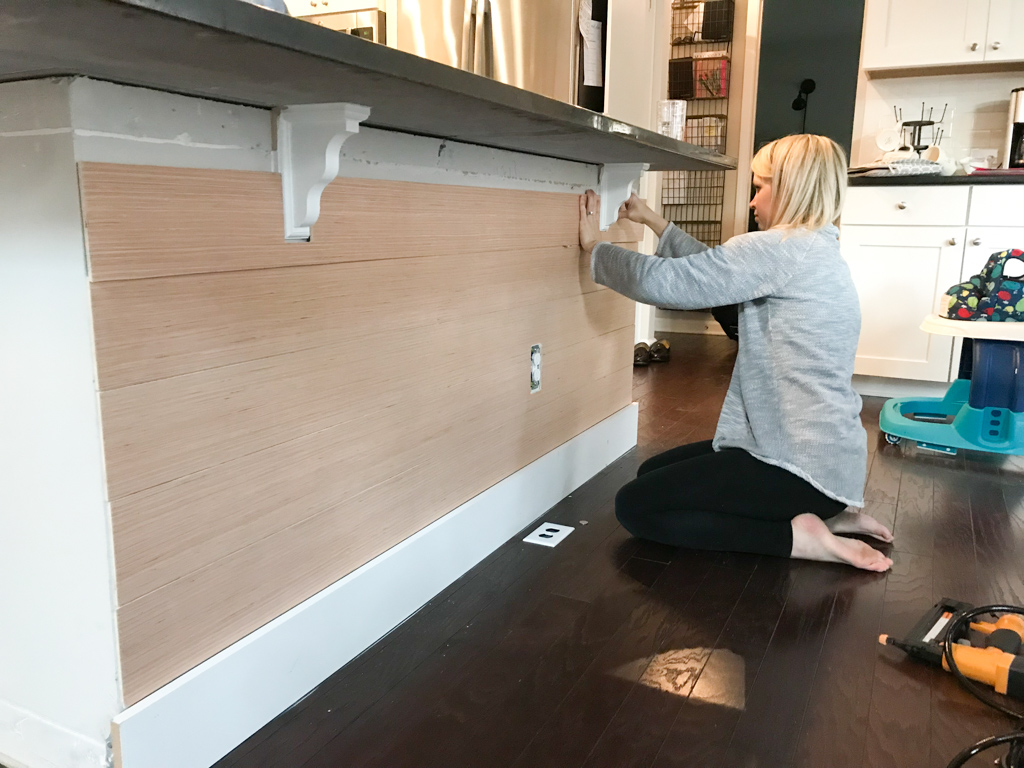
We covered up the sheetrock and added DIY shiplap to our kitchen island. You can read all about it and find a detailed step-by-step tutorial HERE.
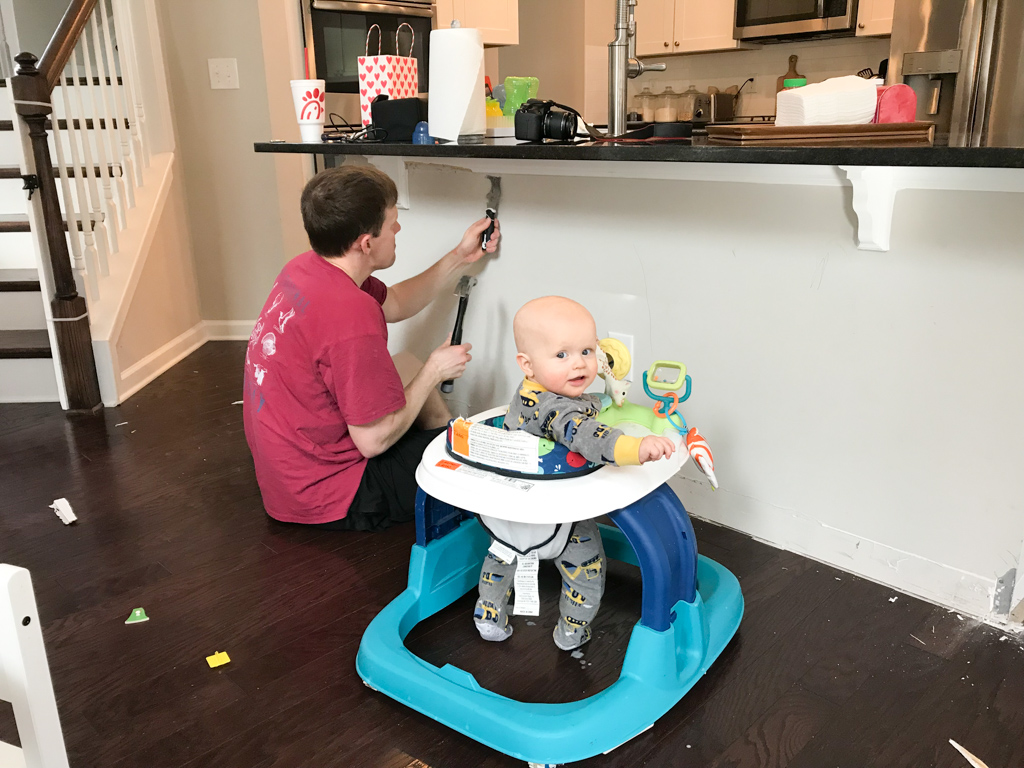
It was such an easy and inexpensive project but it completely transformed the entire feel of the kitchen.

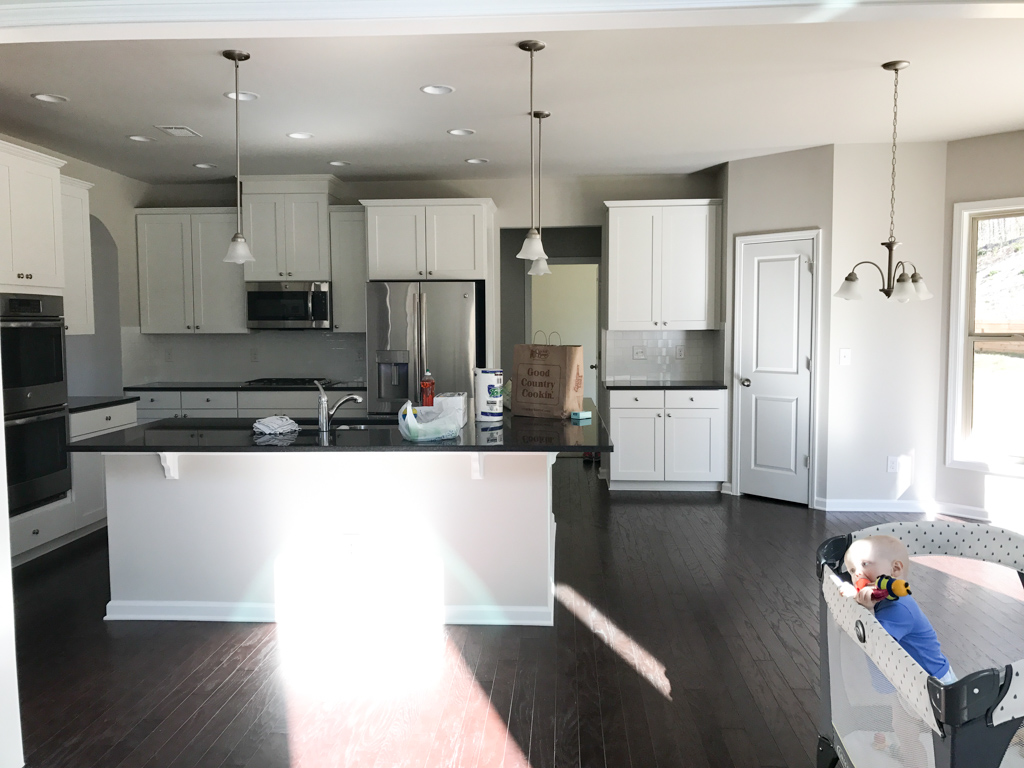
We removed the builder pendant lights over the island and installed THESE glass pendant lights.
We removed the builder faucet and installed THIS Kohler faucet – another easy DIY installation you can definitely do yourself!
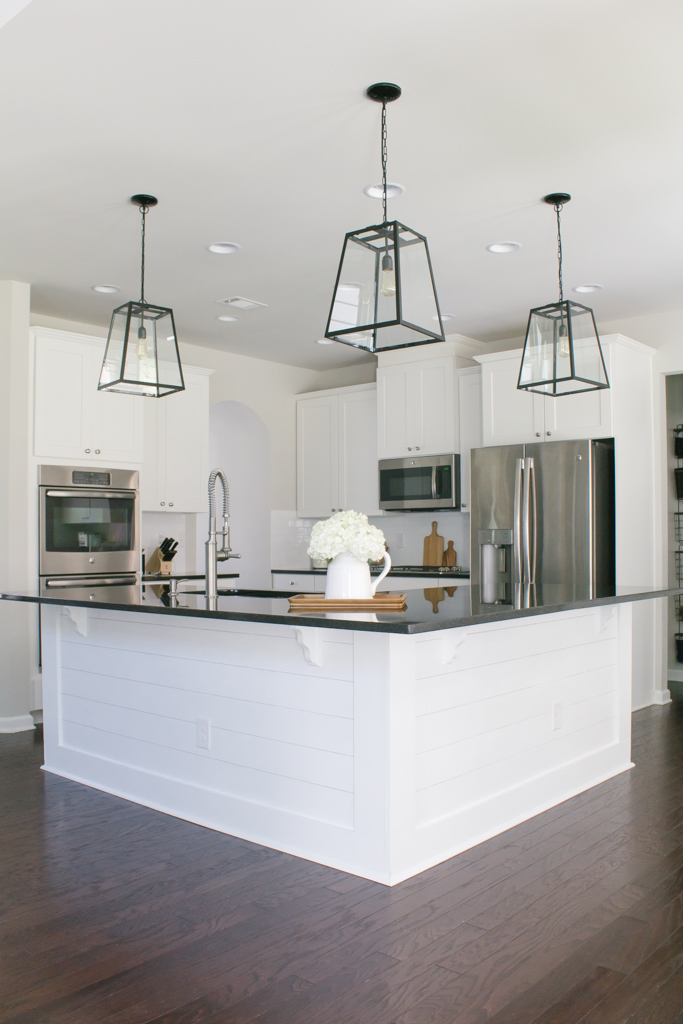
Kitchen: After

Breakfast Nook: Before
What a difference curtains make! I installed my favorite white curtains on solid black rods. These did not stay after the sale of the house, but they are a prime example of how staging/decor can greatly impact the value of a home. Nothing structural was done to these windows, but the curtains and shades frame them out to make the space appear larger, more custom, and more high-end. All without upgrading the actual windows or the trim around them.
Another item I get asked about all the time? THESE bamboo shades!
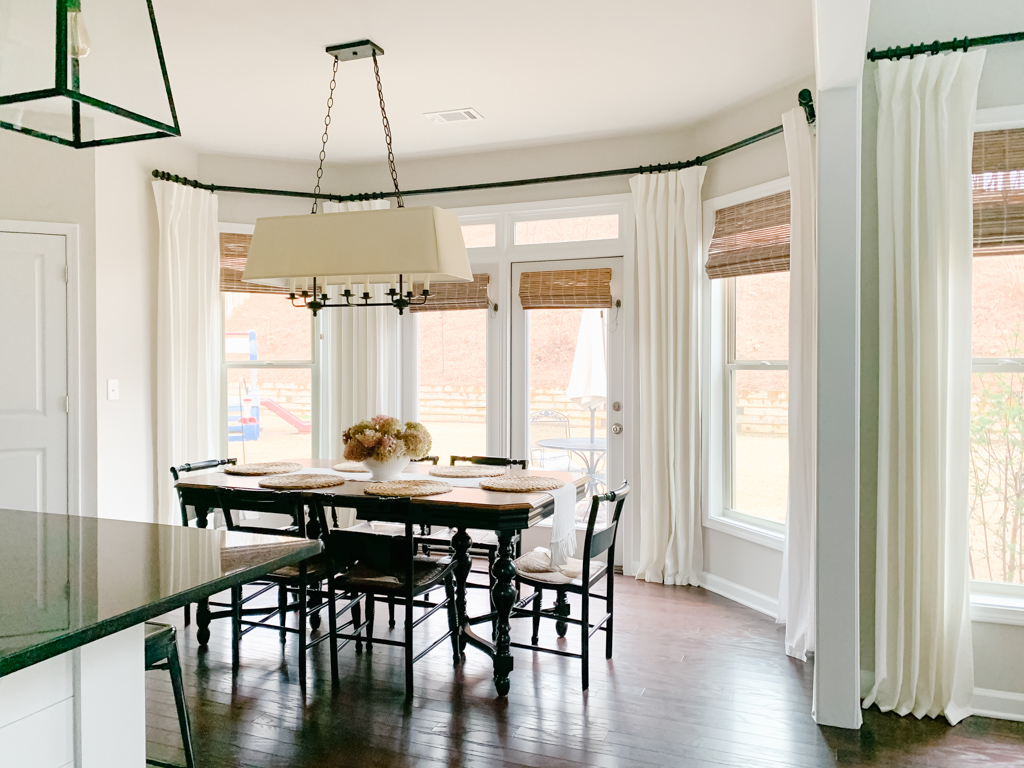
Breakfast Nook: After
We also installed the Remington Chandelier from Ballard Designs (purchased from the outlet at a huge discount!).
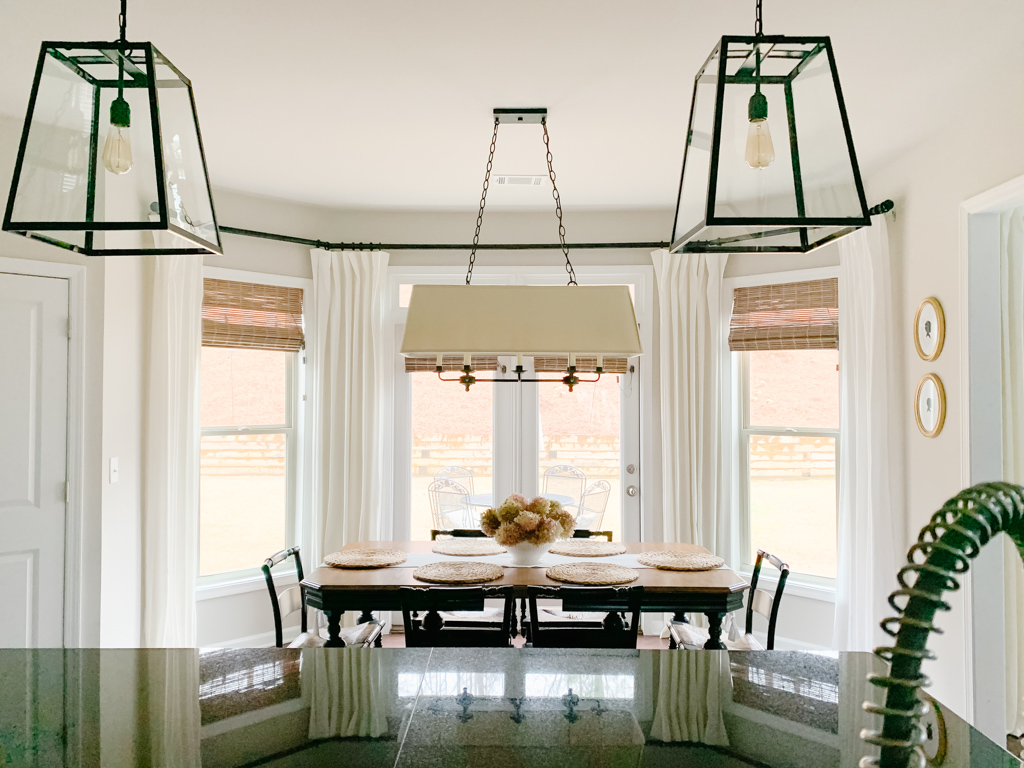
Breakfast Nook: After
Laundry Room
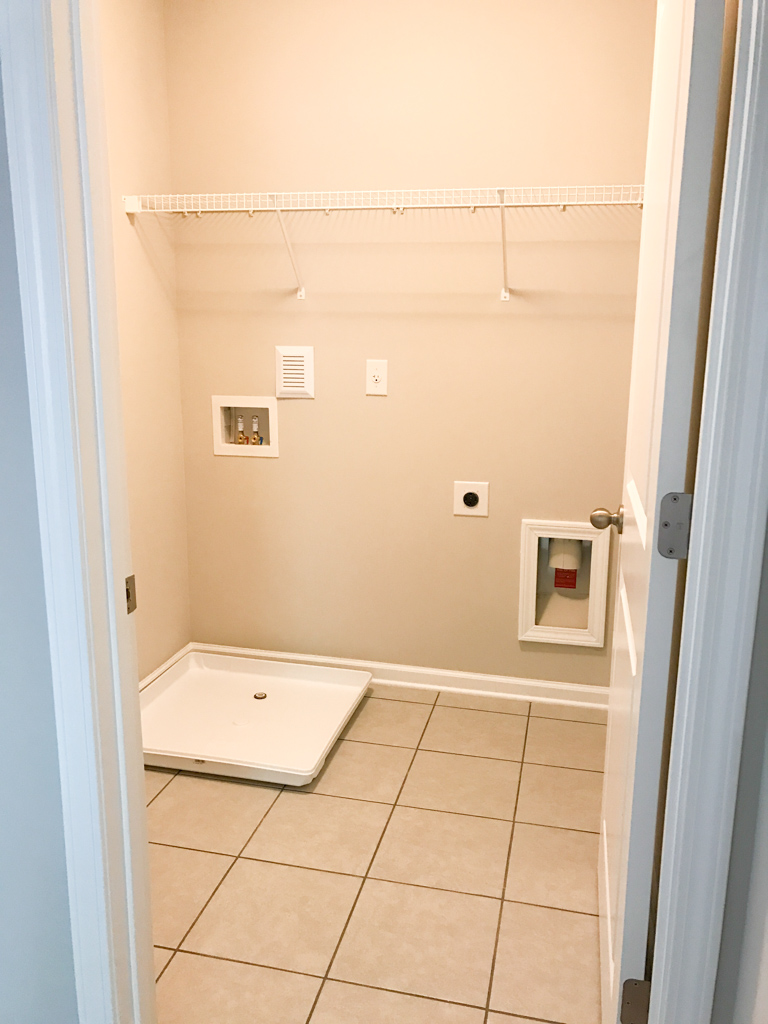
Laundry Room: Before
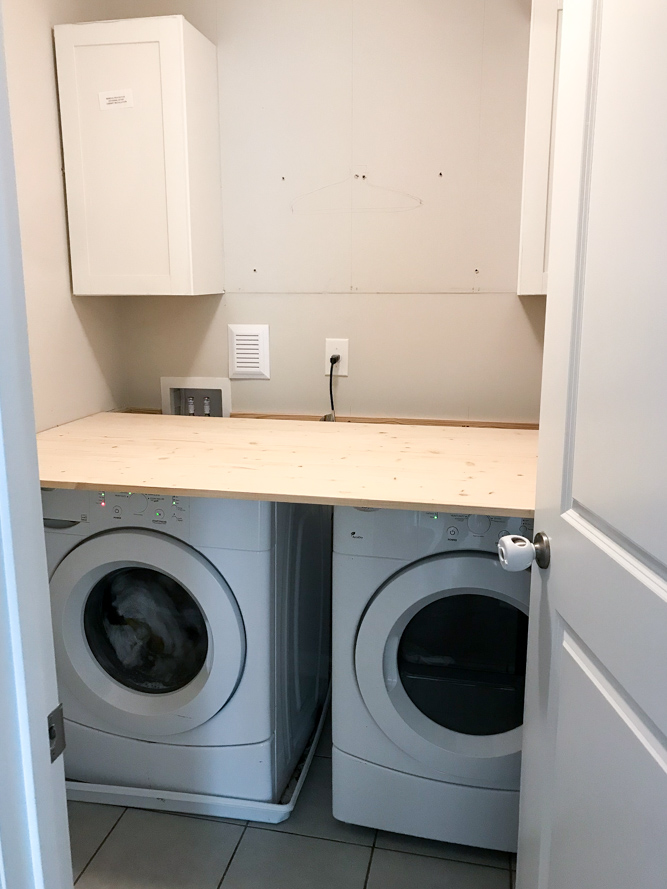
Laundry Room: Progress
Almost everything in the laundry room was a DIY project! We completed transformed the laundry room over six weeks when we participated in the One Room Challenge.
You can see all the details, included detailed step by step tutorials on all of the projects, HERE.

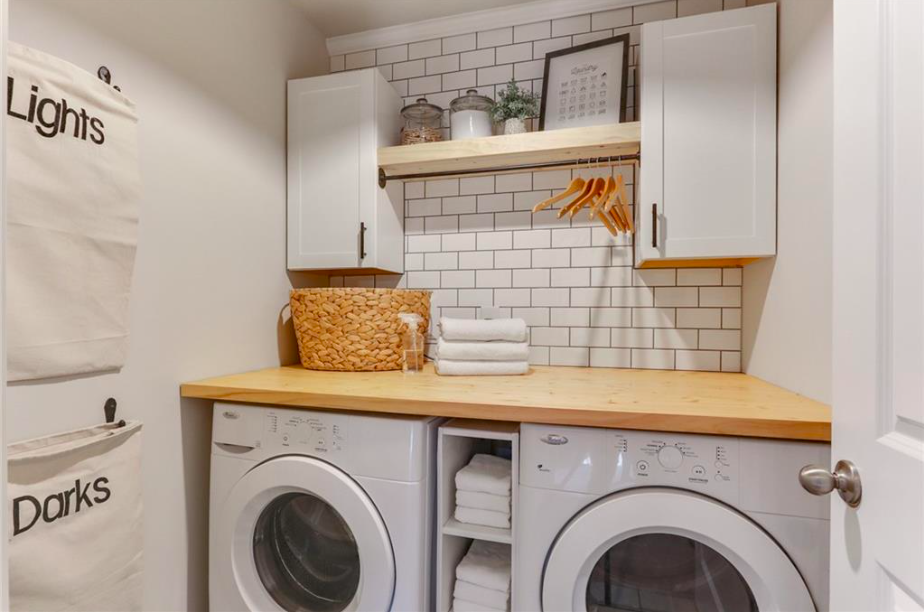
Laundry Room: After
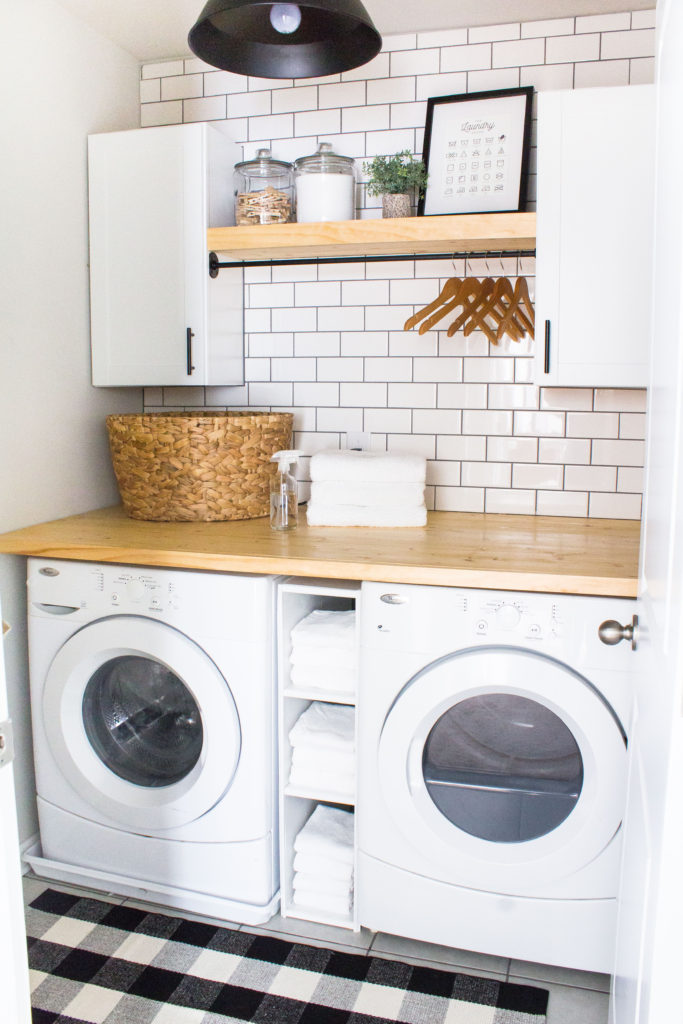
If you look closely in the two photos above, you can see where the tile does not line up with the ceiling in the top left corner. The tile line was straight, but our ceilings were terribly crooked!
I finally got around to fixing it before we moved (isn’t that how it always happens?). I simply added a piece of crown moulding at the top to conceal the gap. It is completely unnoticeable after some caulk and paint.
Stairs
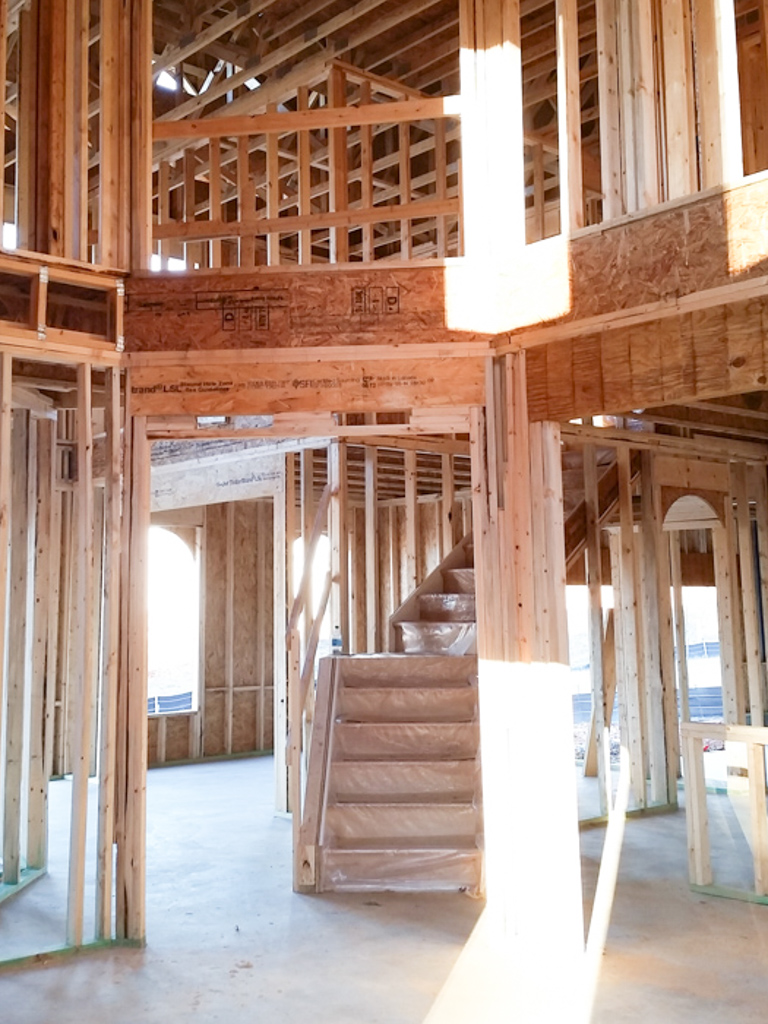
Stairs: Framing
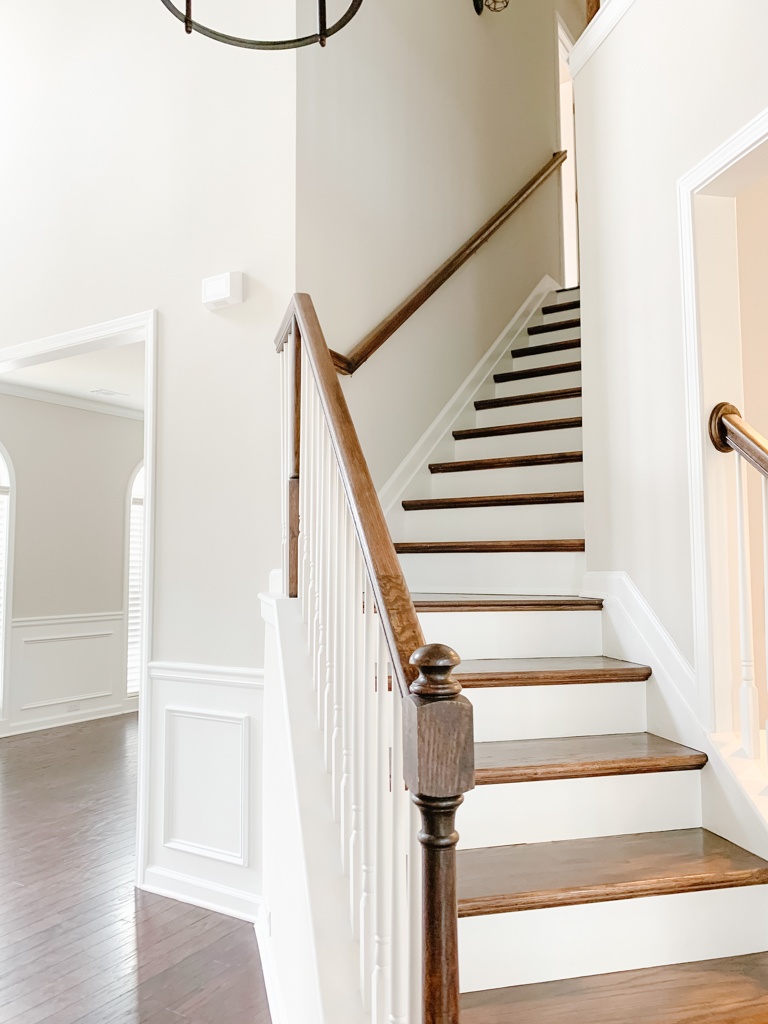
Stairs: Move-In Day
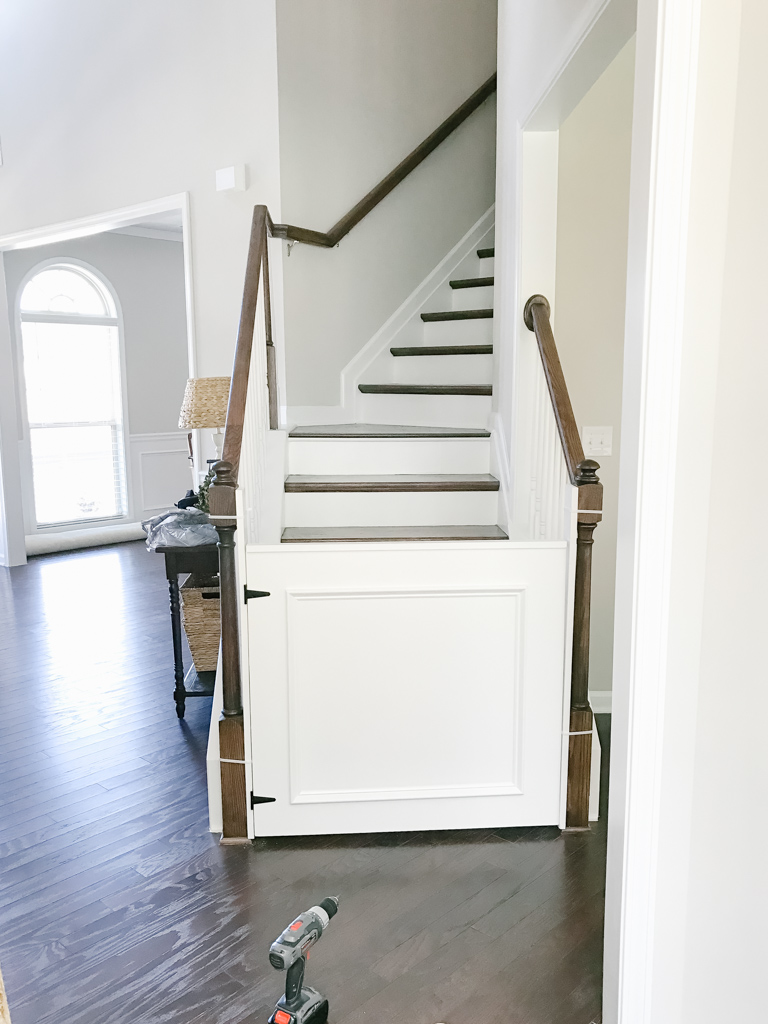
Stairs: DIY Baby Gate
We built these easy DIY baby gates and installed them on our stairs using zipties (so we didn’t have to drill holes in the bannisters!). These did not stay in the house while it was showing, but I have included them here for memory sake 🙂 These are such a great option for a safe baby gate that is also visually appealing.
You can see all of the details on how we built our DIY baby gates on my Instagram account. The videos are saved to a story highlight titled “Baby Gate.”
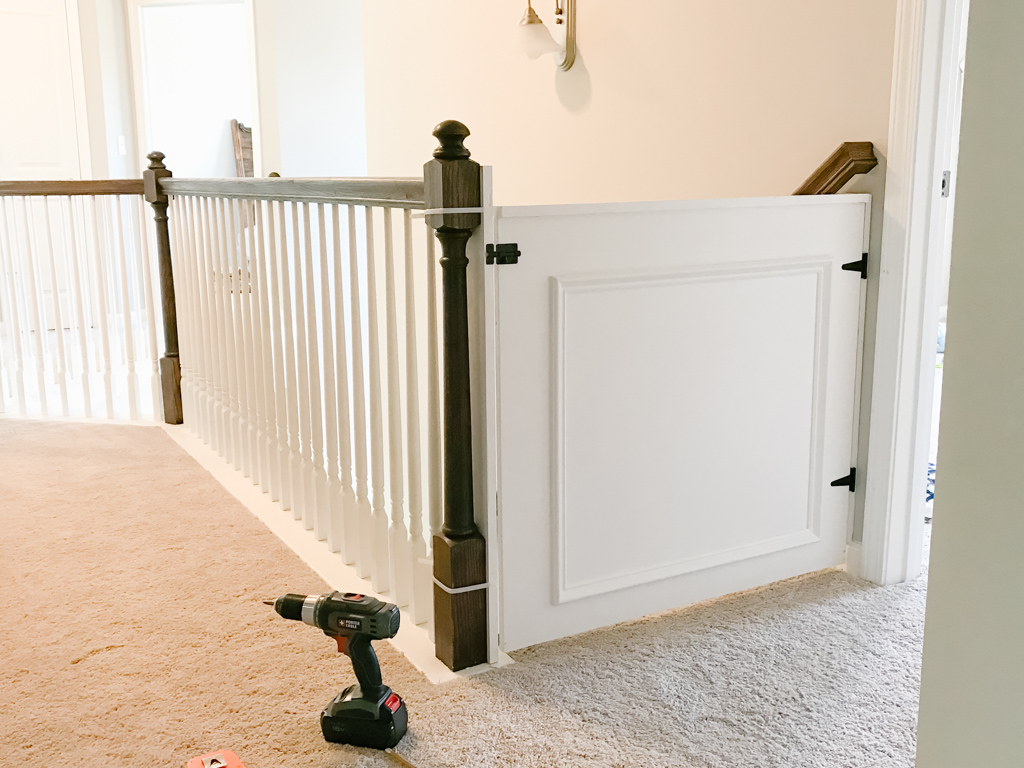
A look at the upstairs DIY baby gate.
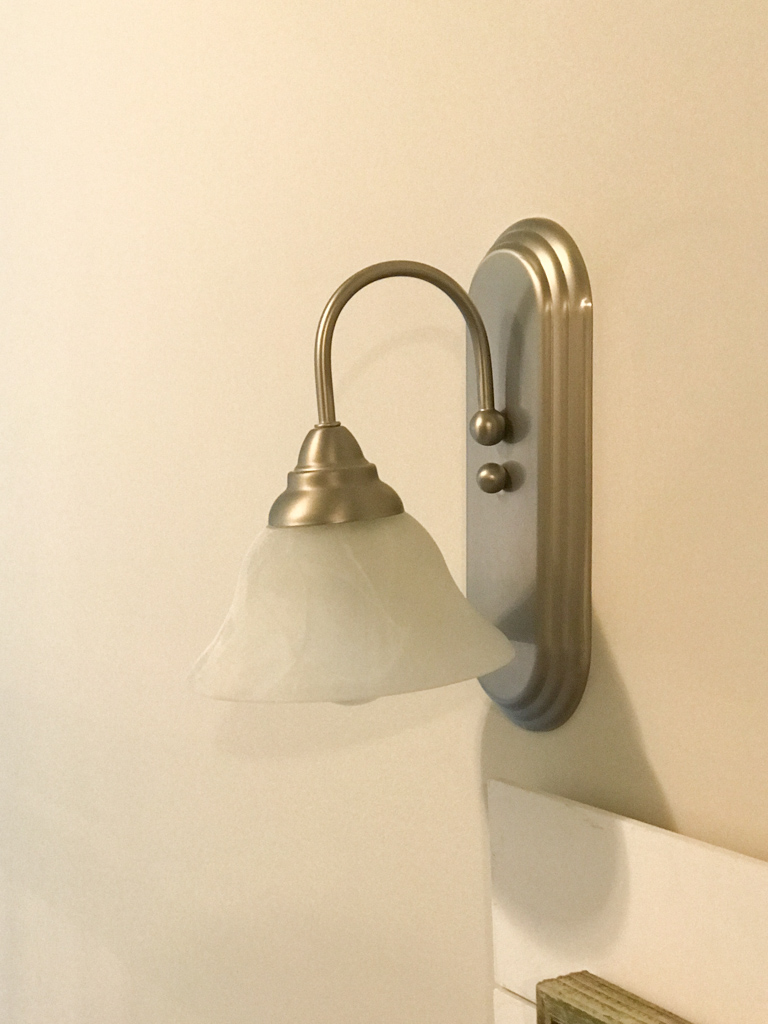
This is the “before” of the light fixture above the staircase. Yikes, that thing is not pretty.
For an inexpensive upgrade I removed the glass shade and replaced it with THIS $9 metal shade. Then I gave the entire thing a coat of black spray paint. Such an easy upgrade for under $10.
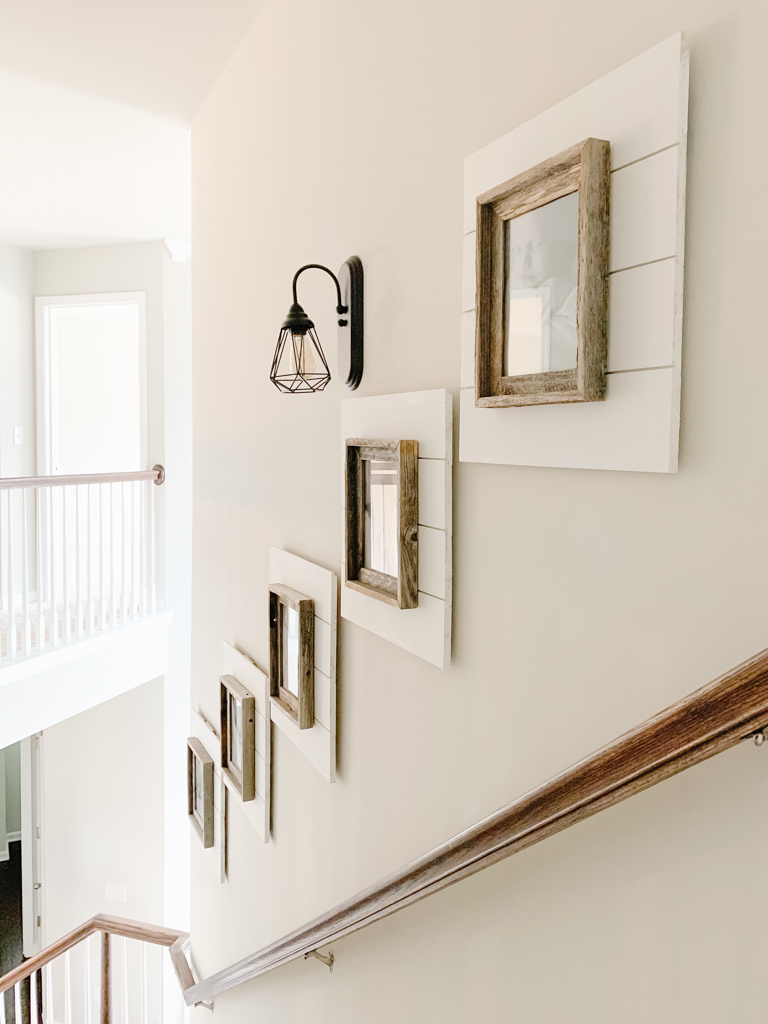
I used leftover scrap wood from our DIY Shiplap Fireplace project to make these shiplap picture frames. I attached them together from the back and then hung a wood picture frame on the front.
Nursery
Nursery: Before
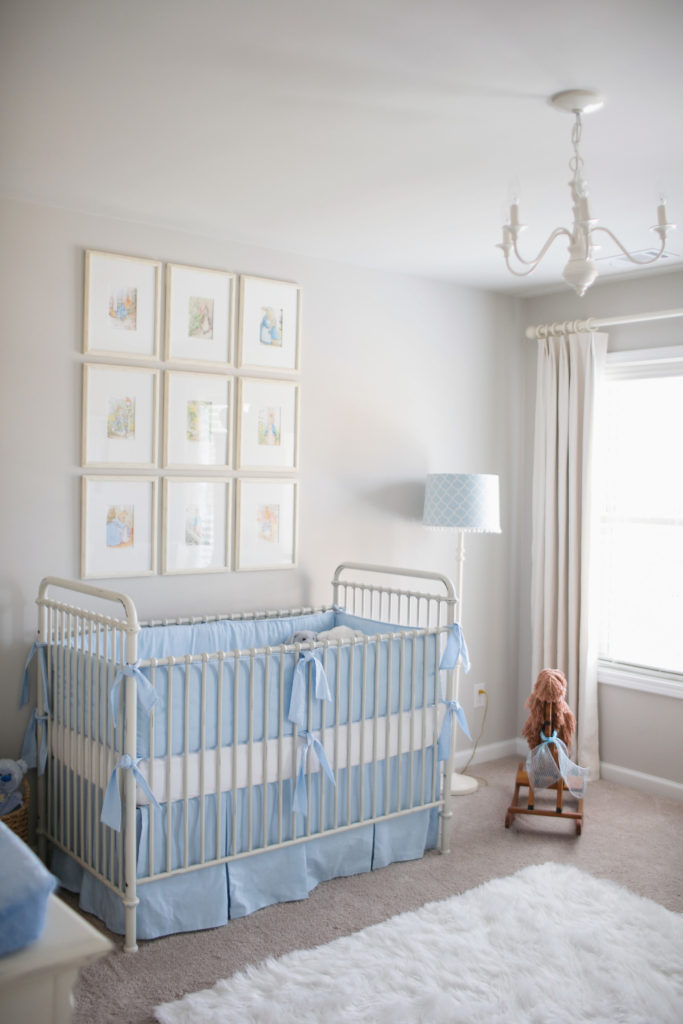
You can read all about the nursery HERE.
The only change to this room was the addition of the chandelier. I found it at a thrift store just as is! After a little research I’m pretty certain it was an old Pottery Barn Kids chandelier : )
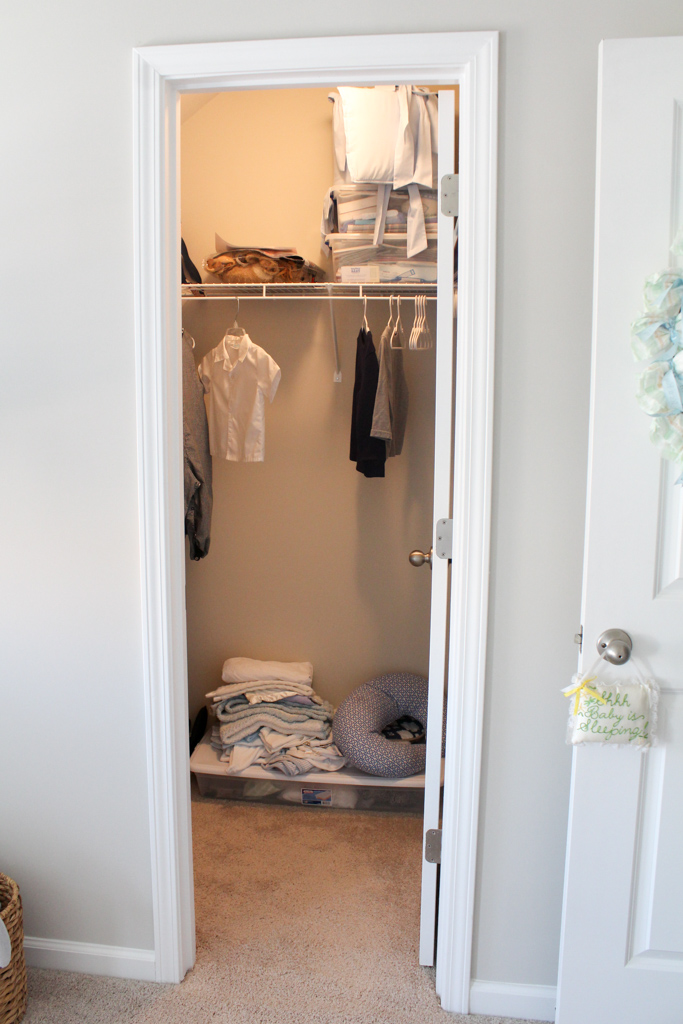
Nursery Closet: Before
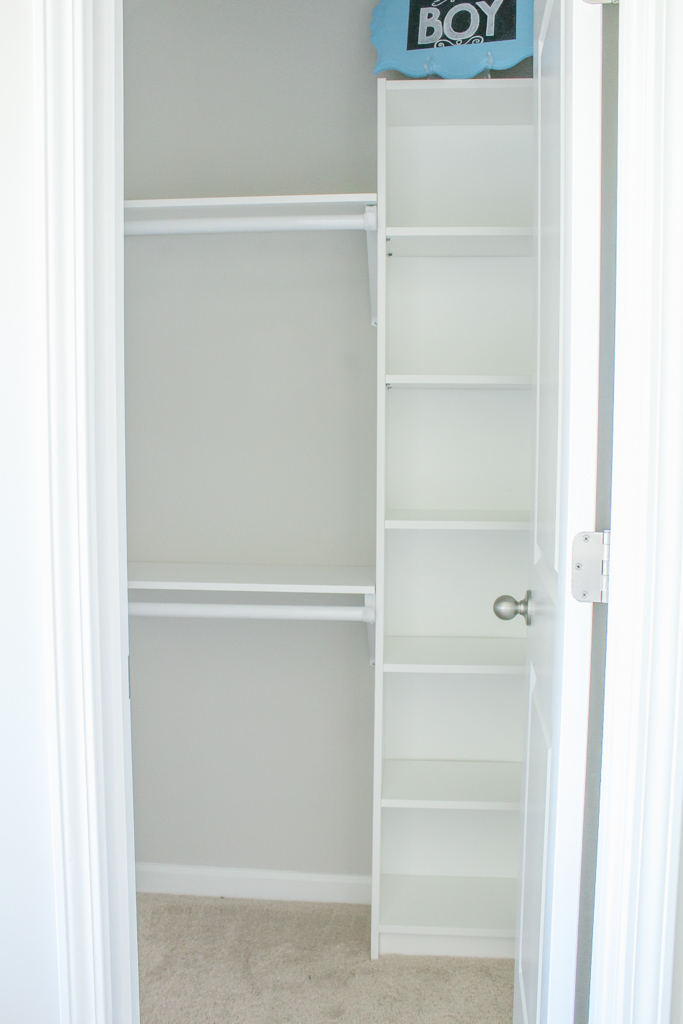
Read all the details of our DIY budget “Ikea Hack” custom nursery closet HERE.
Custom closets can cost thousands of dollars if you hire the job out to a professional. We used an Ikea hack and inexpensive shelving from our local Home Depot to create a “custom” closet on a budget.
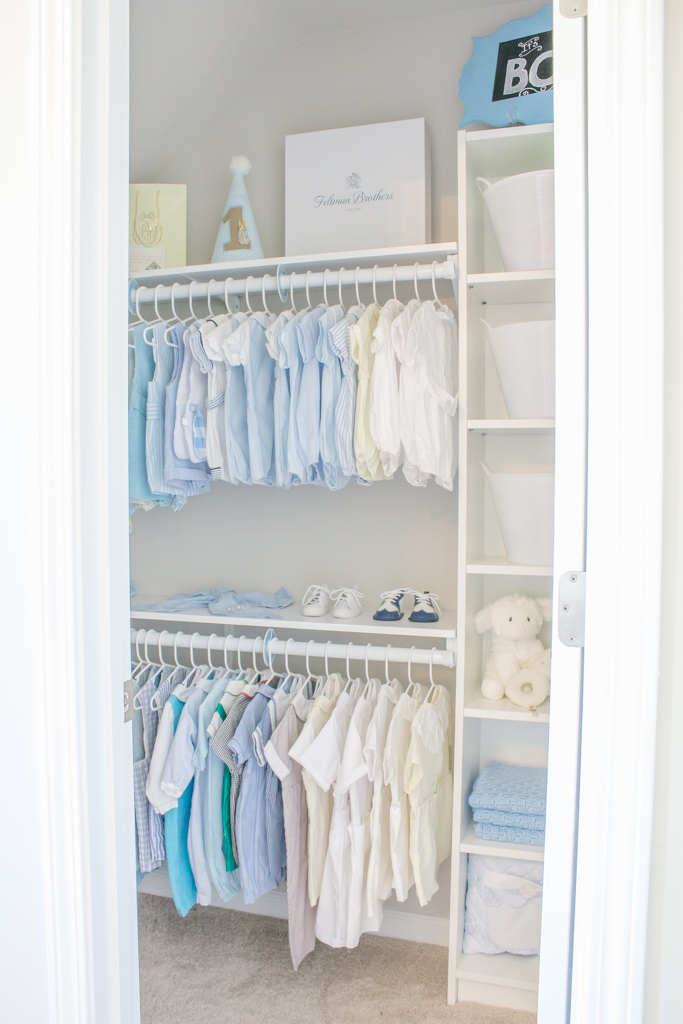
Nursery Closet: After
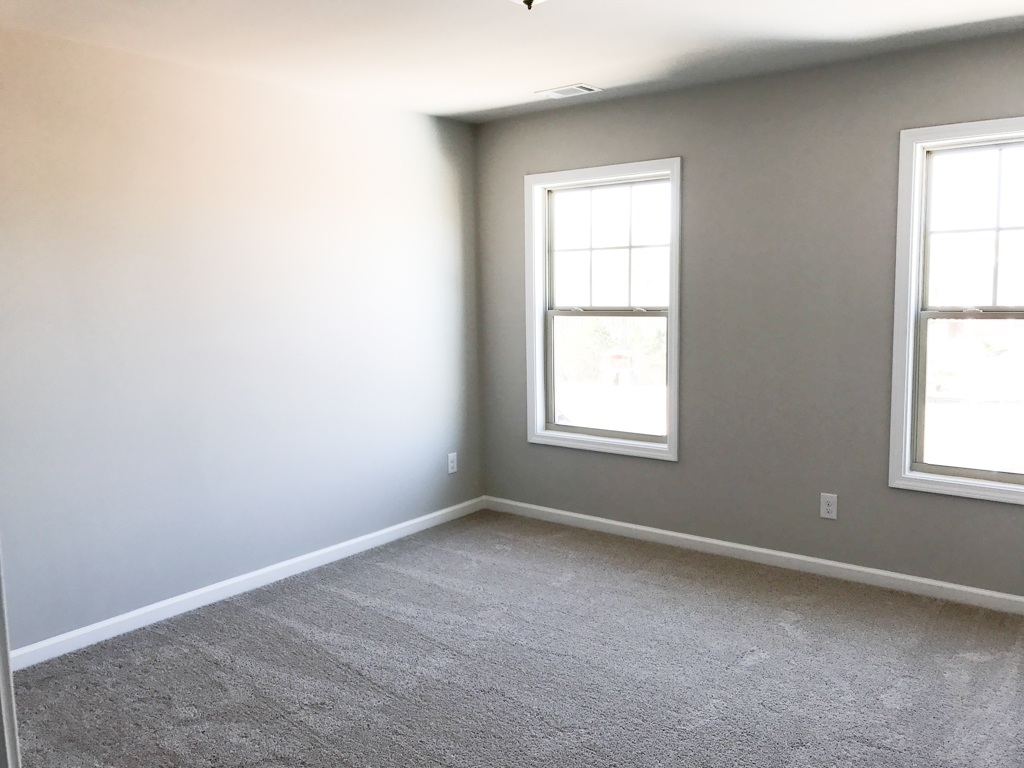
Master Bedroom
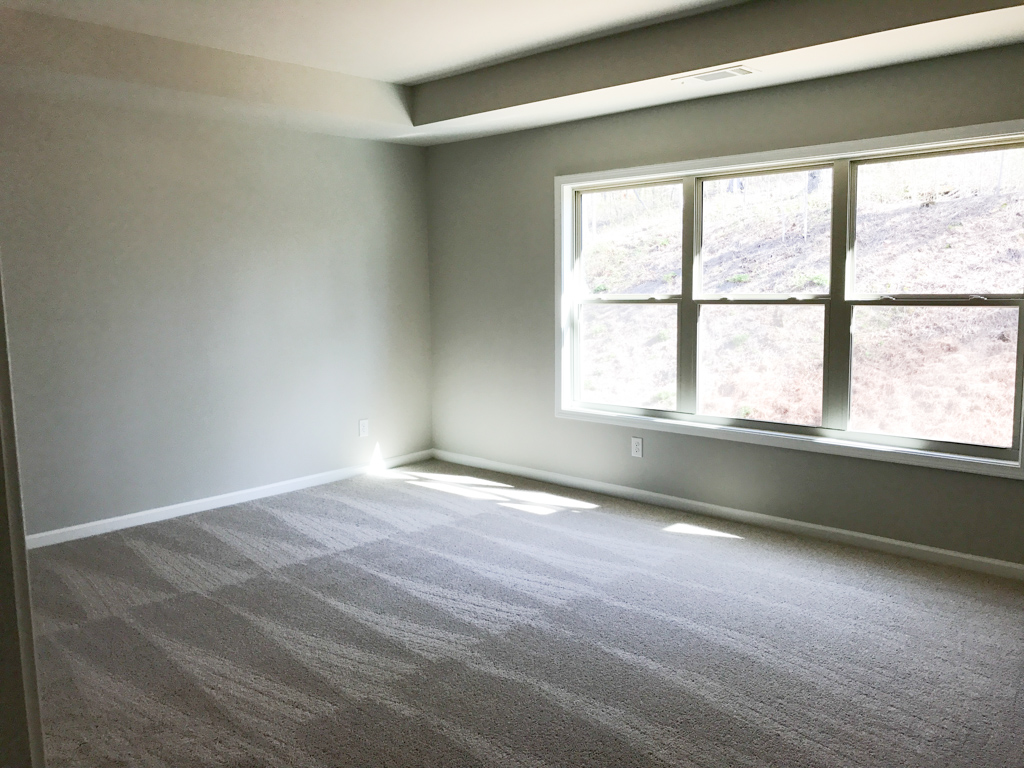
Master Bedroom: Before

Master Bedroom: After
We didn’t do anything to the master bedroom other than install a new chandelier from Wayfair. This room was far from complete (too busy doing projects in the rest of the house!), but it still showed well during listing.
Master Bathroom
Master Bathroom: Construction
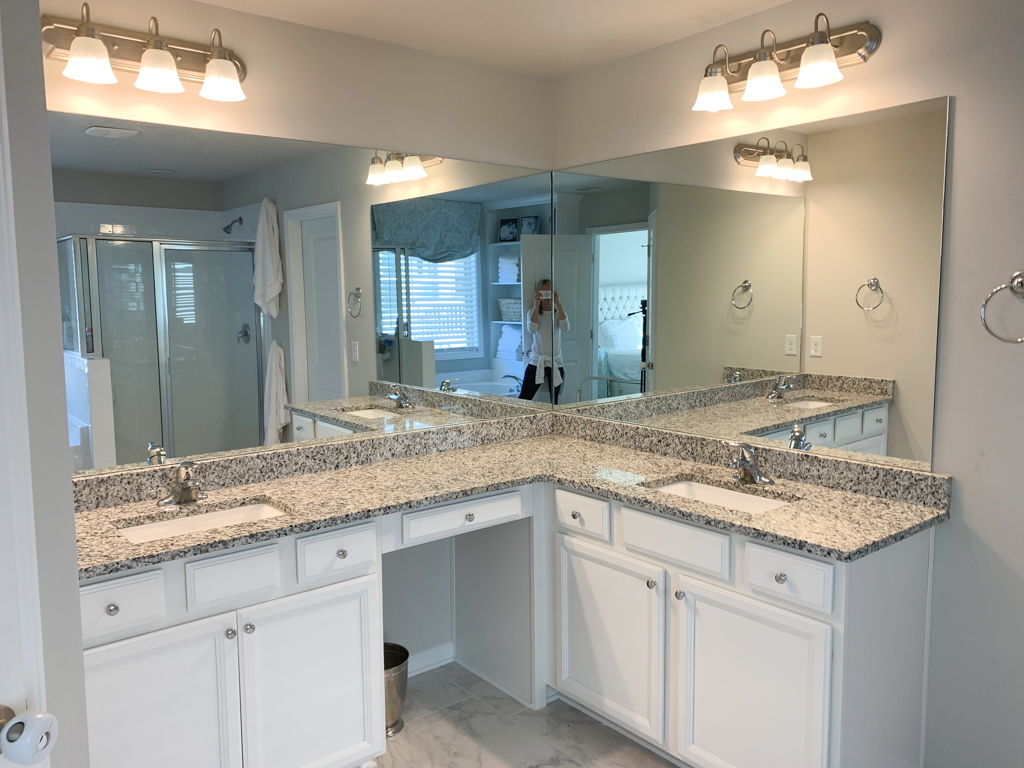
Master Bathroom: Before
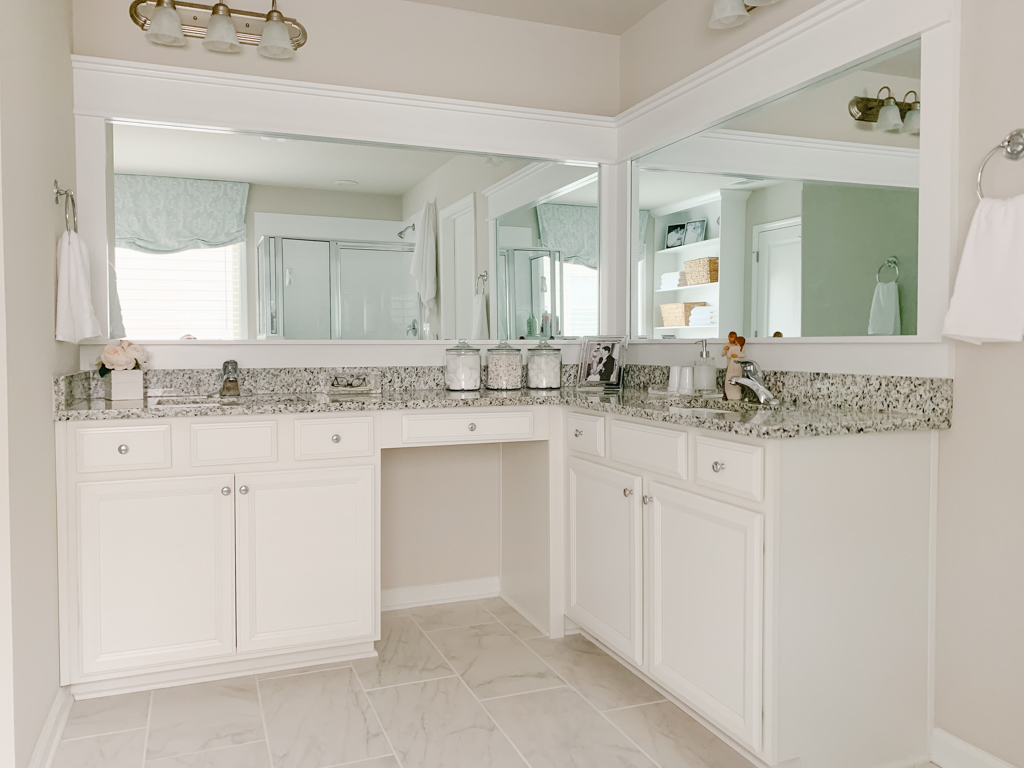
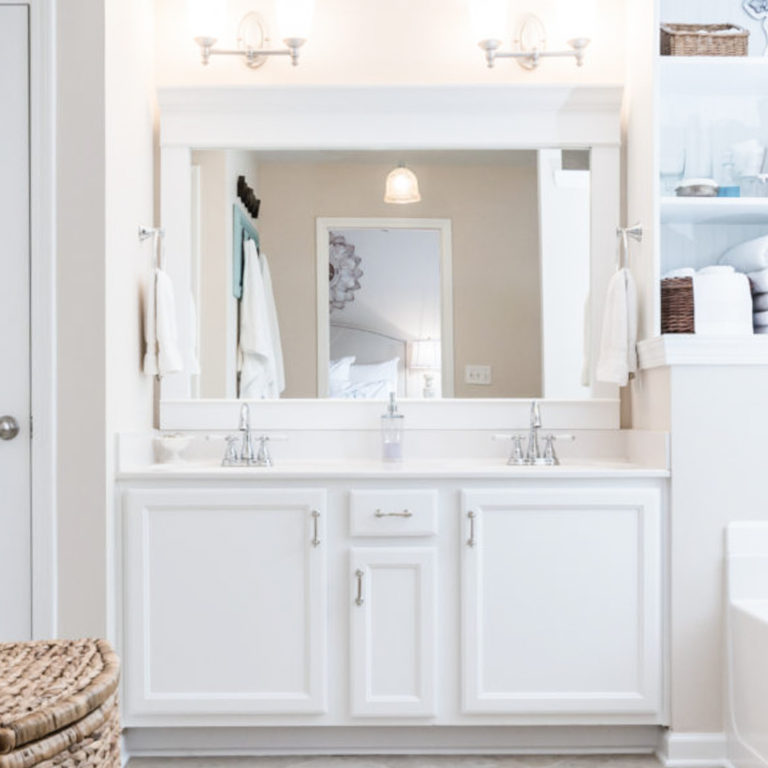
Master Bathroom: After
We framed out the builder grade bathroom mirrors in the master bathroom the same way we did in our first house.
This is such an easy and inexpensive way to add character to a builder-grade bathroom. A full tutorial is coming to the blog soon, but all of the details (with lots of videos!) can be found saved to the story highlights on my Instagram account.
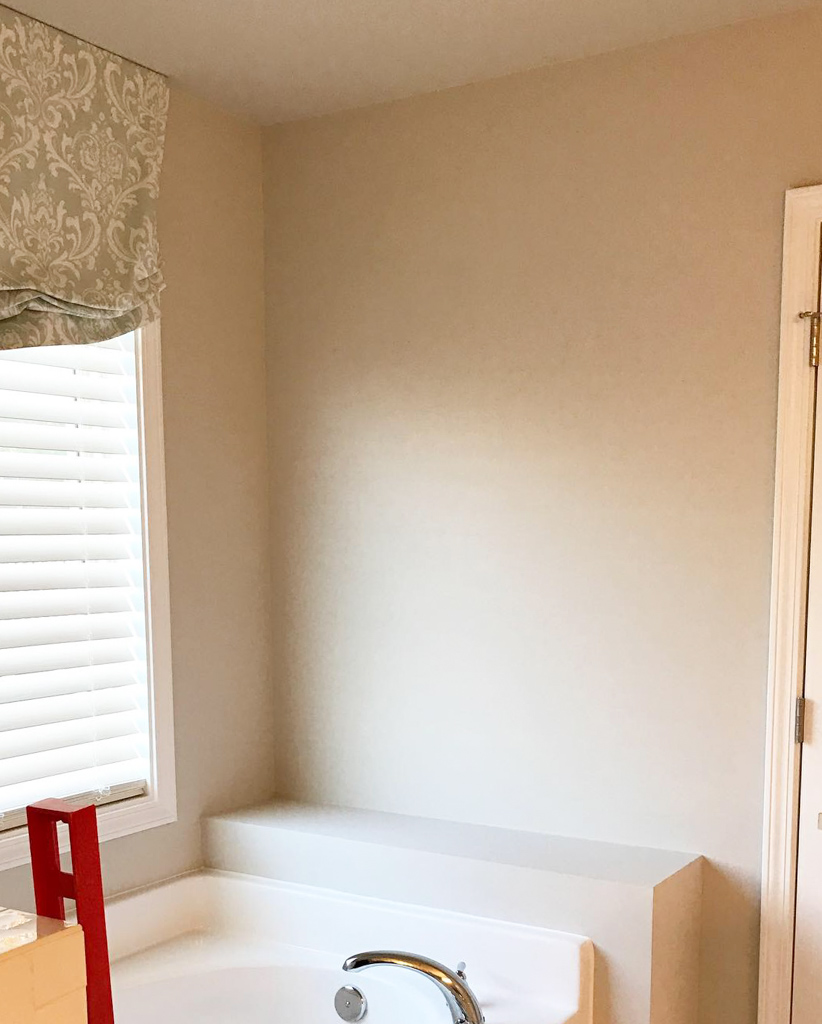
Master Bathroom: Before
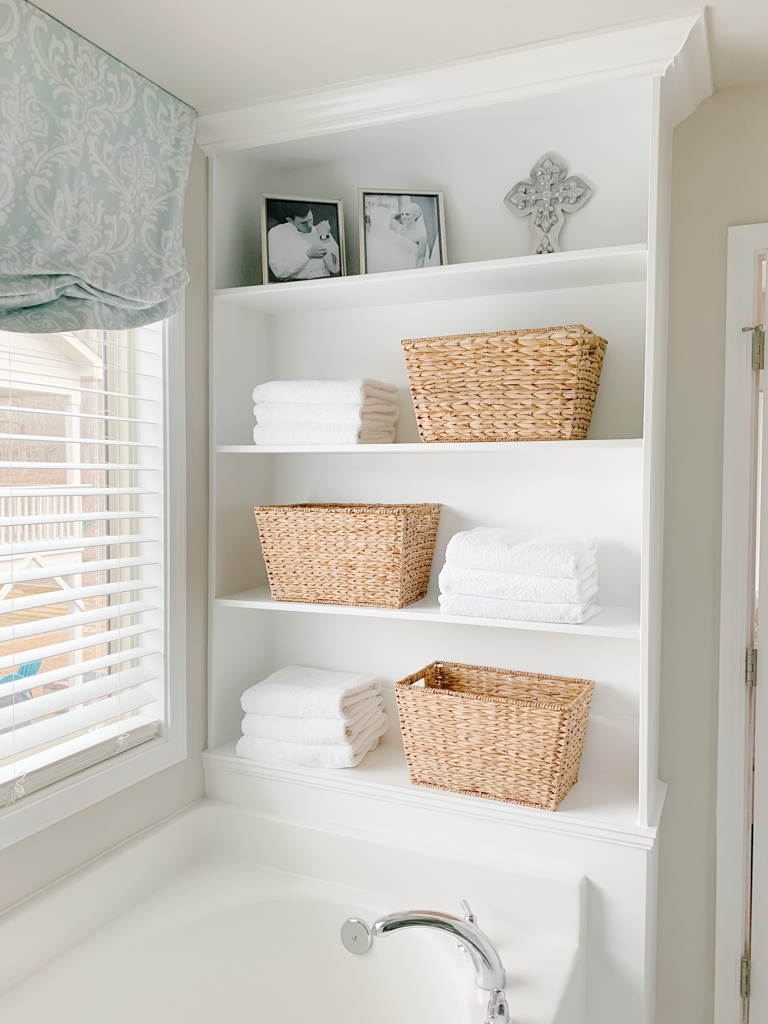
Master Bathroom: After
We utilized the wasted space above the bathroom by adding DIY built-in shelves. They added so much functional and organized storage. Both pretty and practical, and once again, custom built-ins always add value!
Does this look familiar? You may remember we did this same exact thing to the wasted space above the bathroom in our first house too!

We also took advantage of the wall space above the toilet in the water closet by adding simple DIY storage shelves.
John Davis’s Room
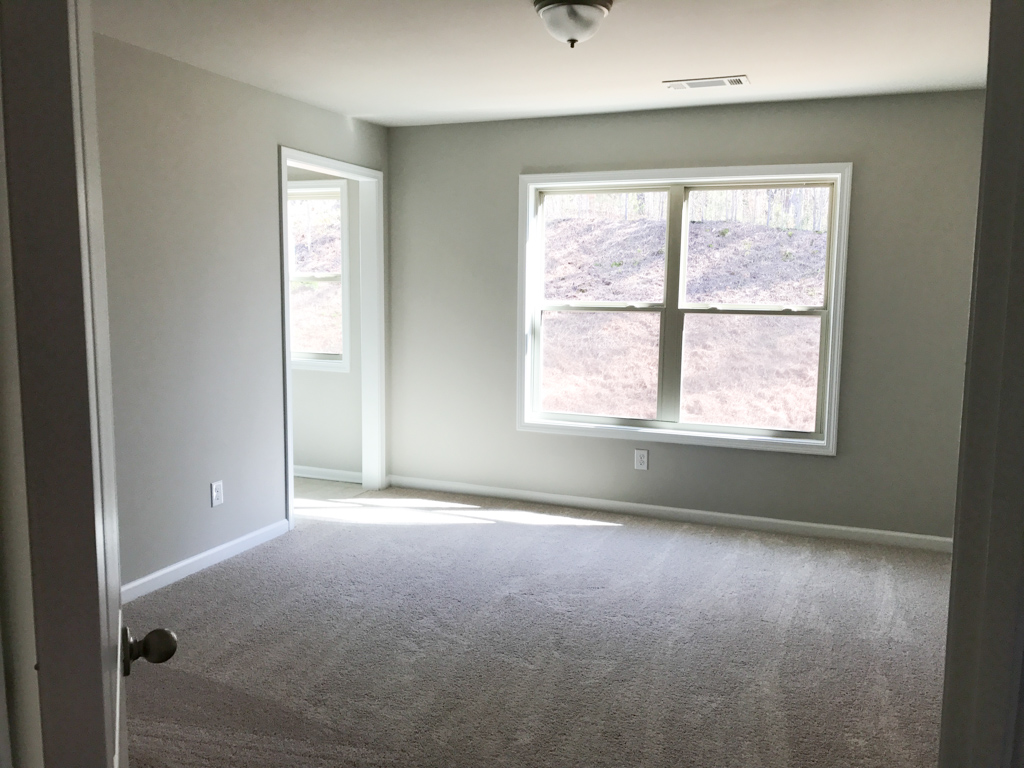
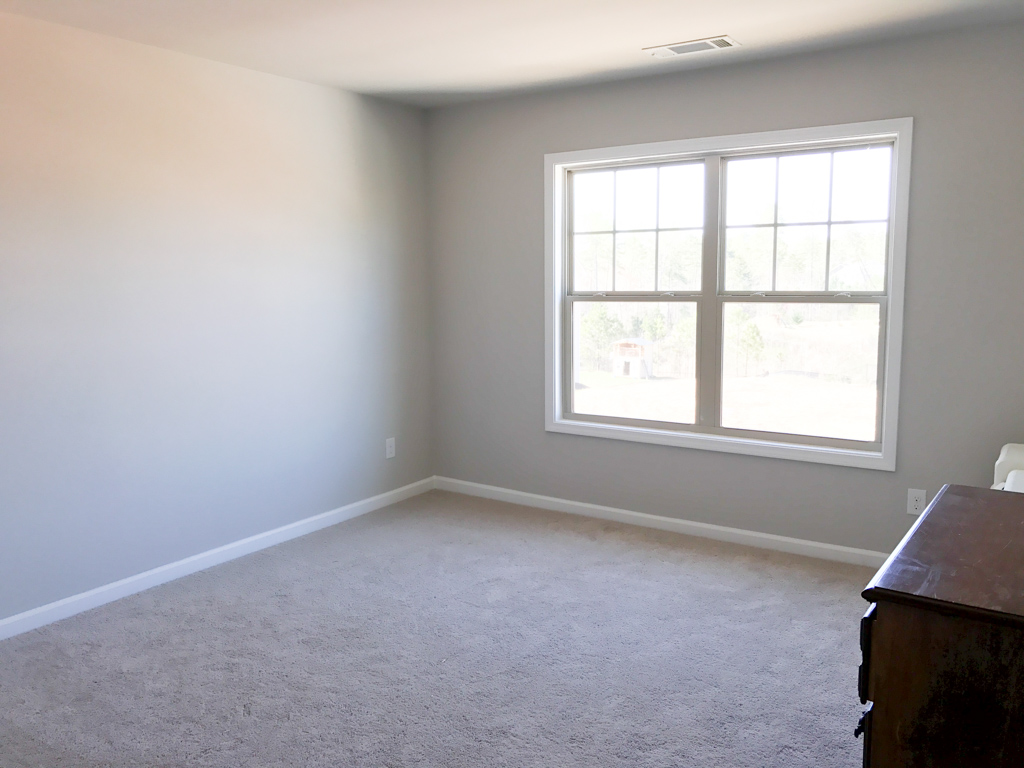
John Davis’s Room: Before
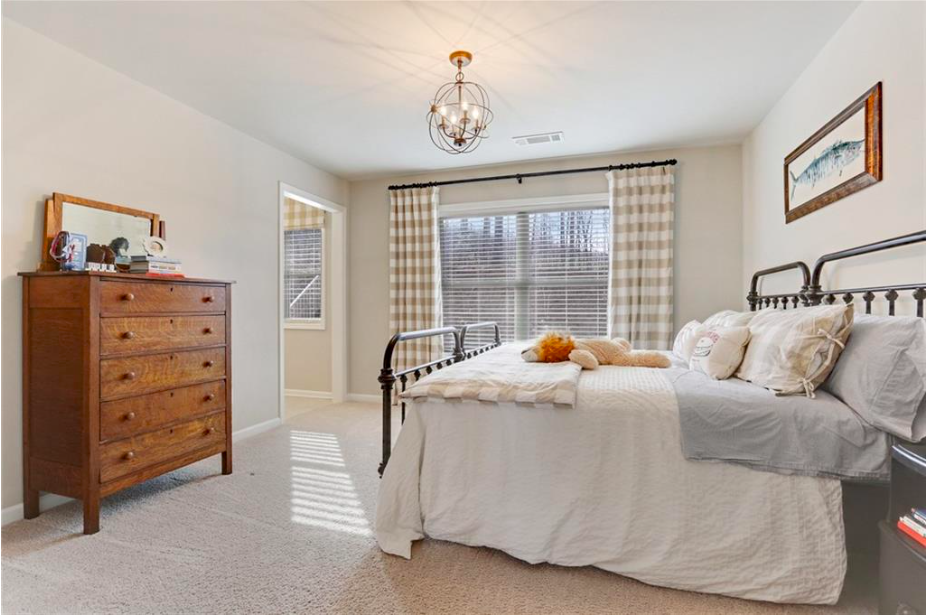
John Davis’s Room: After
We did not change anything in John Davis’s room other than installing an inexpensive orb chandelier I ordered from Amazon (another price to find great prices on lighting!).
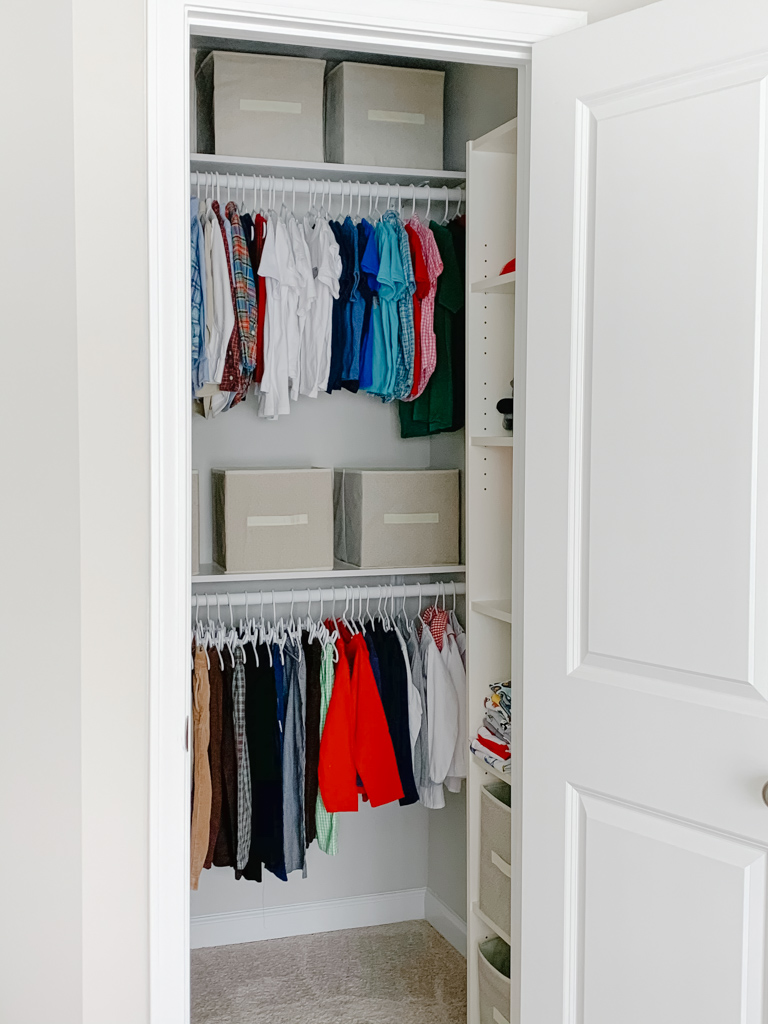
John Davis also got his own DIY “Ikea Hack” custom closet. Read all the details of how we did it HERE.
Guest Room
Guest Room: Before
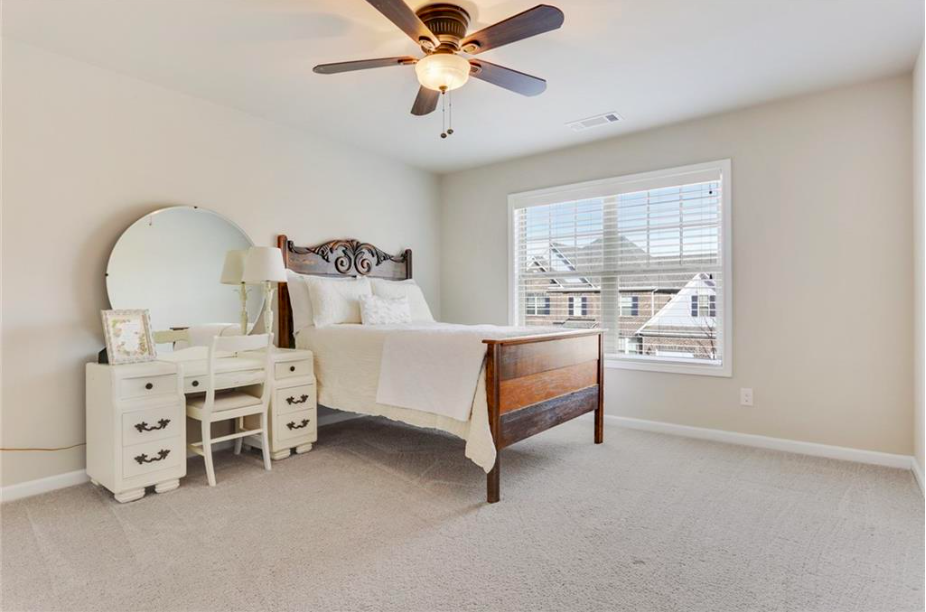
Guest Room: After
No changes to the guest room other than the addition of the ceiling fan (we already had it left over from our old house when we replaced this fan with a chandelier in the nursery).
We cleared everything out of this room while the house was listed, but normally this room was somewhat of a “catch-all” for us. We had a treadmill in here, and it served as my makeshift sewing and craft room, too!
Powder Bathroom
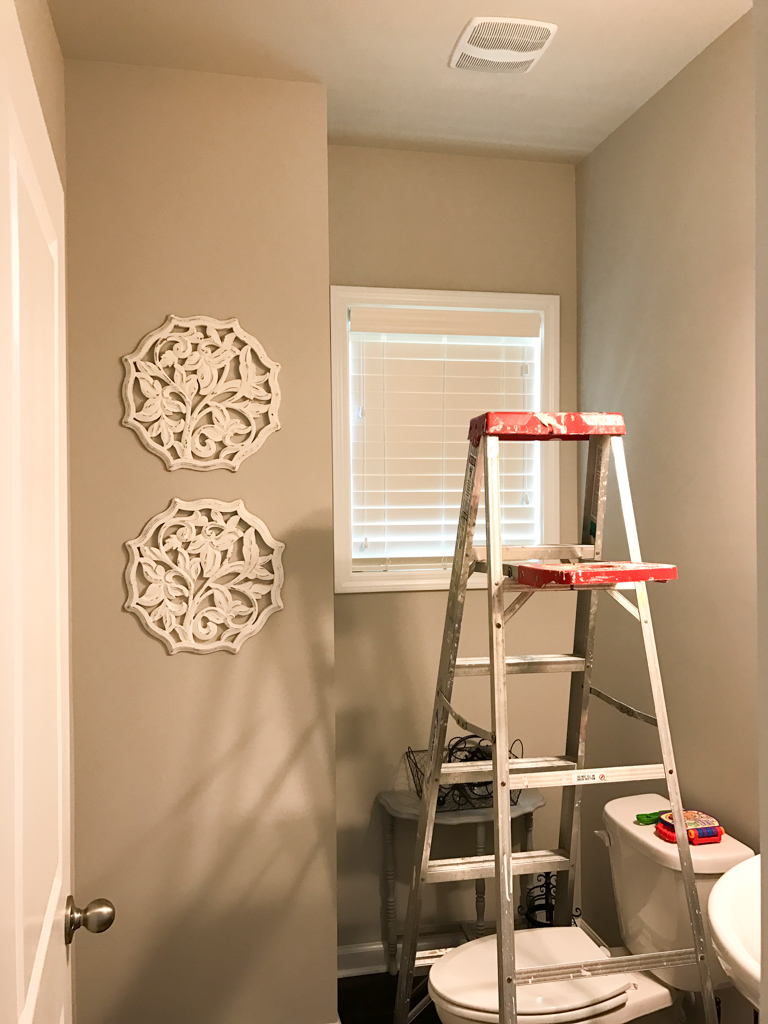
Powder Bathroom: Before
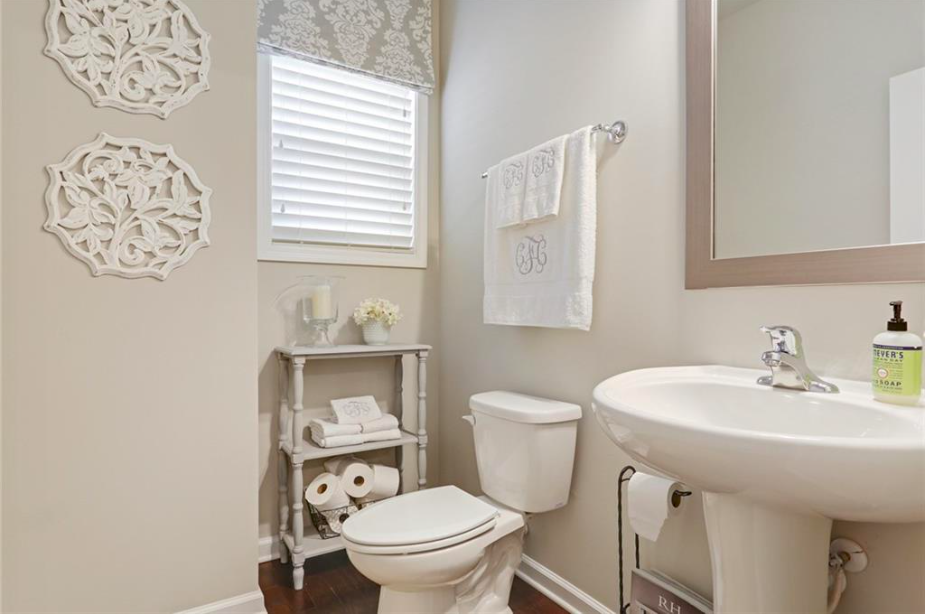
Powder Bathroom: After
No changes to the downstairs powder room other than decor. This is another great example of how staging can impact the value of a home: the addition of the roman shade above the window makes the window appear taller, and thus makes the room appear larger as well.
Office
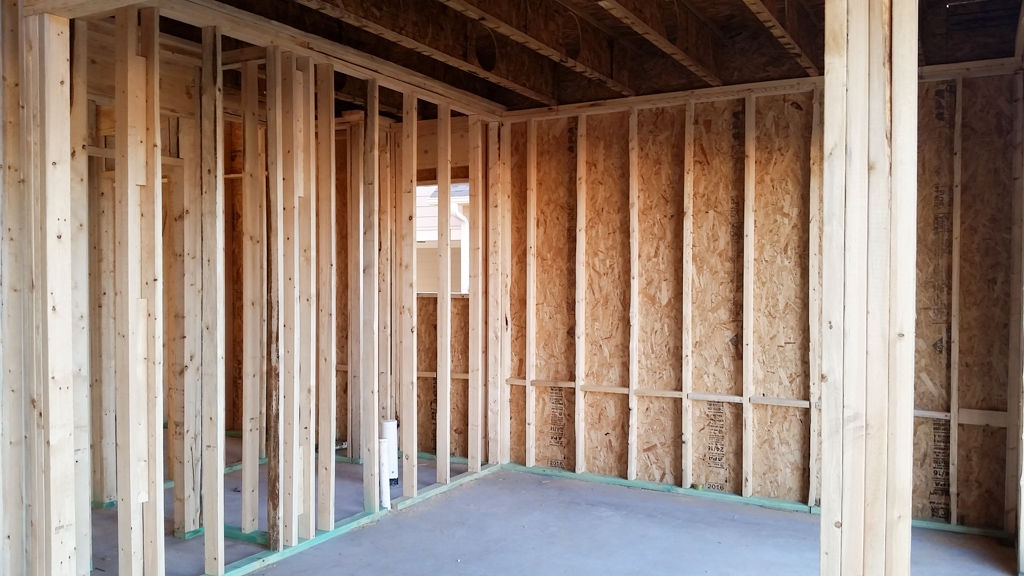
Office: Framing
Office: Before
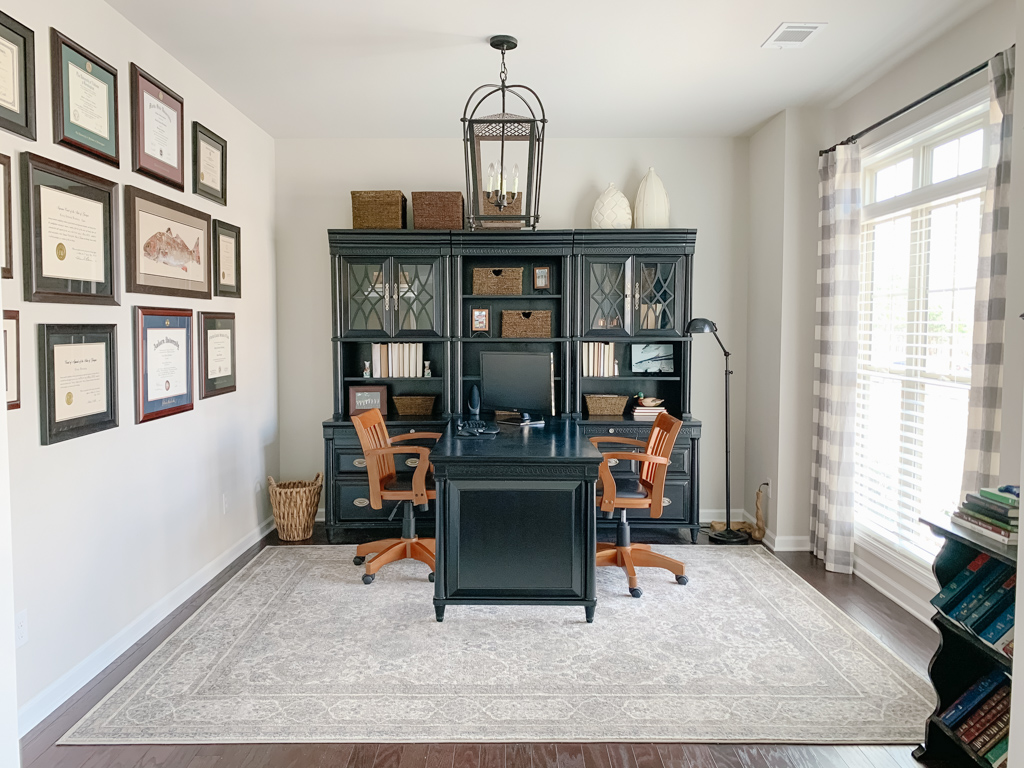
Office: After
Once again, the only change to this room was the addition of the chandelier, from yep – you guessed it! – the Ballard Designs outlet.
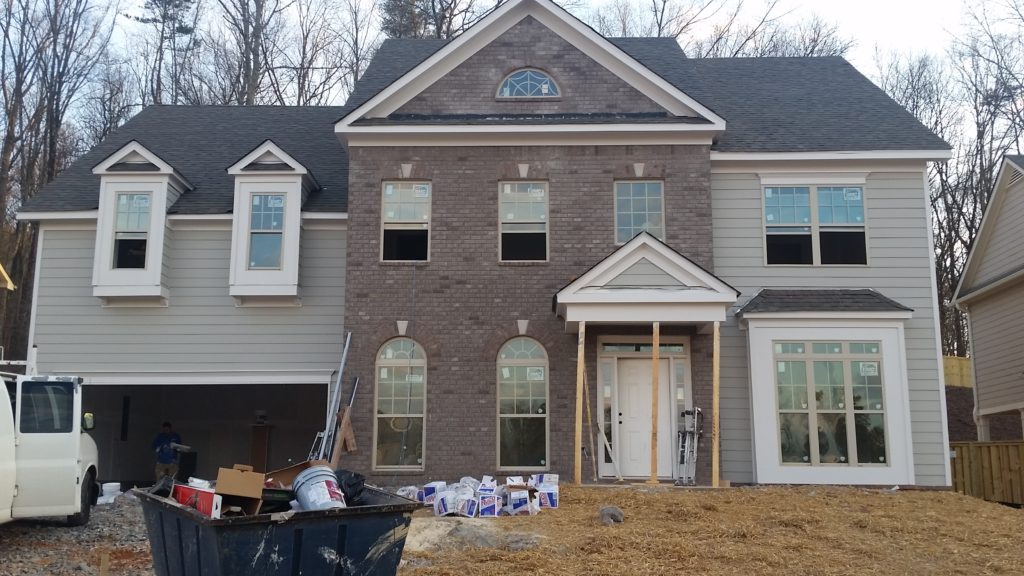
Exterior
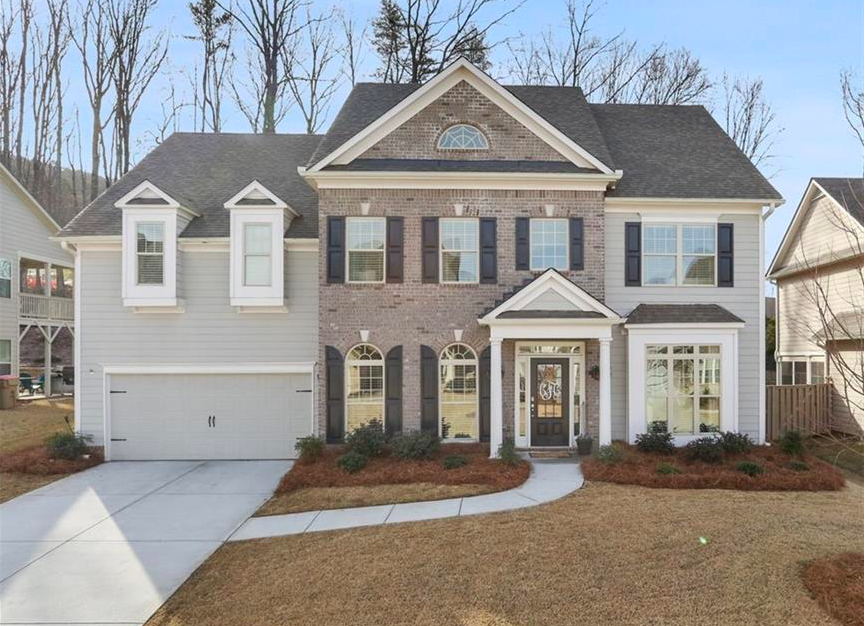
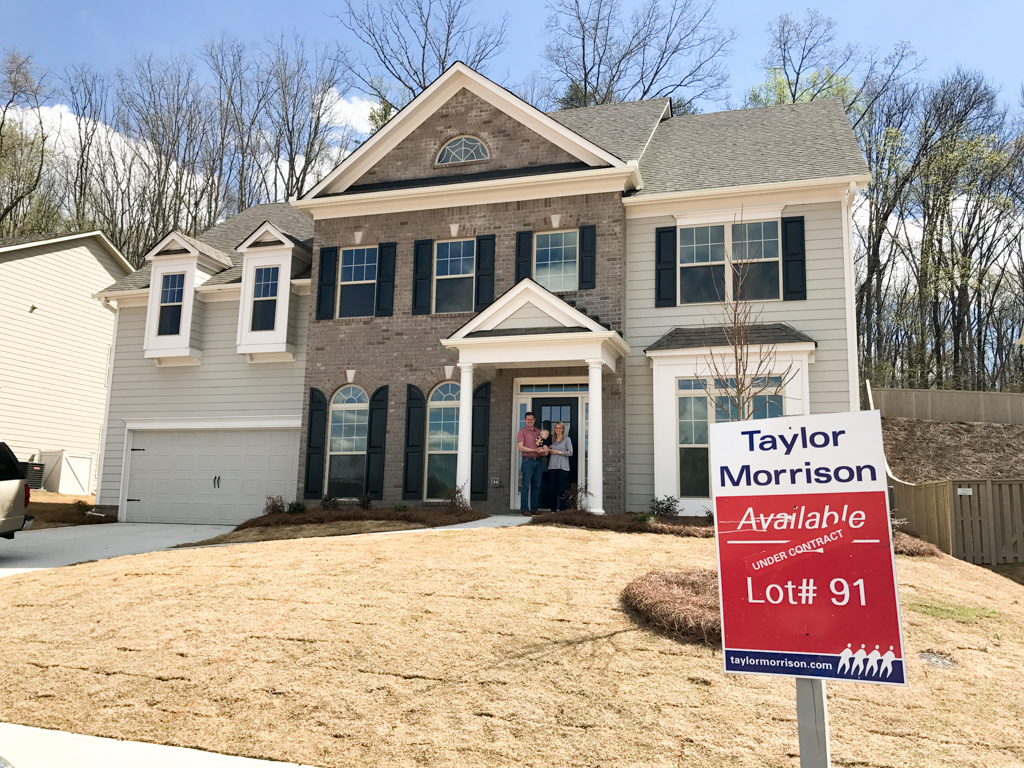
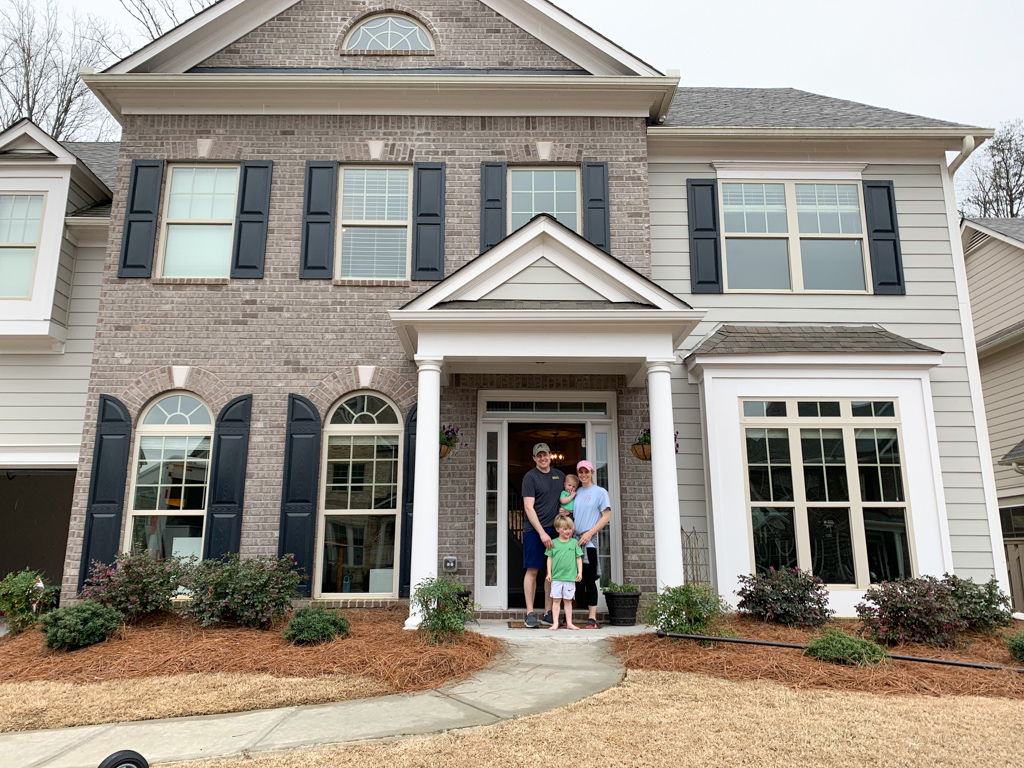
Home Exterior: Front
We did not make any changes to the front of the house!
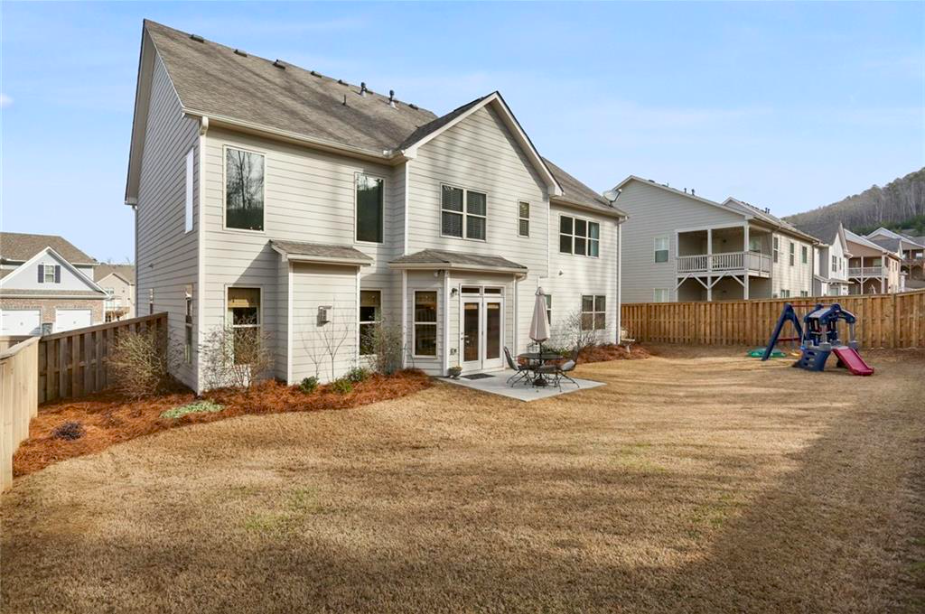
Home Exterior: Back
In the backyard we added a privacy fence and new landscaping.
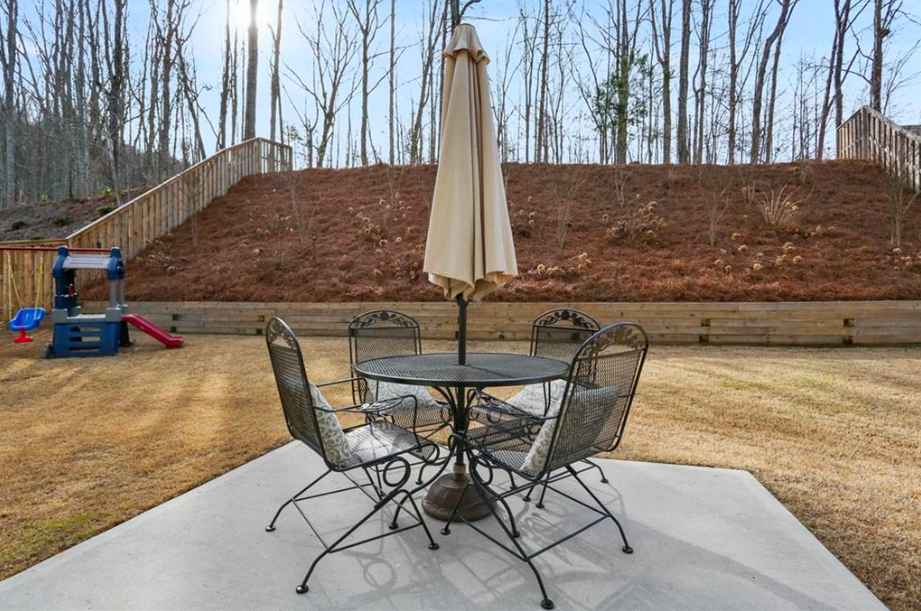
After the grading of our backyard we were not happy with the slope in the lower part of the yard. We negotiated with our builder and he agreed to add a retaining wall at no extra cost to us (saving us thousands of dollars out of pocket). Hubby is an attorney so he is not scared to negotiate :), but you have to stand up for what you think is fair and right during the building process! Builders want to finish quickly and close (i.e. get paid), so if you are reasonable they will generally work with you.
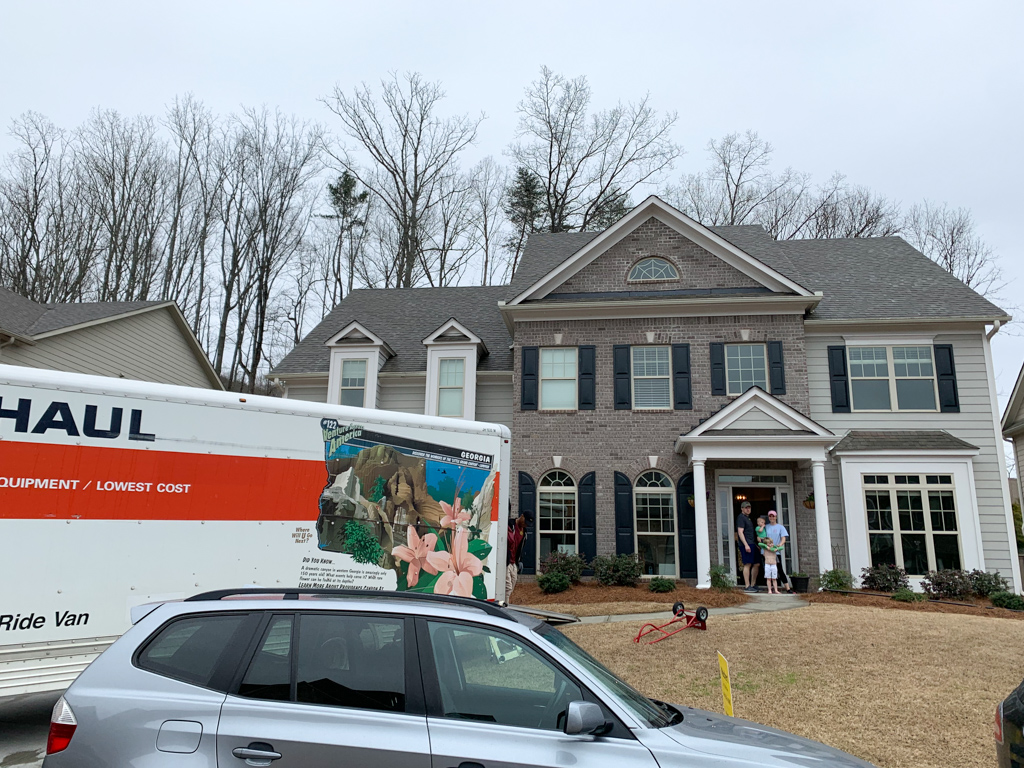
Moving Day!
Moving Day: March 2020
Looking back, it is incredible to see how God provided and orchestrated every single detail of the sale of our house. We went under contract right before the worldwide coronavirus pandemic got really bad. If things had been different by even one week, it would probably be a completely different story.
We are so thankful for the many blessings, provisions, growth, lessons learned, and all the love we experienced in our house on Poplar Ridge.
Give thanks to the Lord, for He is good. His love endures forever. Psalm 136:1