DIY Shiplap Fireplace Tutorial
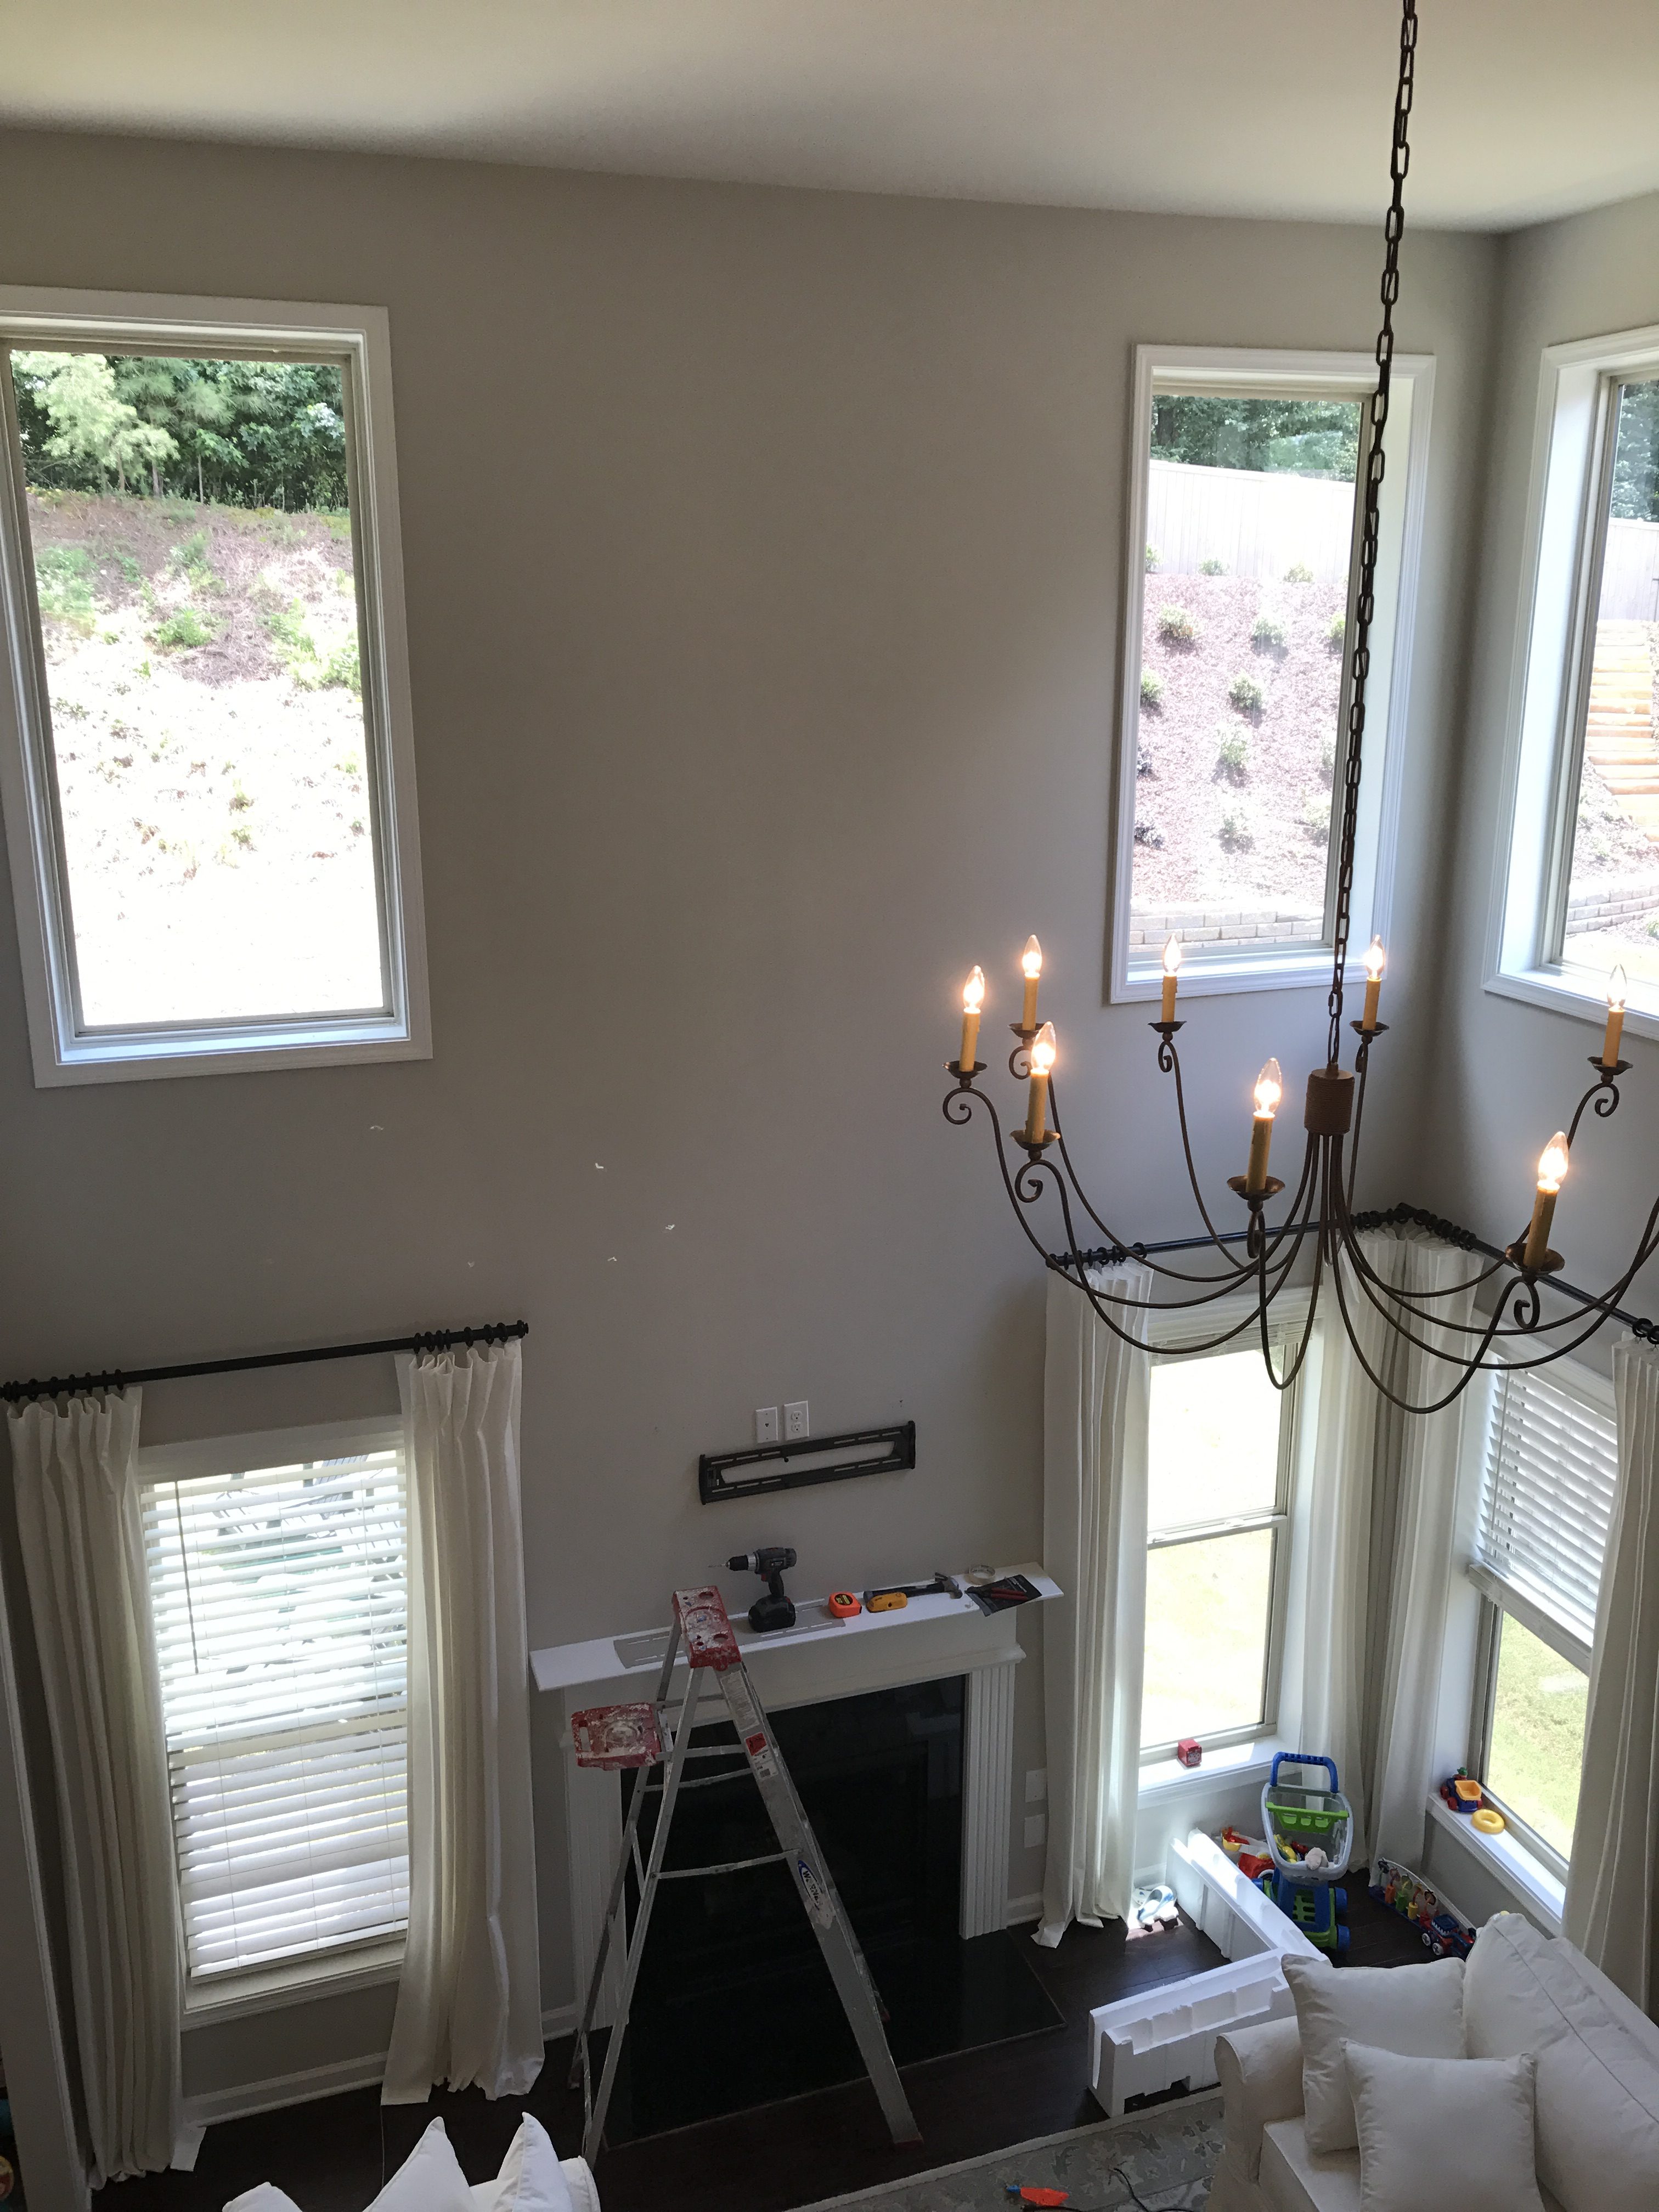
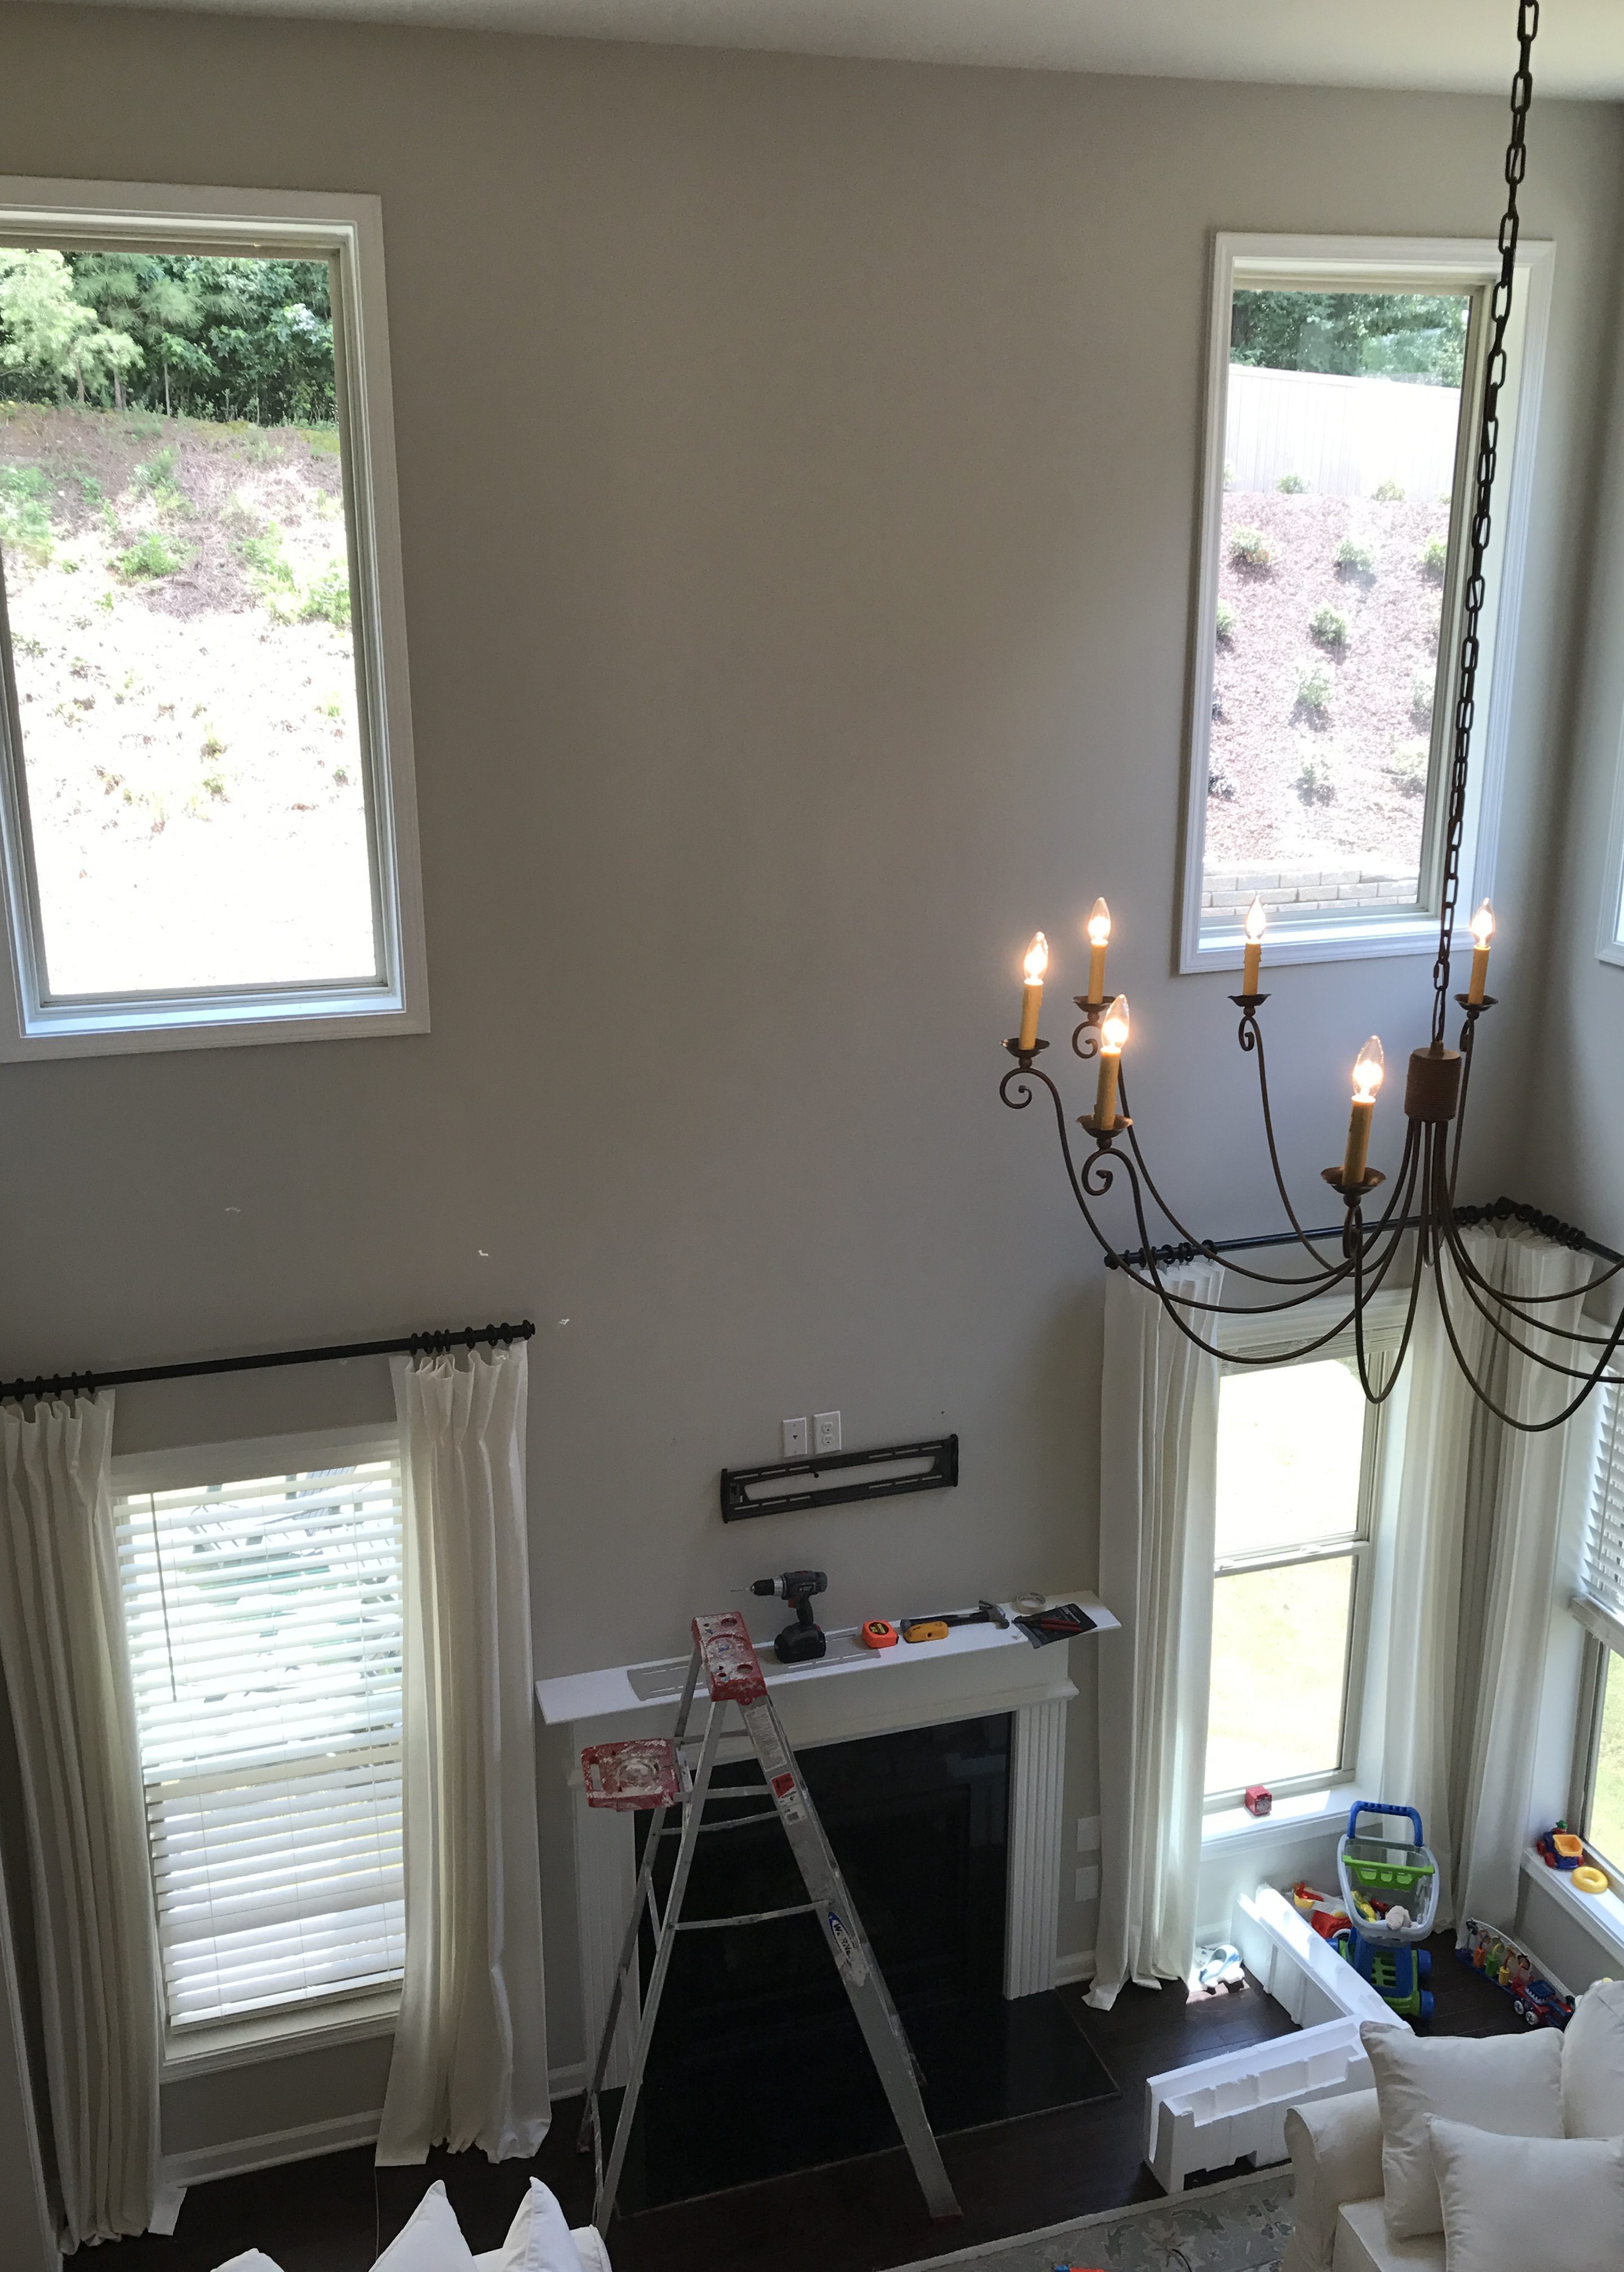
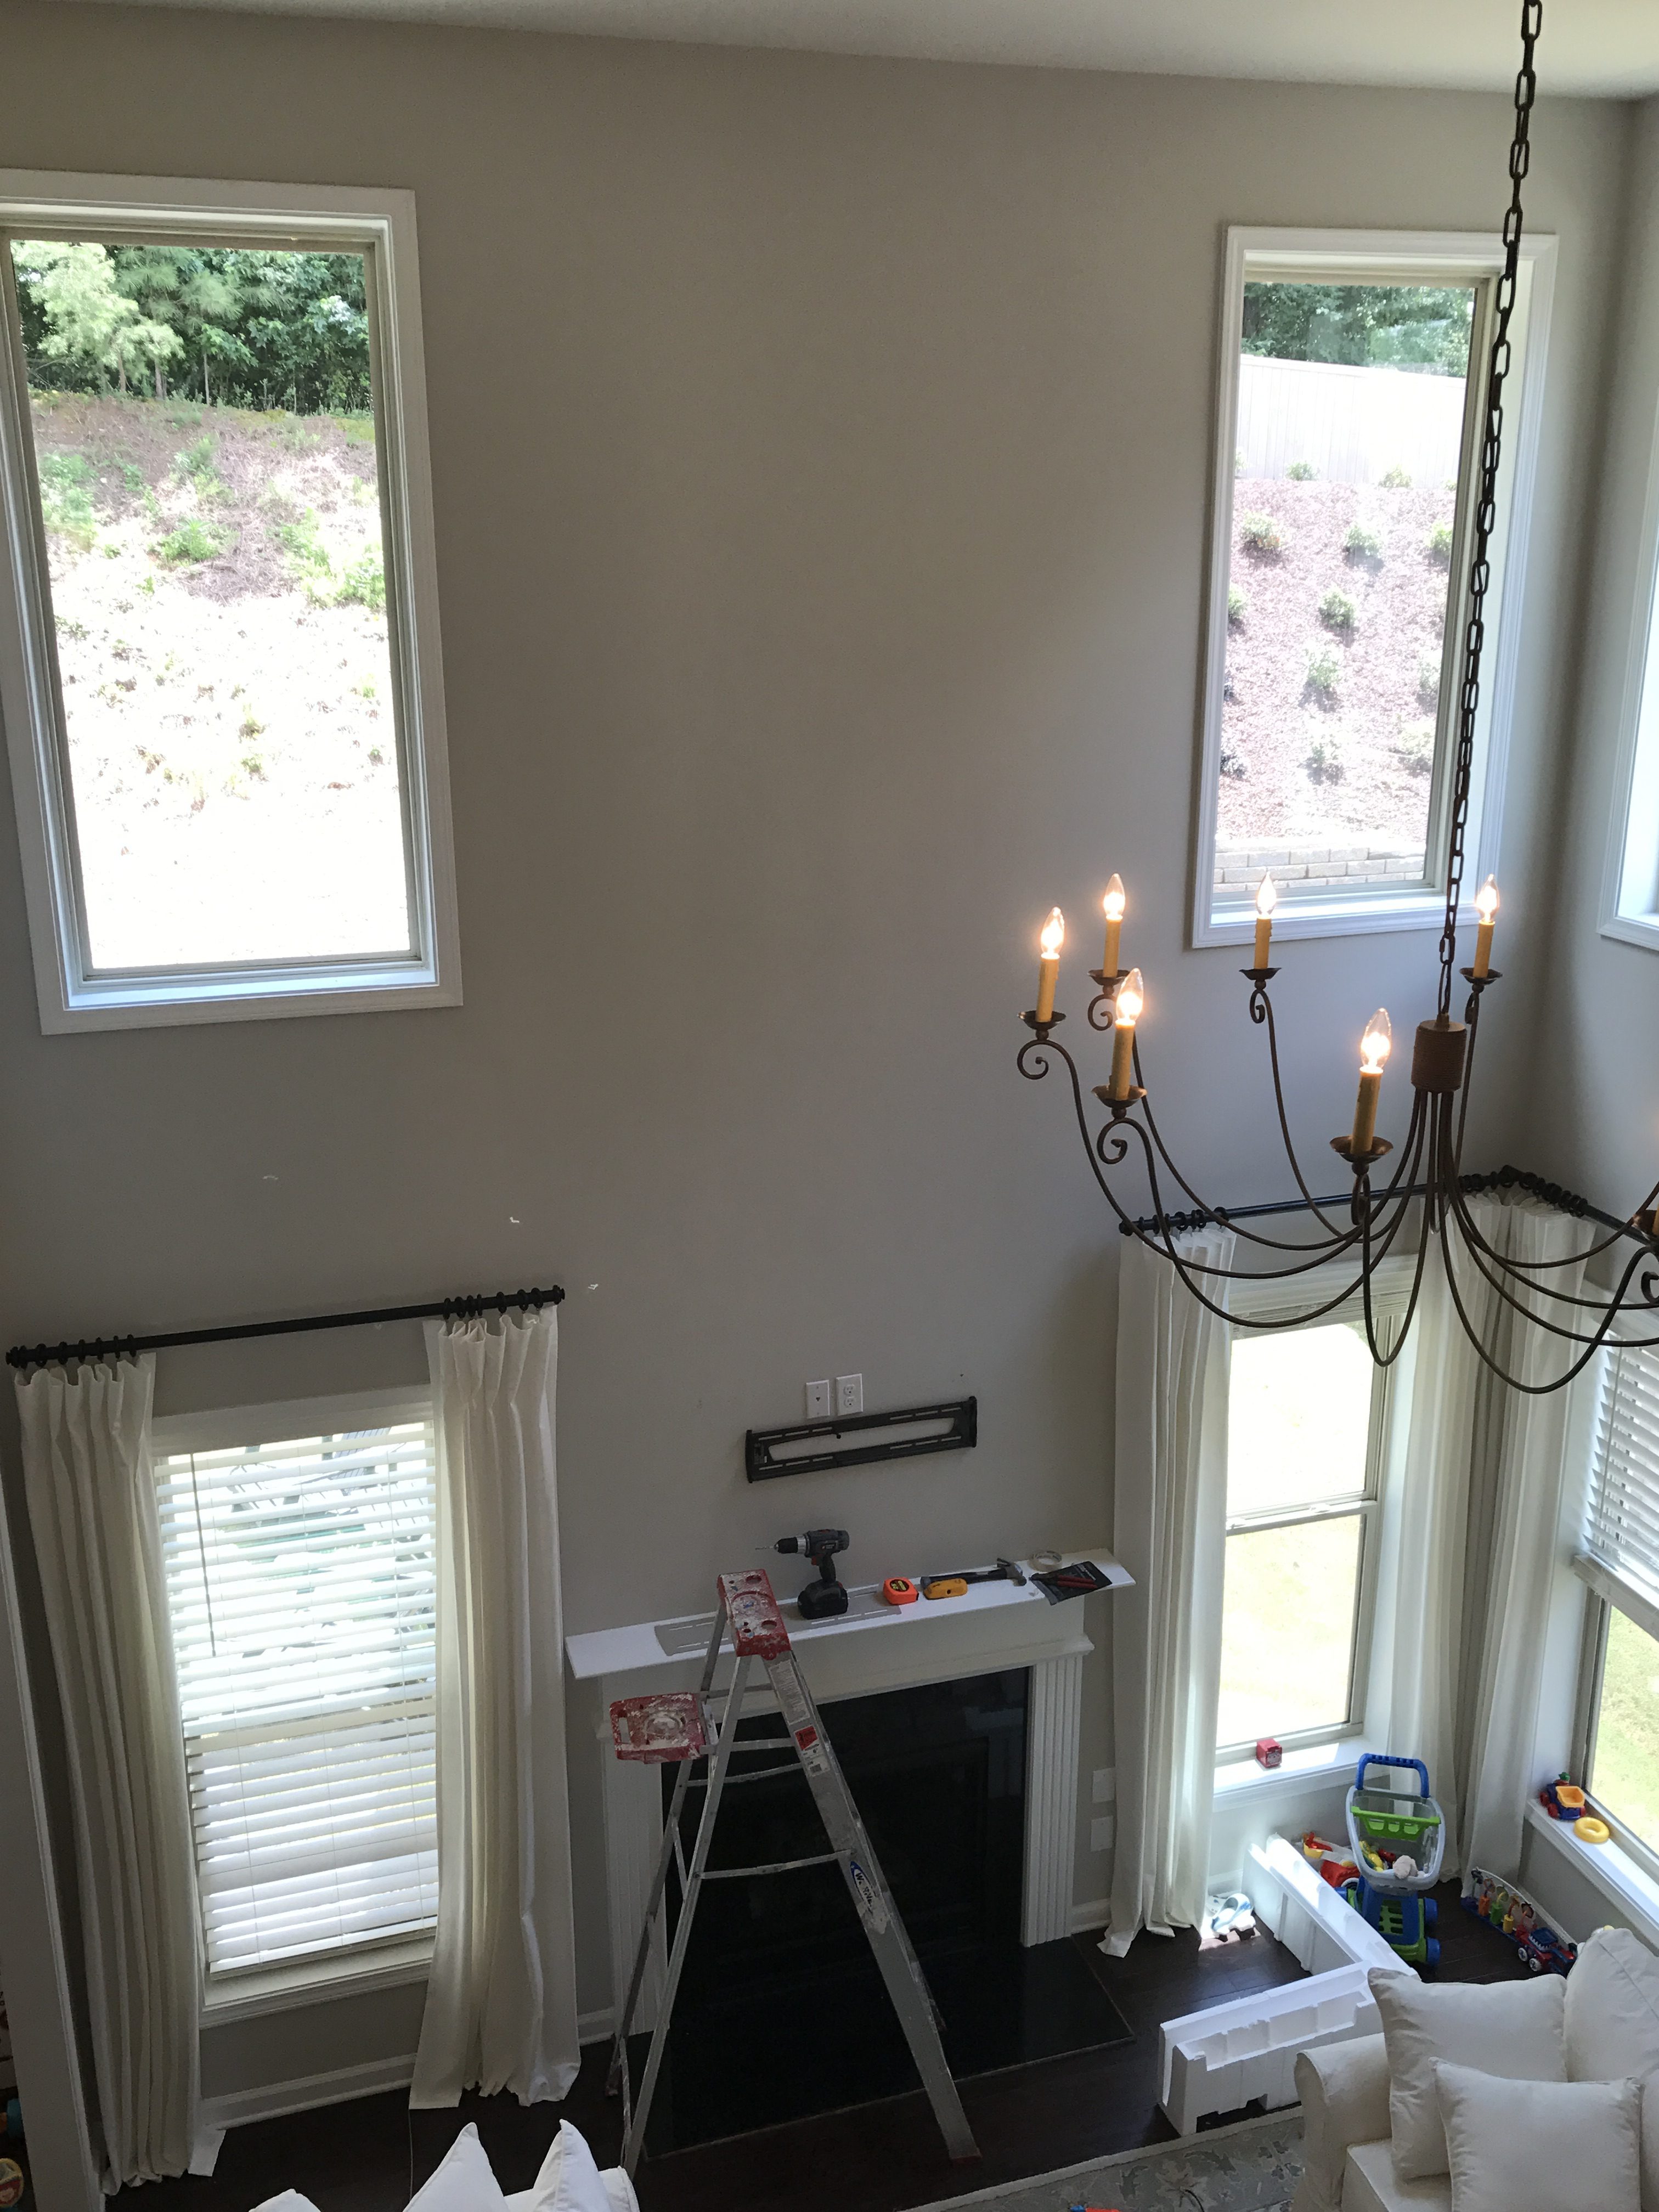
Everything felt so “builder-grade” when we first moved into our new house. Especially our two story family room. I loved the open concept but the tall blank walls made the room feel cold and empty. Before we even closed on the home the first priority on my to-do list was to add DIY shiplap above the fireplace.
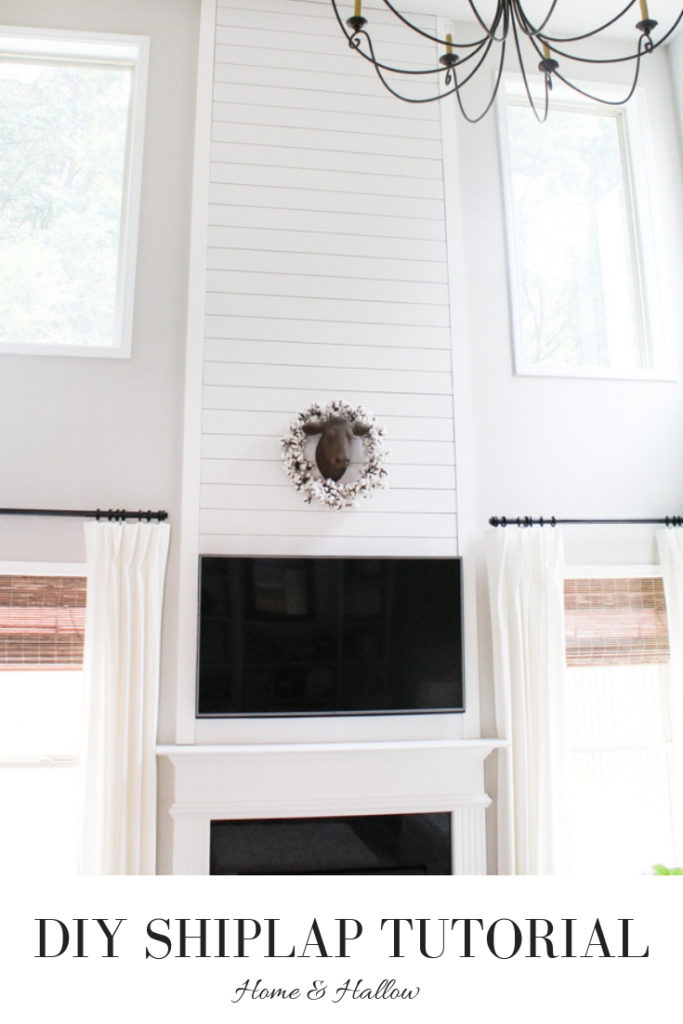
DIY Shiplap Tutorial
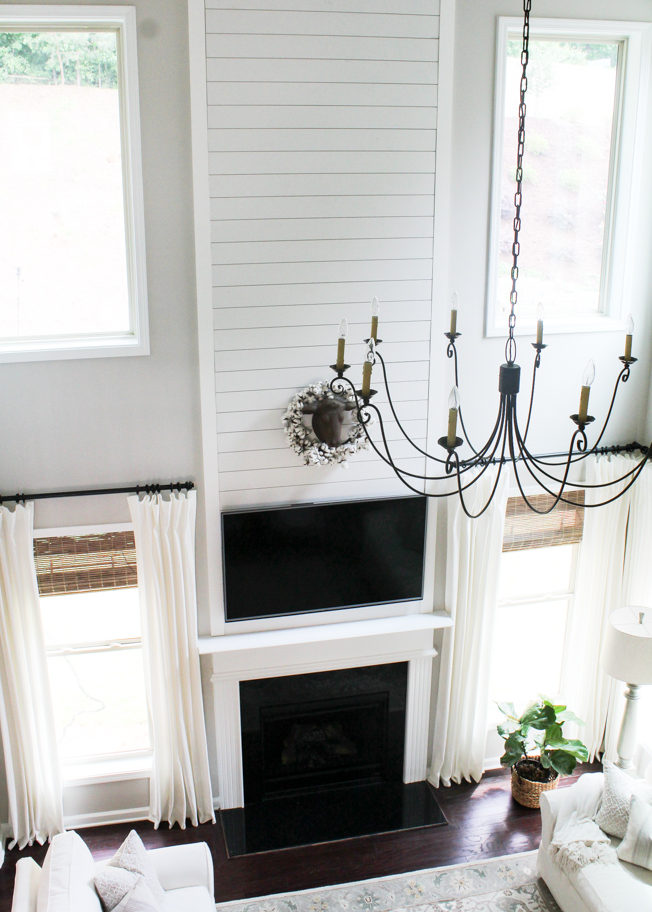
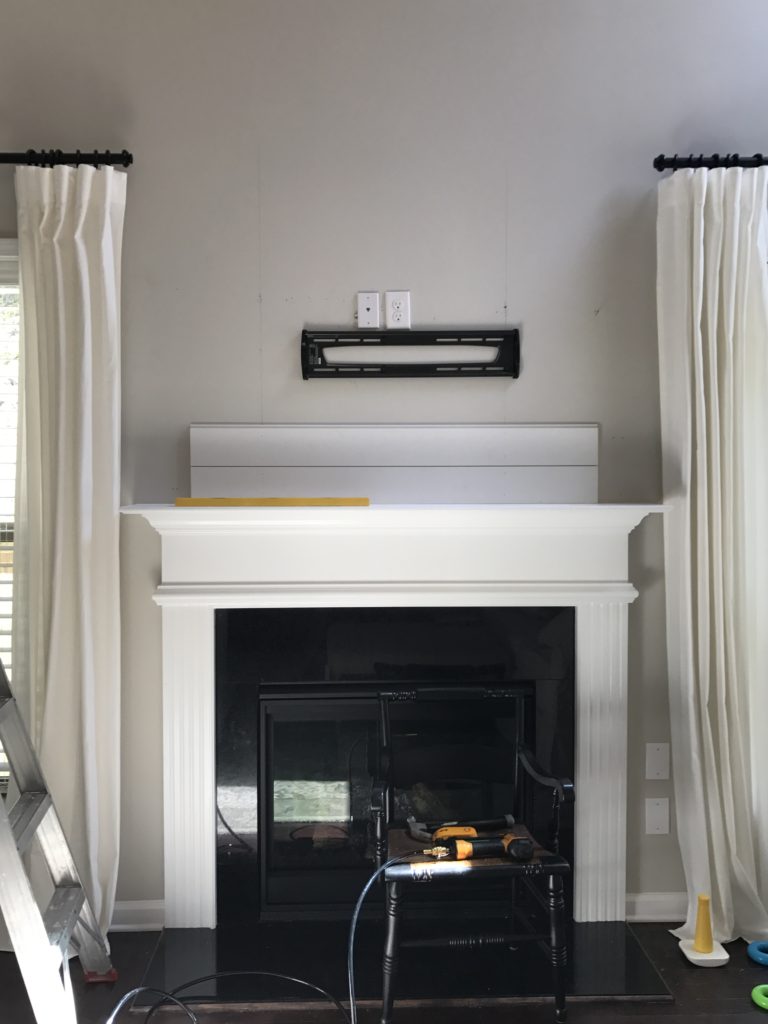
Here is a good look at the before and after.
Before
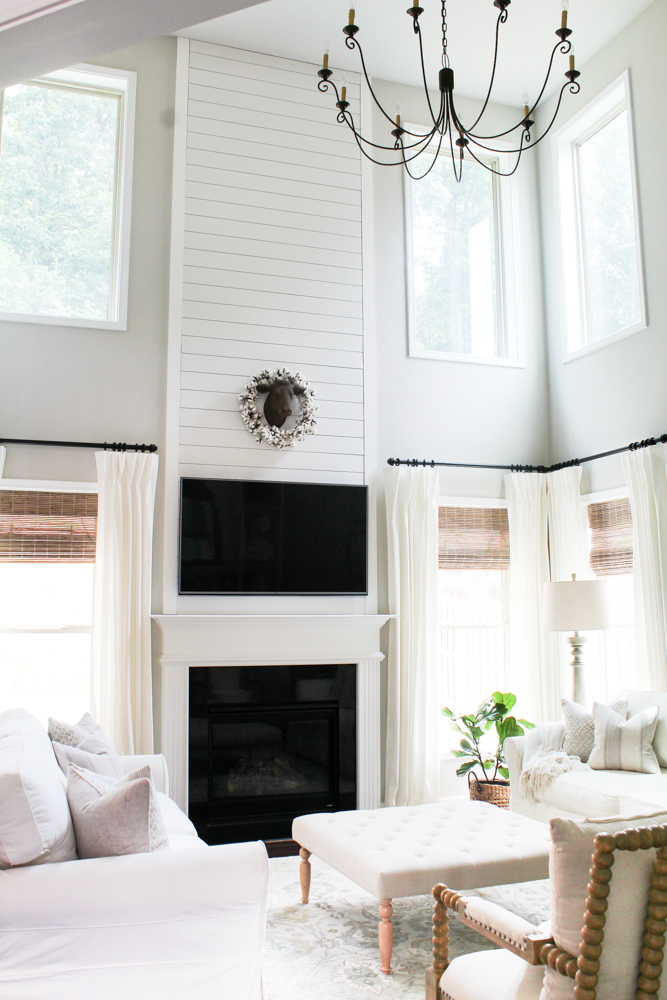
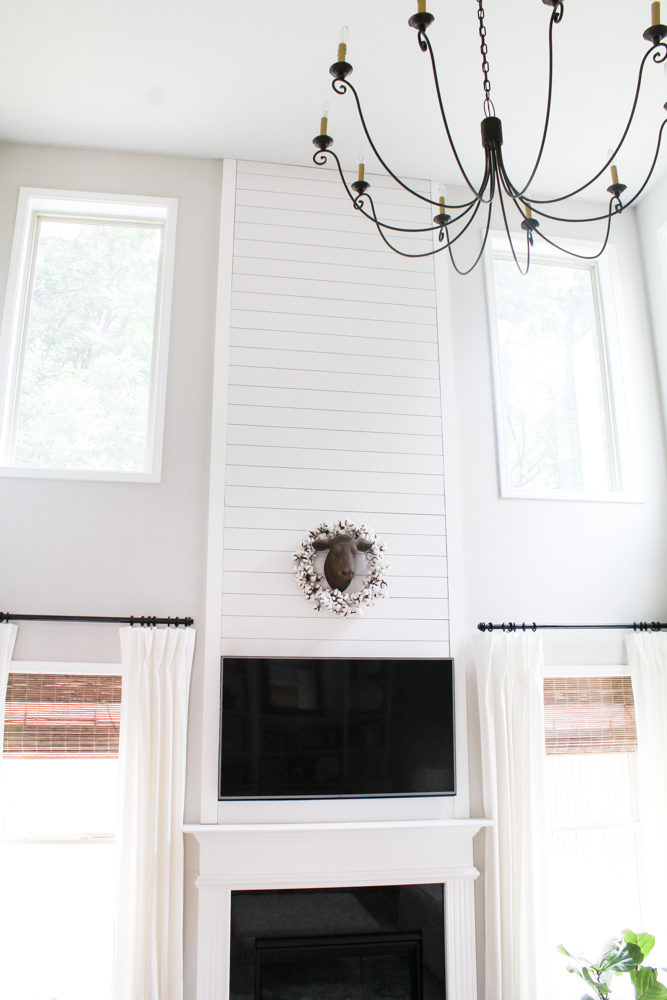
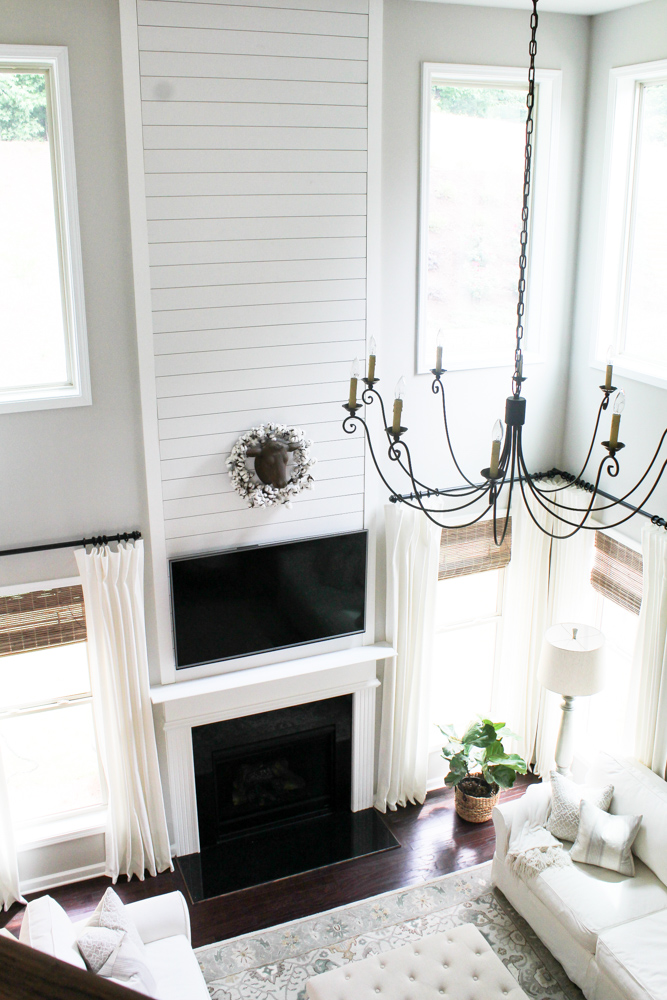
After
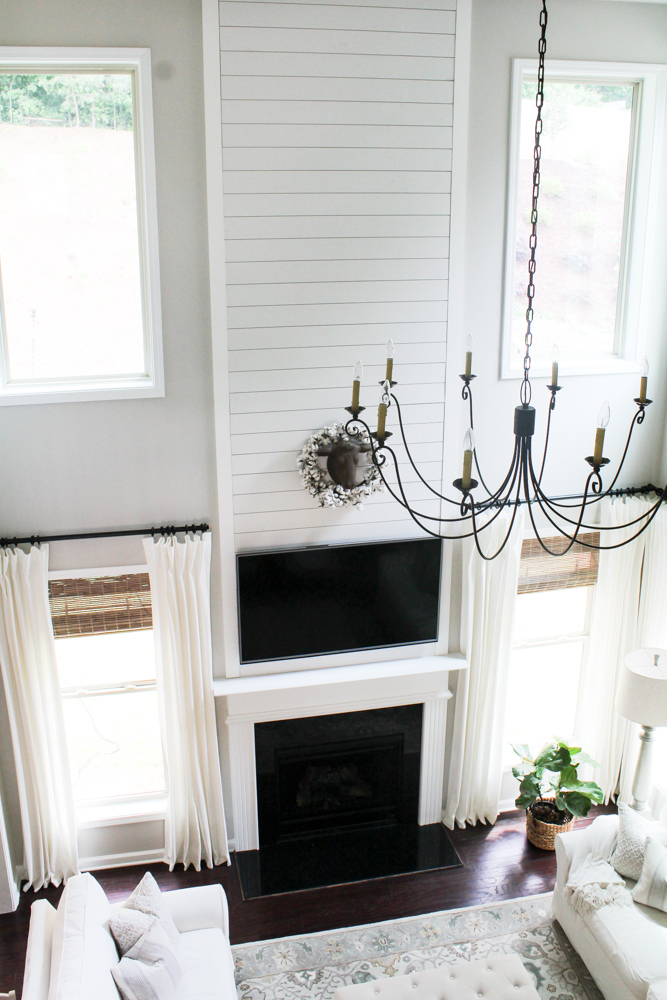
The shiplap fireplace feature completely transforms the space and I absolutely love the charm, character and dimension it adds to the room.
This project was incredibly easy. Even Hubby agreed. I normally convince him how easy a project is going to be only to find out (mid project) that it’s actually way more complicated than we anticipated. But this project was even easier than what we planned for. That never happens!
We completed this project in a few hours one afternoon. And that’s including the time we spent at Lowe’s picking up our supplies.
Today I’m sharing our easy step-by-step DIY shiplap fireplace tutorial.
Plan + Measure
First you need to measure your space to determine how much material to buy. We measured the width of the fireplace mantle as well as the height from the mantle to the ceiling.
The width of our mantle spans 60 inches. We decided to use 53 inch long shiplap planks to allow for a vertical 1-in x 4-in board on each side of the shiplap to give it a finished edge.
The distance from the top of the mantle to the ceiling measured 177 inches. We planned on using 5.375 inch shiplap planks. Dividing 177 by 5.375 told us we would need a total of 33 shiplap planks.
What You Will Need + Cost Breakdown
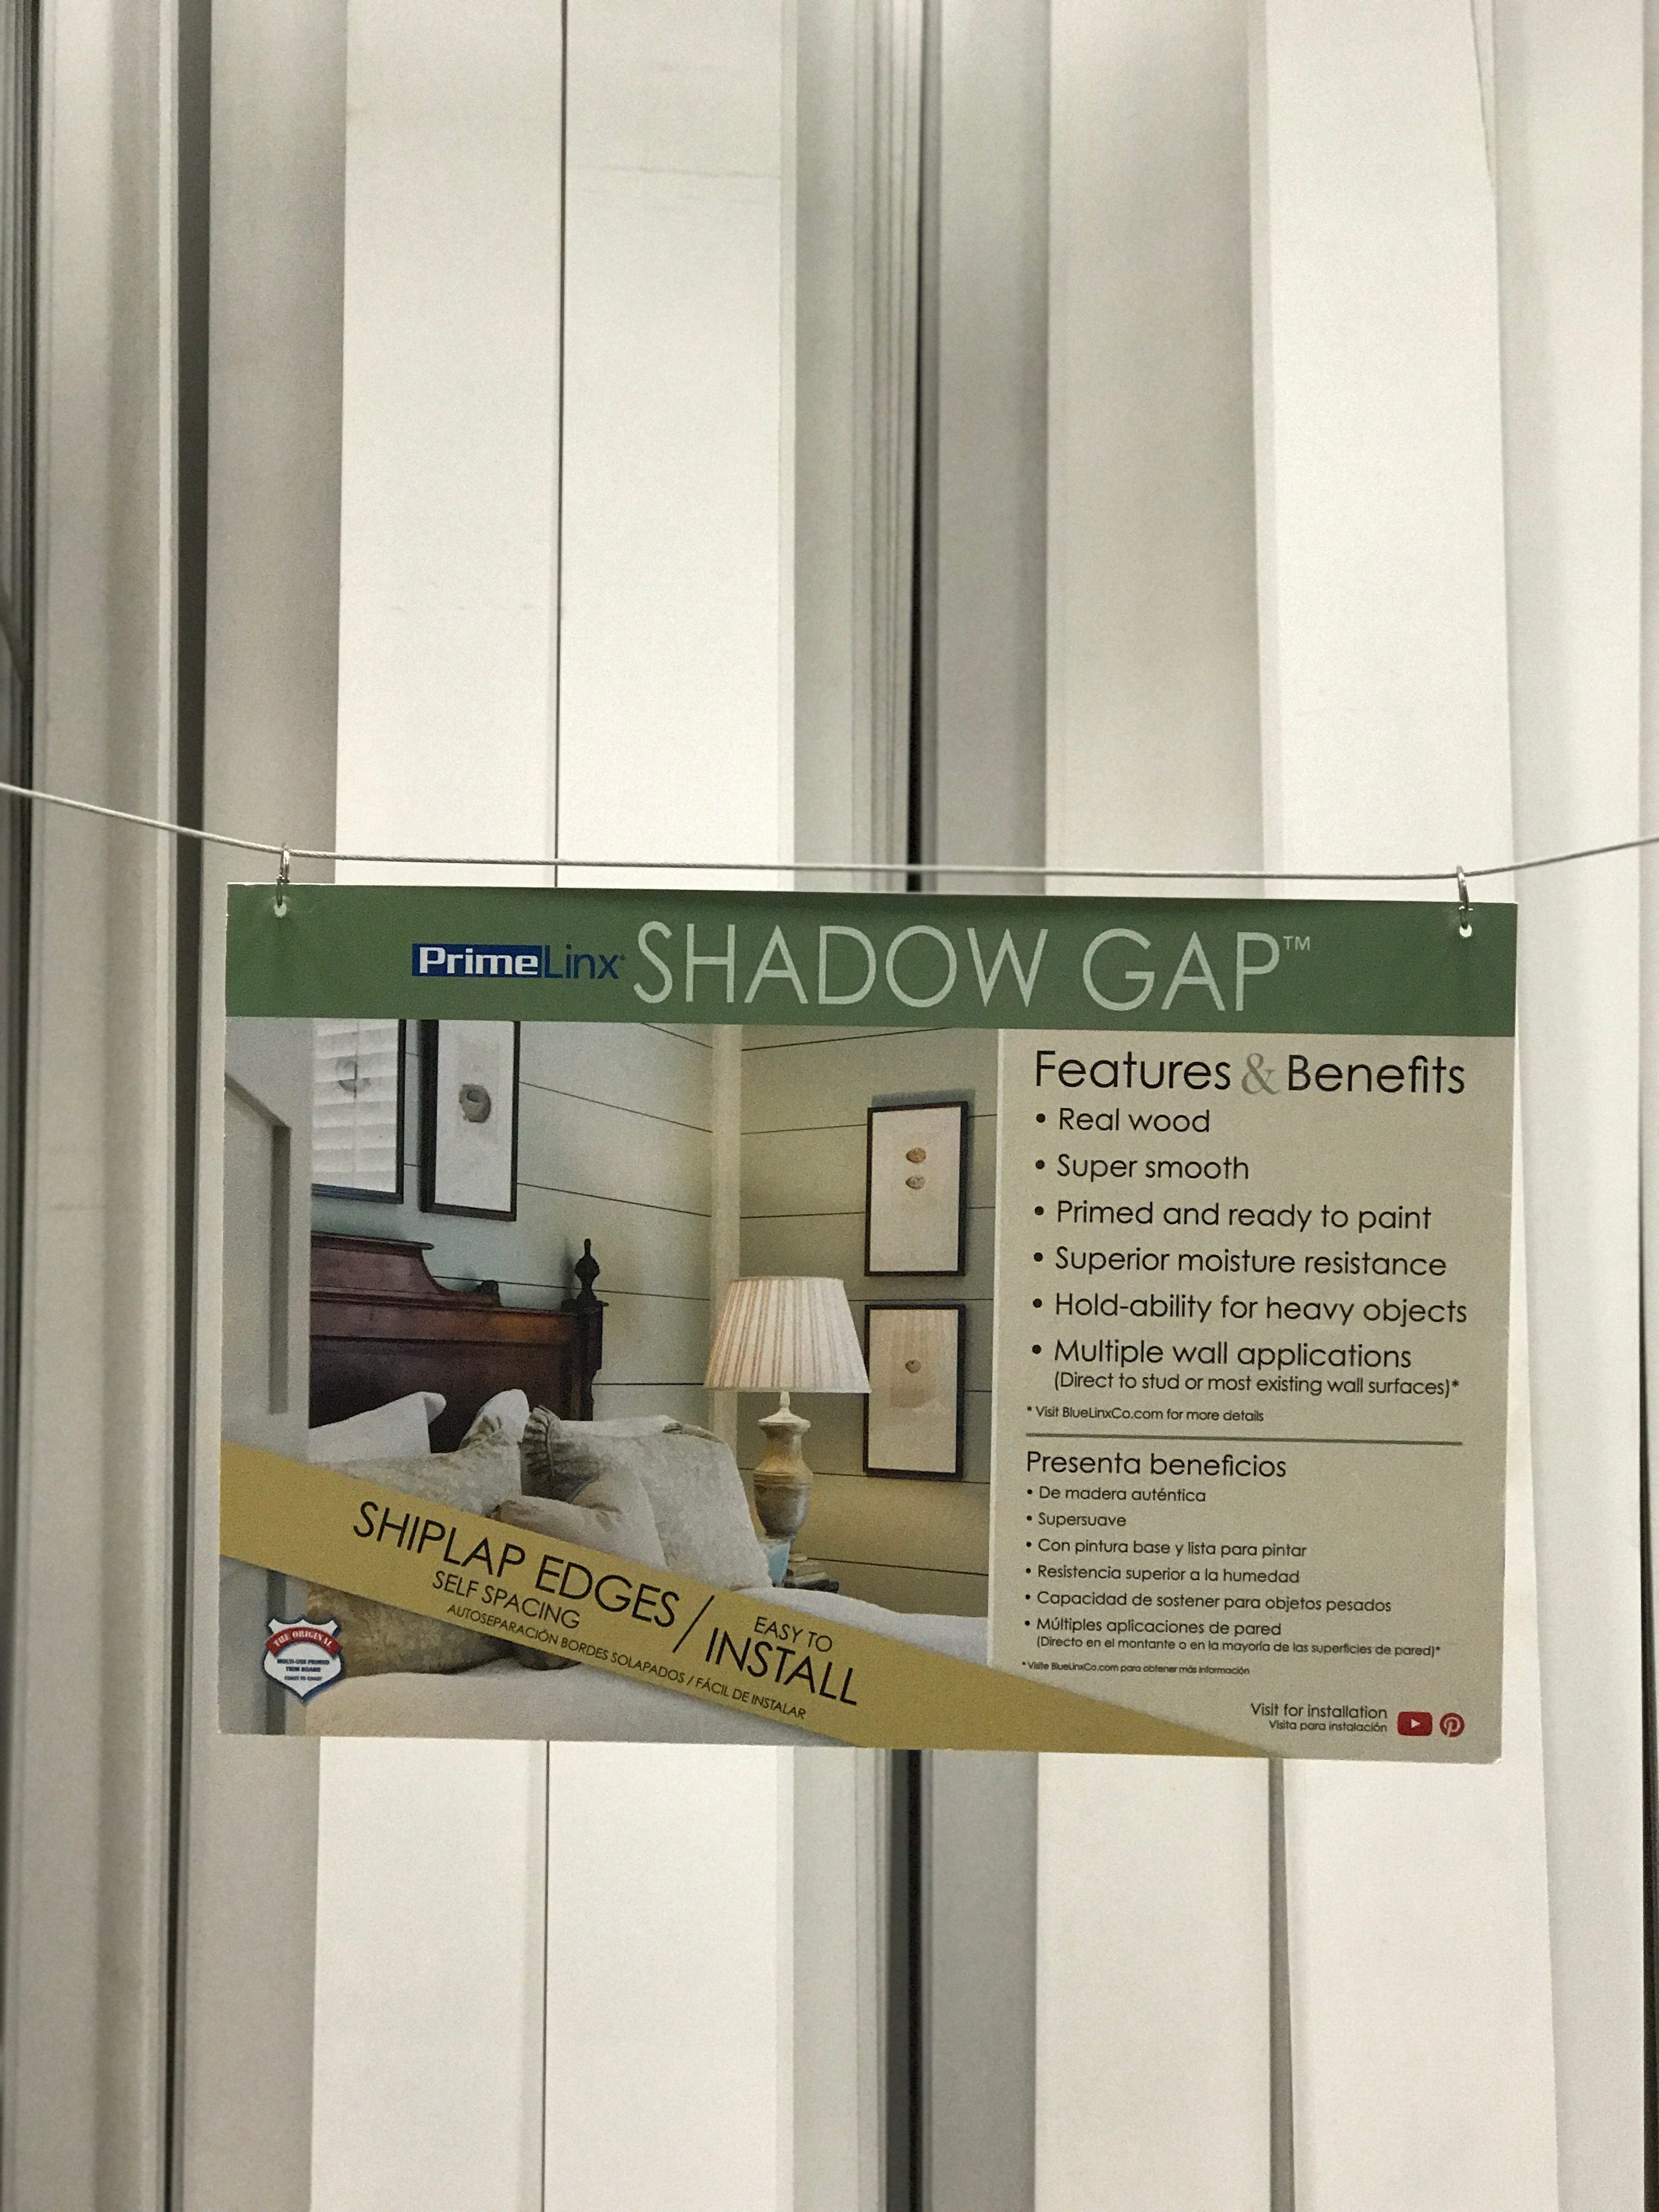
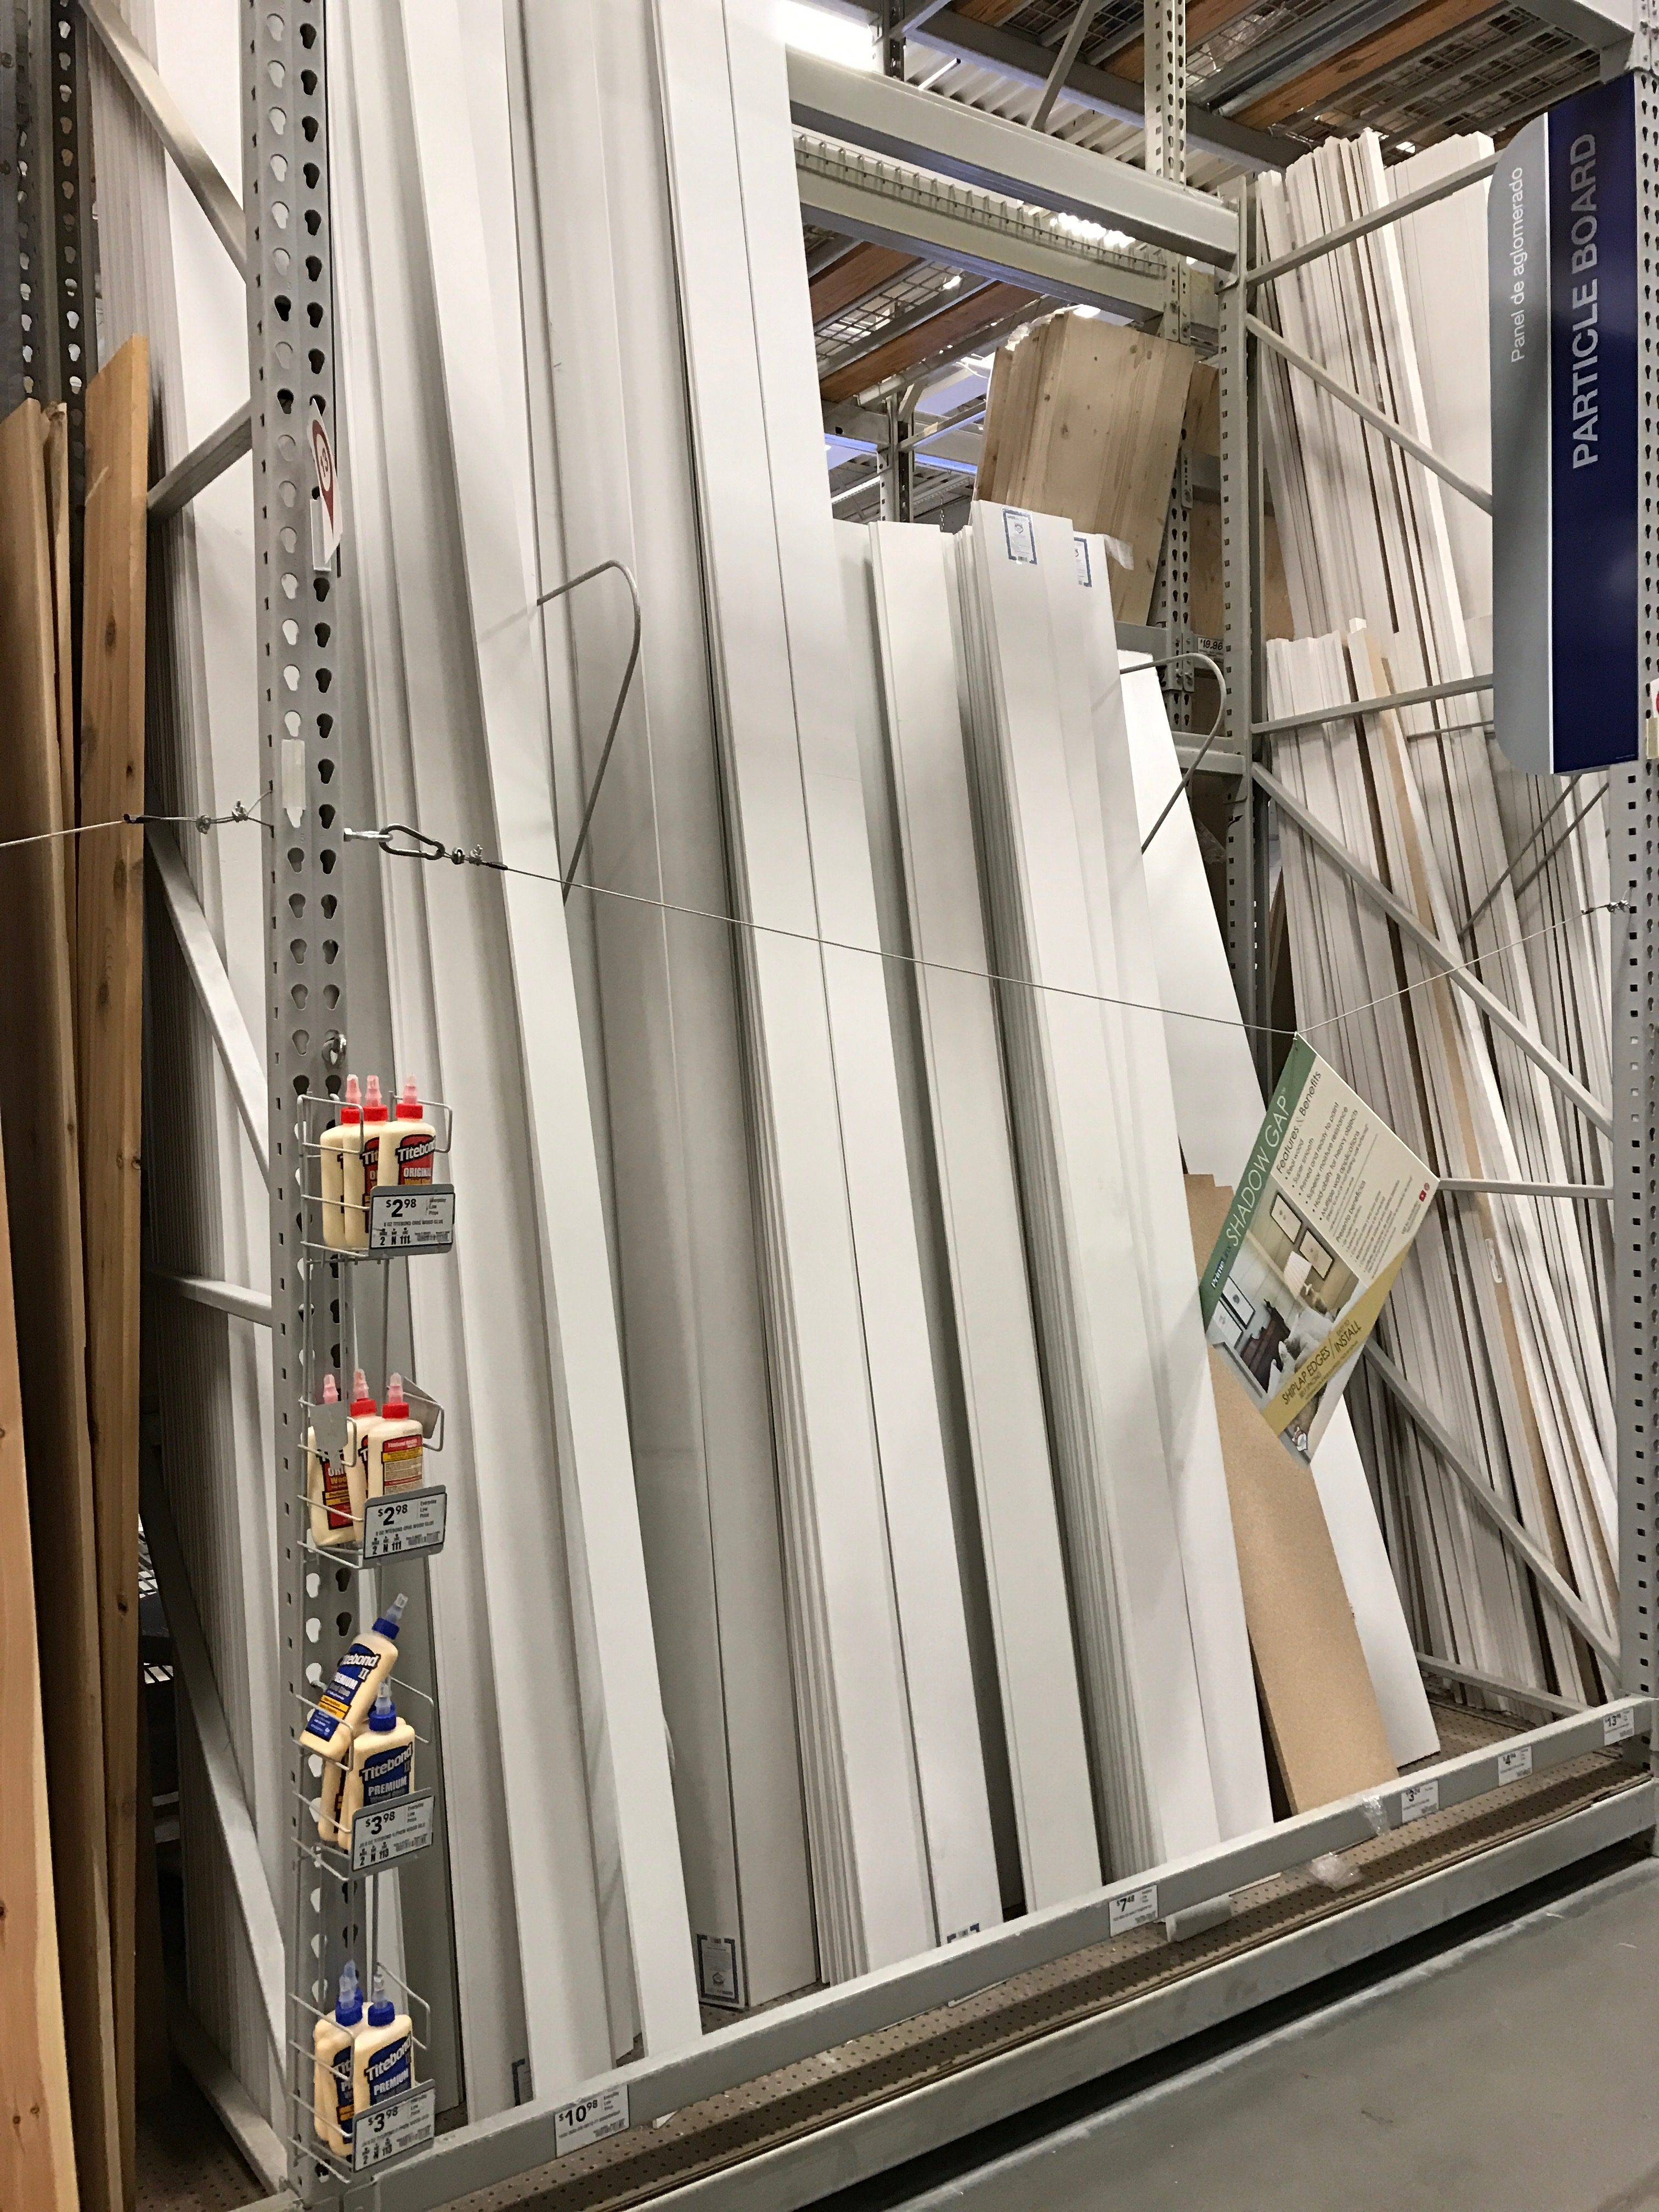
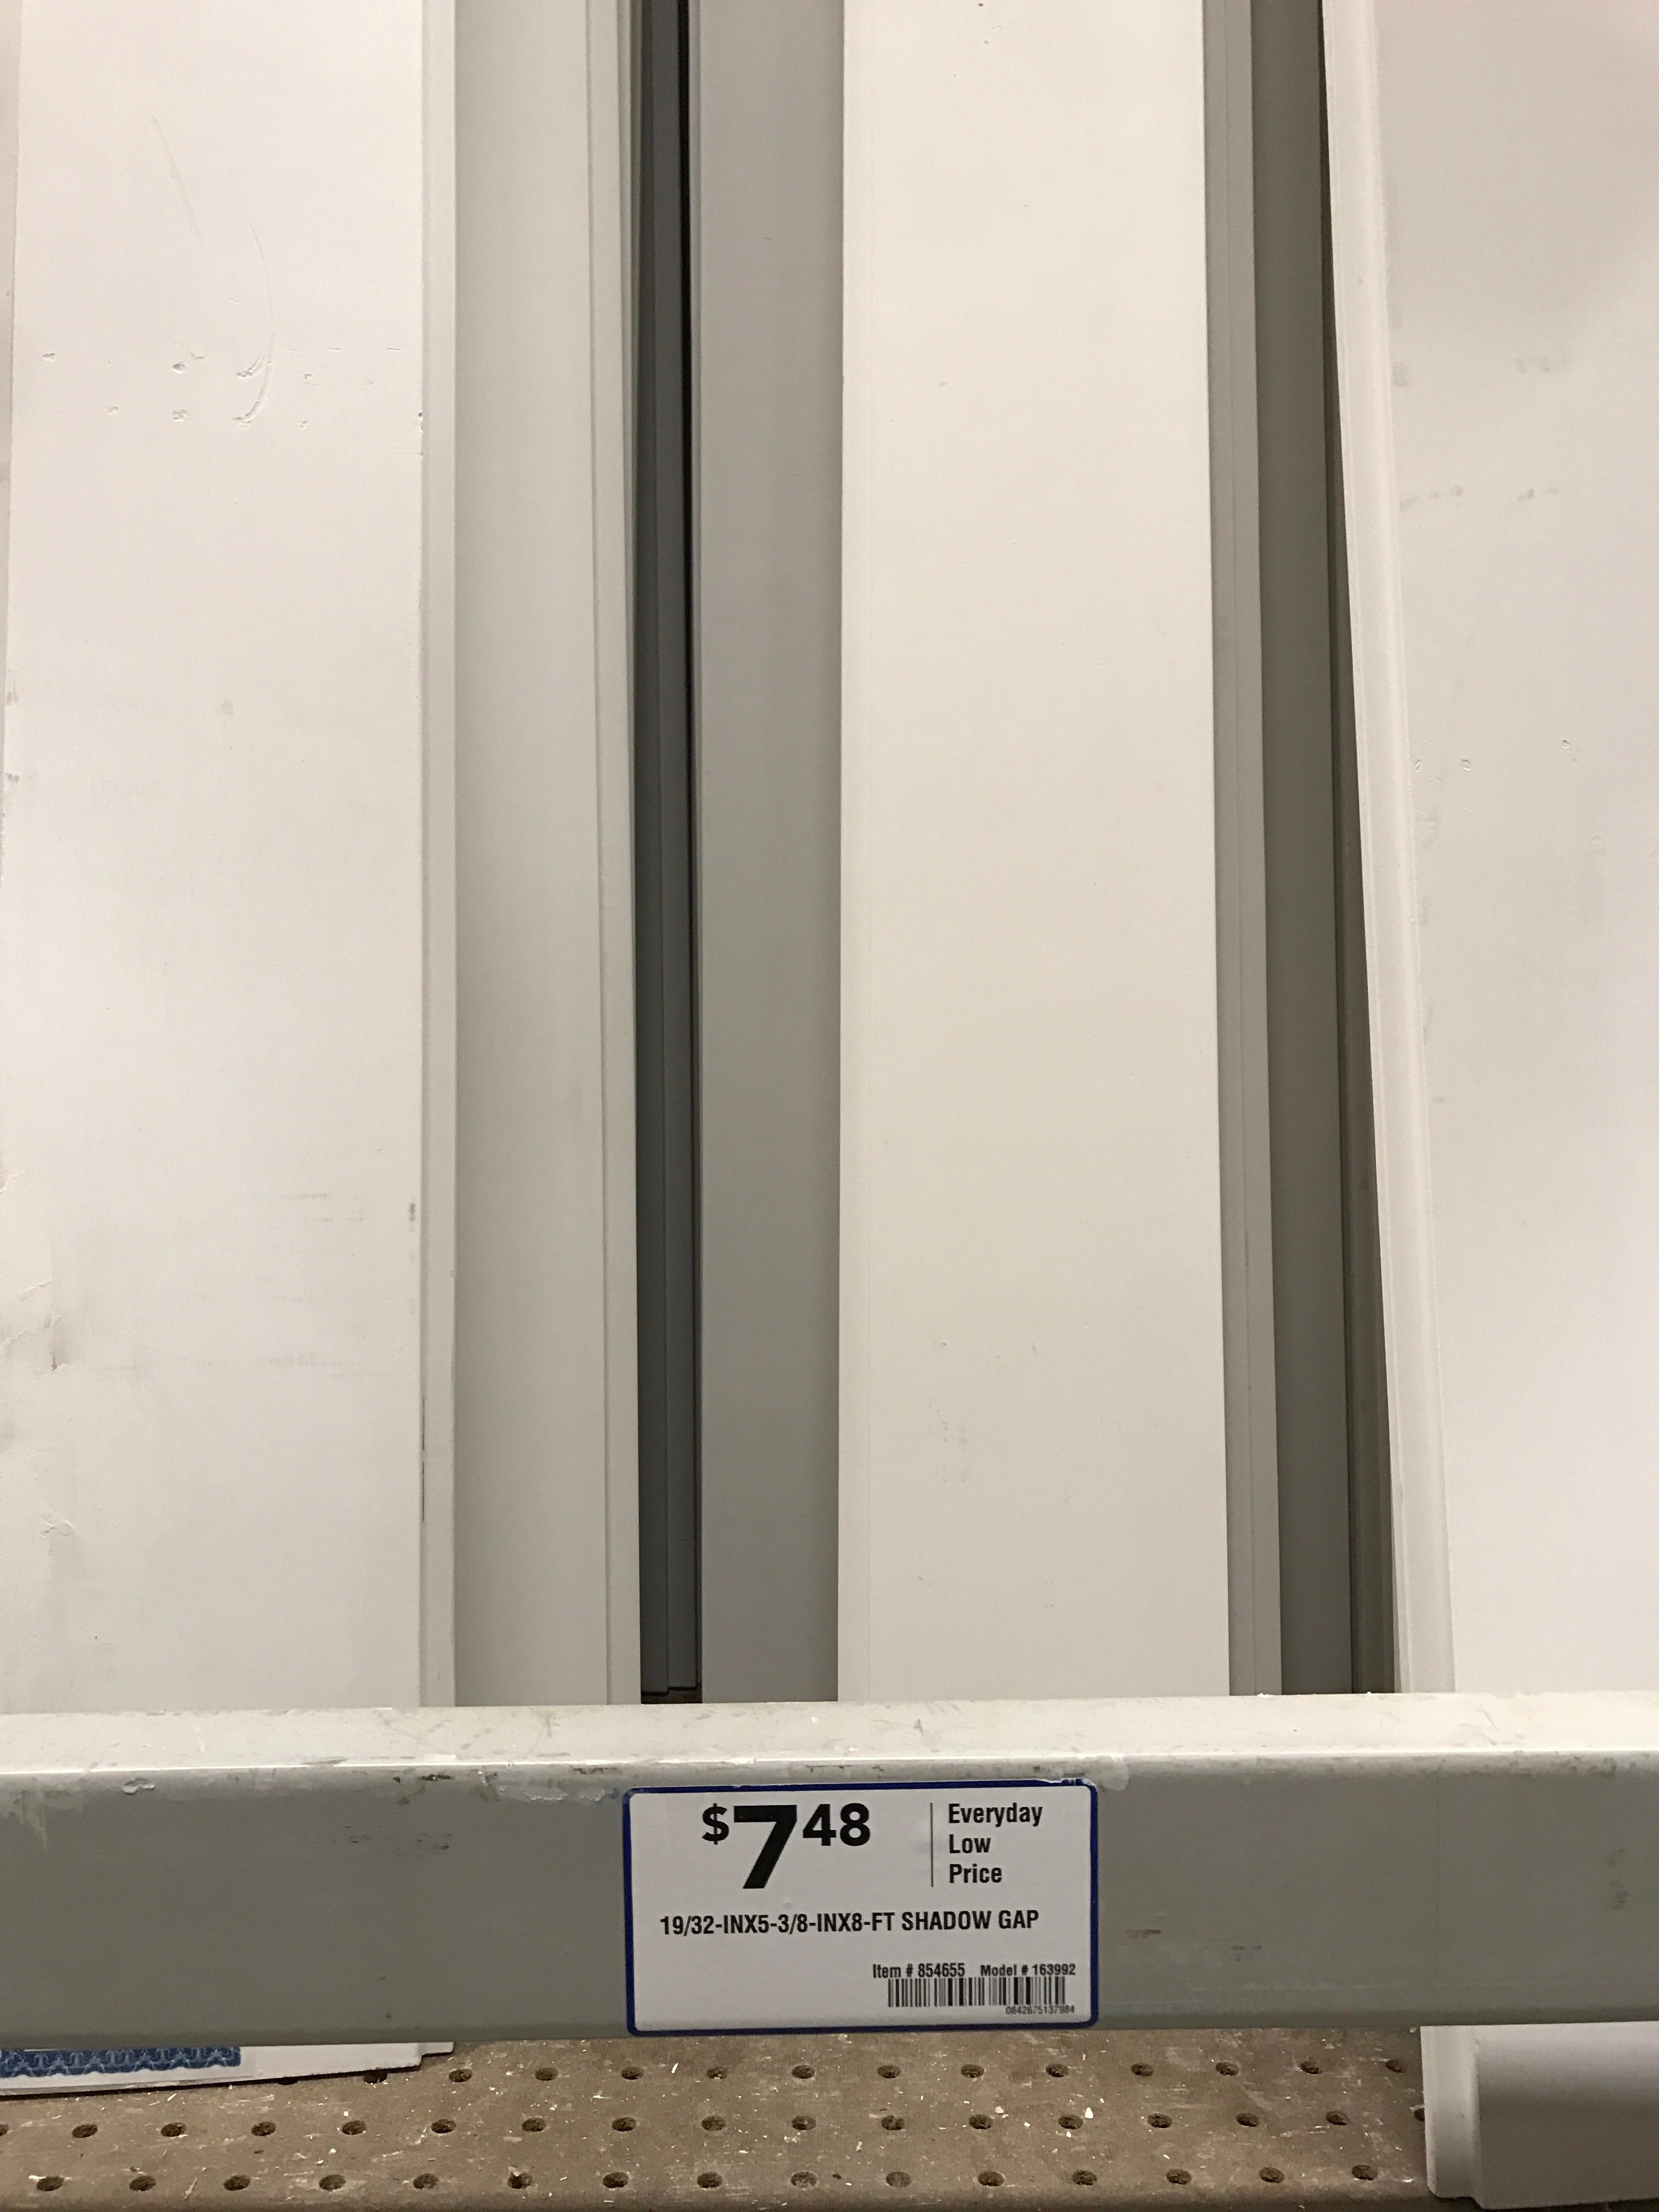
- “Shiplap” – We decided on this shadow gap shiplap product from Lowe’s for a few reasons. First, the shadow gap is self-spacing so it automatically creates a perfectly even gap in between the planks. And second, is it already primed white. (*If I was doing a larger wall or an entire room I would not use this product. But it’s perfect for an accent wall or smaller space.)
- An 8-foot board costs $7.48. We could get two shiplap planks out of each 8-foot board, so we bought 17 boards for a total of $127
- Nail Gun + Finishing Nails – We have had this nail gun and this air compressor for years now and absolutely love them both. Everyone thought it was funny when I requested it as my birthday gift one year. I guess it’s not what your average 20-something year old girl requests as a birthday gift : )
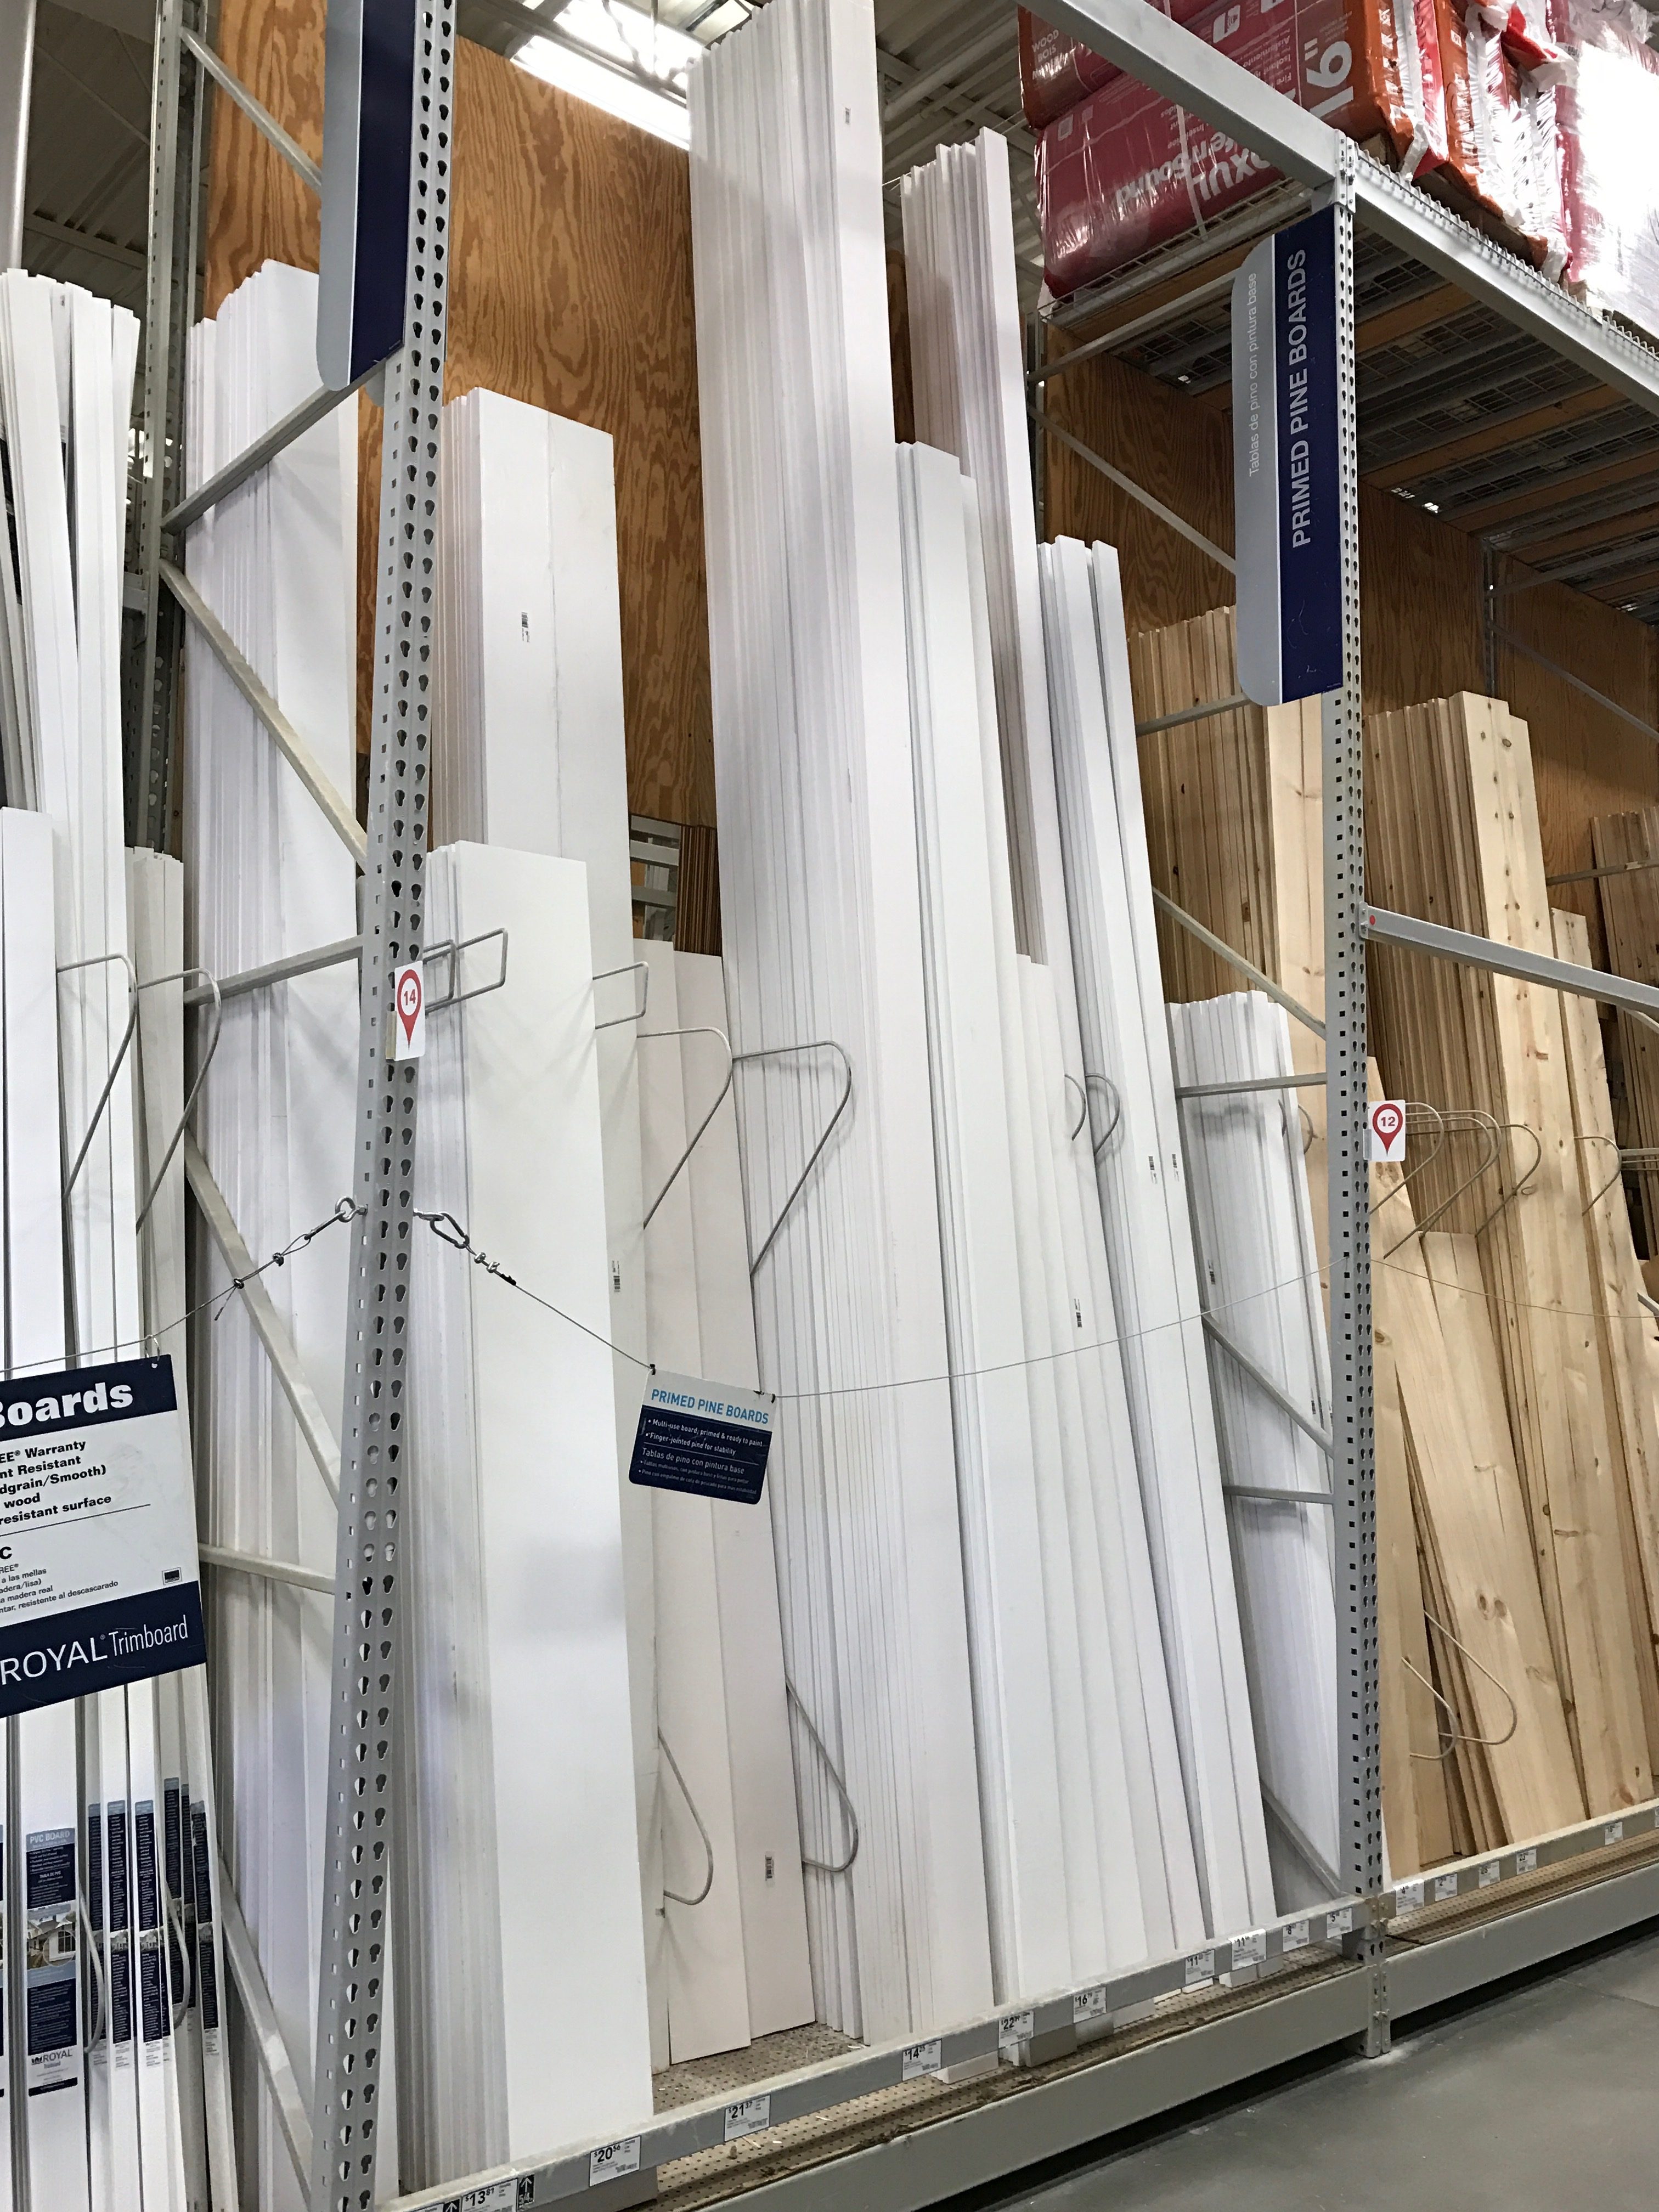
- Two pieces of 1-in x 4-in primed pine for the vertical border
- We needed two boards in the 16 foot length ($11.96 each) for a total of just under $24

- Stud Finder
- Level
- Ladder
Measure & Cut (Or Even Better: Let Lowe’s Do It For You)
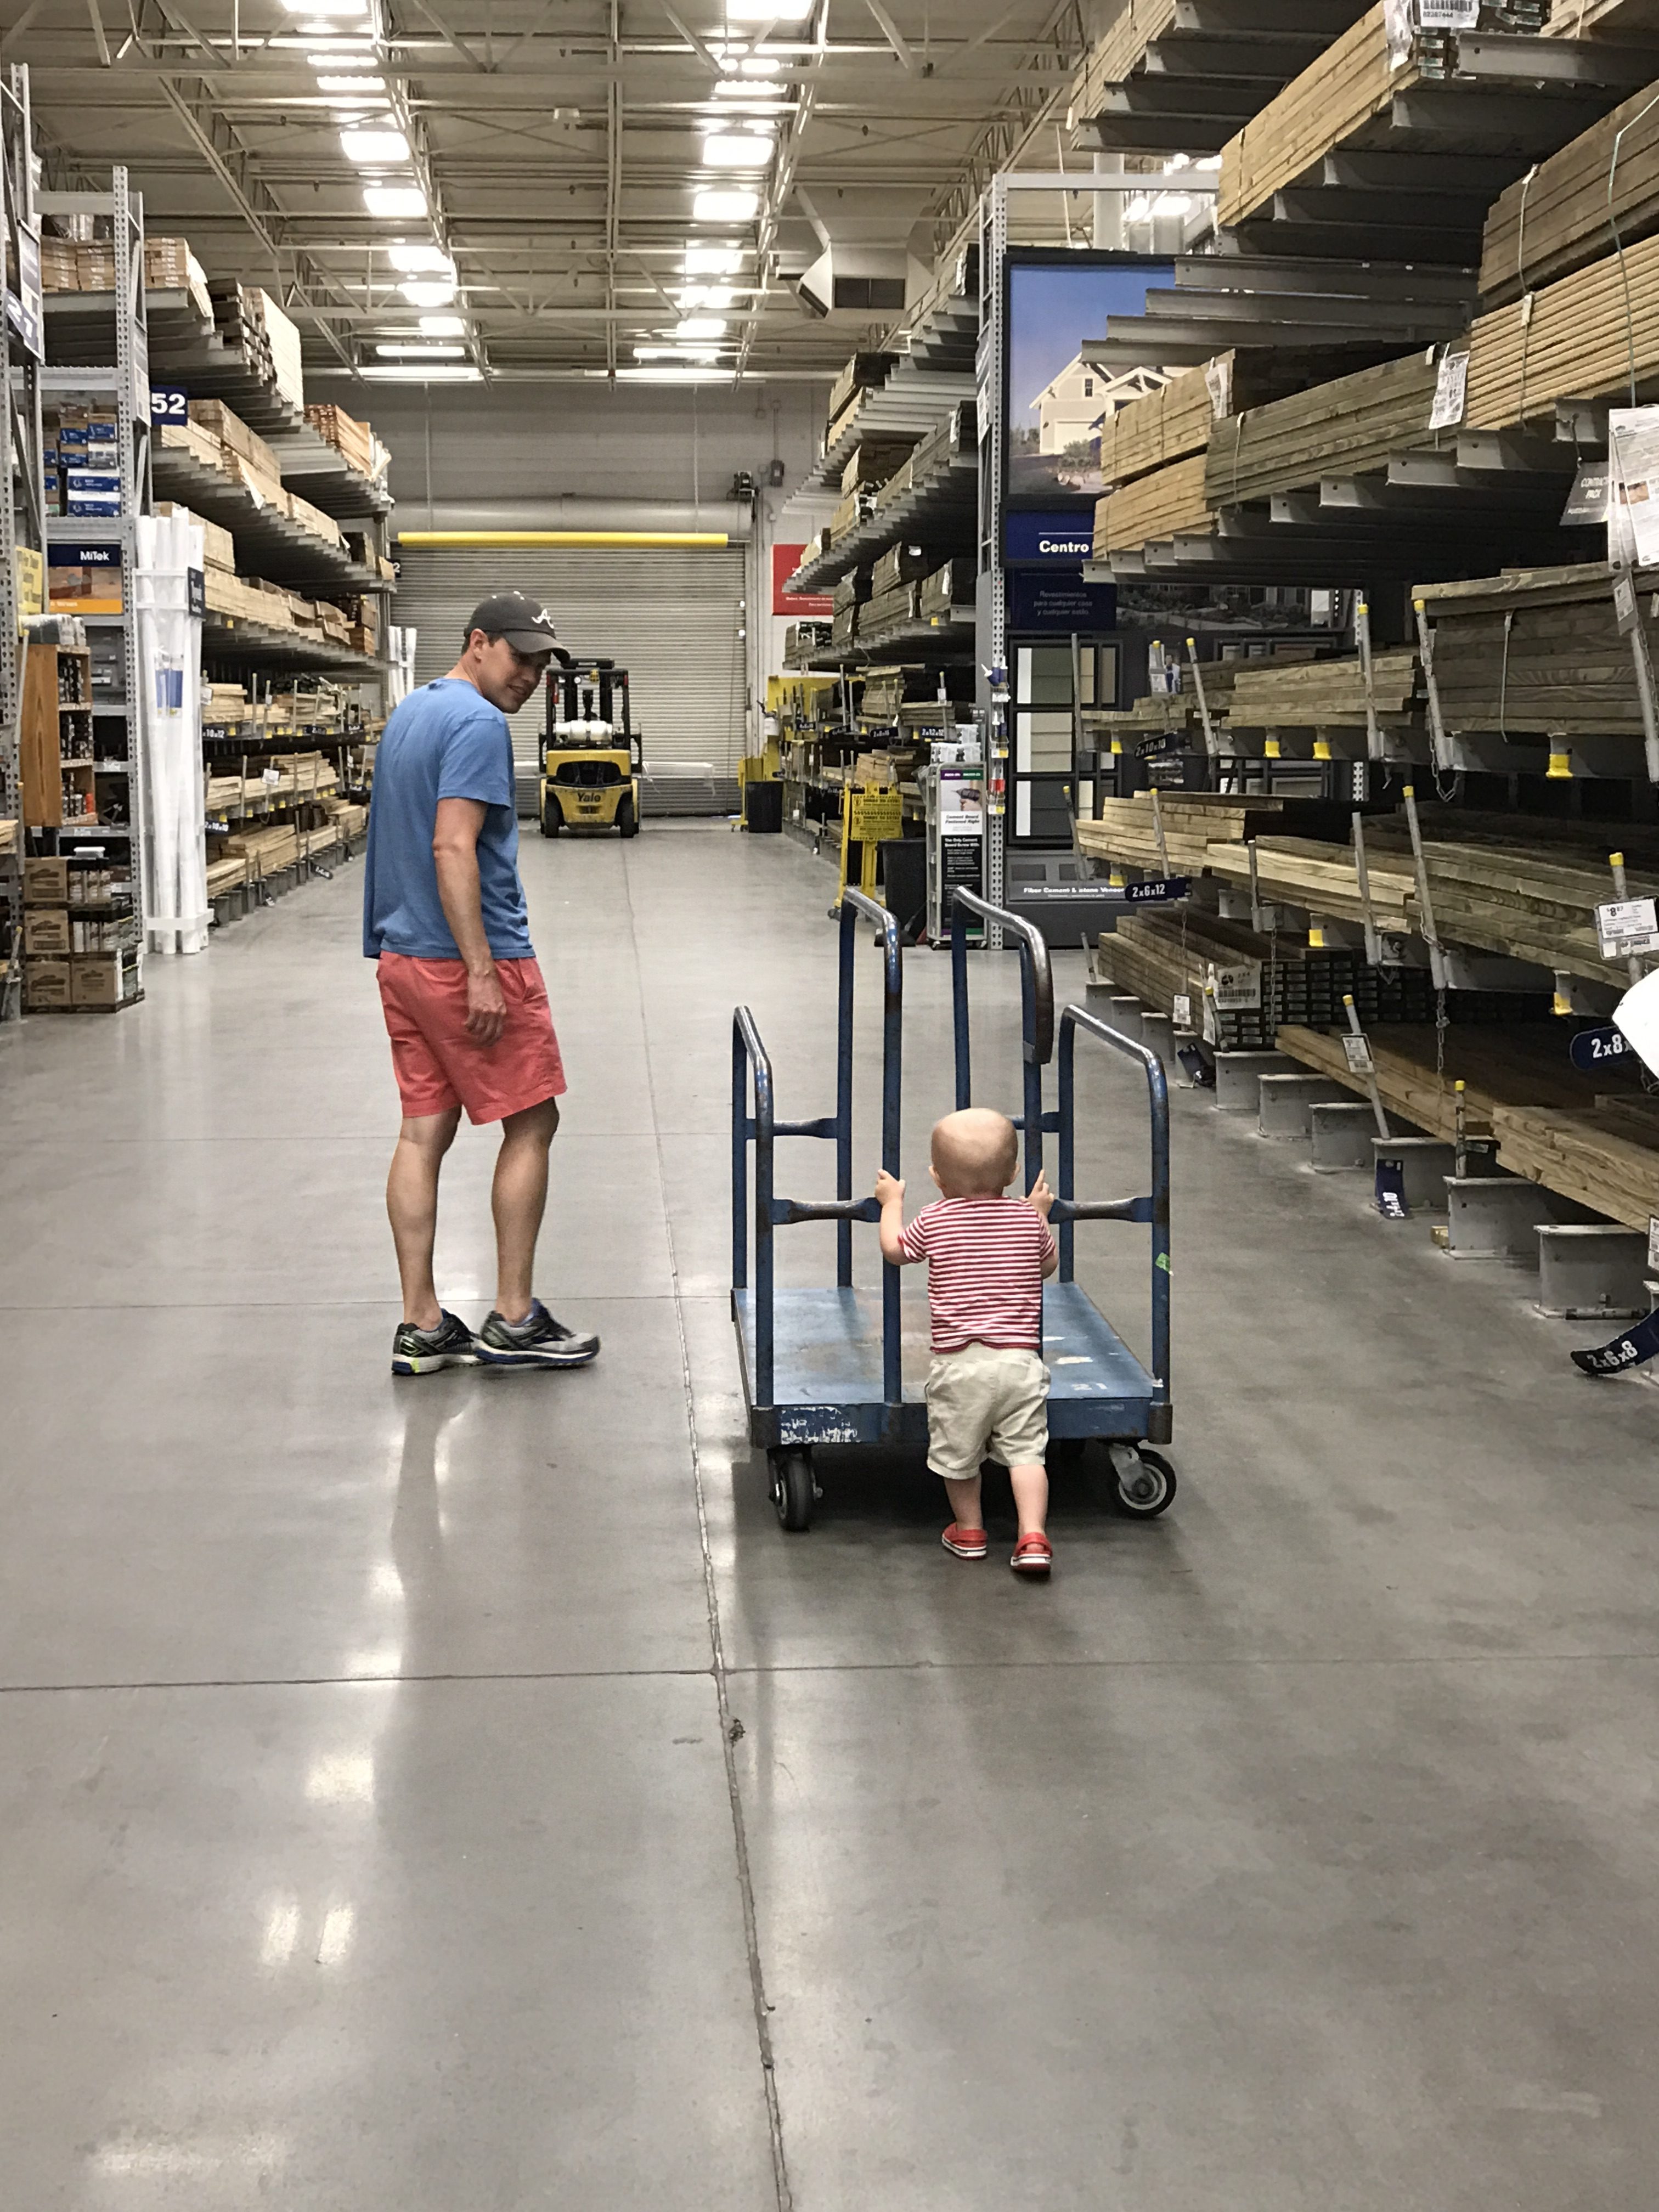
You can certainly cut your shiplap at home yourself. But we knew our exact measurements and we were already in Lowes. So why not have them cut your wood for you?! Lowe’s cut two 53 inch pieces of shiplap out of each 8 foot shadow gap board. They also cut the two 1-in x 4-in boards to 177 inches.
And how cute is our tiny little DIY helper?! 🙂
Mark Studs
Use a stud finder to locate the studs behind your dry wall. Use a level and a pencil to mark the stud going up the entire length of the wall.
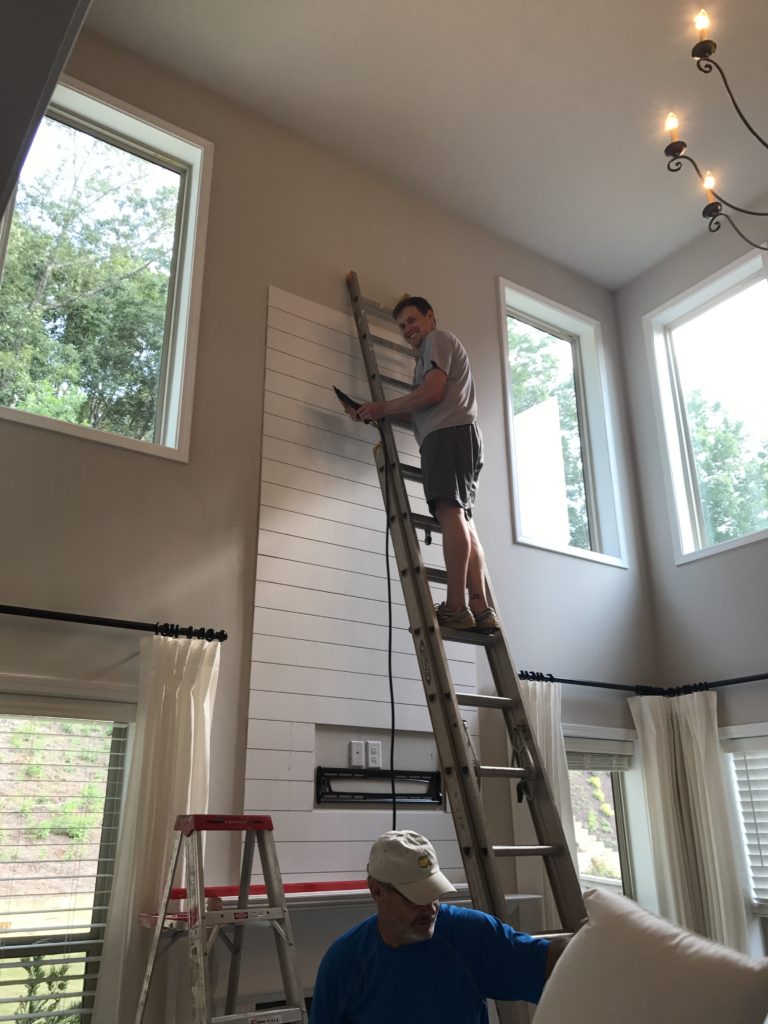
Install Shiplap
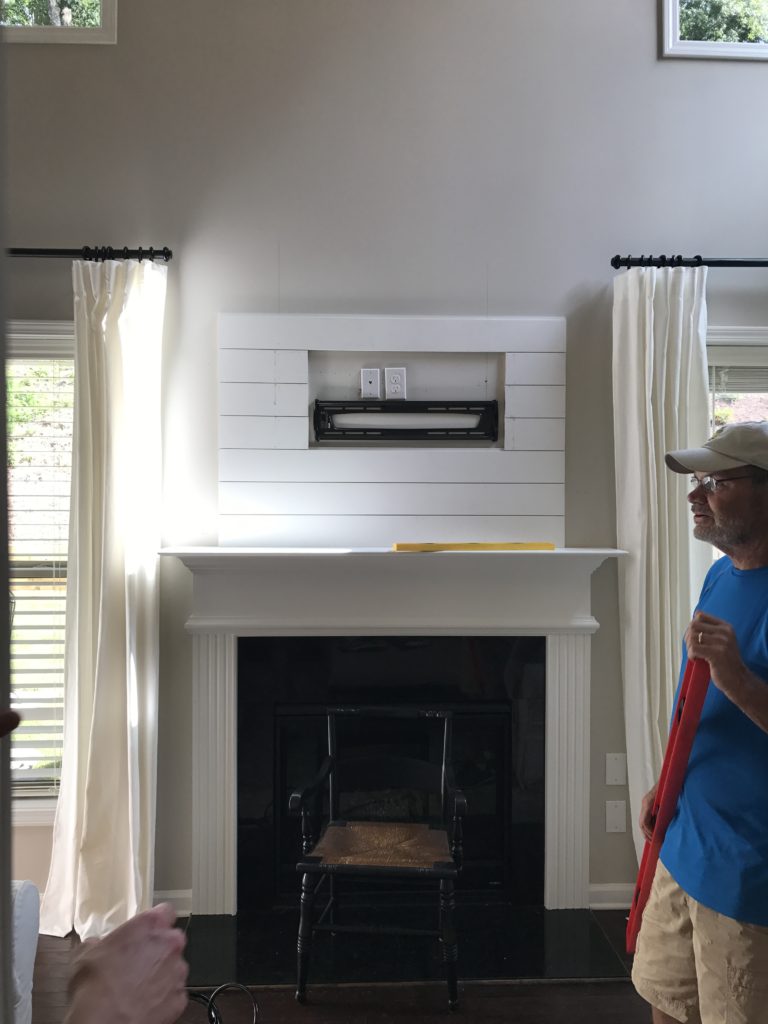
We worked from the bottom up. Place the first shiplap board on top of the mantle. Make sure it is level and centered.
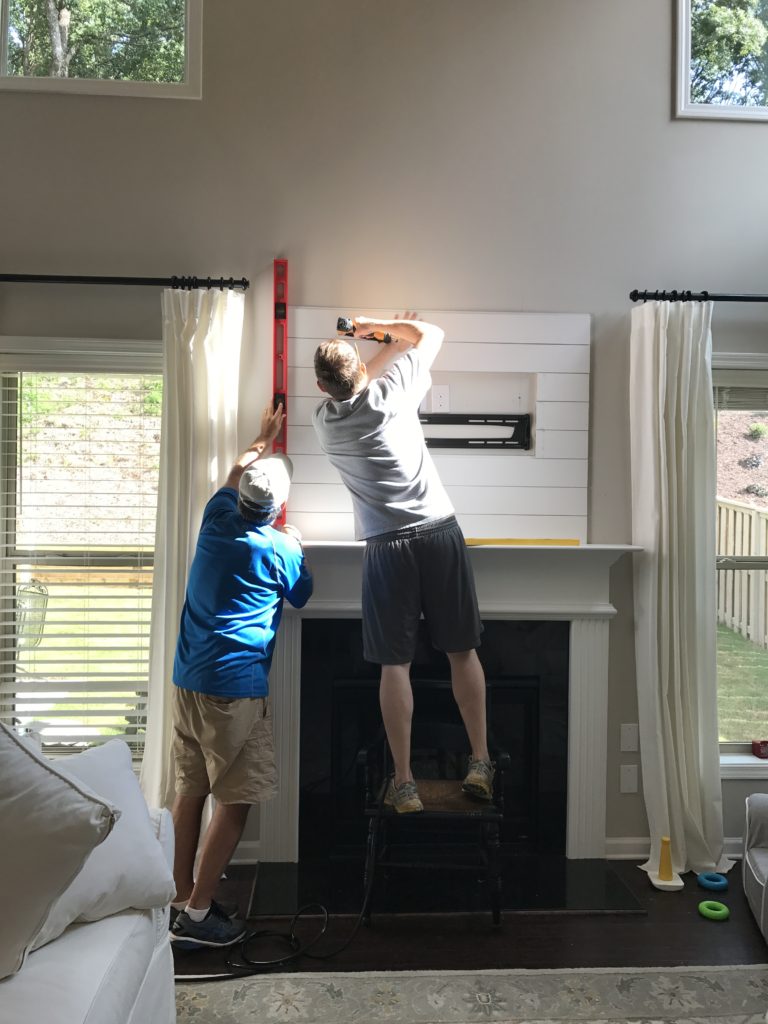
Follow your pencil mark and use a nail gun to nail the shiplap plank to the wall directly into the stud.
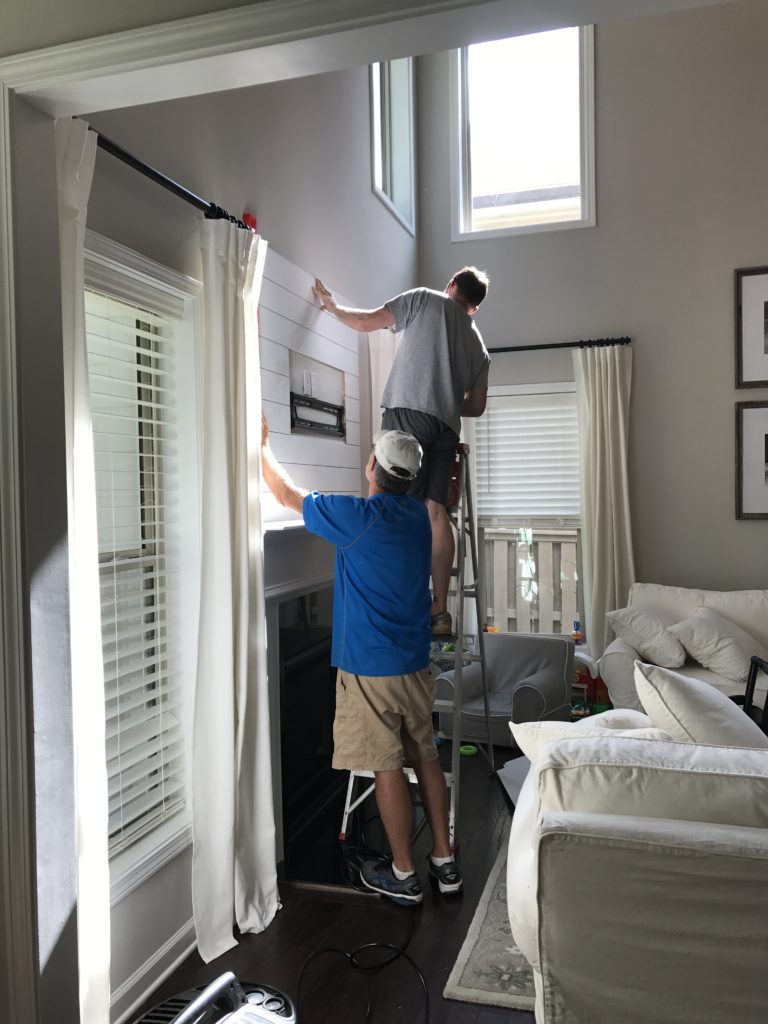
Use an extension ladder to work your way from the bottom all the way to the top until you reach the ceiling. Chances are you will need to rip the last shiplap board to fit the exact height.
Trim Shiplap with Vertical Edge
We gave the shiplap edges a finished look by running a 1-in x 4-in board vertically up each side. You can skip this step if the ends of your shiplap will be butting up against a wall or other surface.

Fill Holes + Paint or Embrace the Rustic Imperfection
I’m learning to embrace my inner Joanna Gaines. Remember how I said the shiplap was already primed? After looking at it up on the wall I decided I liked the way it looked and I didn’t even bother to paint it.
I also liked the rustic unfinished look of the exposed nail heads and decided to leave those too. You can certainly fill in the nail holes and paint the shiplap boards if that’s more your style.
Before and After
Here is one more look at the before and after.

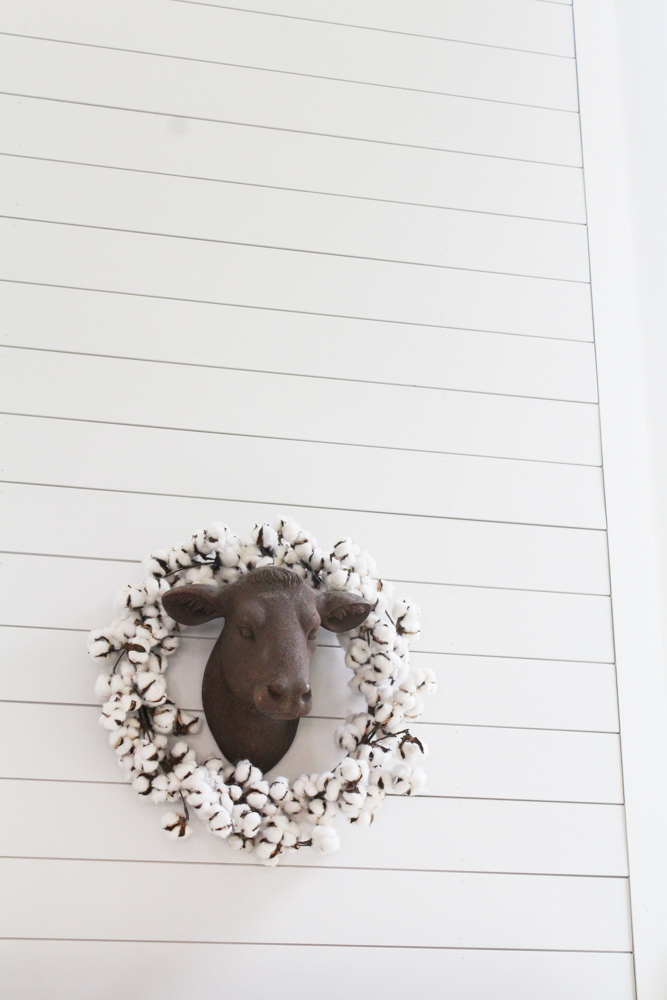
My decorative cow head and cotton wreath make the perfect addition to the farmhouse-style shiplap fireplace feature.
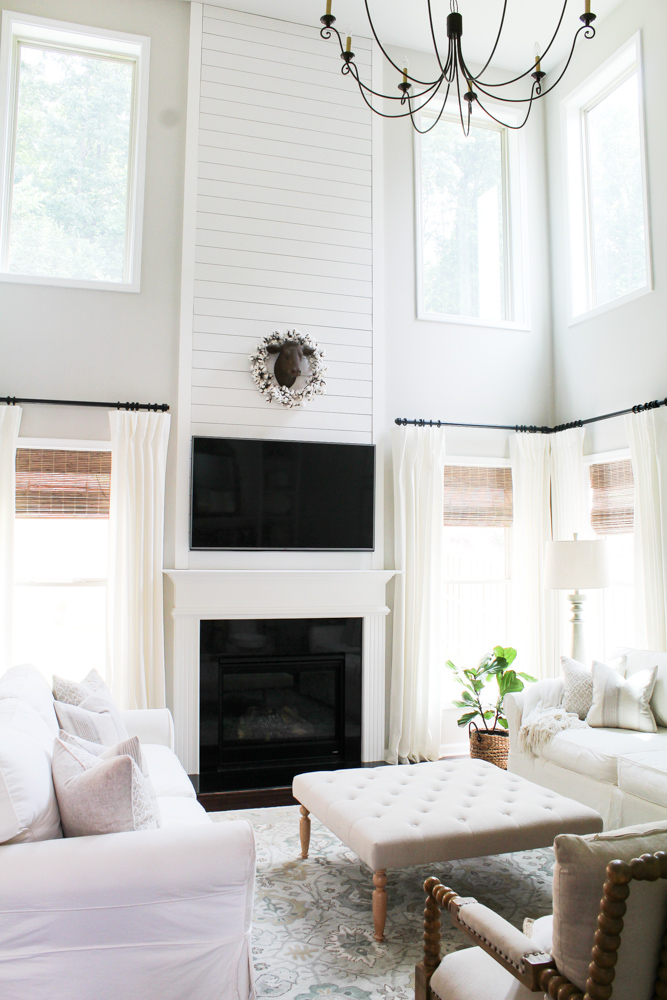
I absolutely love the character and dimension the shiplap fireplace adds to this room which was previously drowned out by blank drywall.
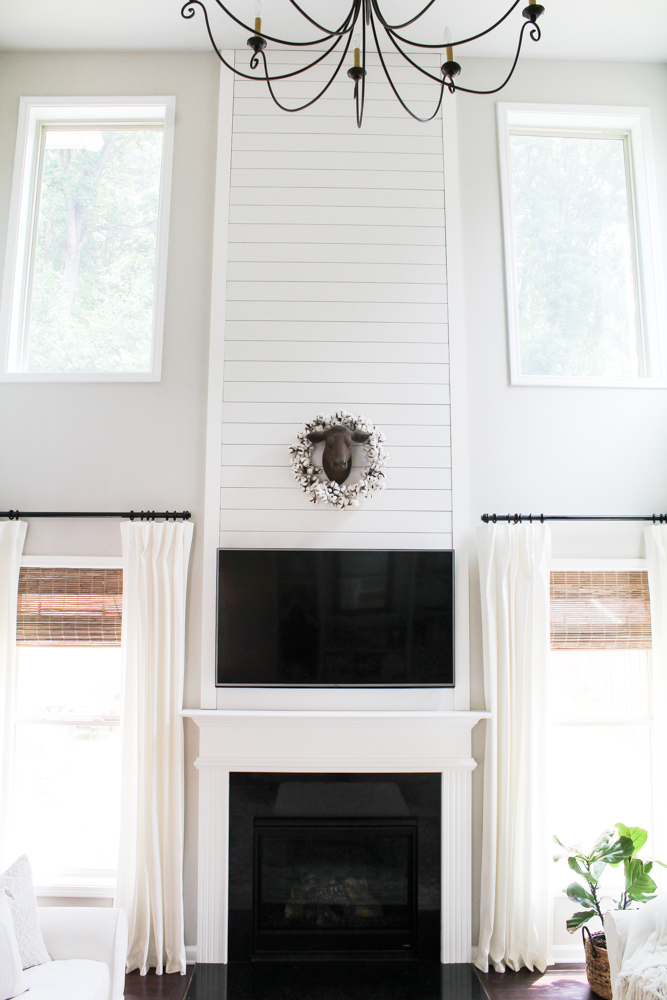
The two story DIY shiplap fireplace is now the focal point of the room and I couldn’t love it any more.
I already have the urge to shiplap more walls in this house. Seeing as how easy this project was I don’t think it will be too hard to get Hubby on board ; )
Stay tuned… I have a fun and creative idea to utilize my leftover shiplap cuts!


This is stunning!! May I ask where you got your window treatments? I’m looking for that exact match – curtain rods, Roman shades (color) and curtains! So gorgeous.
Hi Liz! Thank you so much! The curtains are the Ikea Ritva panels. The shades are from Home Depot. They are the Home Decorators Collection cut-to-size Driftwood Cordless Light-Filtering UV Protection Bamboo Shades. And the rods are just wood dowels spray painted black! I hope that helps!! Of course please reach out to me if you have any other questions! : )