How to Make DIY Framed Intaglios
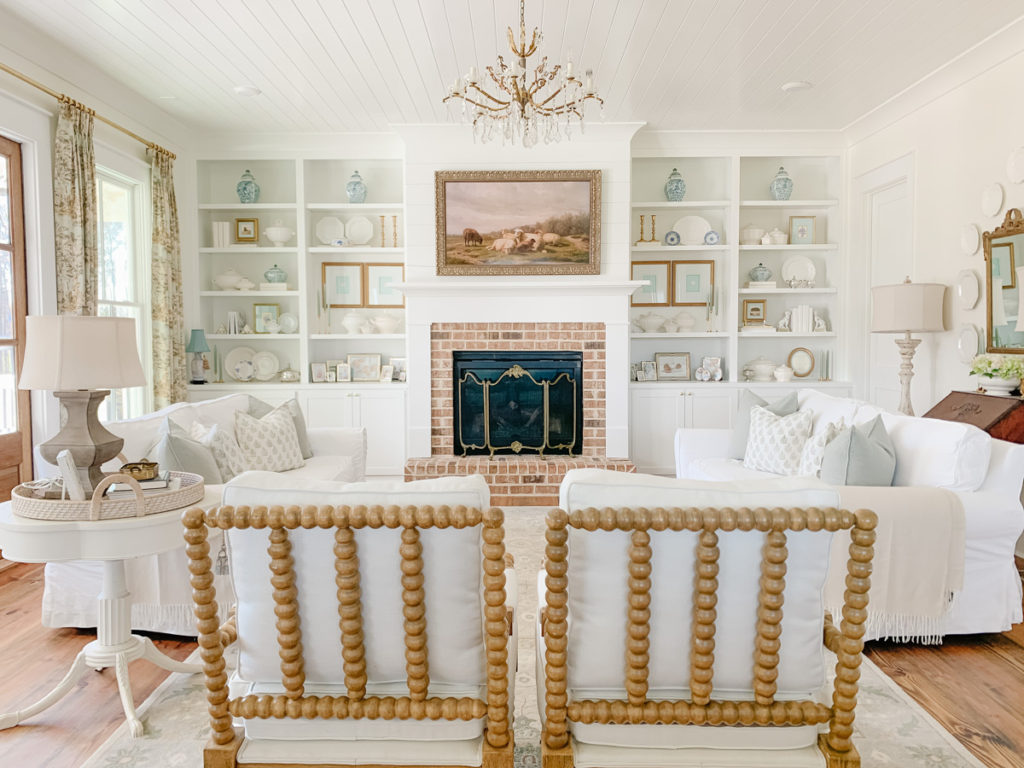
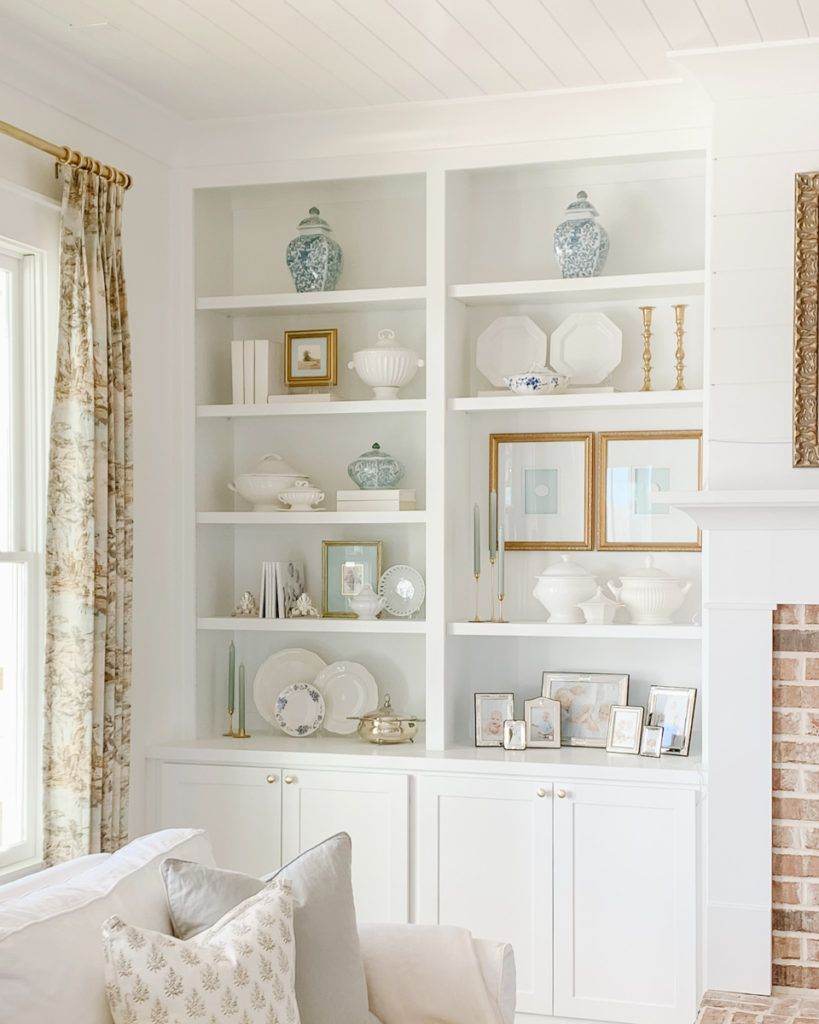
Framed intaglios are something that I have always loved! They are just so beautiful and pleasing to the eye. I especially love when multiple intaglios are grouped together in a large gallery.
If you have ever shopped for framed intaglios then you know firsthand that they are so expensive! Most framed intaglios retail at $300+ for just one framed intaglio. Umm, what?! No thank you.
I bet you can guess what comes next. “I bet I can make some DIY framed intaglios myself” 🙂
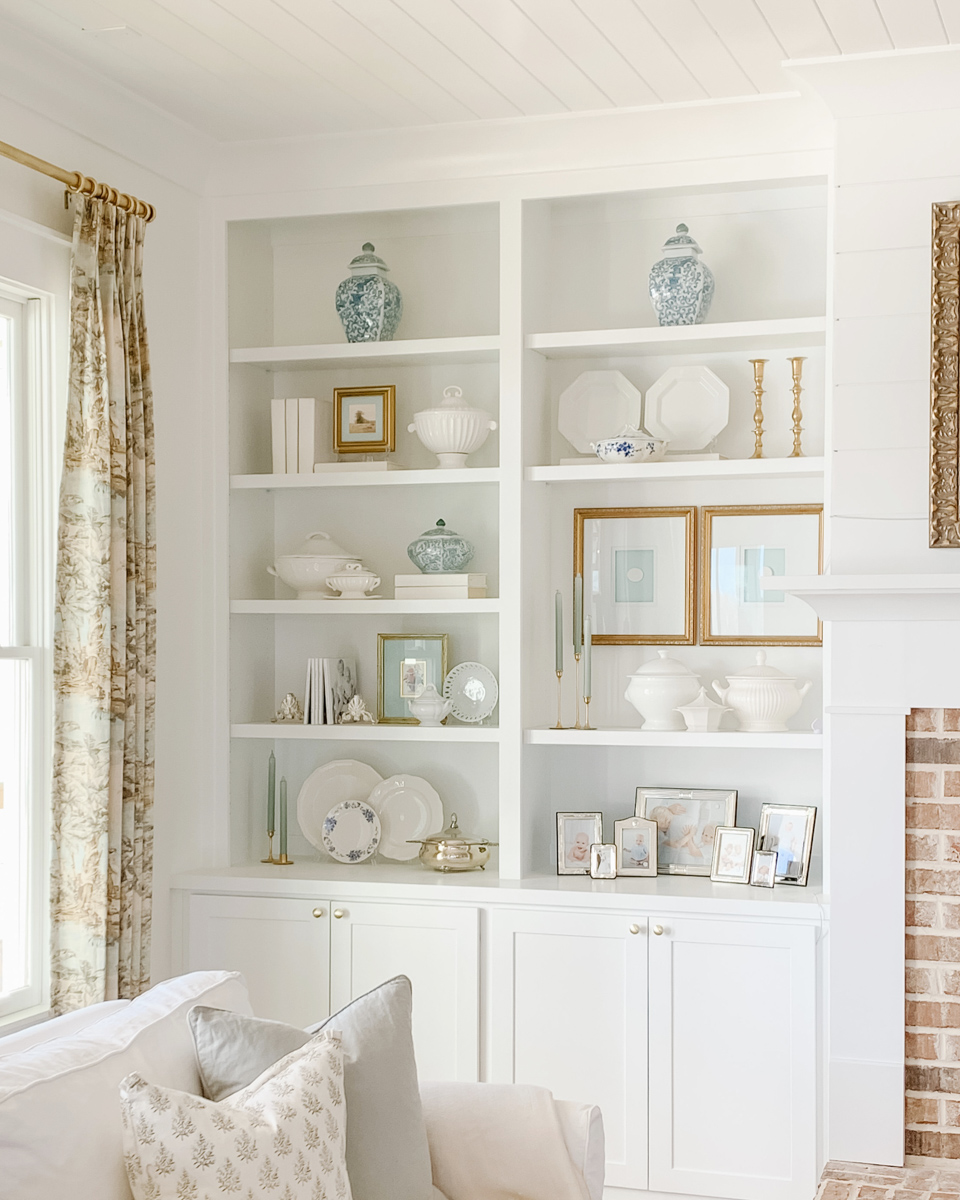
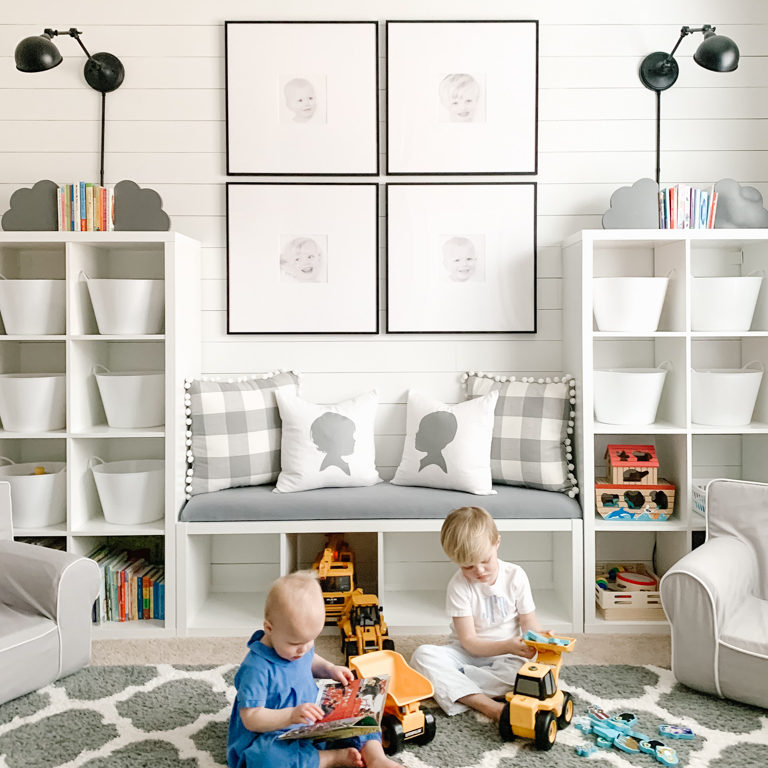
Would you believe me if I told you that almost every single piece of decor on my built-ins came from the thrift store? Read about my favorite Thrift Store Staples for Shelf Styling.
DIY Framed Intaglios on a Budget
Well, I did just that! I made my very own DIY framed intaglios for around $17 each! These may be one of my favorite DIY projects I have ever done.
DIY framed intaglios are so easy, so inexpensive, and so easy to replicate! And the best part? The finished product looks like a million bucks.
Today I am going to walk you through the step by step tutorial to make your own DIY framed intaglios.
DIY Framed Intaglios: Materials You Need
Here’s everything you will need to make your own DIY framed intaglios:
- Frames
- Reproduction Intaglios
- Scissors or X-Acto Knife
- Craft Paint
- Foam Paint Brush
- Hot glue + hot glue gun
- Scrapbook paper
- Foamboard
- Cardboard (I used the cardboard from gift boxes)

Step 1 – Find the Perfect Intaglio Frames

The first thing you will need in order to make your own DIY framed intaglios is frames. One of the best places to find beautiful, yet inexpensive frames is the thrift store.
Learn my best thrifting tips and tricks in my Ultimate Thrifting Guide.
Most people get rid of nice frames simply because the artwork, print, or picture mat is outdated. These are easy fixes! When browsing the thrift store for the perfect intaglio frames, look past the mats and the art.
Look for pretty frames!
Is thrifting not your thing? You can also use new gold frames such as these, these or these.
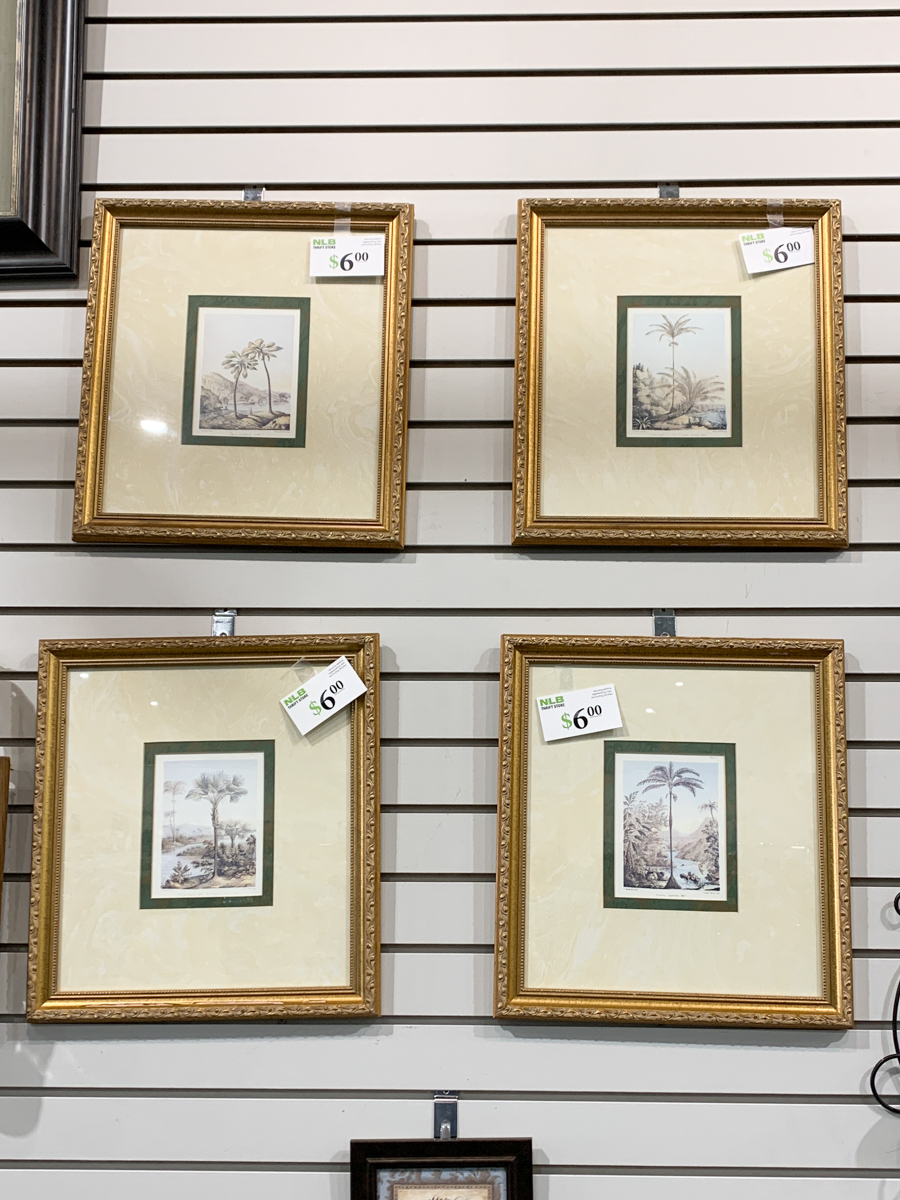
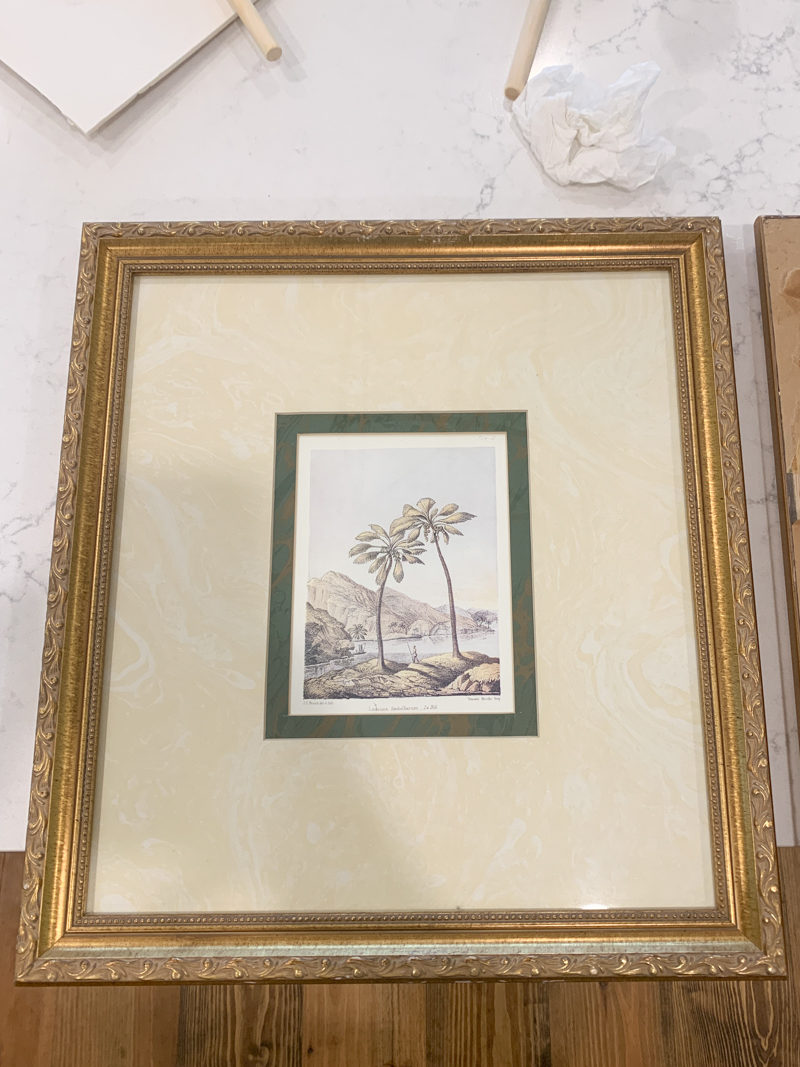
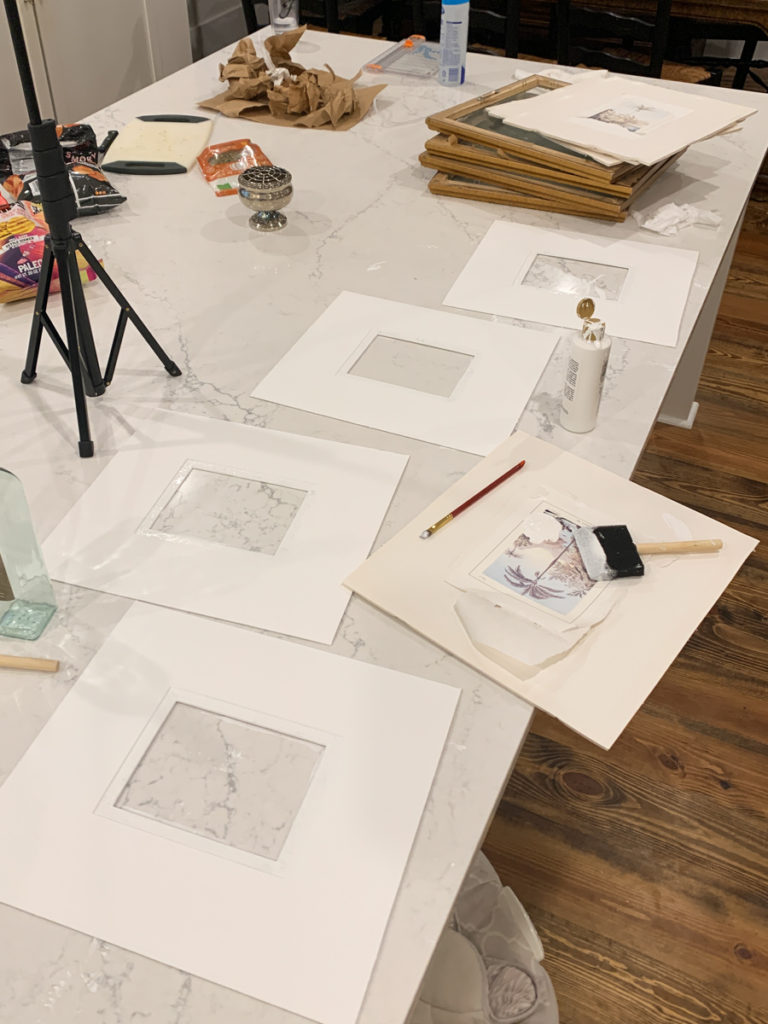
I came across this set of four matching gold frames at our local thrift store one day.
The price was right at just $6 each and I knew they would be perfect to transform into DIY framed intaglios.
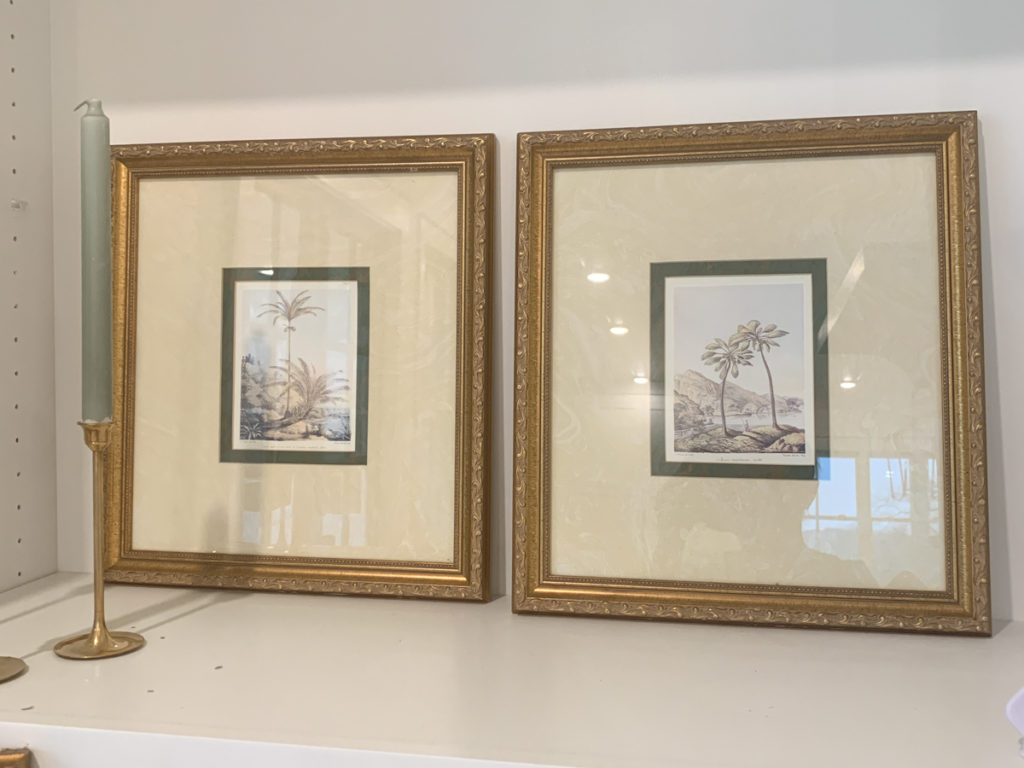
There is no right or wrong when it comes to the size of your intaglio frames. Most framed intaglios range in size from 12×15 to 17×21.
For reference, each frame pictured here is 15″x17″.
Step 2 – Purchase Intaglios
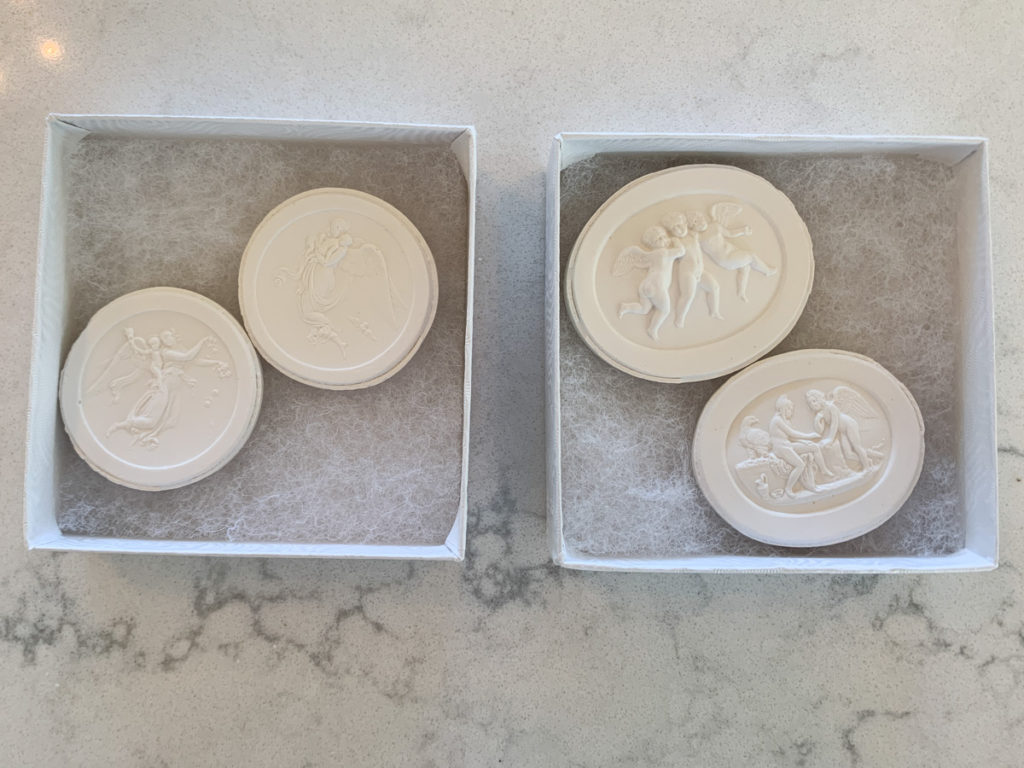
The minute I got my frames home from the thrift store I purchased reproduction intaglios from Artscapades3d on Etsy for just $10 each.
I chose Artscapades3d for the great price point, excellent reviews, fast shipping, and many designs to choose from.
They shipped extremely fast and I was so happy with the quality when they arrived.
Step 3 – Remove Everything from the Frame
The next step is to remove everything from the frame.
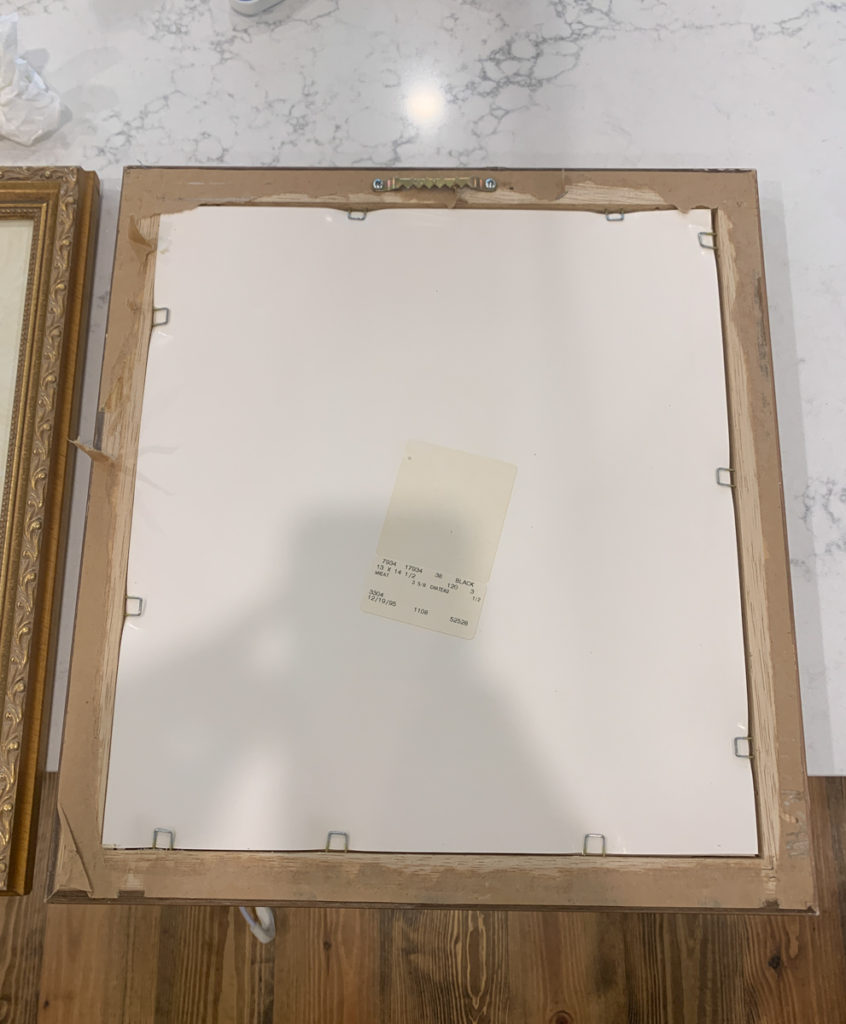
This includes the backing, the picture mat, the art/print, and the glass.
These frames had paper back dust covers attached to the back of the frame. I simply cut it away with scissors. I’m not too worried about what the back will look like when I am done 😉
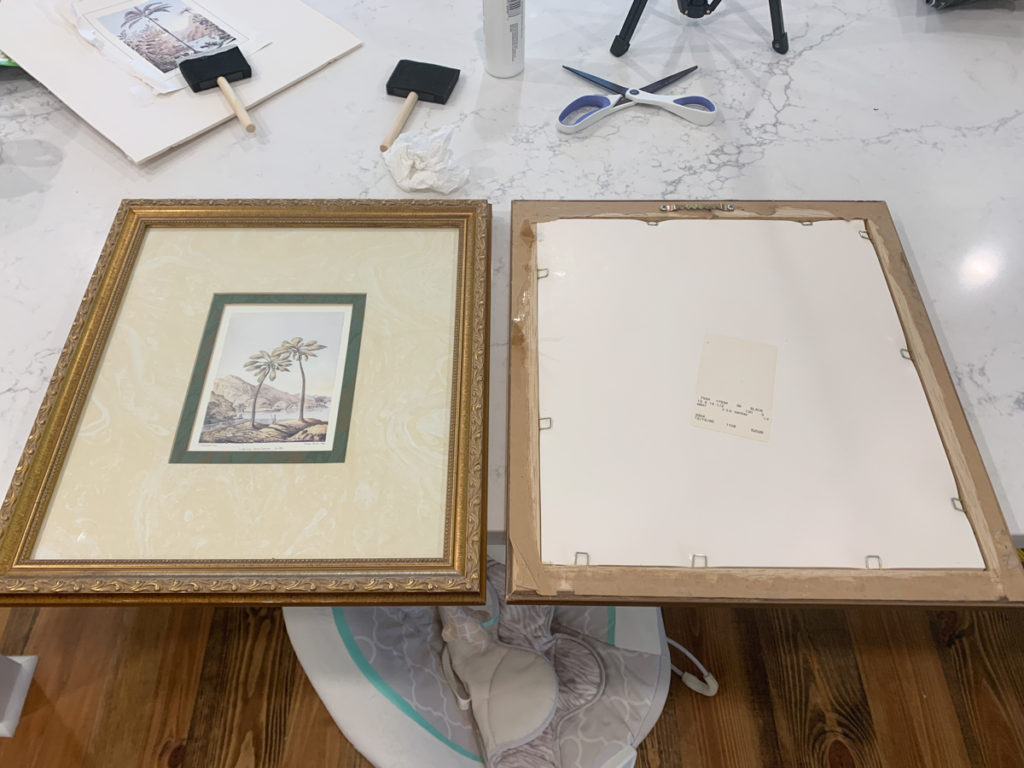
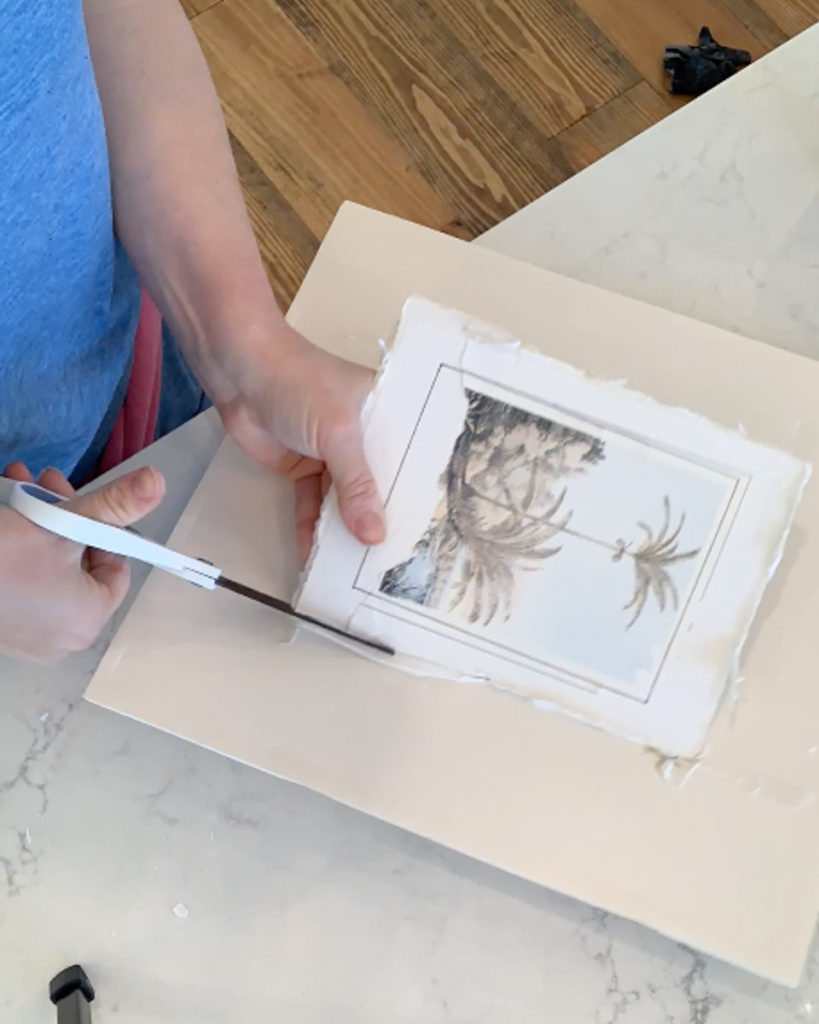
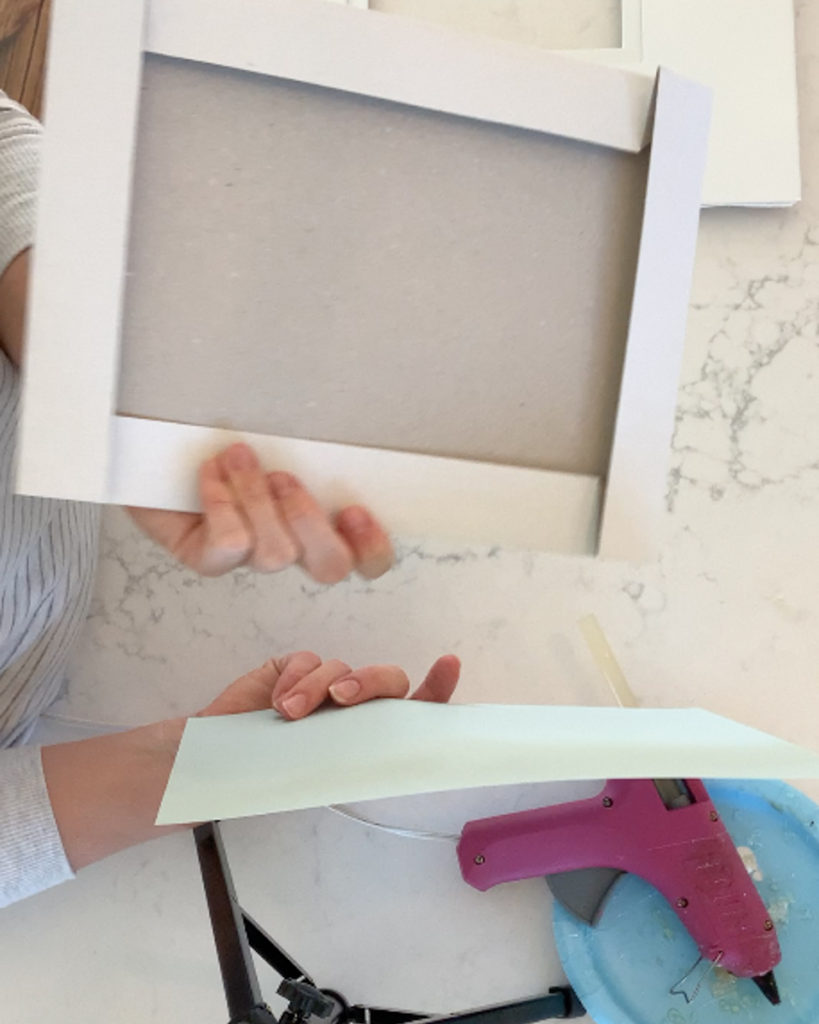
Step 4 – Remove Art from Picture Mat
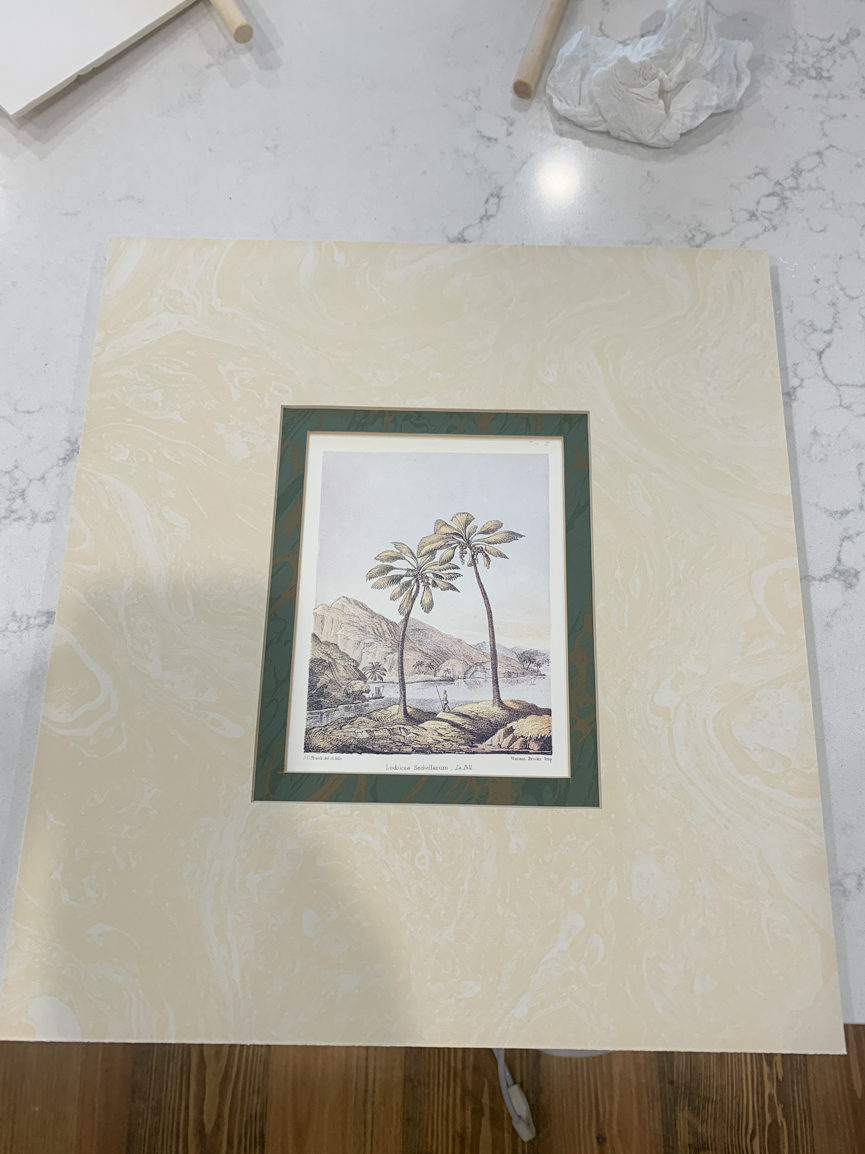
If your art print is attached to the back of the picture mat like mine was, you will need to separate the two.
Don’t worry about damaging the print since you will be getting rid of it anyways!

In the photo above you can see where I separated the picture mat and the print.
Step 5 – Paint Picture Mat
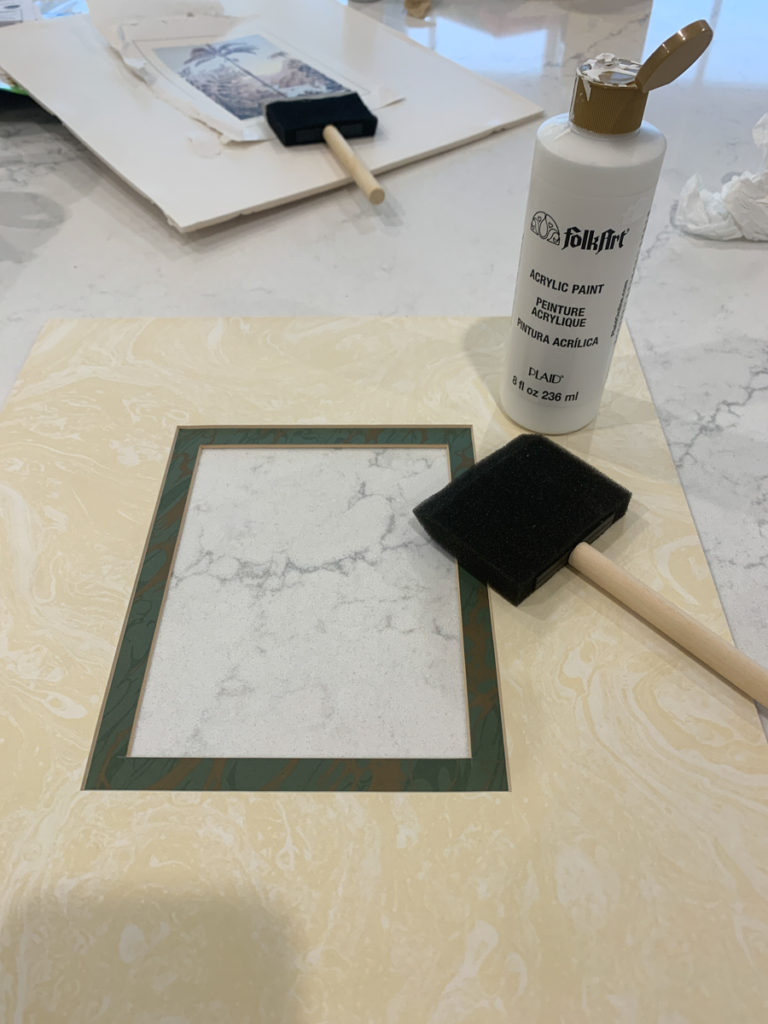
If you do not like the color of your picture mats for your framed intaglios, you can easily change the color by painting them with craft paint or spray paint.
I used inexpensive craft paint and a foam paintbrush to paint my picture mats white.
Step 6 – Cut Foam Backing
I had so many questions about this next step when I shared the process on Instagram a few weeks ago.
Typical frames are designed to hold an art print which is essentially a flat piece of paper.
An intaglio is about 1/4″ thick, so you have to create a little bit of “space” between the intaglio and the picture mat. This gives plenty of room for the intaglio to sit underneath the glass.
I lucked out here! Lo and behold the prints that came with my frames were attached to foam board.
Most frames do not come with foam board. You can buy it for a dollar or two at Walmart, The Dollar Tree, or even most grocery stores. It’s usually in the school supply or office section near the poster board.
Next you will cut an opening in your foam board that is slightly larger than the opening of the picture mat.
The easiest way to do this: place your picture mat on top of your foam board, making sure all the outside edges are lined up. Use a pencil to trace the opening of the picture mat onto the foam board. Lastly, use scissors or an X-acto knife to cut an opening in the foam board that is about one inch larger than the outline you traced.
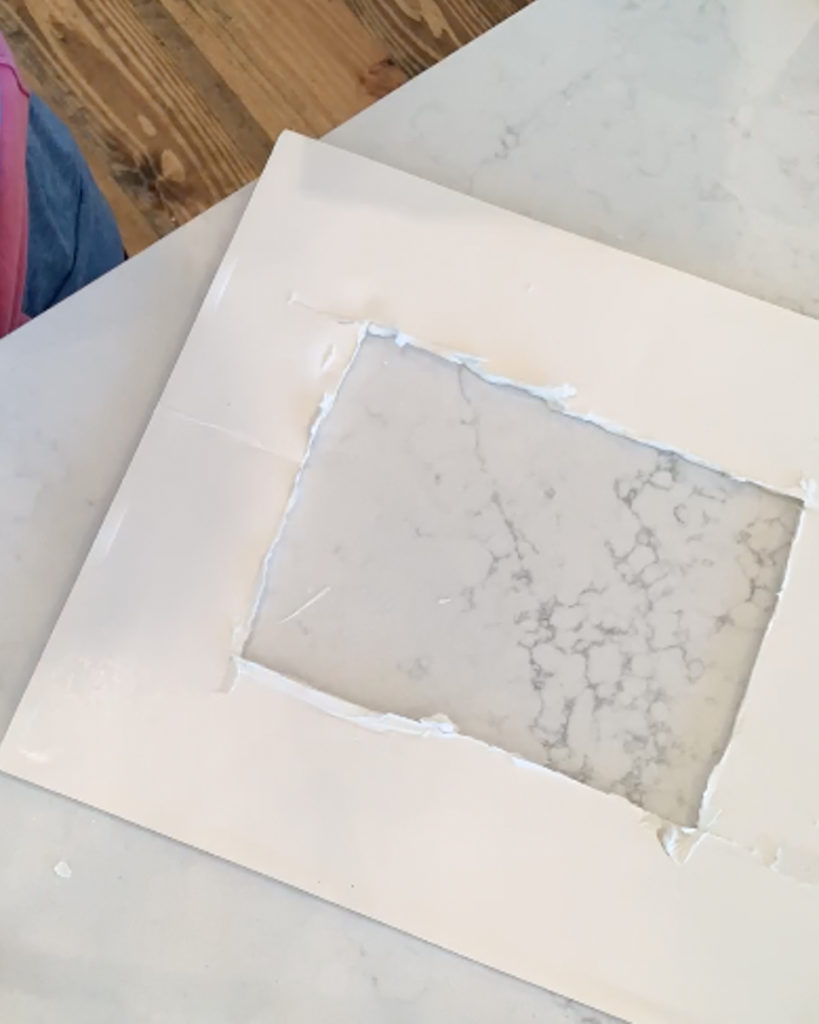
As you can see in the photo above, mine is not pretty! It is hard to cut a clean line in the foam board with scissors. An X-acto knife might give you a cleaner line.
You cannot see the edges of the foam board in the finished framed intaglios since it sits under the picture mat.
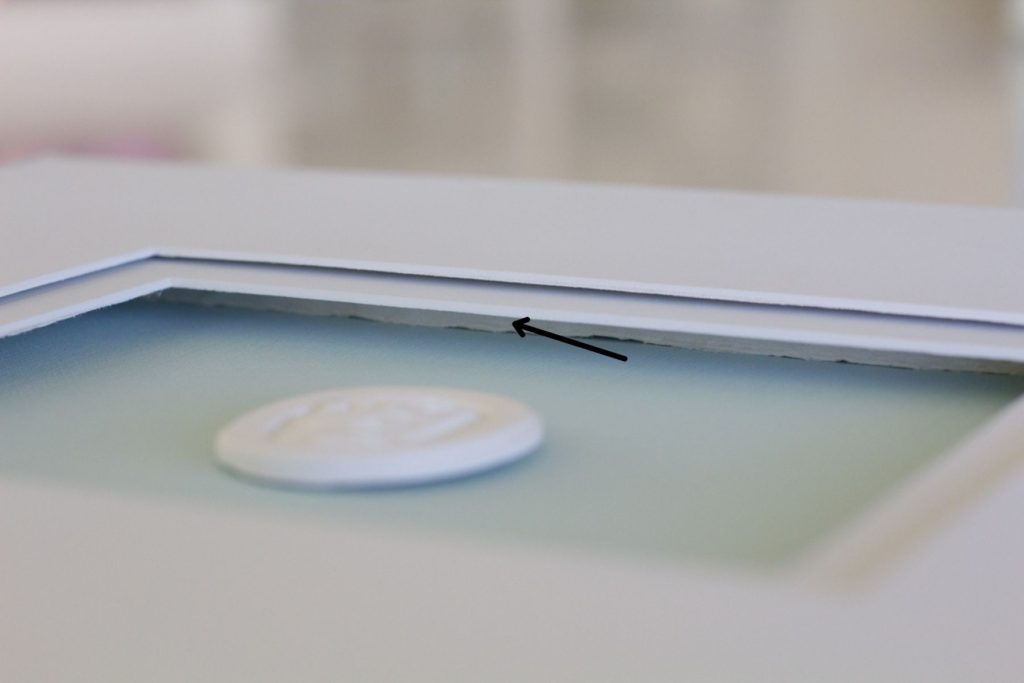
The black arrow points to the foam board beneath the picture mat.
Step 7 – Glue Foam Board to Picture Mat
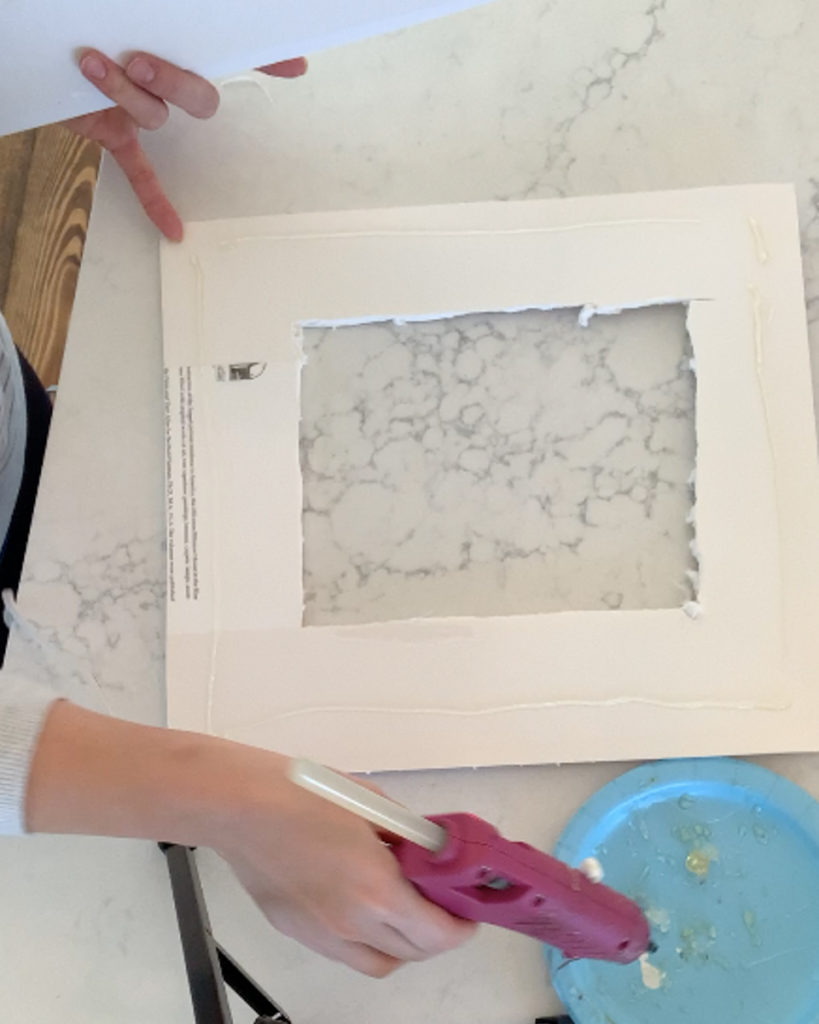
Next, use a hot glue gun to attach the foam board to the back of the picture mat.
As you can see in the photo above, the foam board is not visible after it is attached to the back of the picture mat.
Step 8 – Make Intaglio Backing
Now you will need to create a “back” for your framed intaglios.
Cardboard makes an excellent back for framed intaglios. Chances are you have some amazon cardboard boxes sitting around anyways! 🙂
I looked around my house and found some cardboard gift boxes that were the perfect size for my frames.

Use a piece of scrapbook paper or a piece of fabric to cover the cardboard.
I chose a piece of thick scrapbook paper that had a linen-like texture to it.
Hot glue the scrapbook paper directly to the surface of the cardboard.
Then glue the cardboard to the back of the foam board, with the scrapbook paper side facing up.
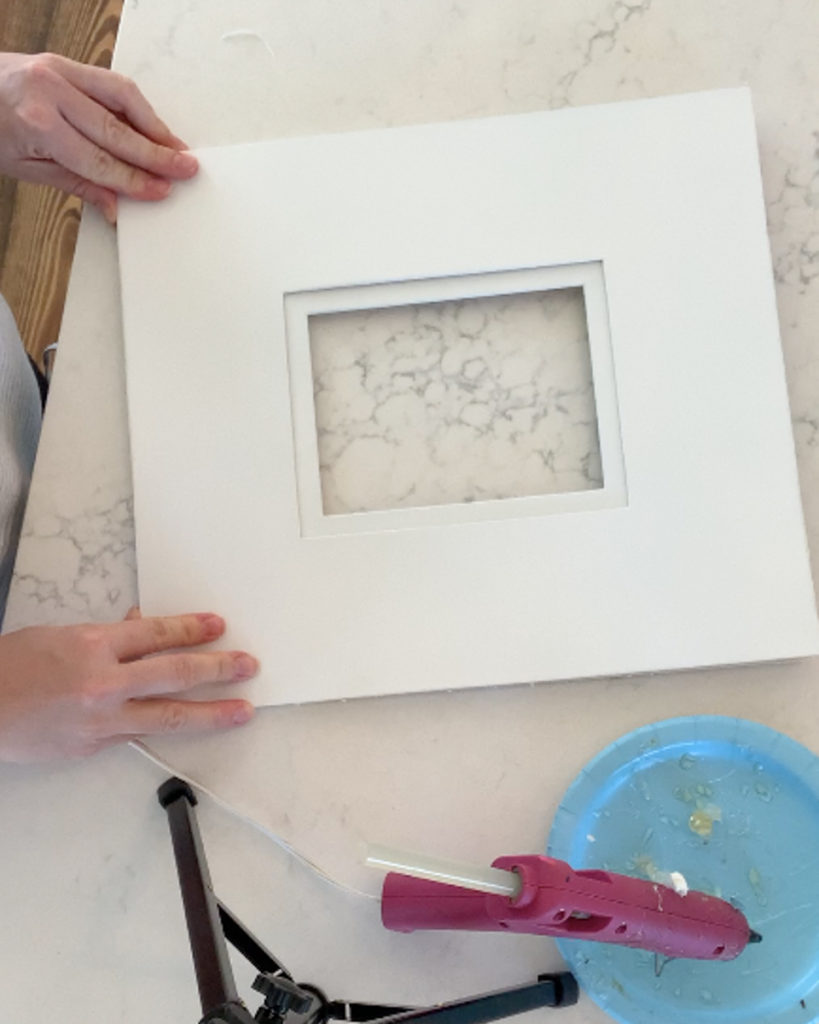
You should now see the scrapbook paper through the opening of the picture mat!
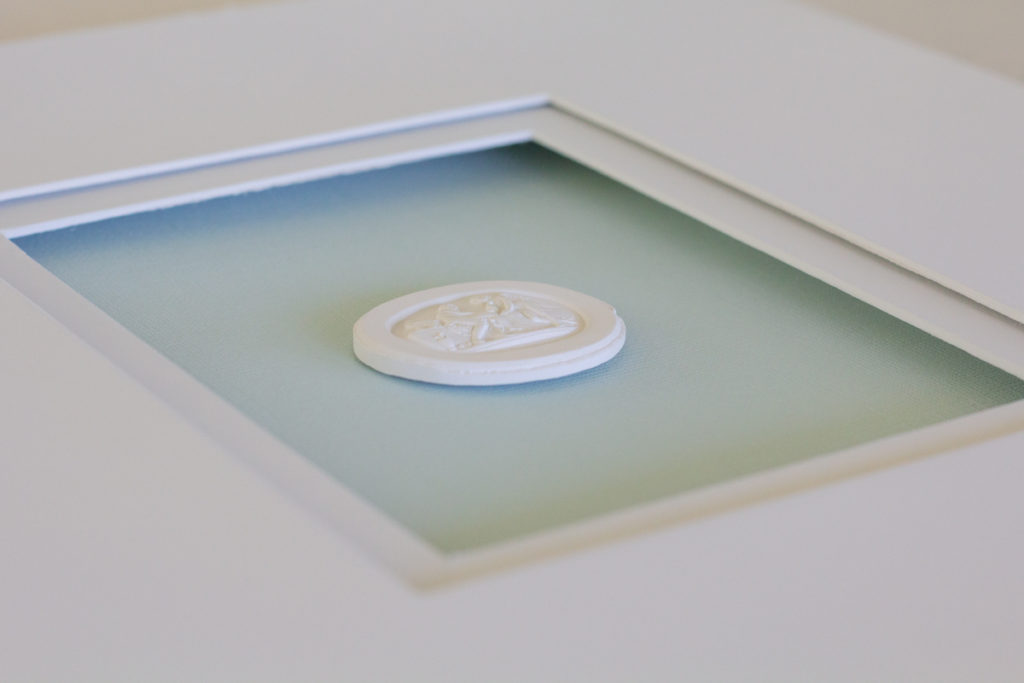
Step 9 – Attach Intaglios
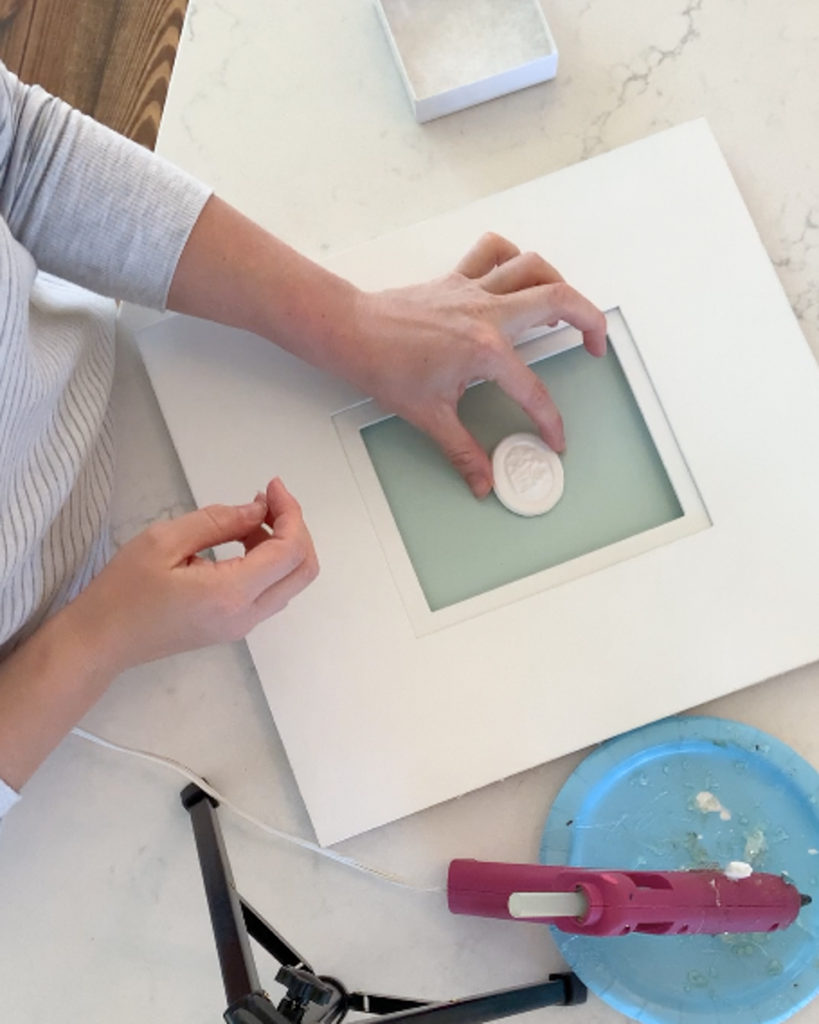
Now for the fun part! It’s finally time to attach the intaglios!
First mark the center of your opening with a pencil. Then use a hot glue gun to attach the intaglio directly onto the surface of the scrapbook paper.
Step 10 – Put Your DIY Framed Intaglios Together
Lastly, it’s time to put your DIY framed intaglios back in the picture frame!
Be sure to clean the glass well and remove all dust and/or fingerprints. My favorite product for cleaning glass is THIS cleaner.
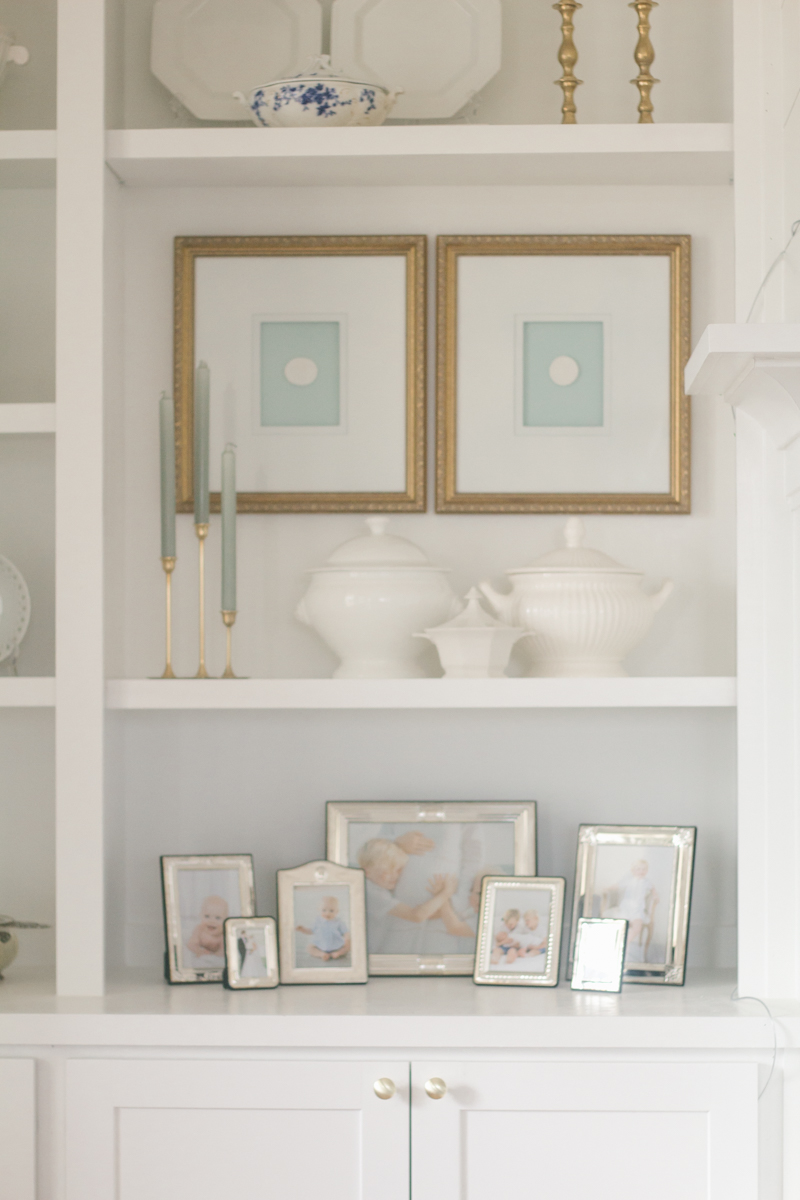
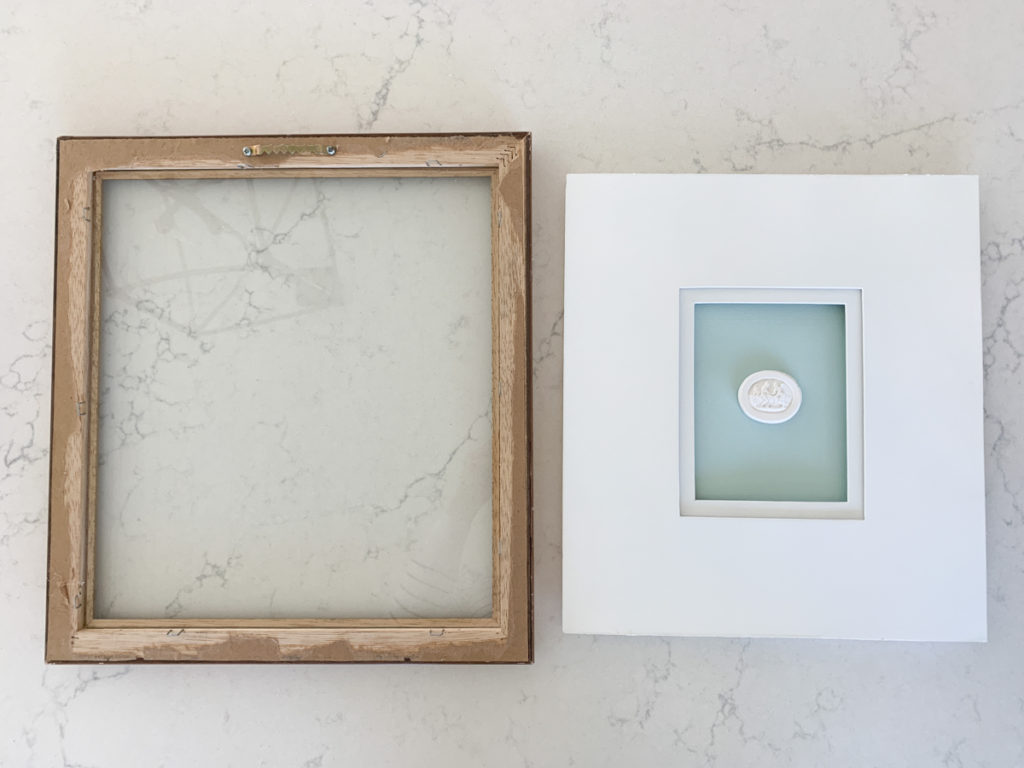
DIY Framed Intaglios: Before and After
Let’s take one last look at the before and after of these DIY framed intaglios!
Can you believe the transformation?! I can’t! 🙂
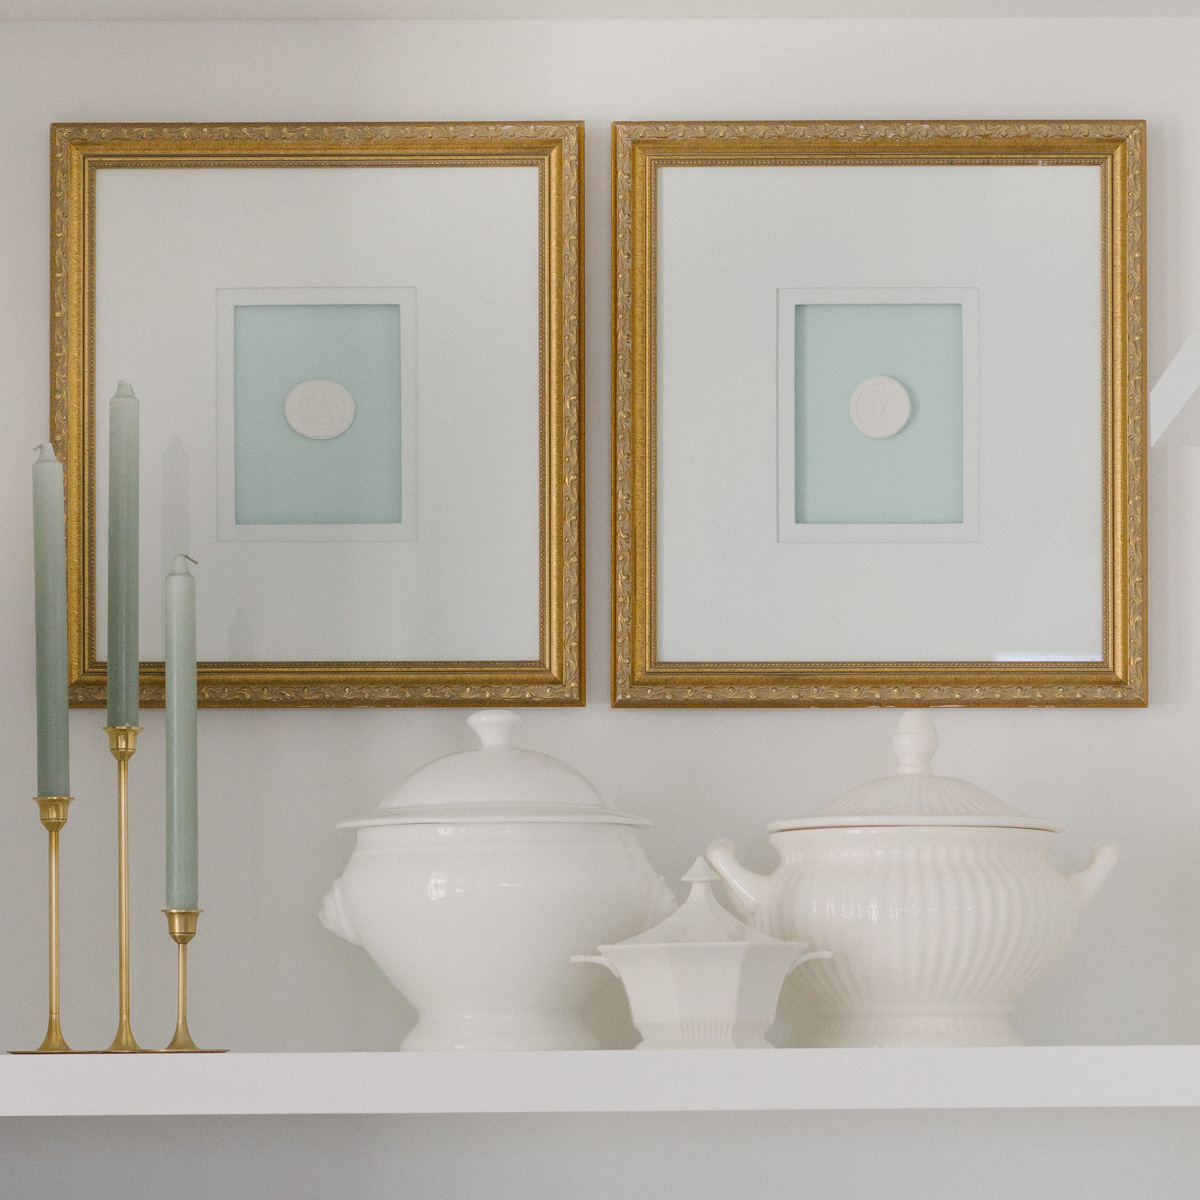
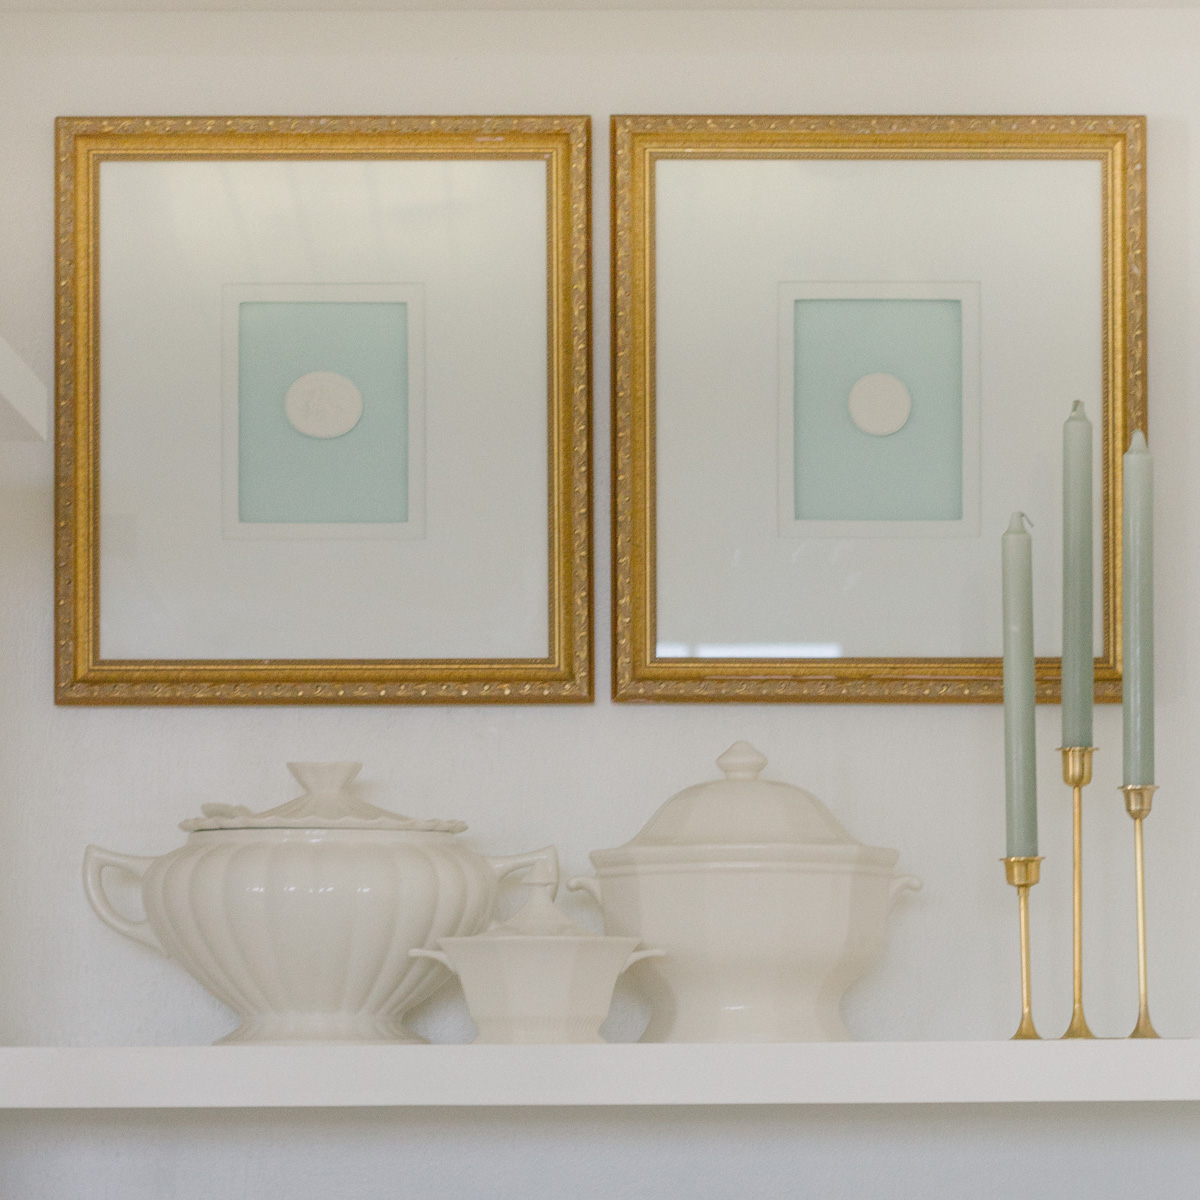
Budget-friendly DIY framed intaglios are exactly what these built-in shelves needed. They make the room!
Next time you’re at the thrift store and you come across beautiful frames, consider transforming them into your very own DIY framed intaglios!
And of course, if you do try this DIY project be sure to leave a comment or share a photo and tag me on Instagram!
Shop This Post

The intaglios are awesome! Great job! I love the room and everything in the bookcases, however, I’m not fond of the intaglios right next to each other. Too symmetrical for me. I would have scattered them but that’s my taste and it’s still gorgeous!
Found you scrolling through Instagram, you have such a great website/blog. I’m excited to try these Intaglios! I never even thought to look for inexpensive reproductions! As I read your tutorial I kept thinking that you need Framers Tape in your life!!! (I like 3M’s Scotch ATG Tape the best.) I couldn’t create without the stuff. It eliminates the need for lumpy, hard to use hot glue. Can’t wait to explore your blog more!
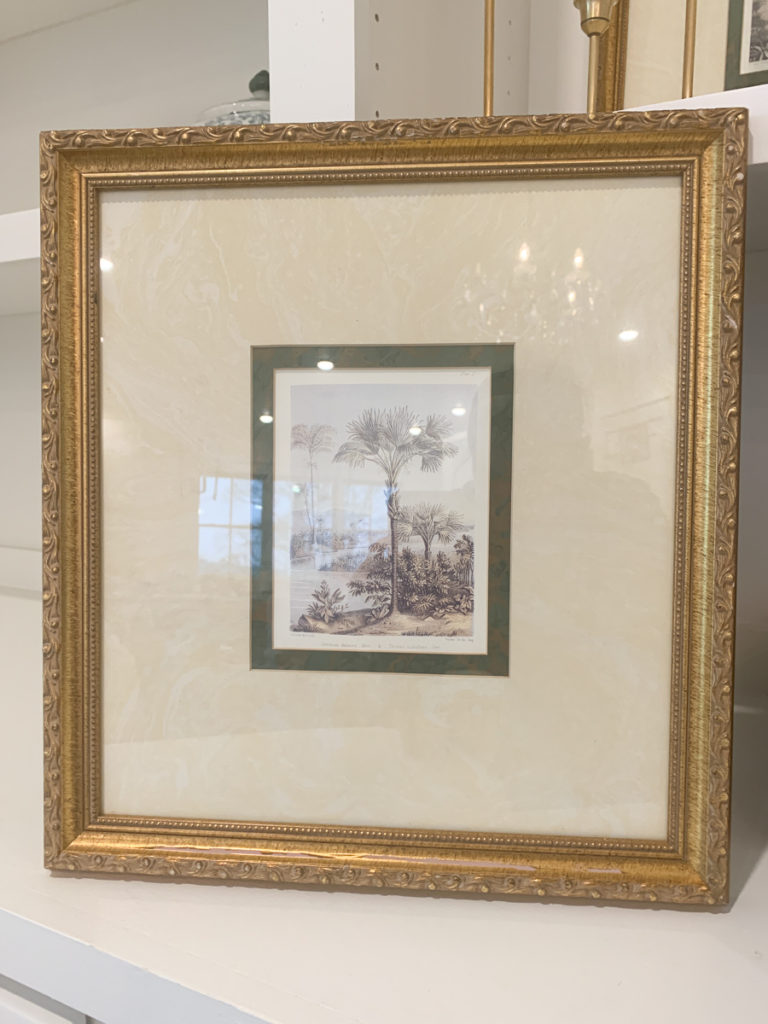
Very pretty, but I love the old beach prints you got rid of…
Love you intaglio idea. I haven’t ordered frames yet. How can I figure out the depth of the frame? Seems like it would need to be unusually deep with the mat plus foam core board.
Thank you Shirley! I do love the idea of scattering them. I’m constantly rearranging and tweaking everything on these shelves so I may try that! Thanks for the idea 🙂
Thank you Linda! Maybe I can find somewhere else to use them 🙂
Thank you Pamela! The frames I used are just normal depth frames. I had no problem fitting everything under the prongs on the back of the frame. I hope that helps!
Thank you Michelle, that is such a compliment! Wow, how have I never heard of Framers Tape?! I definitely need this!! Sounds much better than hot glue. I’m going to order some! 🙂