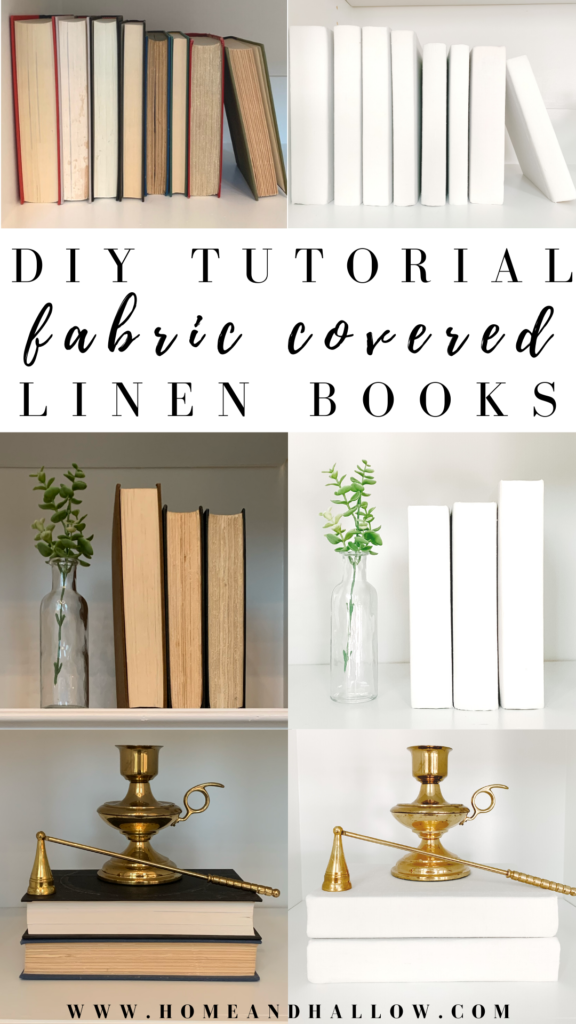
DIY Decorative White Fabric-Covered Linen Books
Did you read my latest post about how we built our own DIY built-ins? If not, you can catch up here!
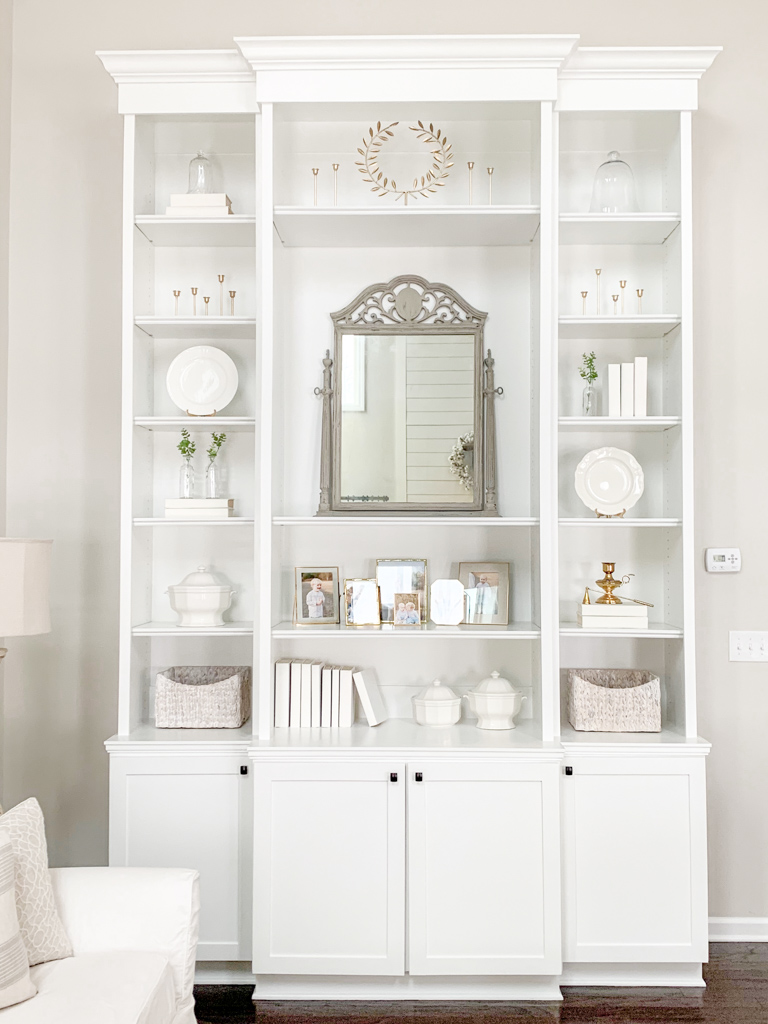
After building them, it was time to style them! For most people, styling them would be the fun part. Not for me! I can build built-ins any day, but styling them does not come as naturally to me.
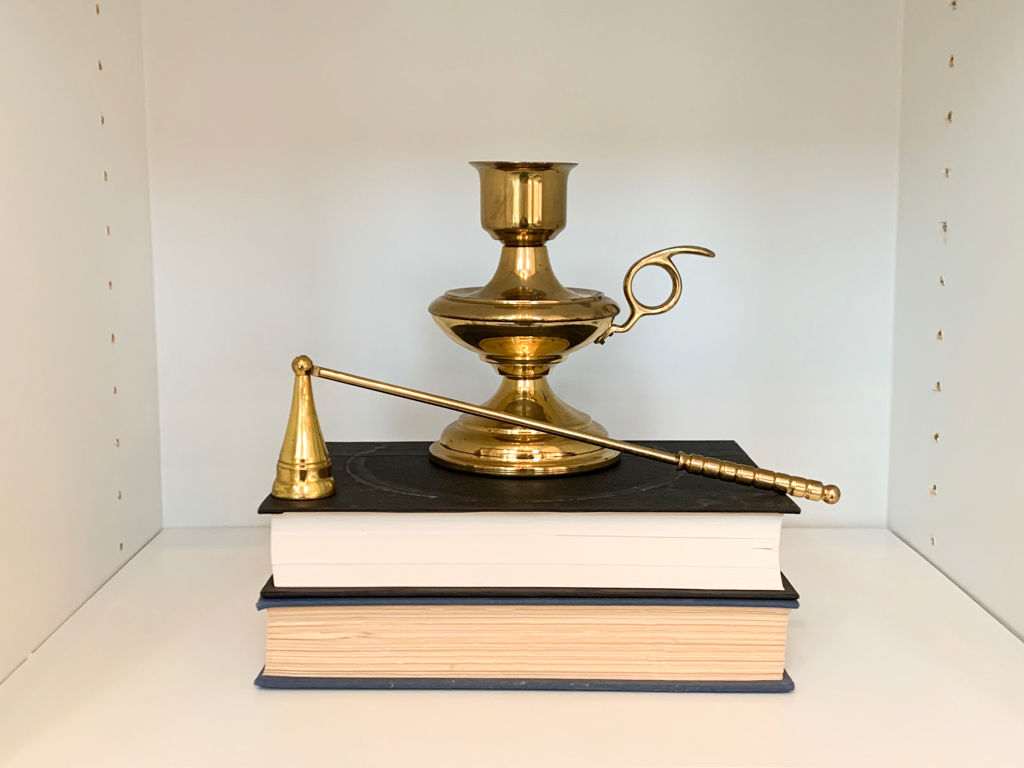
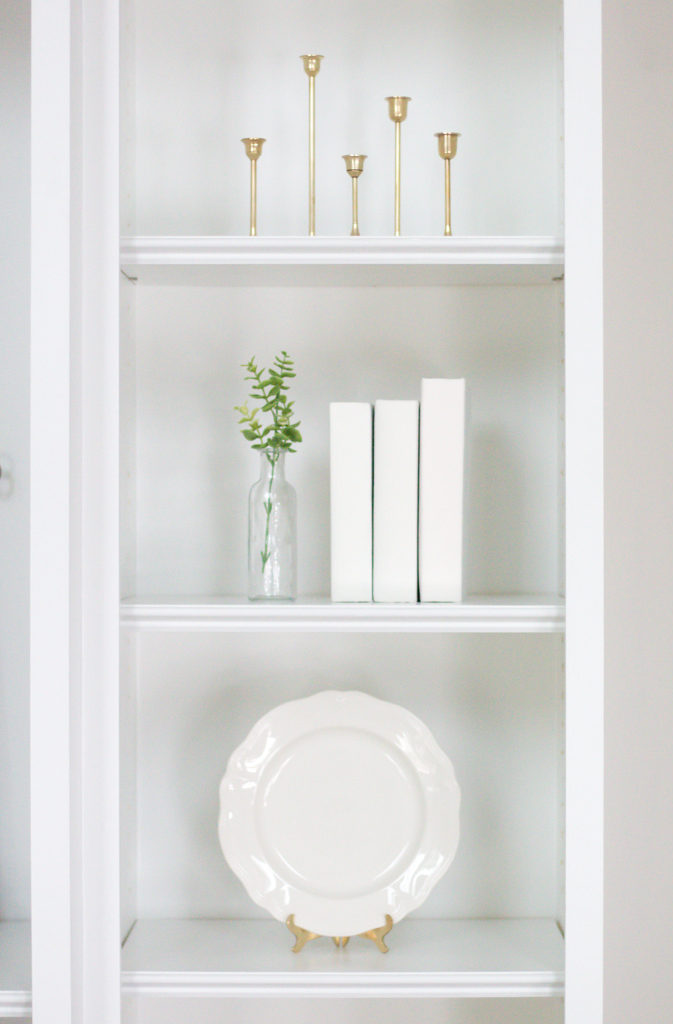
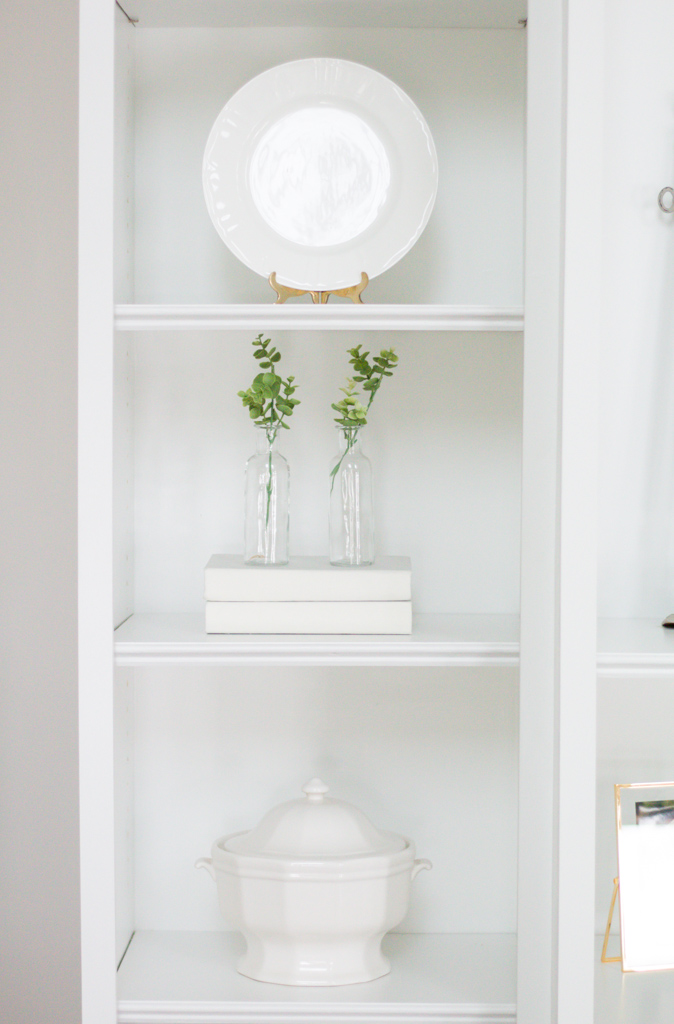
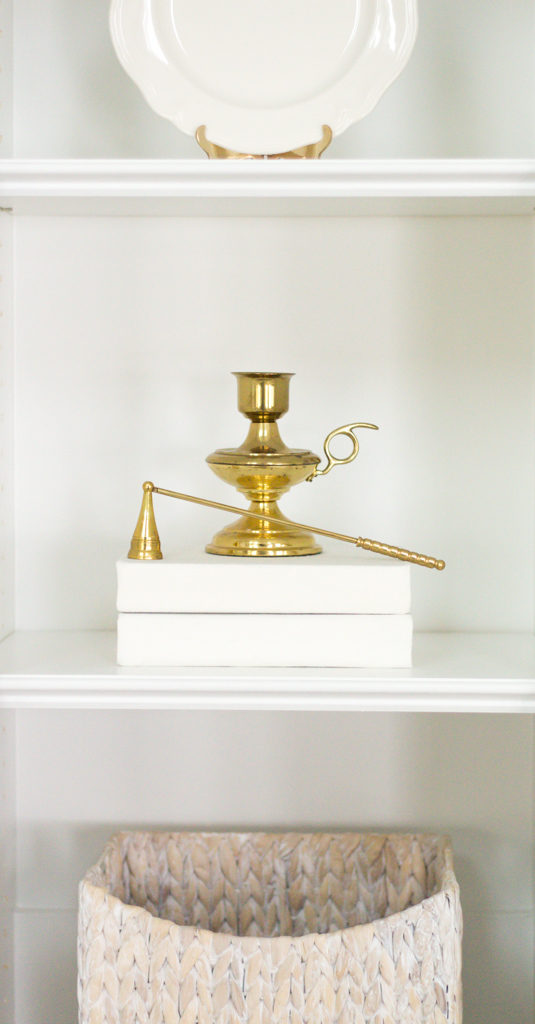
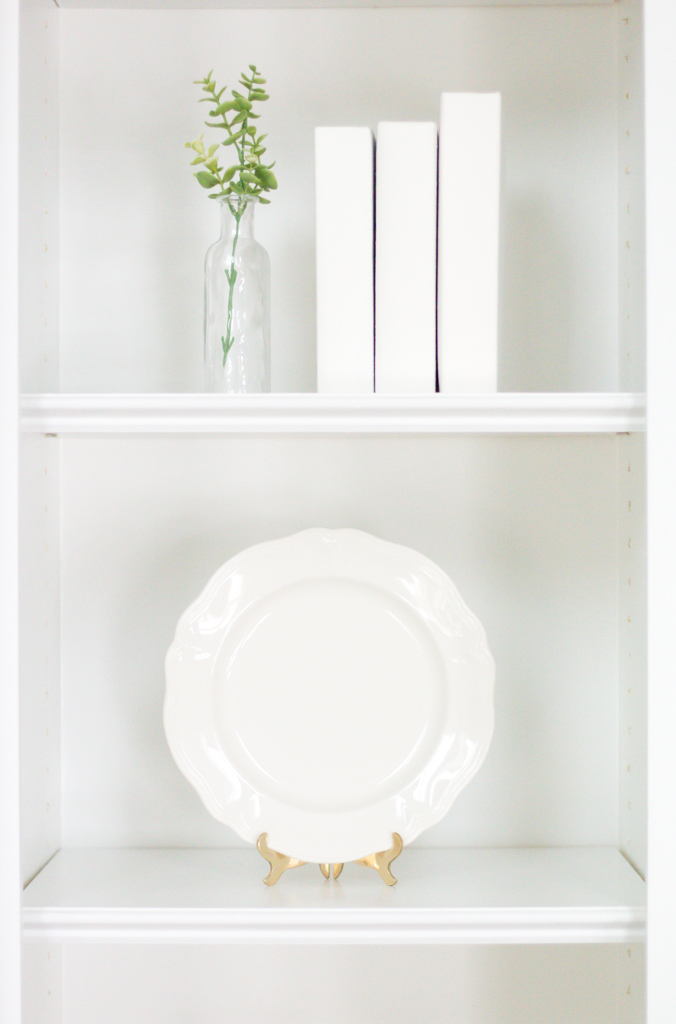
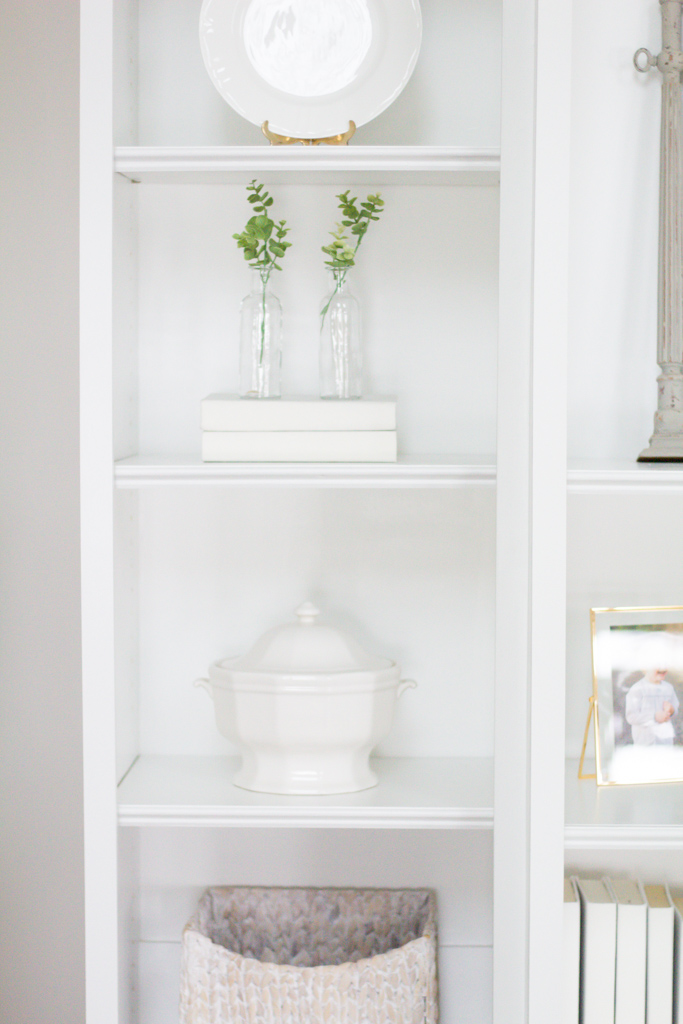
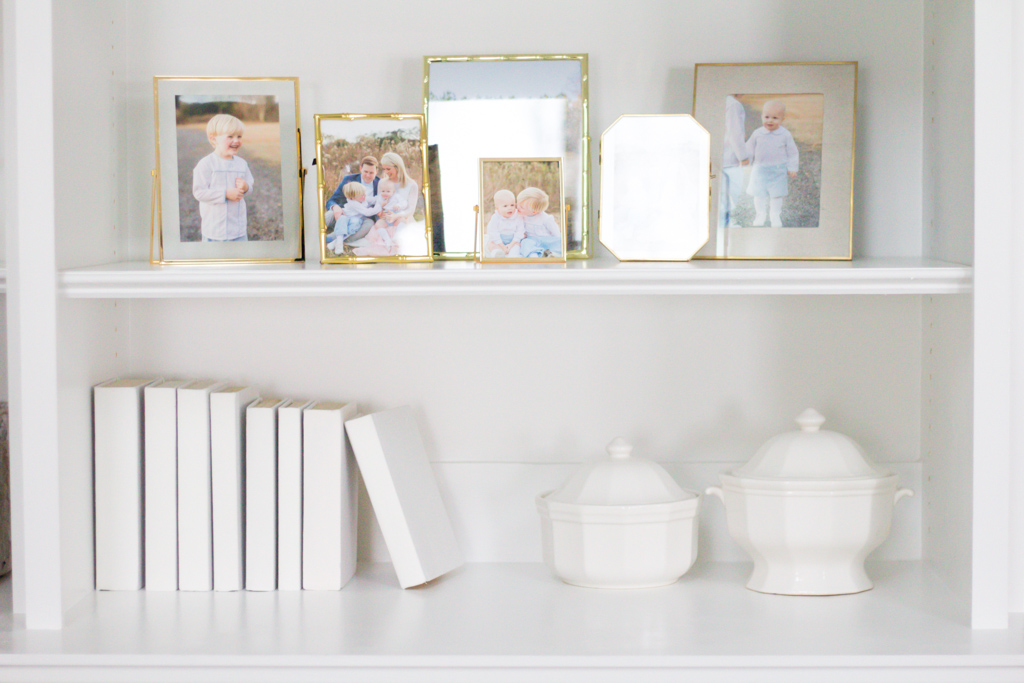
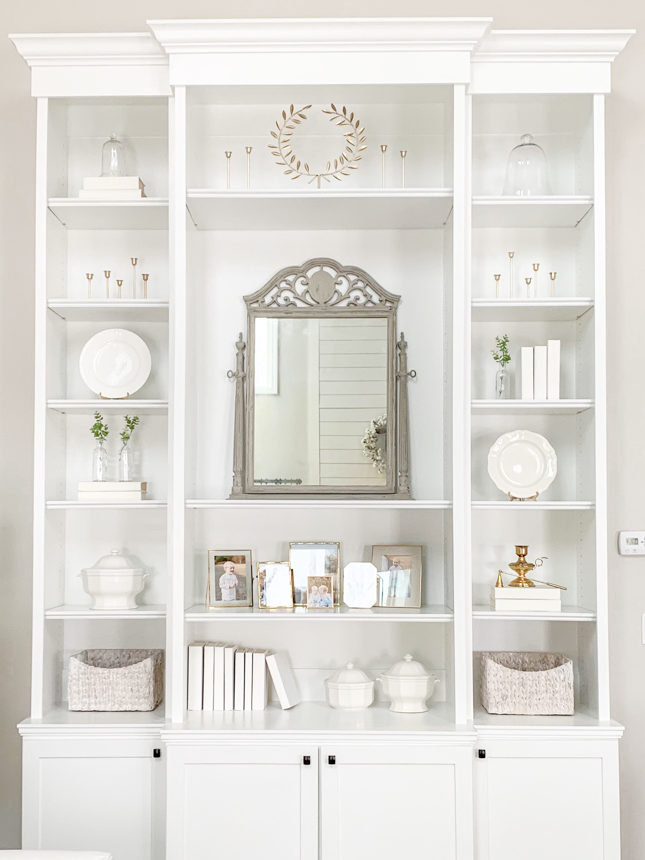
I never set out to intentionally buy anything for our built-ins. Instead, I gradually collected things from the thrift stores, antique stores, and estate sales that caught my eye: ironstone, books, antique brass candlesticks, white tureens, a vintage mirror from an old dresser.
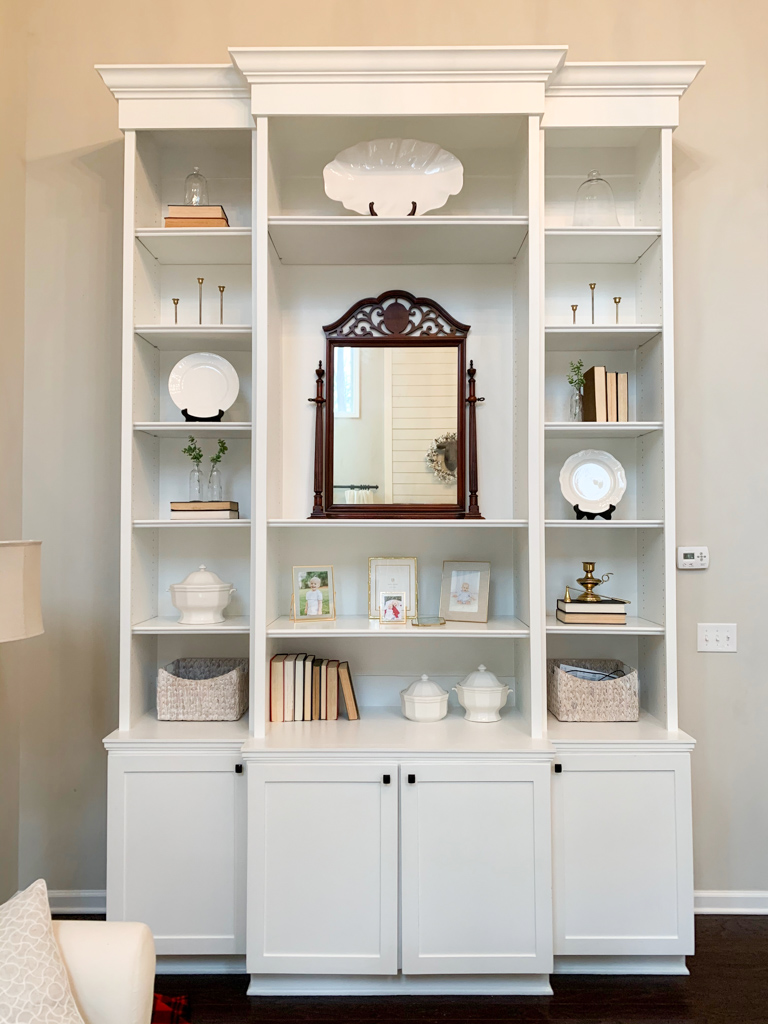
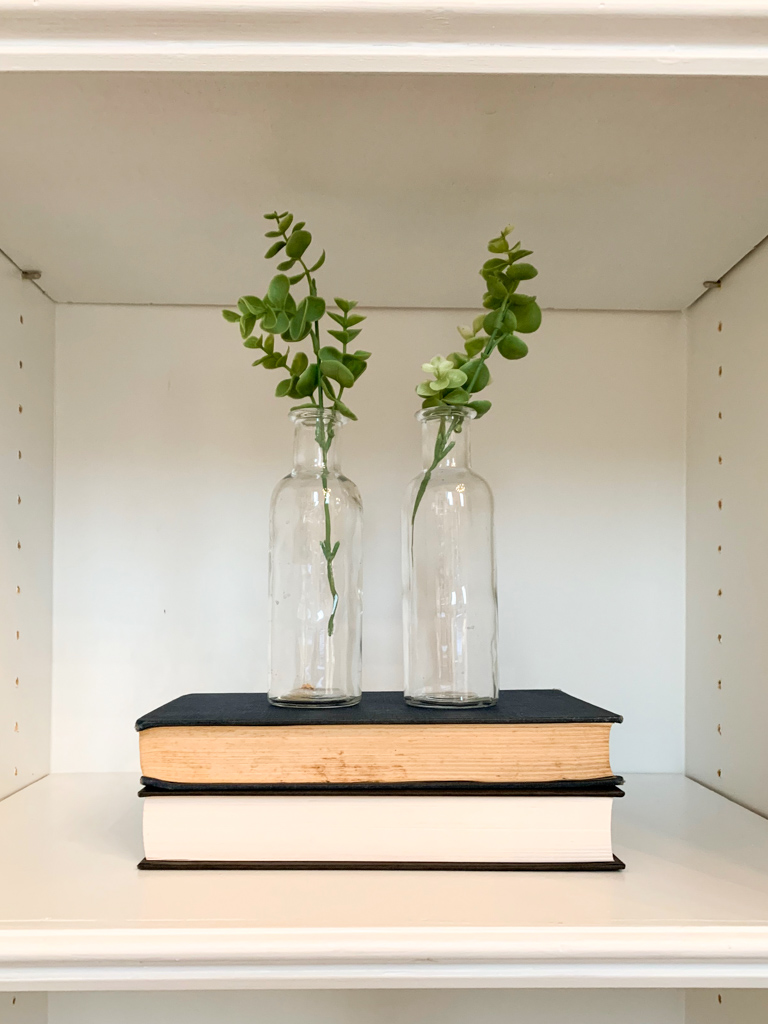
DIY Built-Ins Before
I never really loved the way they looked, but getting them perfectly styled just wasn’t a huge priority.
That was until it was time to sell our house!
Listing your house always forces you to do those things that have been on your to-do list for far too long, and styling our built-ins was no exception!
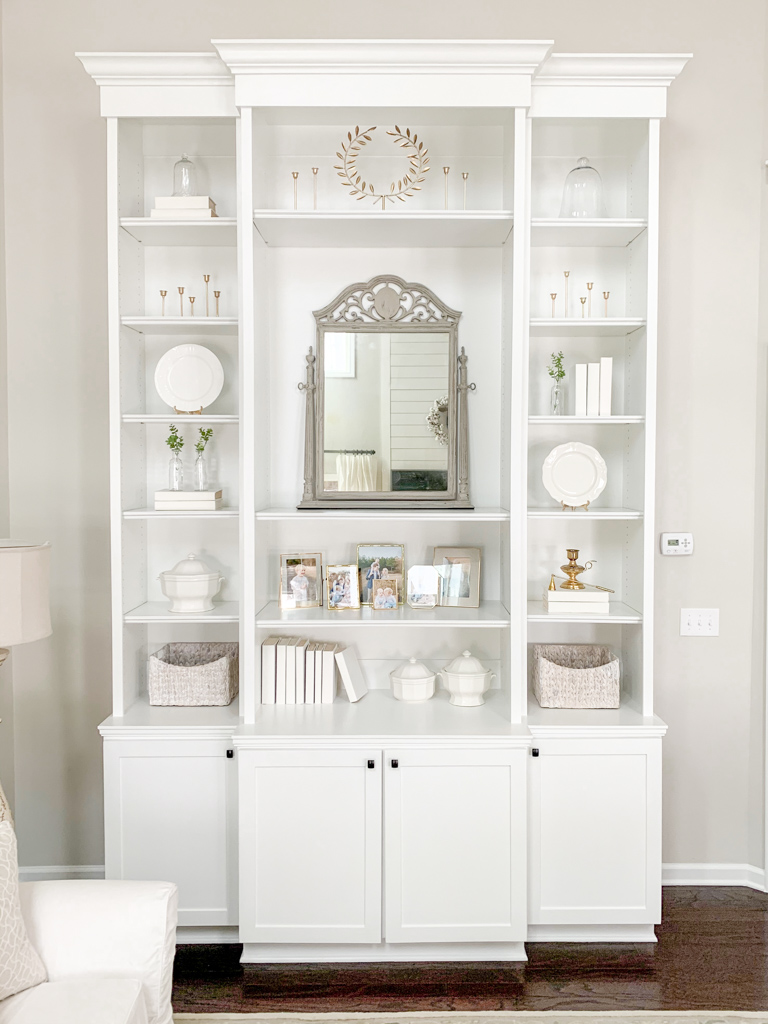
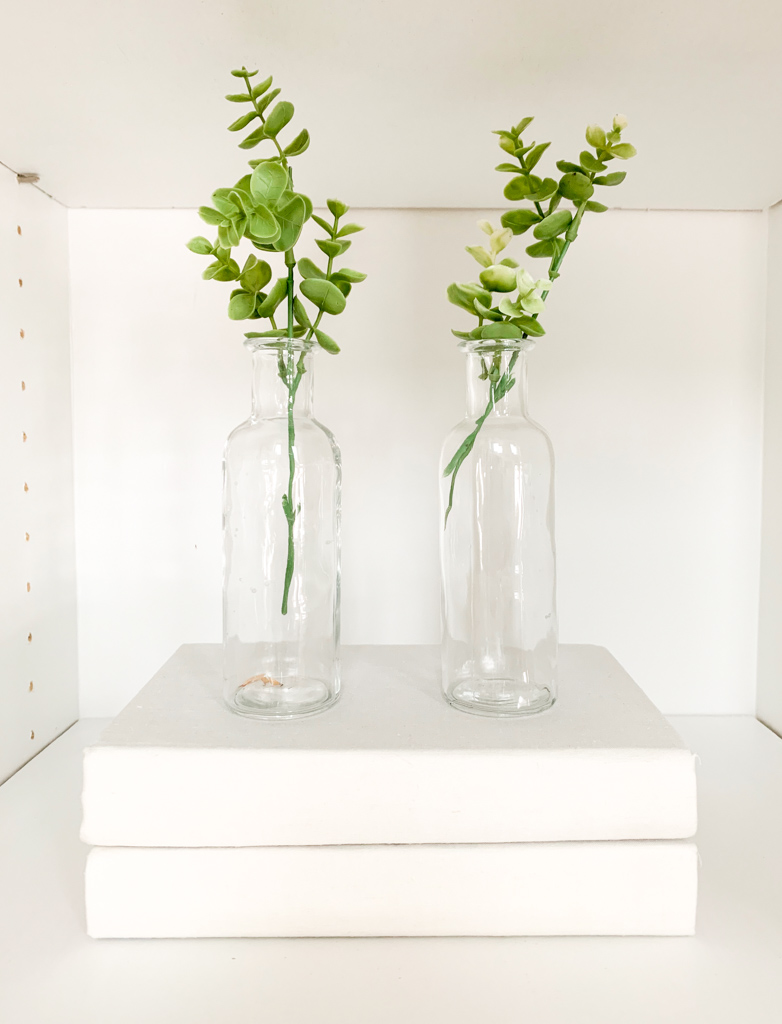
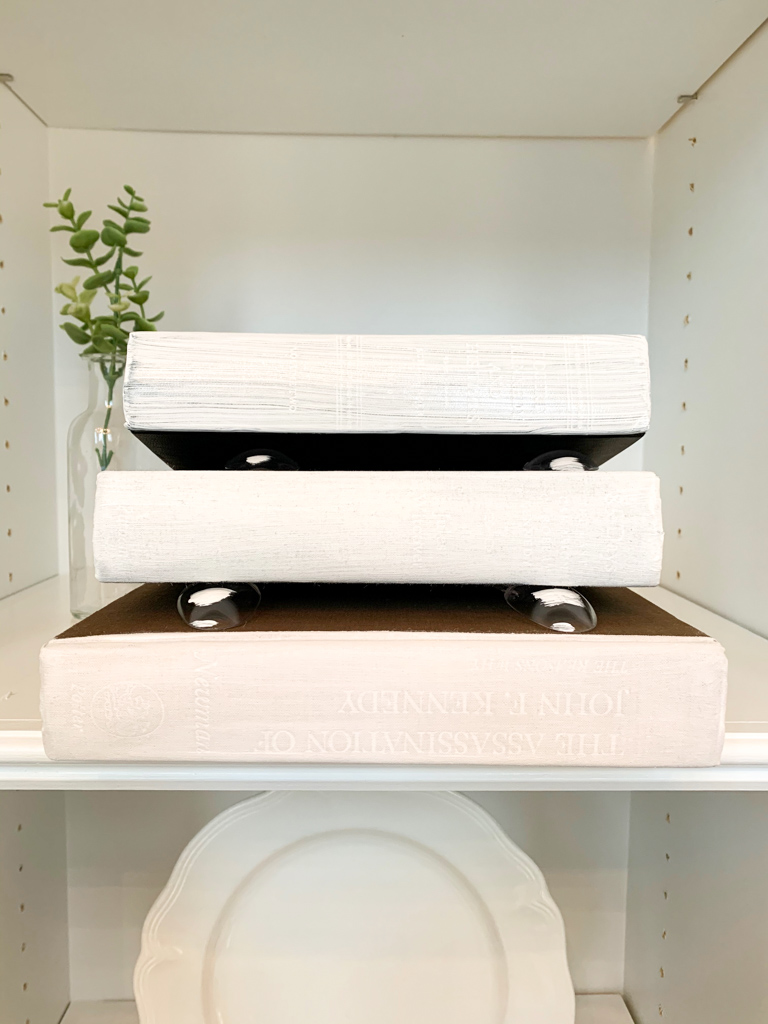
Styled Built-Ins: After
Before we listed our house I set out to create a more cohesive and polished look. I wanted more of a light, bright, and airy feel to them while still maintaining a traditional feel (big surprise there, huh?!).
I used everything I already had at home to update them, but oh my goodness what a difference it made!
As you can see the mirror also got a coat of light gray paint! I had wanted to lighten it up for so long, so finally the night before our listing went live I got out my paint and gave it a quick makeover. Why didn’t I do that sooner?!
DIY Decorative White Fabric-Covered Linen Books
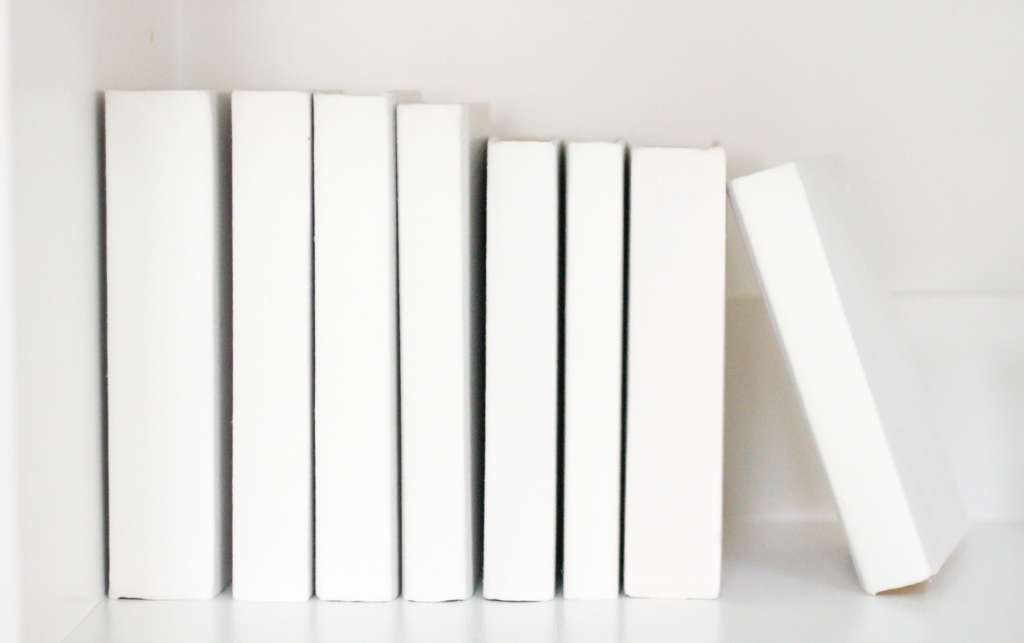
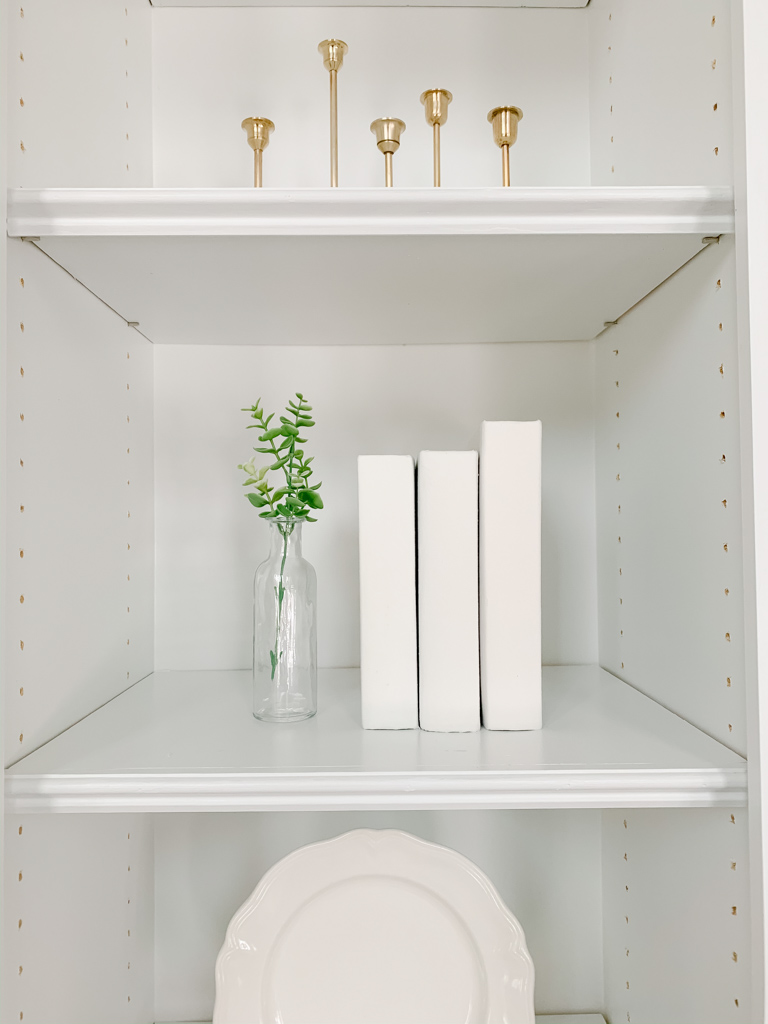
One of the ways I lightened up our built-ins was by covering our existing books in white linen fabric. Not only did it brighten up the entire space, but it gave them all a cohesive look.
I have seen similar white linen covered decorative books on Etsy, but they are so expensive! A set of three books starts at $43.00! (Examples HERE, HERE & HERE).
No way I was about to pay that for three books! So as usual, I set out to make them myself : )
Decorative White Linen Covered Books: What you Need
Here is what you will need to recreate your own DIY Decorative Fabric-Covered Linen Books:
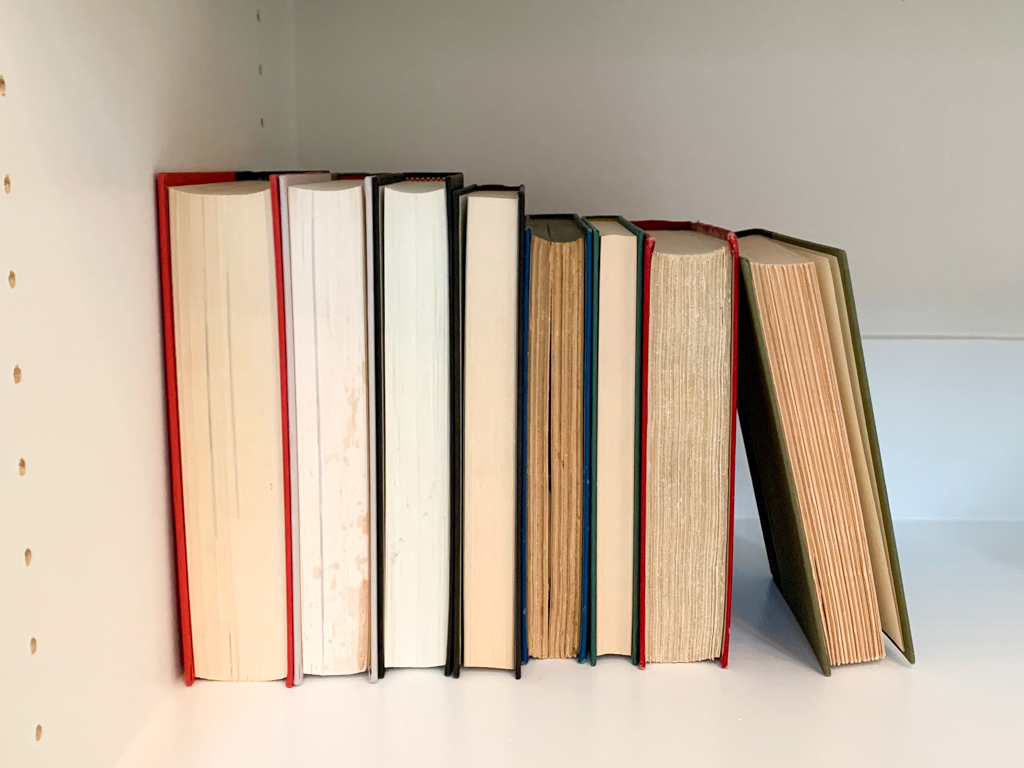
- Books (I always buy them at thrift stores or yard sales for a dollar or two each at the most! Don’t worry about the color, just go for the size)
- Fabric – I used a linen blend fabric from JoAnn’s (I already had it at home left over from another project)
- Hot Glue Gun
- Fabric Scissors
- White Craft Paint
- Paint Brush
- Iron
Shop the supplies here:

I already had all of the supplies I needed for this project at home, so this little book makeover cost me exactly $0!
Much better than spending $43 for three books on Etsy 🙂
DIY projects that pack a huge punch for little to no cost? Now that’s my favorite kind of DIY project!

DIY Decorative White Fabric-Covered Linen Books: Tutorial
Step One
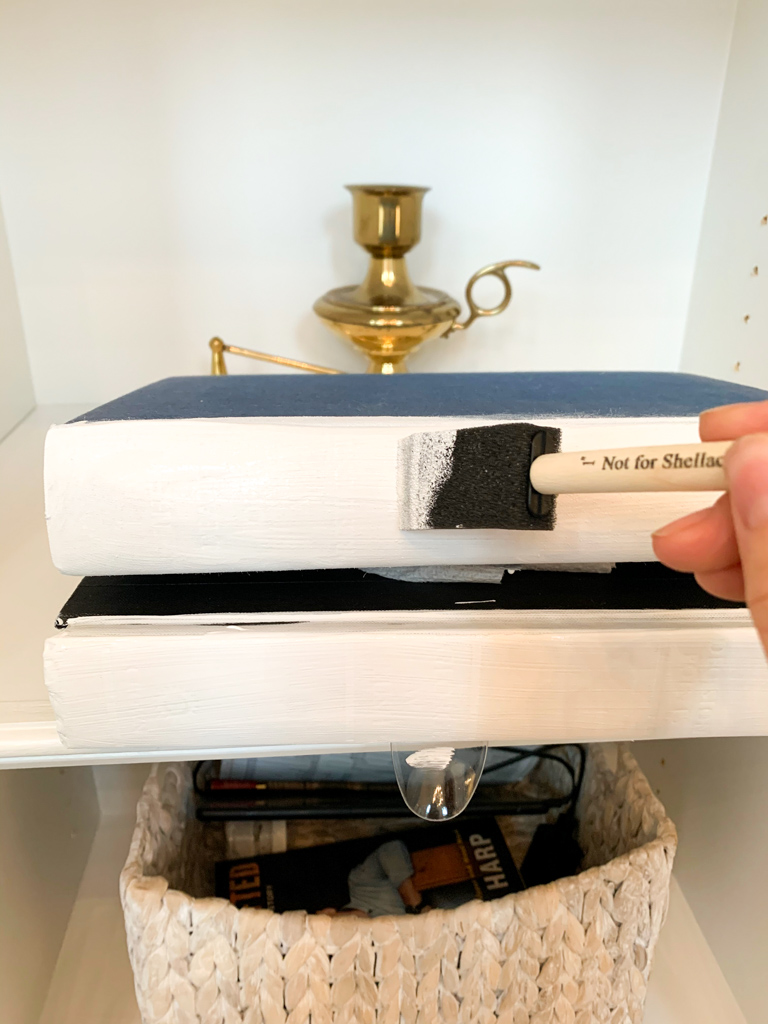
I started by painting the spines of the books with white craft paint.
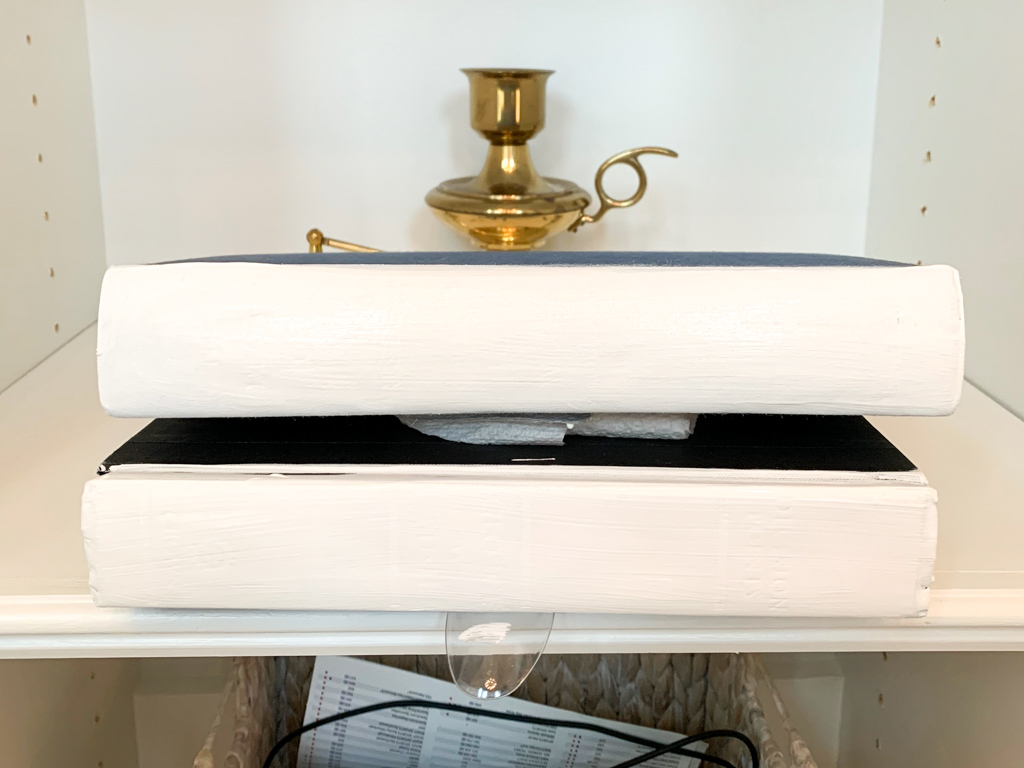
I did this because most of my books were dark colors, and I was covering them with white linen fabric (which is not opaque).
The white craft paint prevented the dark colored book spines from showing through the light-colored linen fabric.
As you can see I painted them right on the shelves. I used plastic spoons in between them to space them out while they dried : )
I didn’t worry about painting the fronts and backs of the books since they would not be visible on on the shelves, but you certainly could paint the entire book if you wanted to.
Step Two
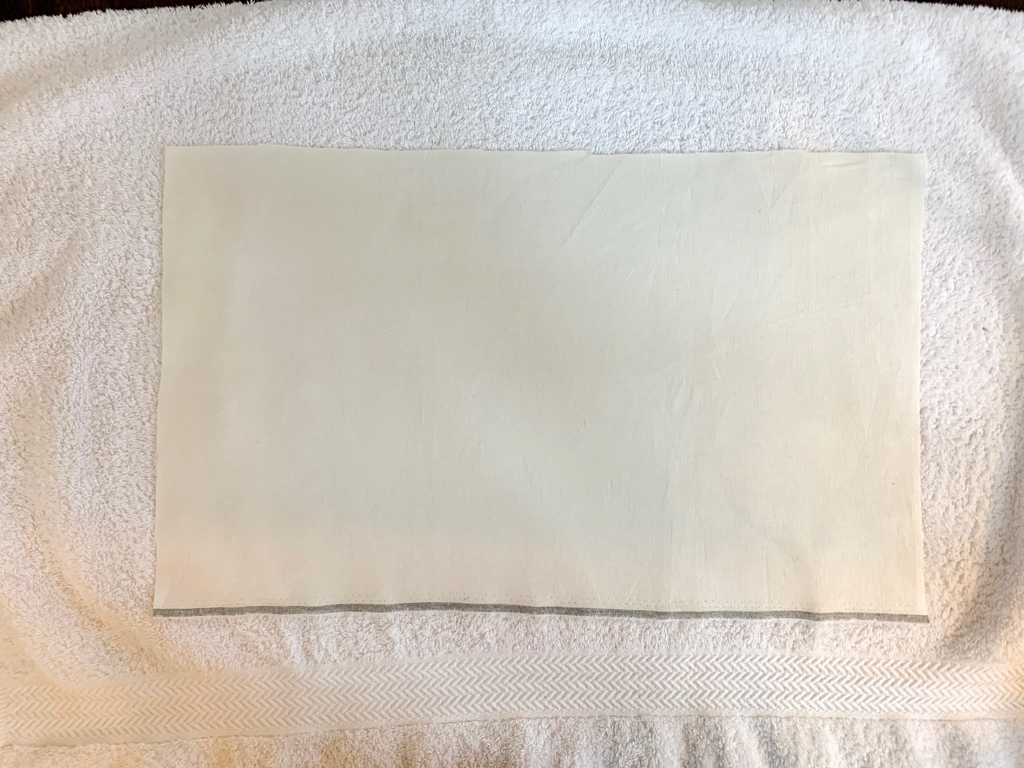
Lay out your fabric and then open the book right on top of it.
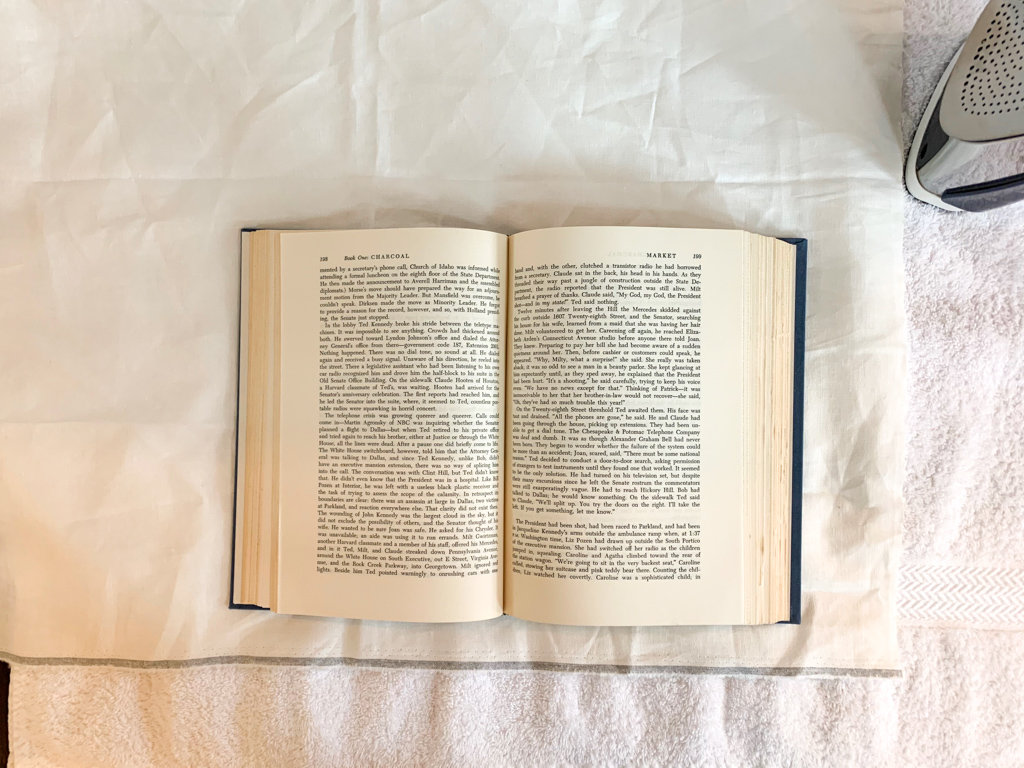
Cut your fabric around the perimeter of the book, leaving at least 1 inch of excess fabric on all sides.
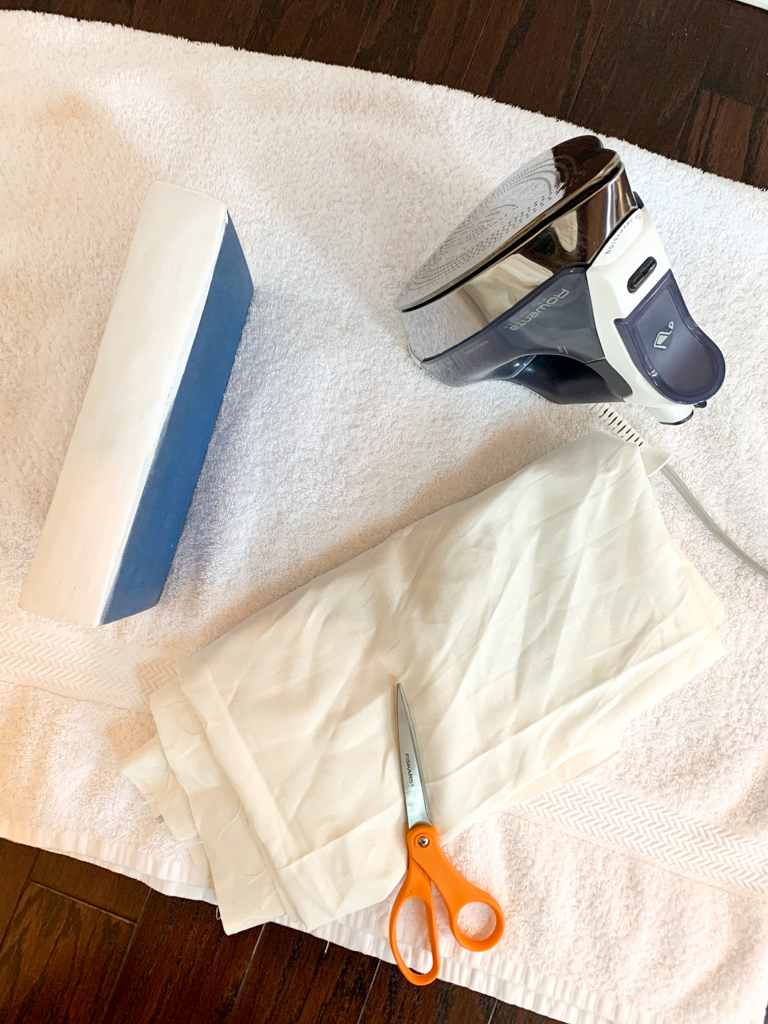
Iron your piece of fabric to remove wrinkles. I didn’t feel like dragging the iron downstairs so I put down a towel and ironed right on top of that!
Step Three
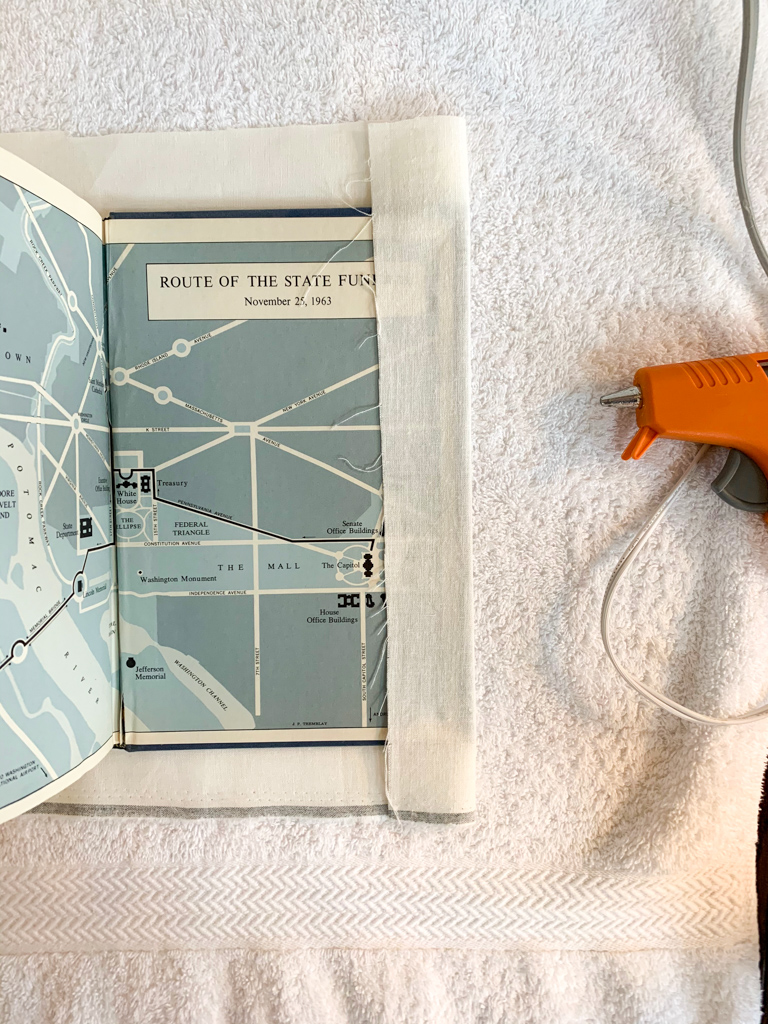
Fold the fabric inside of the book cover. Use your hot glue gun to glue each edge of fabric to the inside cover of the book.
Please excuse my hands and nails (yikes). These DIY hands don’t get manicured very often 😉
You will want to pull the fabric until it is smooth, but not so tight as to where the book won’t close all the way. (Learned that the hard way! 🙂 )
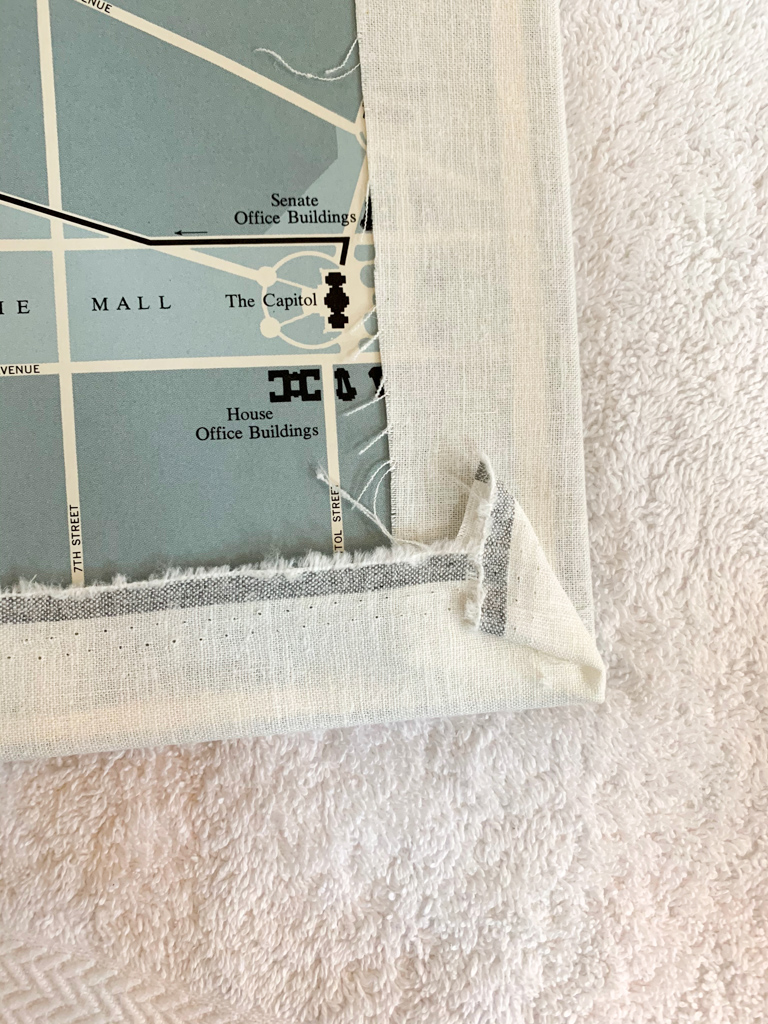
Glue both sides, and then the and tops and bottoms, before you move on to the corners.
Work with the fabric and fold it over in the corners to get it as flat as possible (see photo above). Trim excess fabric as needed.
Just remember: it doesn’t have to look perfect on the inside, as long as the fabric is smooth on the outside!
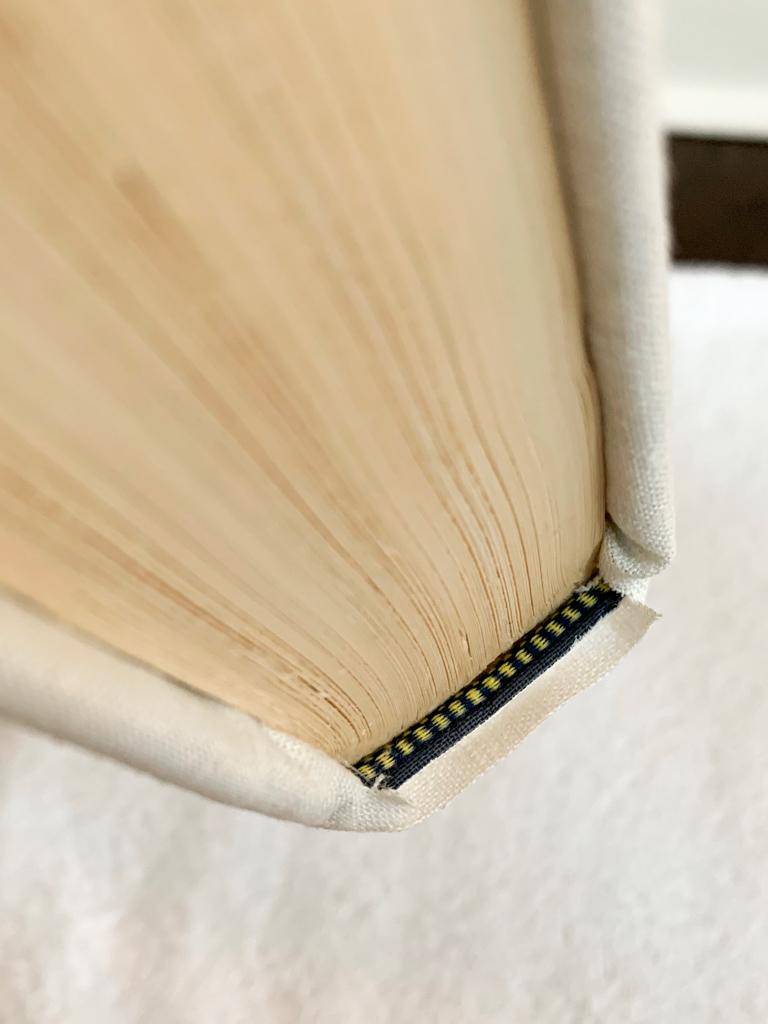
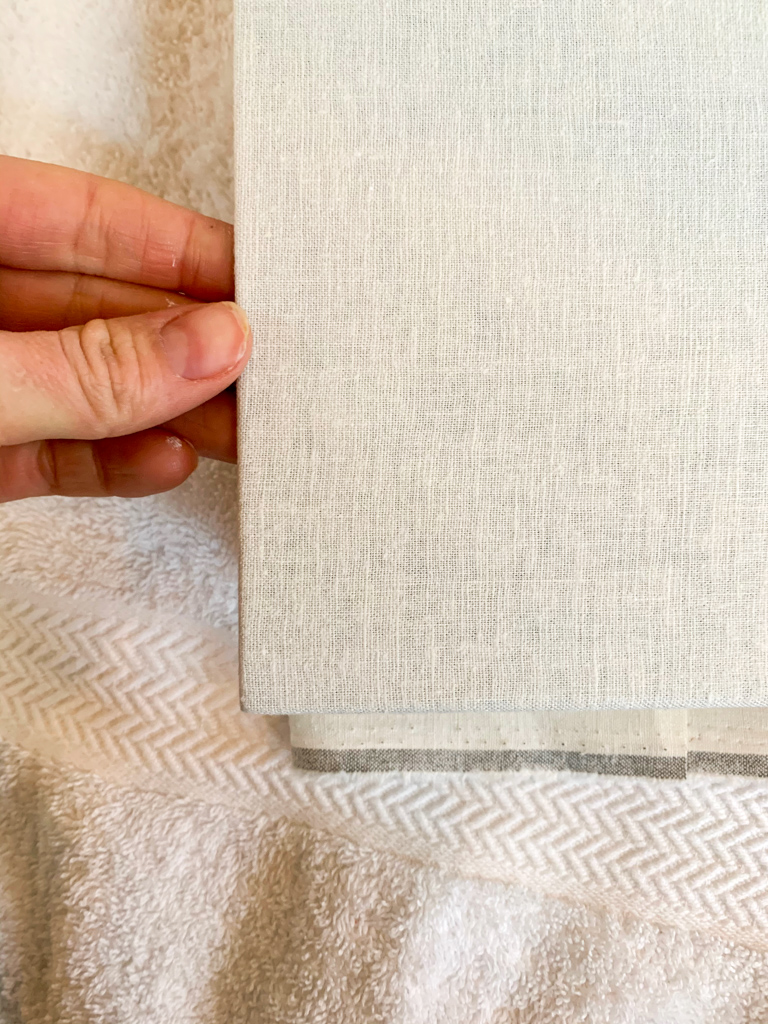
Save the book spines for last.
Make two small cuts in the fabric the same width of the spine: the cut should extend all the way to the edge of the book.
Then trim the fabric over the spines just long enough to fold over the small edge of the spine. See the photo above for reference.
Use a very thin bead of hot glue and press the fabric down into the spine.
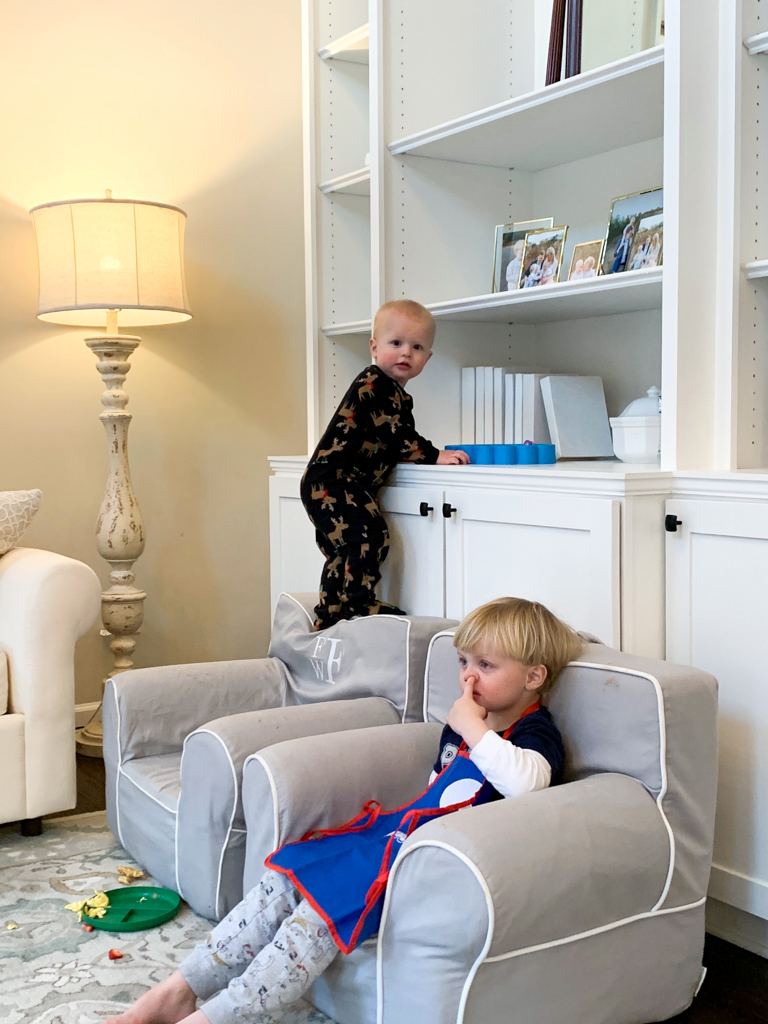
Just had to include this picture of what was going on in the background while I worked on these books! Still in PJ’s, one is climbing up the furniture, one is picking his nose, and there is a plate of food spilled all over my nice rug. Just in case you ever had any false assumptions about what it looks like around here on a daily basis 🙂
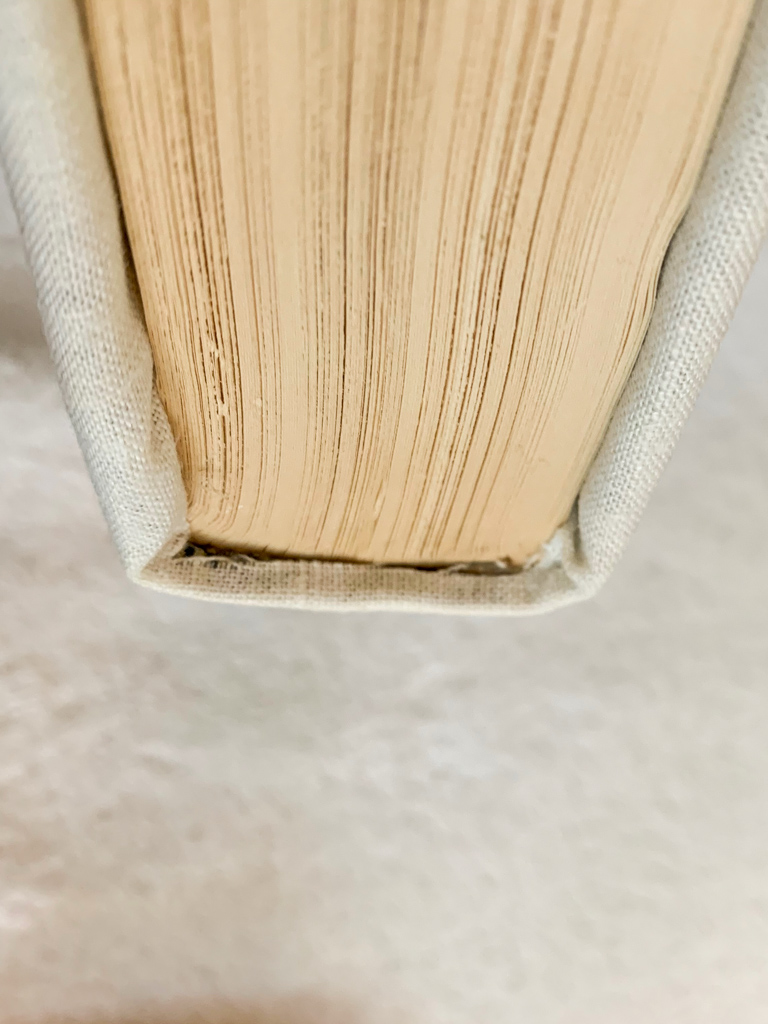
Step Four
Your books are done and are ready to be styled!

Shop the post:
Did you enjoy this DIY tutorial? Save DIY Decorative White Fabric-Covered Linen Books to your favorite Pinterest board!