How to Make Curtains: Easy Tie Top Curtains Tutorial
Learn how to make tie-top curtains using this easy sewing tutorial. These Pottery Barn inspired tie-top curtains are the perfect way to customize plain store-bought curtain panels. Tie-top tabs give curtain panels a more custom, high-end look and they are the perfect finishing touch to frame out windows in any room of your home.
This easy step by step tutorial will teach you how to take plain curtain panels and turn them into custom DIY tie-top curtains.
This post contains affiliate links, which means I make a small commission at no extra cost to you.
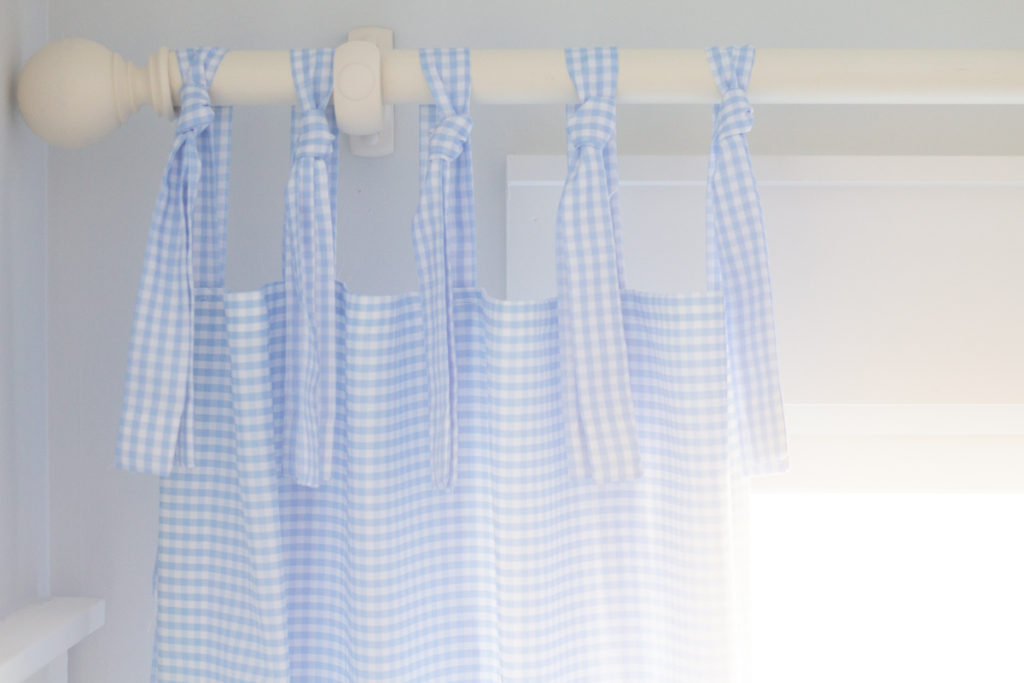
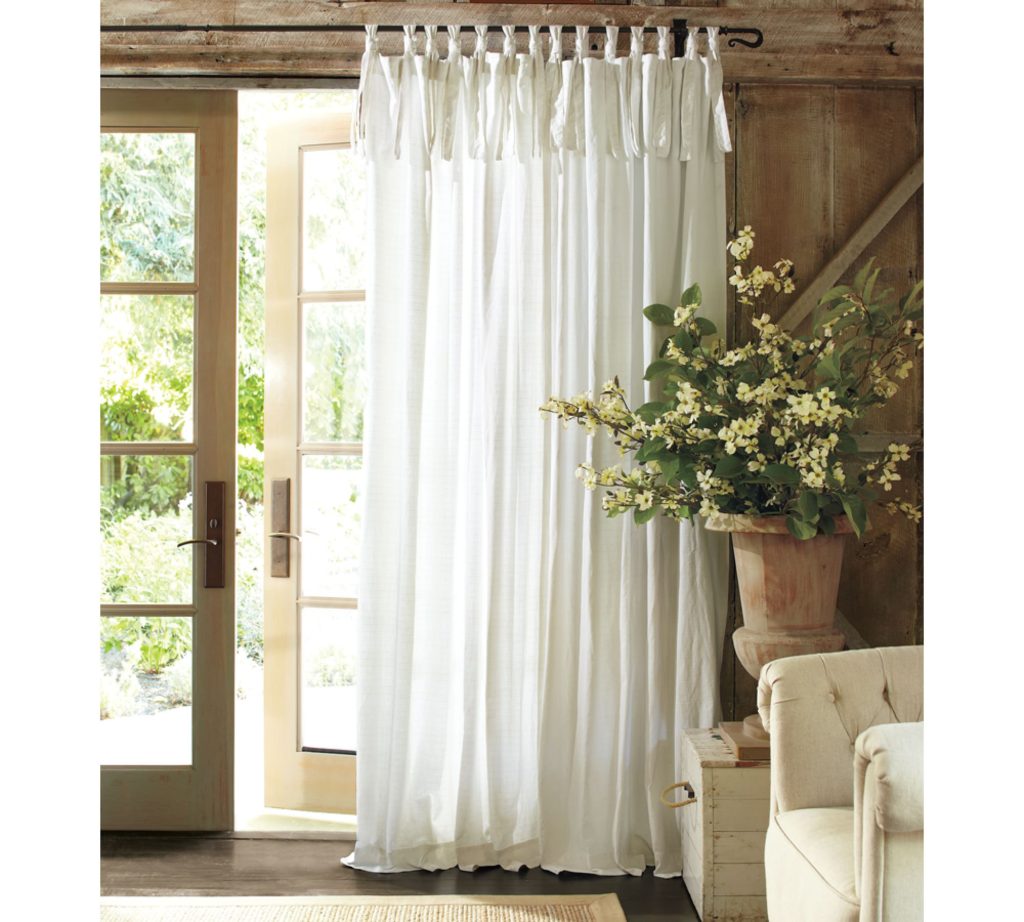
tie-top curtain inspiration
These Pottery Barn tie-top curtains are the inspiration I used to make my own tie-top curtains.
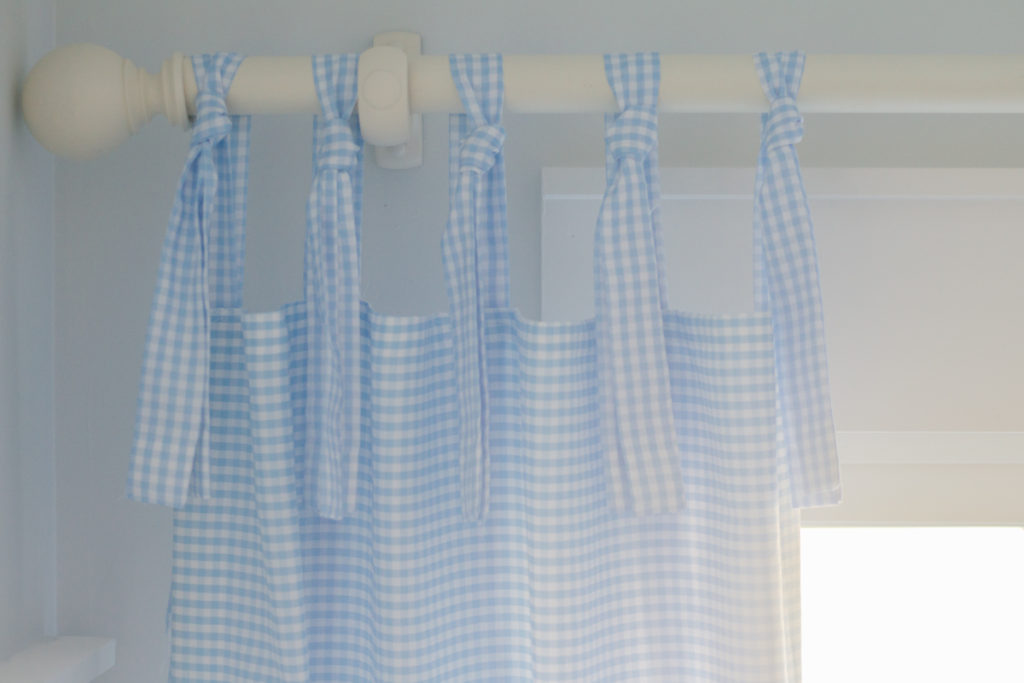
Curtain ties can be customized many ways depending on the width, length, and knot style of the ties.
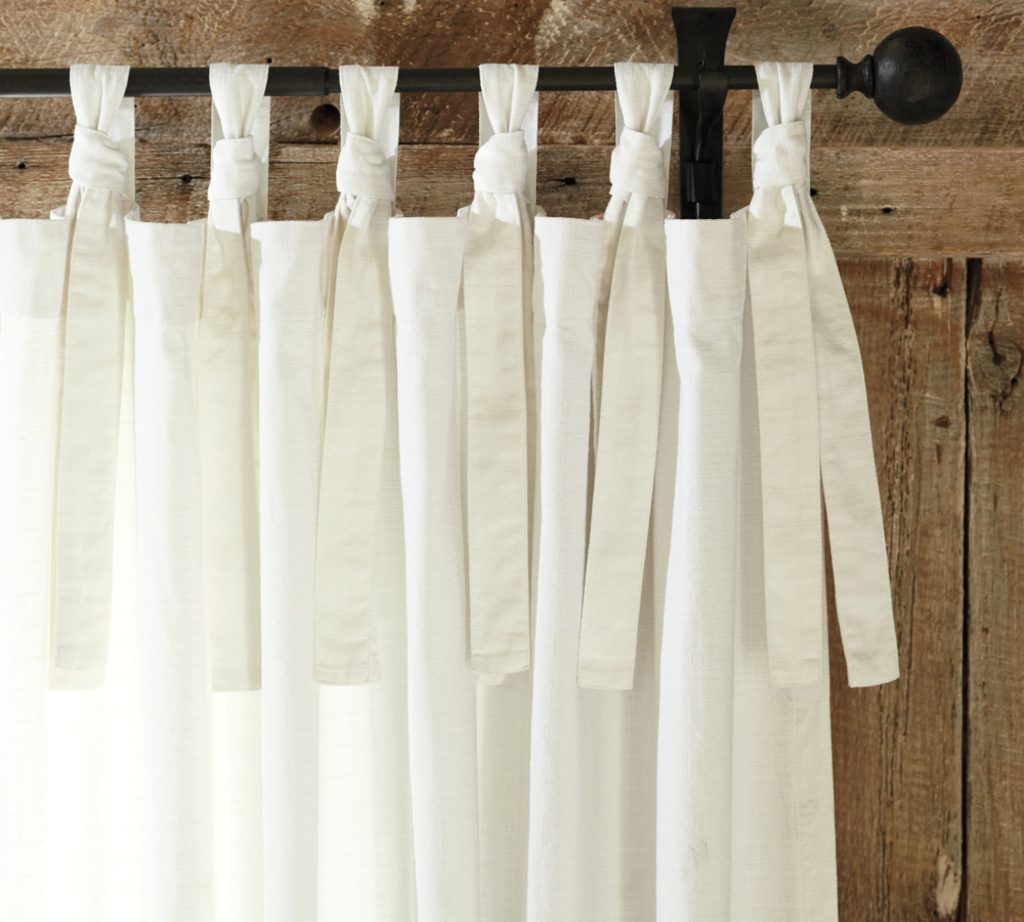
I chose this simple “knotted” style because I thought it leaned slightly more masculine than some of the whimsical tie-top curtains I have seen.
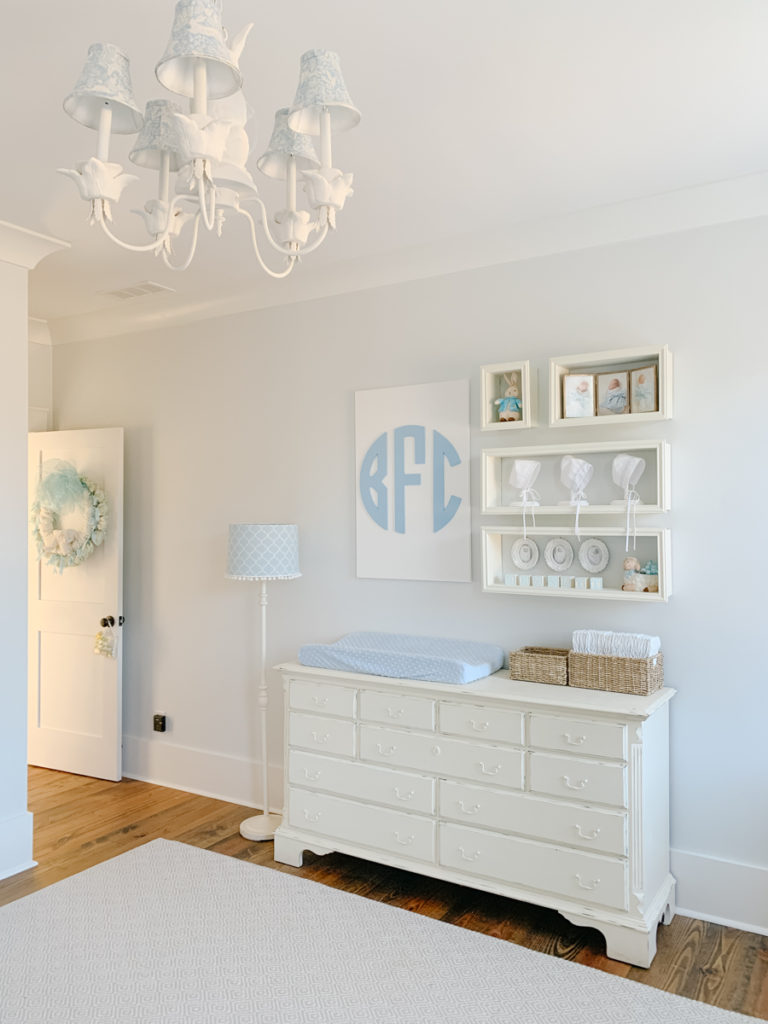
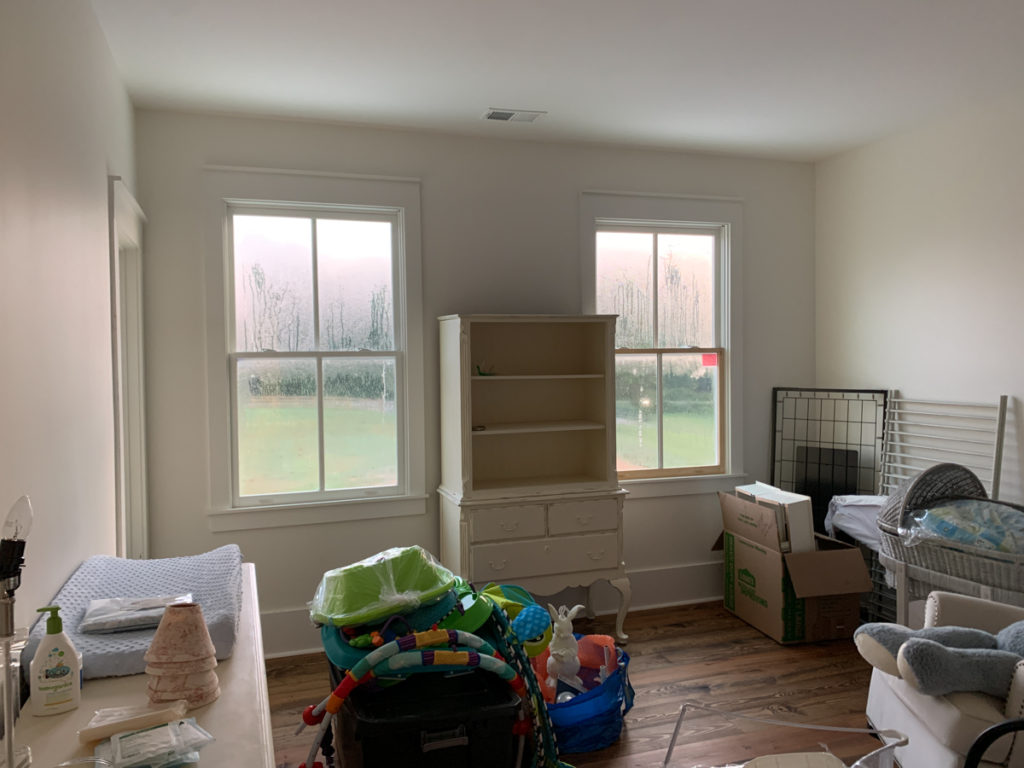
Tie-top curtains: nursery before and after
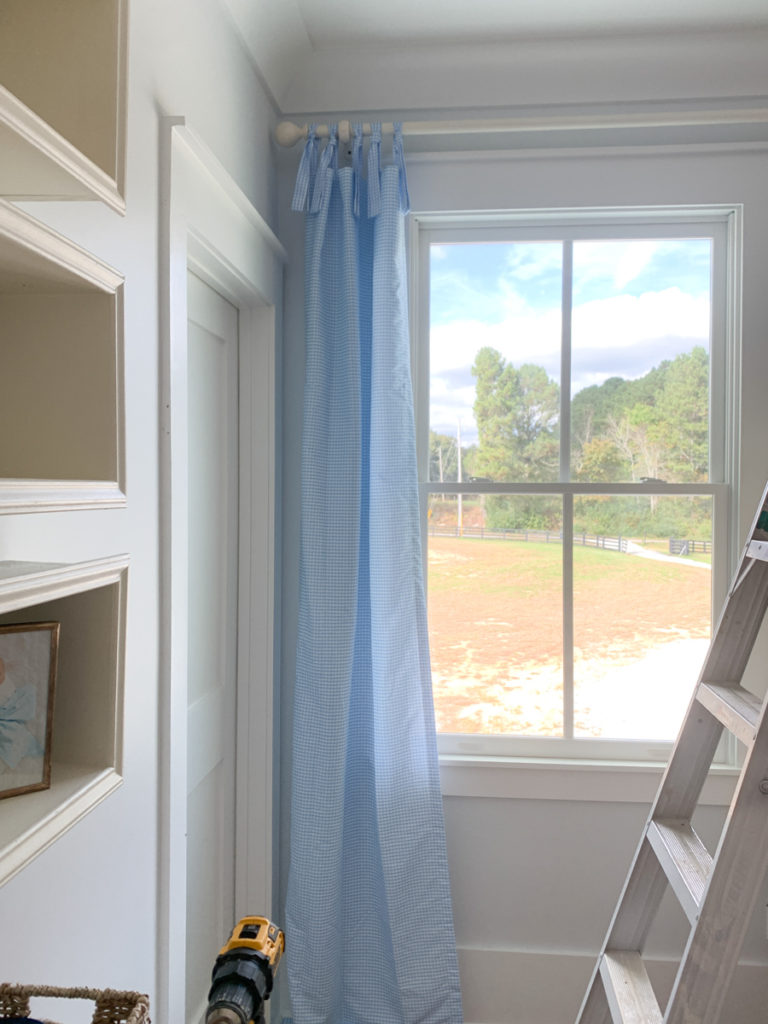
To show you what a difference these tie-top curtains add to the nursery, here’s a little before and after for you.
This is a photo of the nursery shortly after we built and moved into our new home.
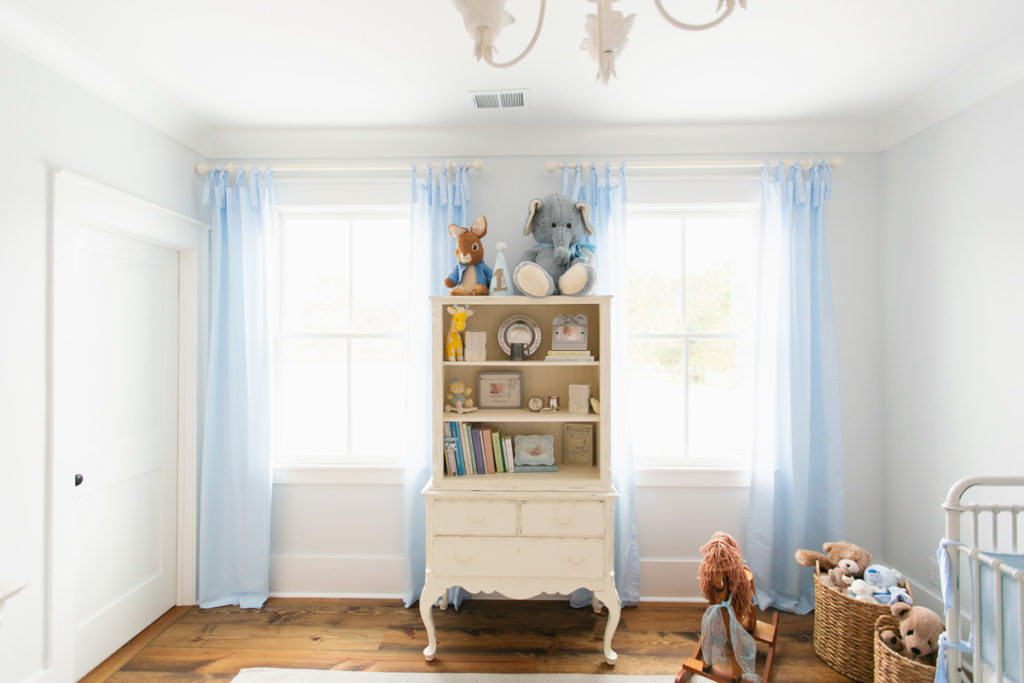
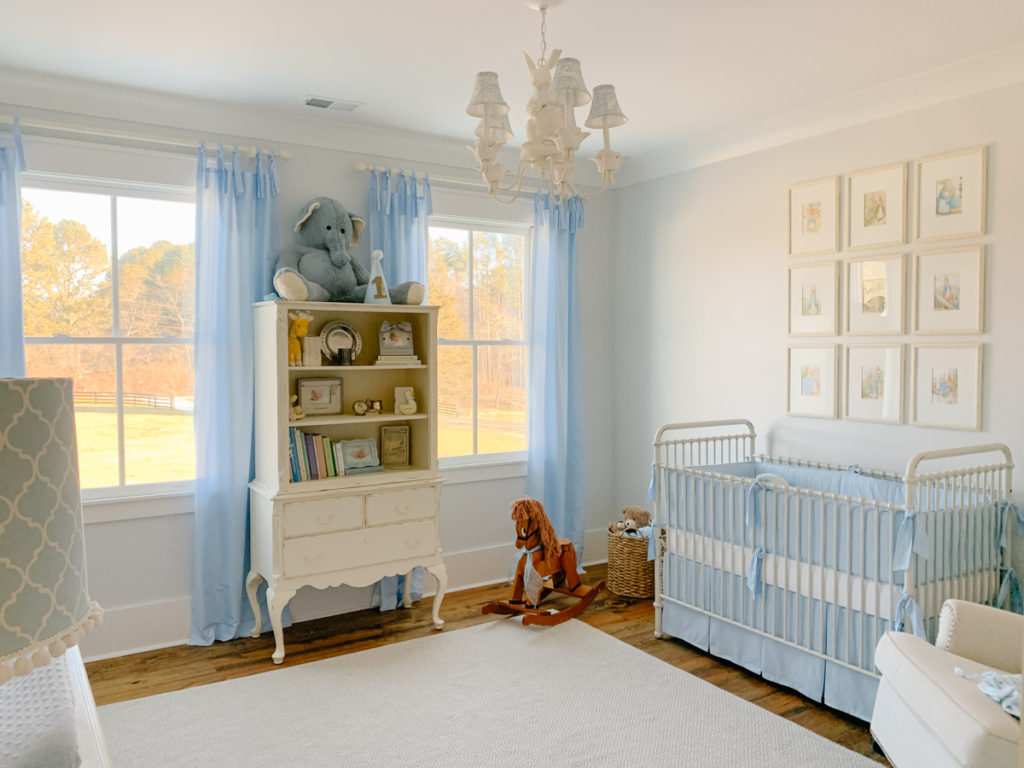
And below is that exact same wall just a few months later. What a difference!
The tie-top curtains soften up this wall and frame out the windows so nicely in this traditional blue and white nursery.
Check out some of the other nursery posts here:
- Traditional Blue and White Nursery Tour
- Custom Nursery Closet Ikea Hack
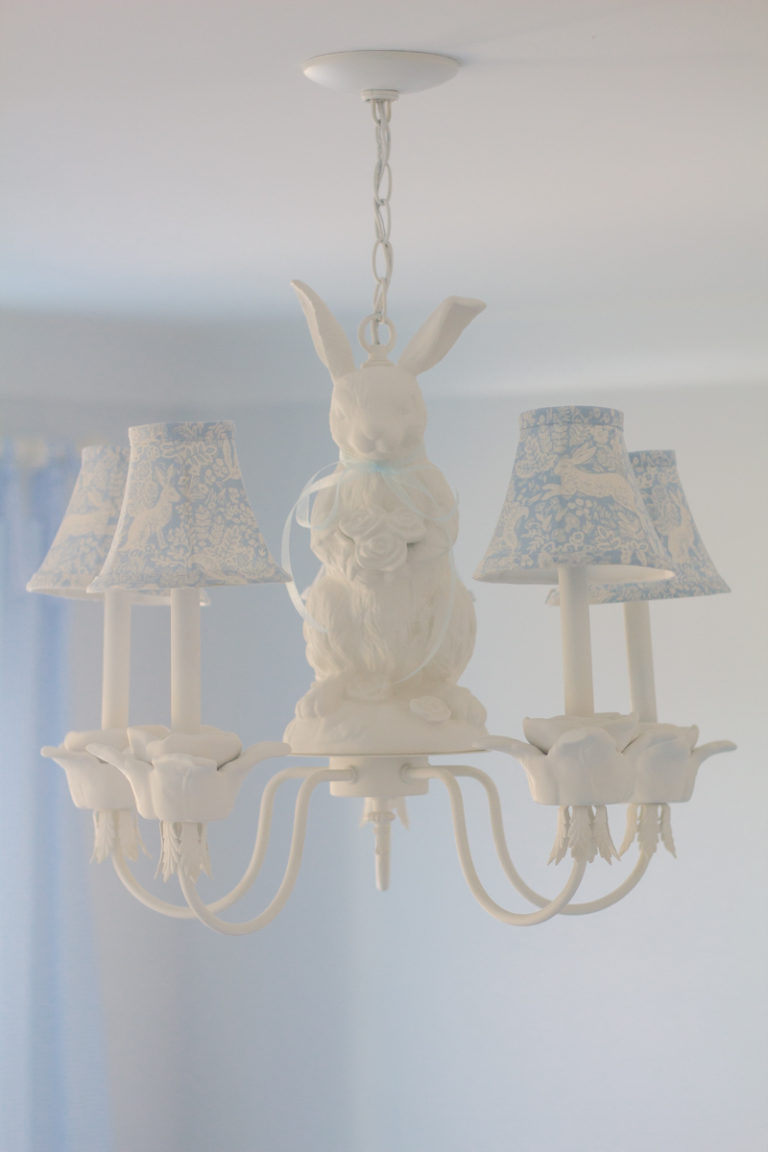
- $10 Thrifted Bunny Chandelier Makeover
- How to Frame an Heirloom
- DIY Monogram Wall Art
- Before and After: Nursery Furniture
- Original Nursery Tour
why i chose tie-top curtains for the nursery
Why did I choose tie-top curtains for the nursery? That answer is two-fold:
1). The gorgeous pinch-pleated linen curtains that my Mama custom made for John Davis’s nursery did not fit our new windows or the height of our new ceilings. I was so sad about this because these curtains are the most beautiful, well-made custom curtains. Not to mention they are so special to me because my Mama custom made them herself for my first baby.
2). Once I finally accepted the fact that I couldn’t make the existing linen curtains work, I decided to go with a blue and white gingham check curtain panel. No surprise there! 🙂 I ordered the curtain panels and when they arrived… lo and behold they were about 5-6 inches too short.
Determined to make them work, I came up with the idea to add tie-tops to the curtain panels. Tie-tops look great to the eye and also provide an extra 5-6 inches in length.
difficulty level: how hard is it to sew tie top curtains?

This tie-top curtain tutorial is a great beginner sewing project.
Many people are intimidated by the mere thought of sewing, but in reality there isn’t a whole lot of “sewing” to do for this project. Sewing one long straight line along each tie is the only sewing required for this easy project.
The majority of the work is in the measuring, cutting and ironing.
how to make curtains: easy tie-top curtain tutorial
tie-top curtains: what you need
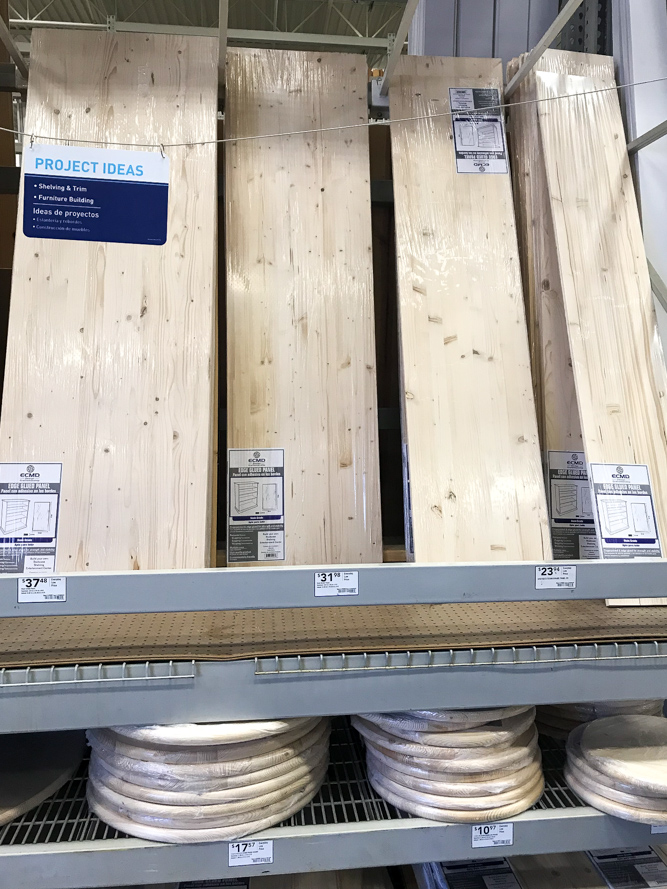
- Curtain panels (two panels per window)
- One extra curtain panel (this extra panel will be used to make the ties)
- Sewing machine
- Sewing scissors
- Iron
- Pins
- Measuring Tape
- Thread that matches your curtain panels

STEP ONE: choose panels
The first thing you will need to do is choose curtain panels. This easy tie-top curtain tutorial can be used on any curtain panels, so the design possibilities are truly endless!
Amazon, Target, HomeGoods, and TJMaxx all have curtain panels at great price points.
You will need to purchase two panels per window, plus one extra panel.
Don’t forget your extra panel! The extra panel is what you will use to make the tie-tops.

STEP TWO: wash/treat panels
Before you start sewing, you should always treat fabric the same way you plan to treat it in the future.
For example, if you plan to wash and dry your curtain panels in the future, make sure to wash and dry them before you start sewing.
I personally wash my curtain panels on the “delicate” cycle and hang to dry.
step three: cut strips for Ties
Before you cut strips for the ties, you need to determine how many strips you need.
How many strips do I need?
To determine how many strips to cut, you will need to determine how many ties you want at the top of your curtain.
Keep in mind that each “tie” needs two strips. (Think of each tie like a pair of shoe strings!)
This is customizable, but really dependent on the width of your curtain panels.
A good general rule of thumb: the wider the curtain panel, the more ties it should have at the top.
To give you a better visual, here are a couple examples in the photos below.
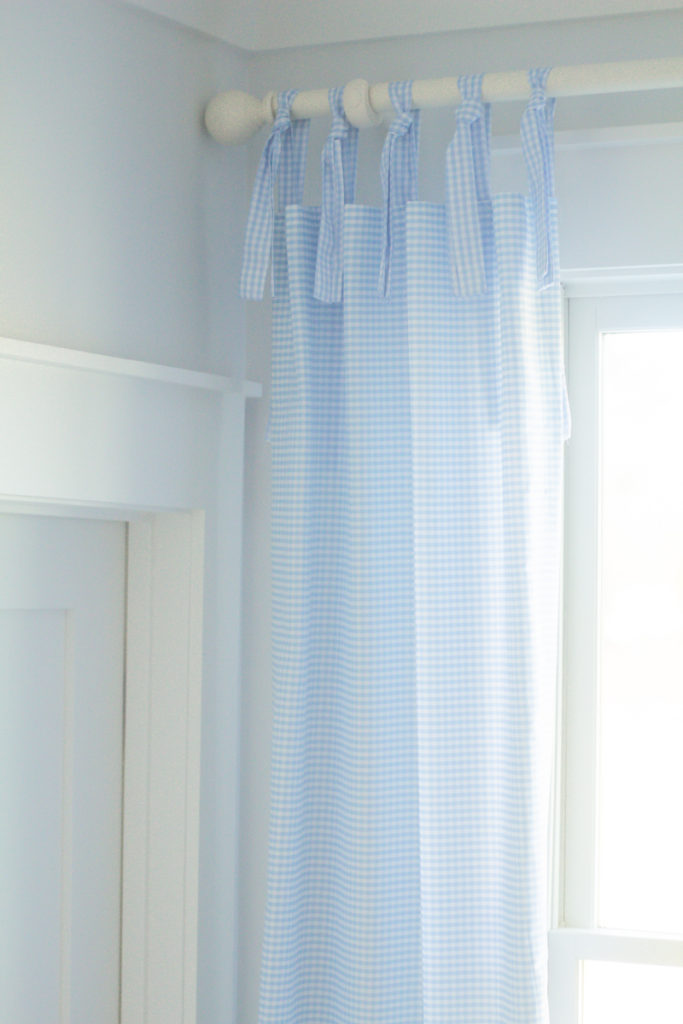
The curtain panel below is a standard width of 44 inches. It has 7 ties on top.

The image below shows a much wider curtain panel and it has 14 ties at the top.
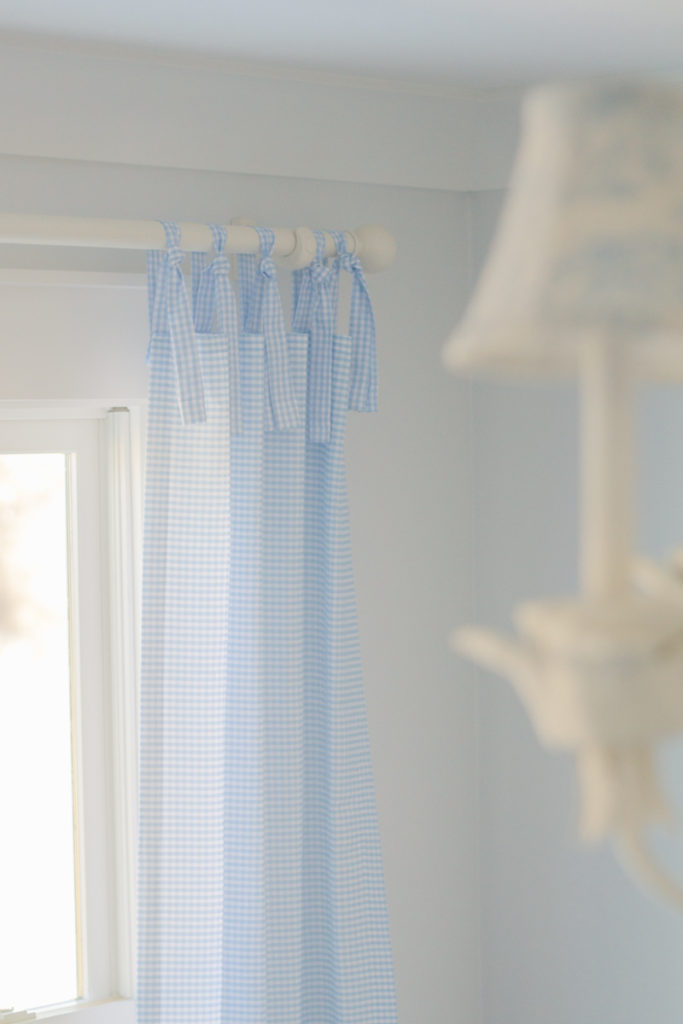
I chose a rather slim curtain panel, so my panels only have 5 ties at the top.
Here is the math I used to determine how many strips to cut (*adjust according to your needs):
- Since each tie needs two strips, each curtain panel requires 10 strips.
- Assuming you have one panel on each side of the window:
- 1 window = 20 strips
- 2 windows = 40 strips
Cut Strips for Ties
Next use sewing scissors or a rotary cutter to cut the extra curtain panel into 40 strips measuring 3.5″ x 18″ each.
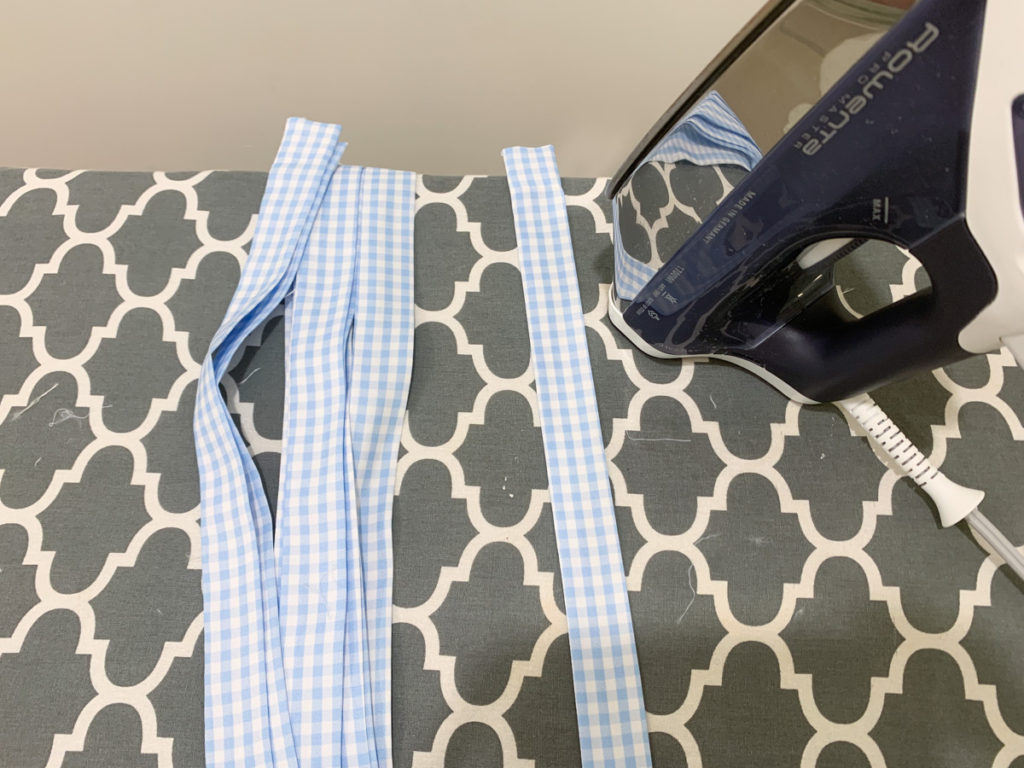
STEP four: IRON STRIPS
Fold the short ends of each strip under 1/2 inch to make a finished edge on each end. Iron in place.
Next fold each strip in half lengthwise, with the right sides of the fabric facing together.
Iron each strip.
step five: Sew Strips
Use a sewing machine to sew a seam down the long edge of the strip. Leave both ends open.
Be sure to backstitch at the beginning and end of each seam.
step 6: Turn fabric strips right side out
Use a safety pin to turn your fabric strips right side out.
Weave the tip of the safety pin through the end of the strip, making sure to only catch one layer of fabric.
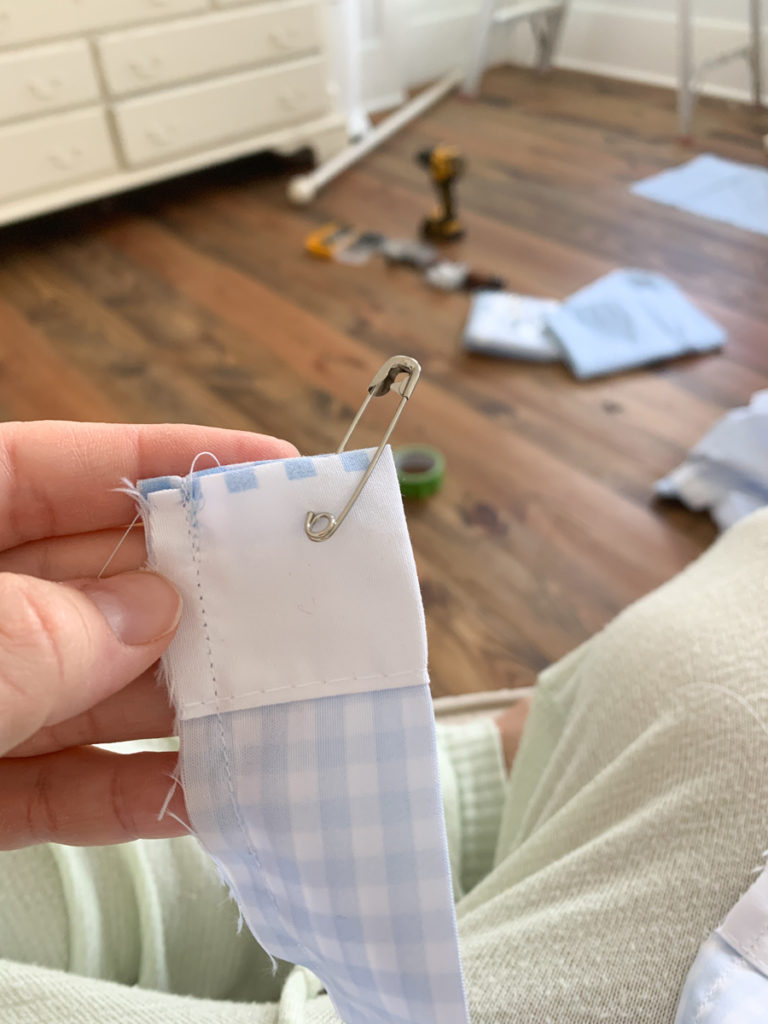
Then turn the safety pin back down inside of the fabric tube. Push (and wiggle and pull) the safety pin through the tube a little bit at a time until you can pull it all the way out through the other end.
The safety pin will bring the rest of the fabric with it, in turn pulling the “right side” out in the process.
If that doesn’t make any sense, here is a video tutorial that shows each step in detail.
After your ties are right side out, be sure to iron them again to create nice crisp seams.
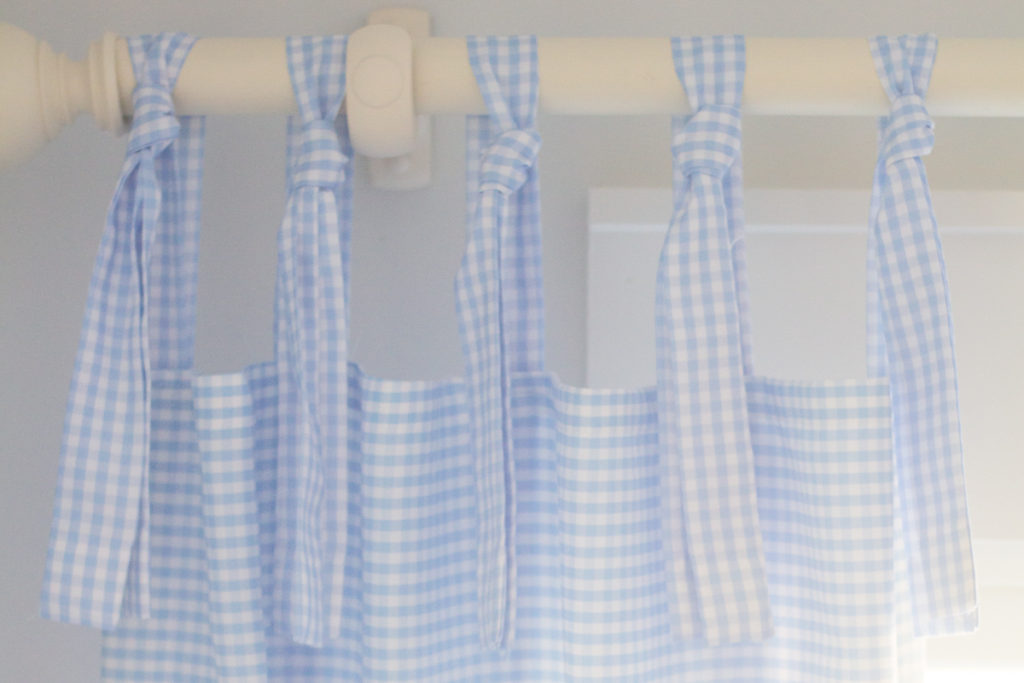
step 7: tie knots
Now it is time to “knot” the ties.
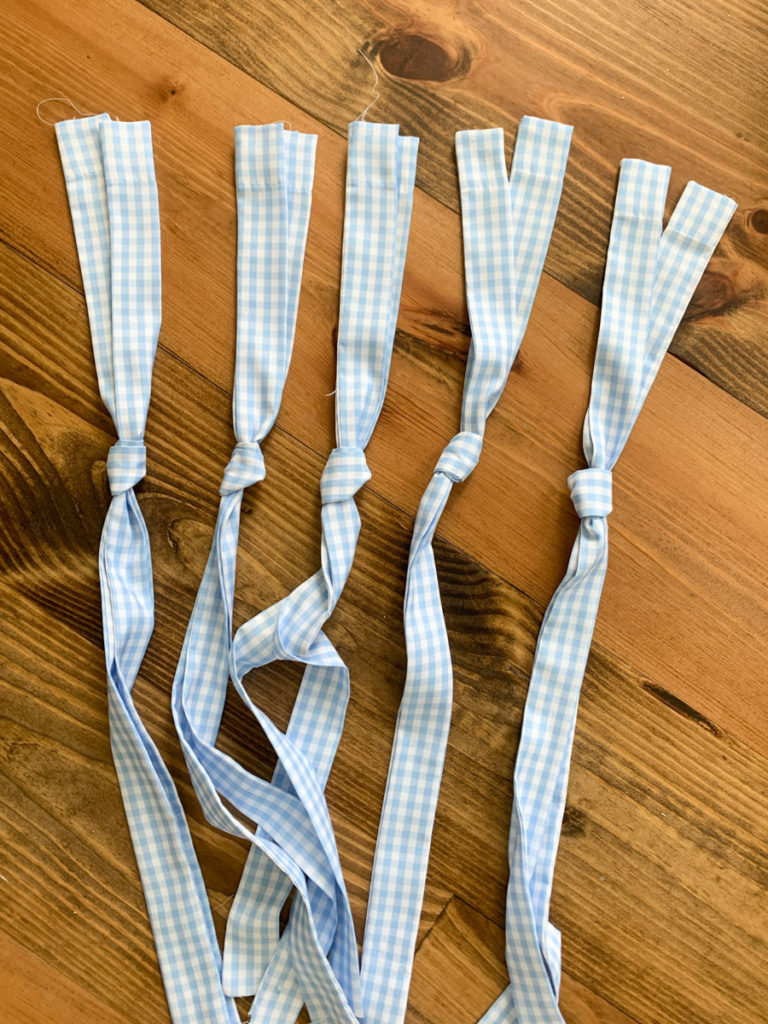
Lay out each strip in pairs.
Tie a knot in each pair about 5- 6 inches from the top of the strip.
step 8: sew ties to the top of curtain panels
Use pins to temporarily secure ties to curtain panel
Lay the top of the curtain panel evenly on a flat surface.
Use a tape measure to determine and mark even spacing between each tie across the top of the curtain panel.
Next use pins to temporarily attach each tie to the curtain panel.
I recommend “testing” the curtains before you start sewing. With the pins in place, hang the curtains on the rod and take a step back to examine them.
Visually inspect the curtains and ties to make sure they are level, equal, and that you like the way they look.
Adjust the position of any ties if needed, and then re-pin in the correct location.
Once you have positioned the ties in a way you like, you are ready to remove the curtain from the rod and permanently sew the ties to the panels.
Sew ties to top of curtain panels
With the ties positioned behind (or underneath) the top of the curtain panel, use a sewing machine to sew a seam that connects each tie to the top of the curtain panel. Be sure to remove each pin as you go.
Once every tie is sewn to the curtain panel, the tie-top curtains are done and you are ready to hang!
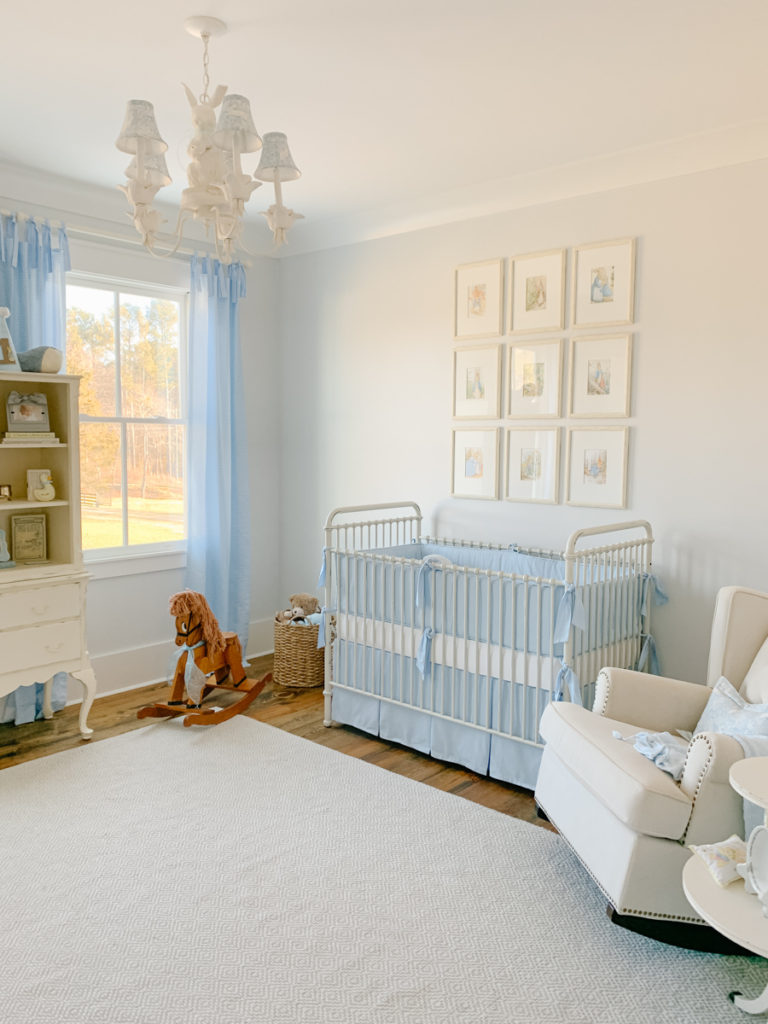
easy diy tie-top curtains
The tie-top curtains are complete and they look so cute in baby Bennett’s nursery.

You can tour the full nursery and find sources for everything in the room here.
Tell me, what do you think?
Would you try this easy DIY tie-top curtain sewing tutorial?
Save this post to Pinterest to reference later!