DIY Annie Sloan Chalk Paint Tutorial
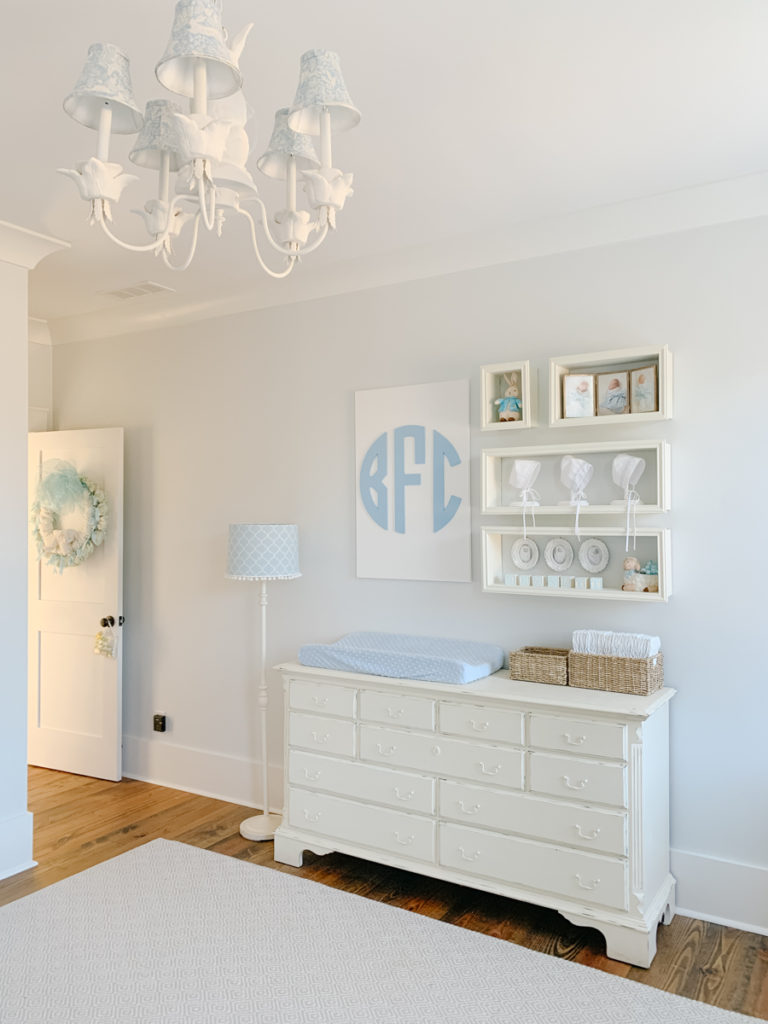
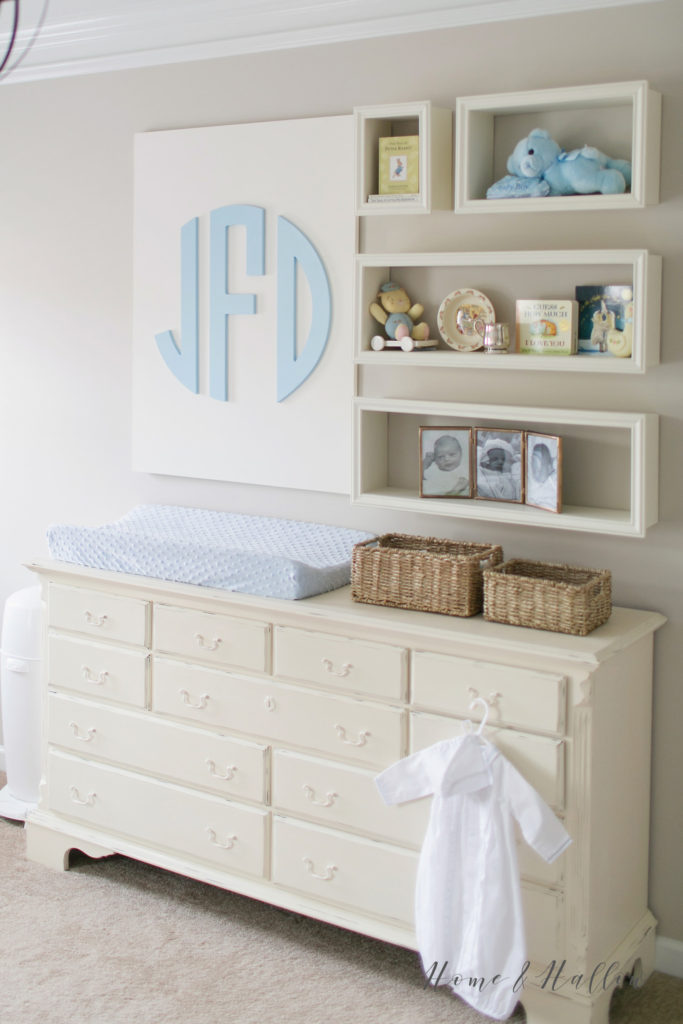
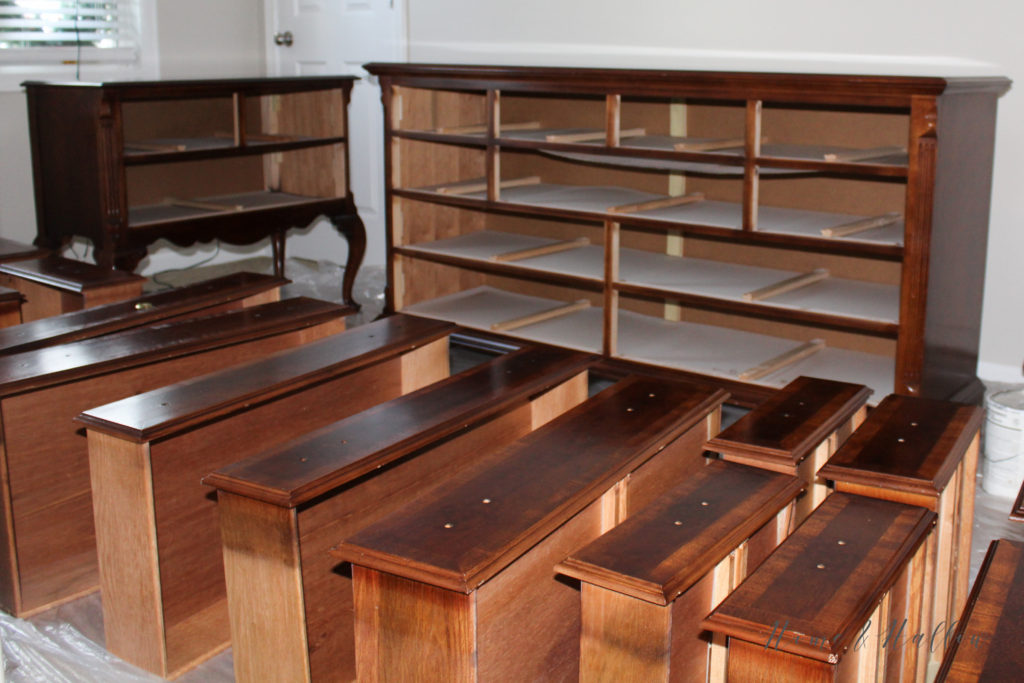
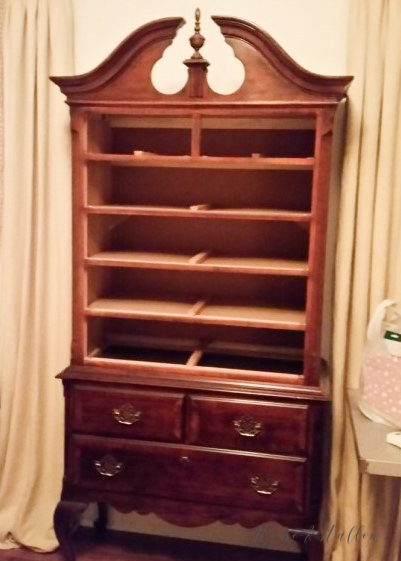
I recently shared our son’s DIY neutral nursery reveal and by far one of the biggest transformations was the chalk painted furniture. The furniture was hand-me-down 1990’s bedroom furniture that my parents were getting rid of. It was sturdy and had good lines, but the color, shiny finish and outdated hardware was screaming “make me beautiful again!” And I think we succeeded. I couldn’t be happier with the way it turned out.
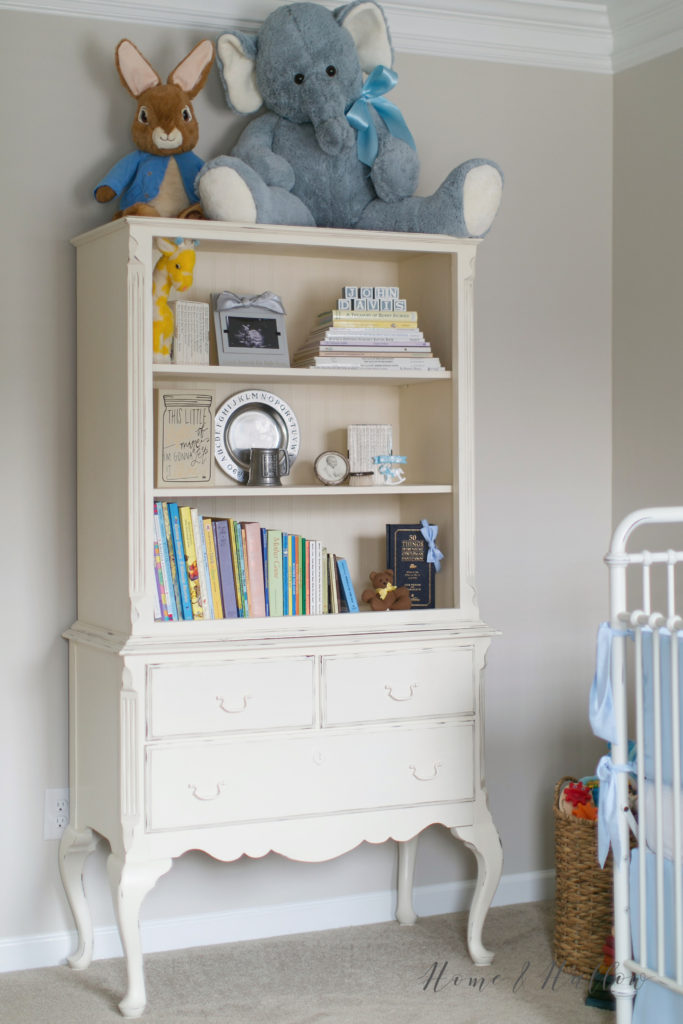
Here is a good look at the before and after. You will notice that in addition to paint, the tall chest got repurposed to make it a little more practical for the space. We removed the decorative top piece, took out the top drawers, added beadboard backing and installed two open shelves. I love the open shelving and I can’t believe just how much a few easy tweaks completely transformed the overall look and functionality of the piece.
I’ve tried it all when it comes to painting and refinishing furniture and Lord only knows I’ve learned a lot through trial and error. I’ve tried many different brands of chalk paint but this was my first time using Annie Sloan Chalk Paint. I had obviously heard the DIY world rave about it, but it wasn’t until we were expecting our first baby that I had a good excuse to give it a try!
Today I’m sharing a step-by-step tutorial on the technique I used to achieve this look. This is in no way endorsed or supported by Annie Sloan Chalk Paint. I am simply sharing what worked well for me.
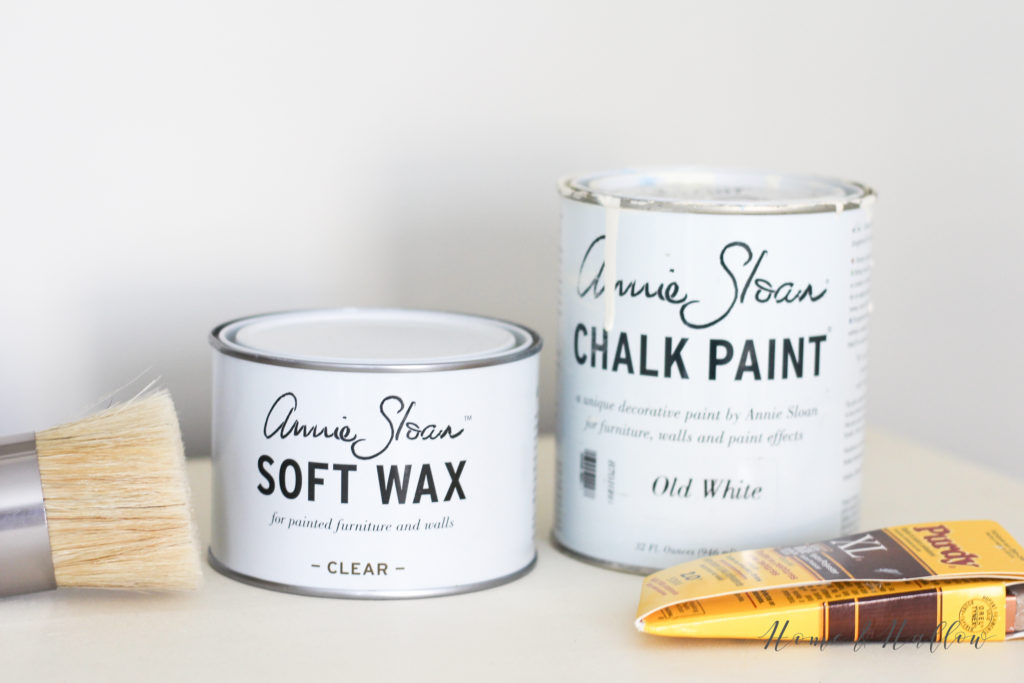
Gather Your Paint and Supplies
Annie Sloan Chalk Paint is only sold through authorized Stockists. Click here to find a Stockist in your area. The Stockists are very informative and helpful to suggest products and to answer all of your chalk paint questions. If you are in the North Atlanta area I highly recommend BrushStrokes by Mary Anne.
You Will Need:
- Annie Sloan Chalk Paint – I used the color Old White
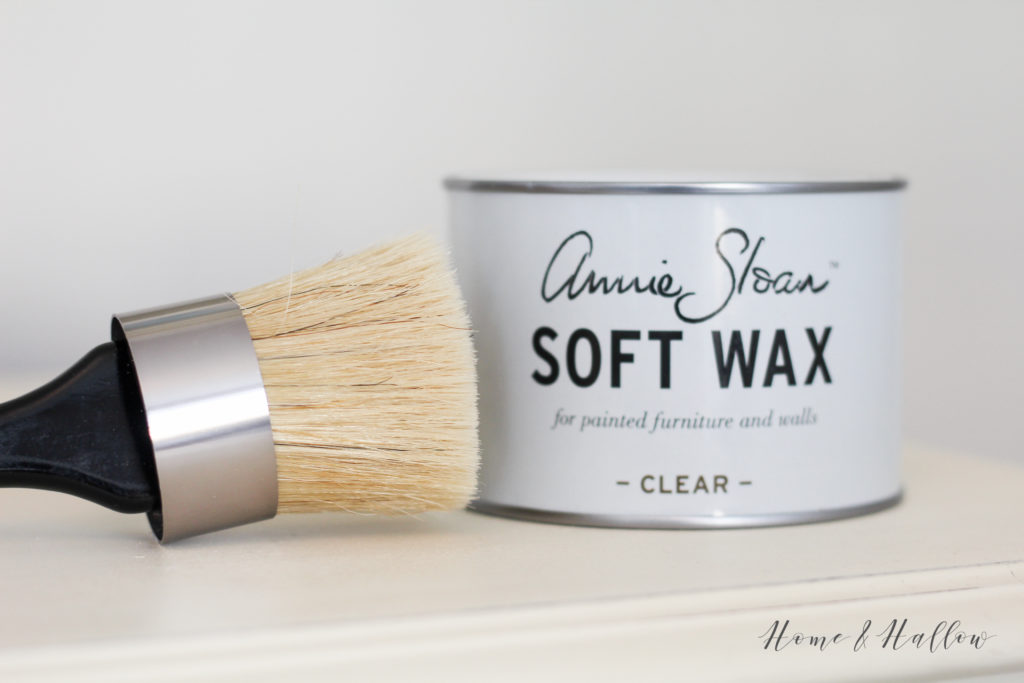
- Annie Sloan Chalk Paint Wax – I used the clear
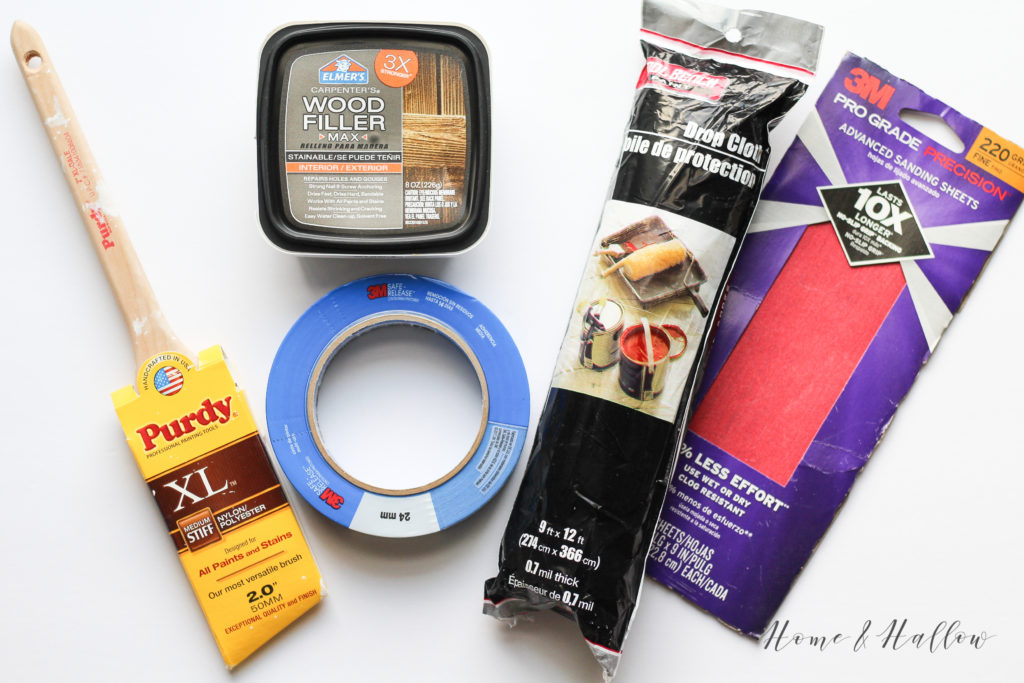
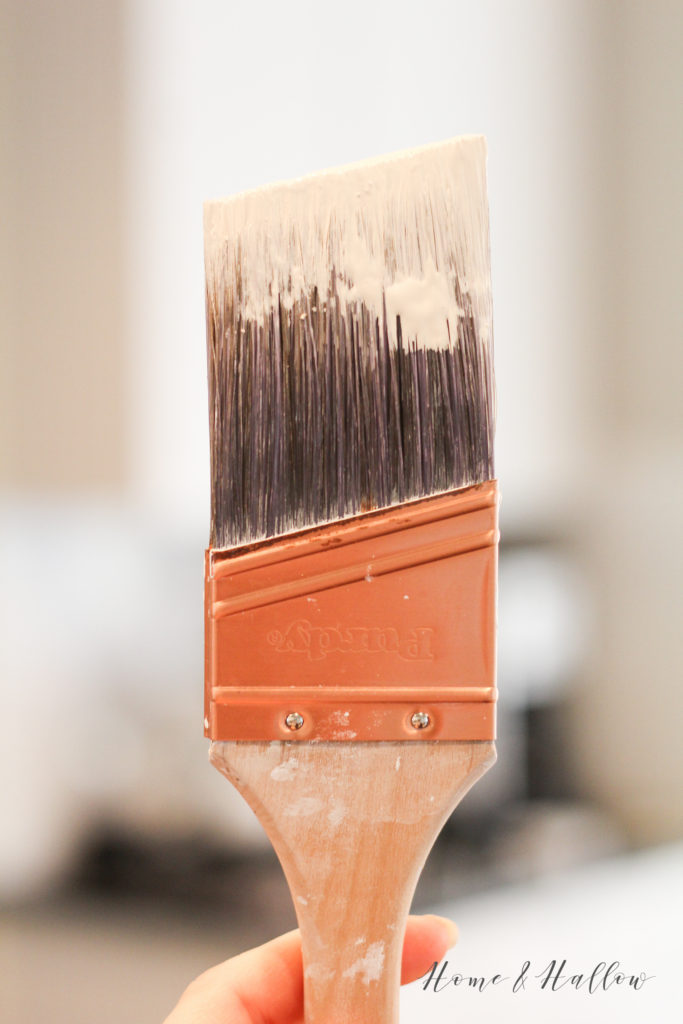
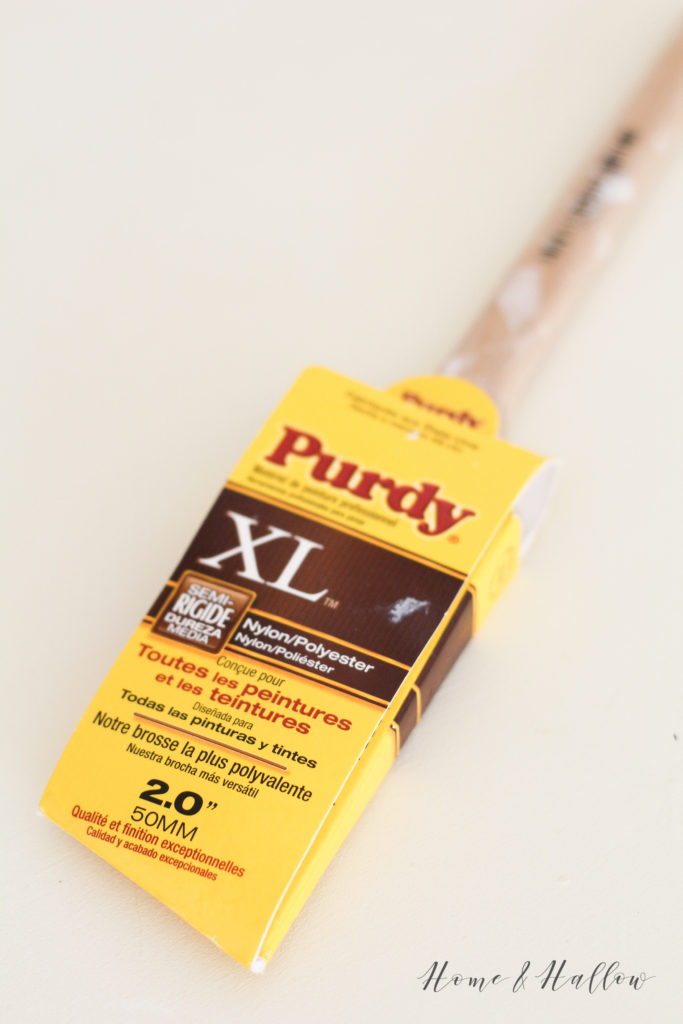
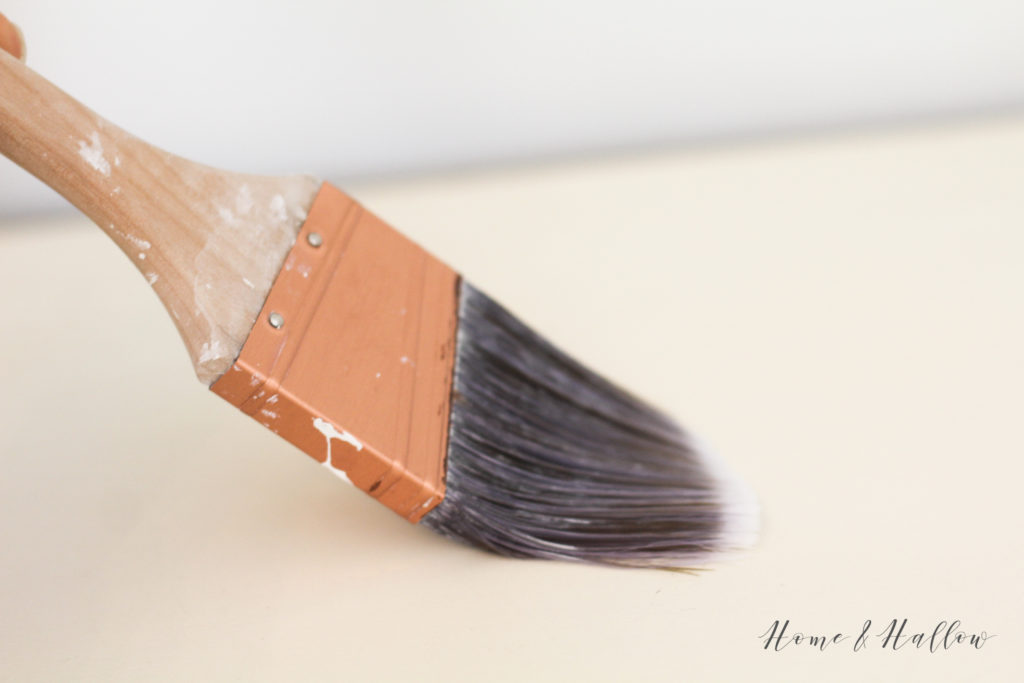
- High quality paint brush
- Wax brush or clean lint-free cloths (microfiber or cheesecloth seem to work best in my opinion; even the t-shirt rag material you can buy in the paint section that claim to be “lint free” seem to leave lint behind)
- 220 grit sandpaper
- Other – drop cloth, painters tape, paint stirrer, screw driver, wood filler and spackling knife
Prepare Your Workspace
Keep in mind the temperature of your workspace. All paint works best at room temperature and will not do well in extreme temperatures or humidity.
I prefer to work with chalk paint indoors for a few reasons. There is no dust or debris that may end up stuck in your paint (been there, done that). Annie Sloan Chalk Paint is low odor so you don’t have to worry about the fumes. You can leave your project out if you will be working on it over a period of time. And lastly, you don’t have to worry about having enough natural sunlight if you will be working at night.
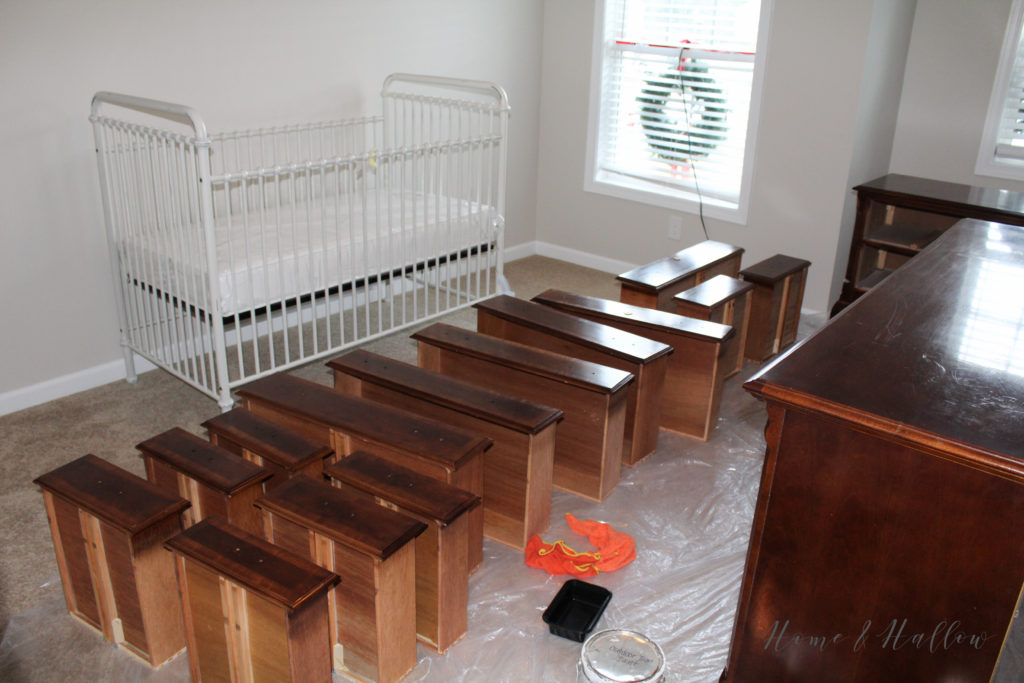
Set out your drop cloths to cover the floor of your work area. You can use painters tape to secure the edges if you wish. For this project I went with my trusted Dollar Tree drop cloths. Yep, you read that right. The Dollar Tree! I love these drop cloths and use them all the time. Obviously at $1 each they aren’t the highest quality, but they get the job done! And for $1 I buy a few for each project and don’t mind throwing them in the trash when I am done. Win, win!
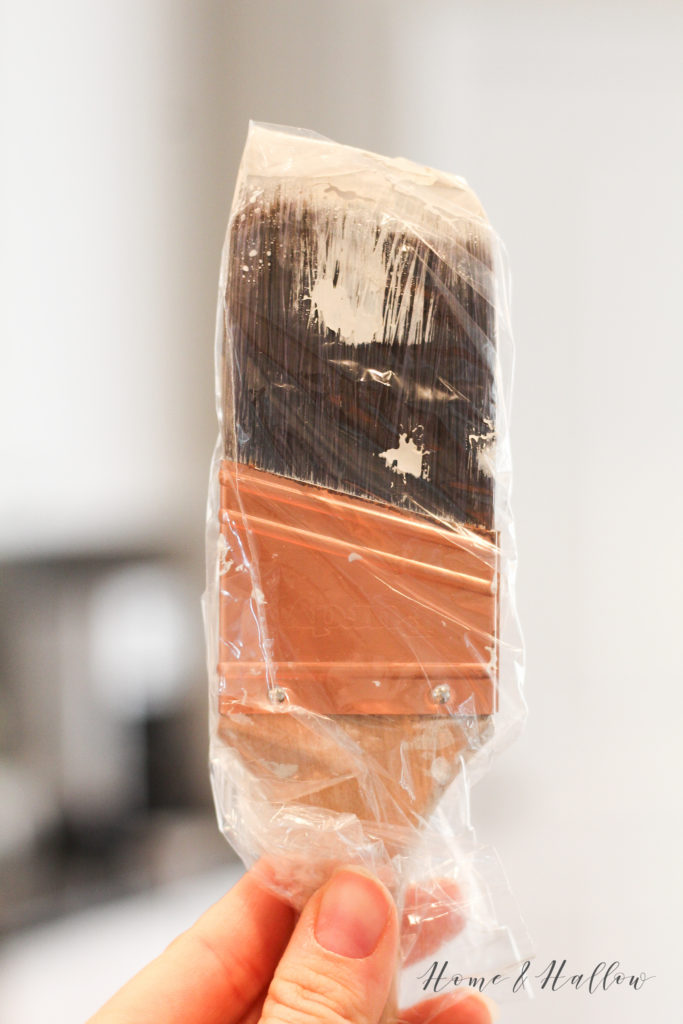
Painting Hack: if you are going to be painting over a period of time and you hate washing paint brushes (I mean, who likes washing paint brushes anyways?!), put your paint brush in a ziplock bag (make sure to get all the air out) and refrigerate between coats. You will thank me later! I painted this nursery furniture when I was about 7 months pregnant and working full time. I would do a little painting each night when I got home from work and this simple trick saved me a ton of time.
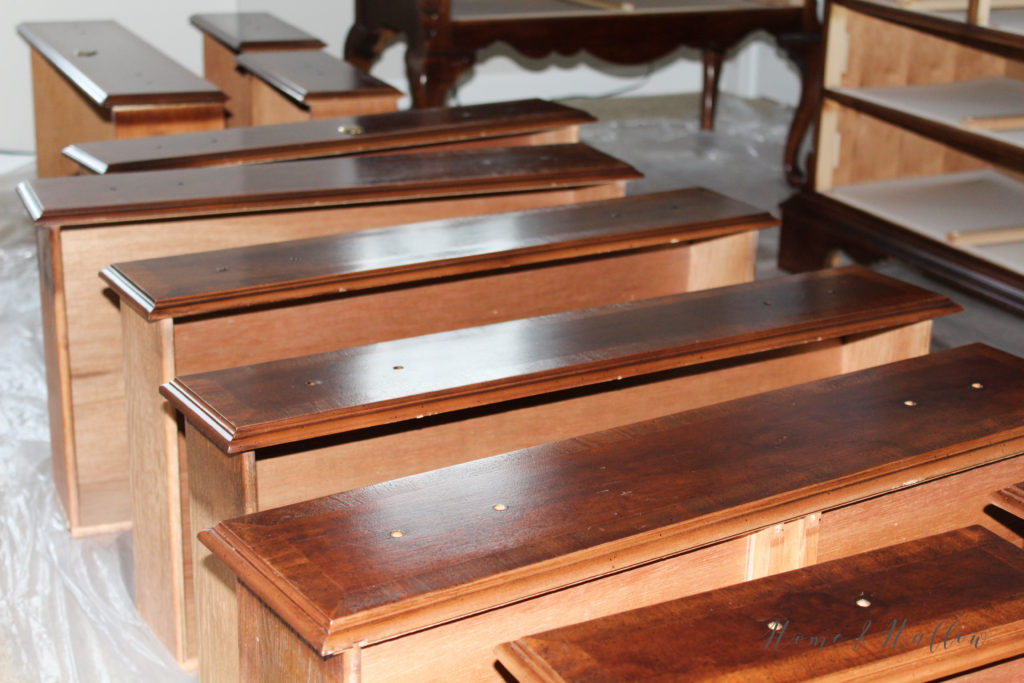
Prep + Clean Furniture
Remove all hardware, drawers, shelves, loose pieces, etc. Depending on the look you are going for, fill any holes/scratches/gapes with wood filler and a putty knife. Let it dry completely and then sand lightly. Or if you’re going for the distressed look then embrace the imperfections!
Ensure your furniture surface is clean and dry. Wipe down your entire piece of furniture to remove any dust, oil or residue. Many people use products such as TSP cleaner or Lysol wipes but I just used a damp rag.
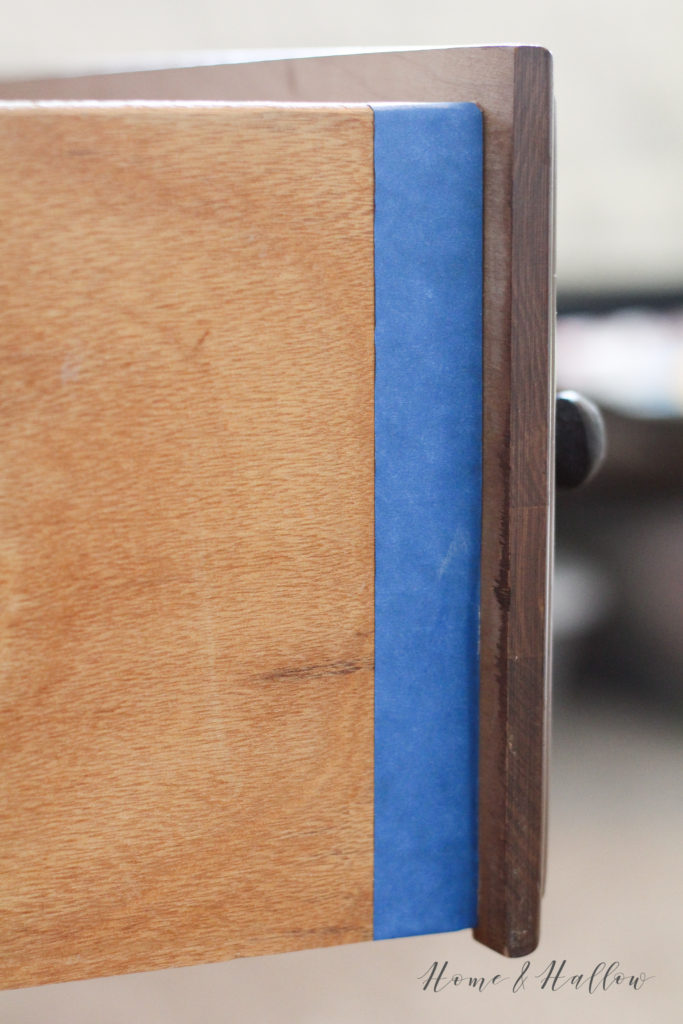
Tape off the edges/sides of the drawers with painters tape to ensure a clean paint line.
Apply First Coat of Paint

Now comes the fun! If you’re like me (impatient), the very best part of using chalk paint is that you can just start painting with such minimal prep! No sanding – can I get an Amen?!
Mix paint well and apply the first coat in long, smooth strokes going in the direction of the grain. Chalk paint is very forgiving but it does dry fast so you have to work somewhat quickly, always keeping a wet edge. For long surfaces, try to apply paint in one long sweeping motion without stopping in the middle. Allow first coat of paint to dry completely.
Warning: your furniture will look awful after just one coat. Keep on going!
Apply Second Coat of Paint
Apply your second coat of paint the same way you applied your first coat.
Lightly sand with 220 grit sandpaper if you want your piece to have more of a smooth finish. Many people like the look of the brush strokes and if that’s the case for you then no sanding is required. That’s one of the great things about chalk paint: you can achieve any look you are going for.
Next: To Wax or To Distress?

There are a lot of opinions on whether your next step should be waxing or distressing. Annie Sloan actually recommends distressing after waxing. The stockist at BrushStrokes recommended this method and so that is what I did. There are plenty of DIYers out there that distress then wax, and I myself have used this method on other pieces of furniture. In my opinion you achieve the same outcome either way.
Apply Wax to Seal Paint
Waxing is by far my least favorite part of using chalk paint, and everyone seems to have a slightly different method.
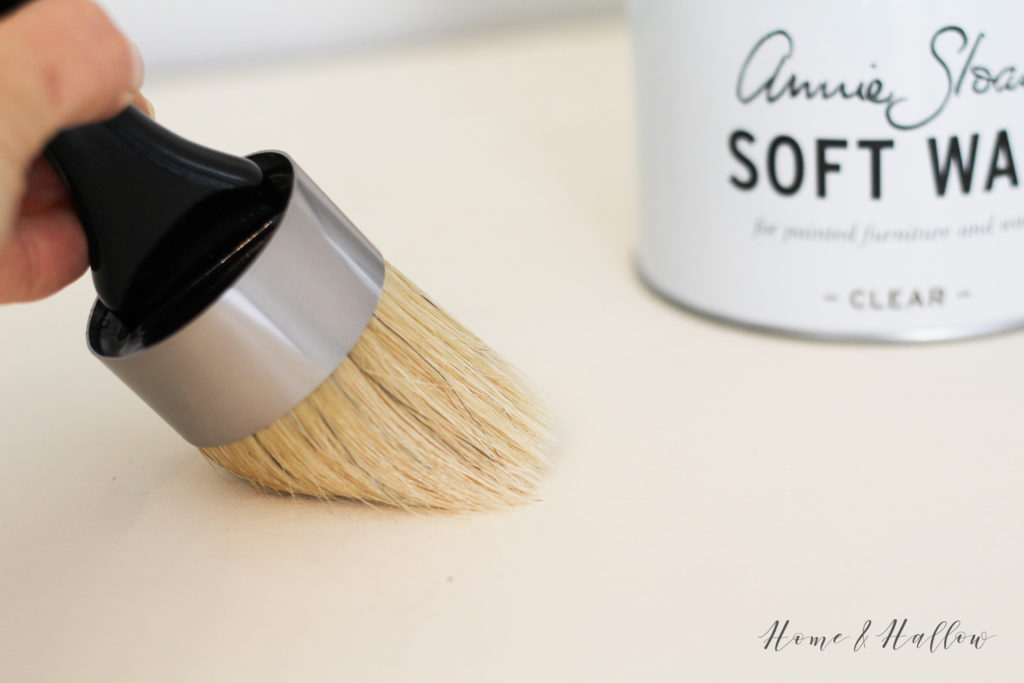
There are two different options when it comes to applying wax: a wax brush or a clean cloth. Using a wax brush is easier in my opinion, and if you paint furniture often a high quality wax brush is a great investment.
Dip your wax brush into the wax and then work in small areas massaging the wax into the wood in the direction of the grain. Do this until you have covered the entire piece of furniture and it feels smooth to the touch. (If using cloth, dip cloth into the wax and apply in the same method.)
FYI: Even the clear wax will enhance your paint color and it may appear a bit darker.
Wait 10-15 minutes then use a clean cloth to buff and wipe away excess wax. As the wax cures it will harden. Wax takes about 30 days to cure completely, but your piece should be able to tolerate light use in about 24 hours.
Apply extra coats of wax to surfaces that will endure extra wear and tear. I applied two coats of wax to the top of the dresser since it was going to be used as a changing table.
Distress Furniture
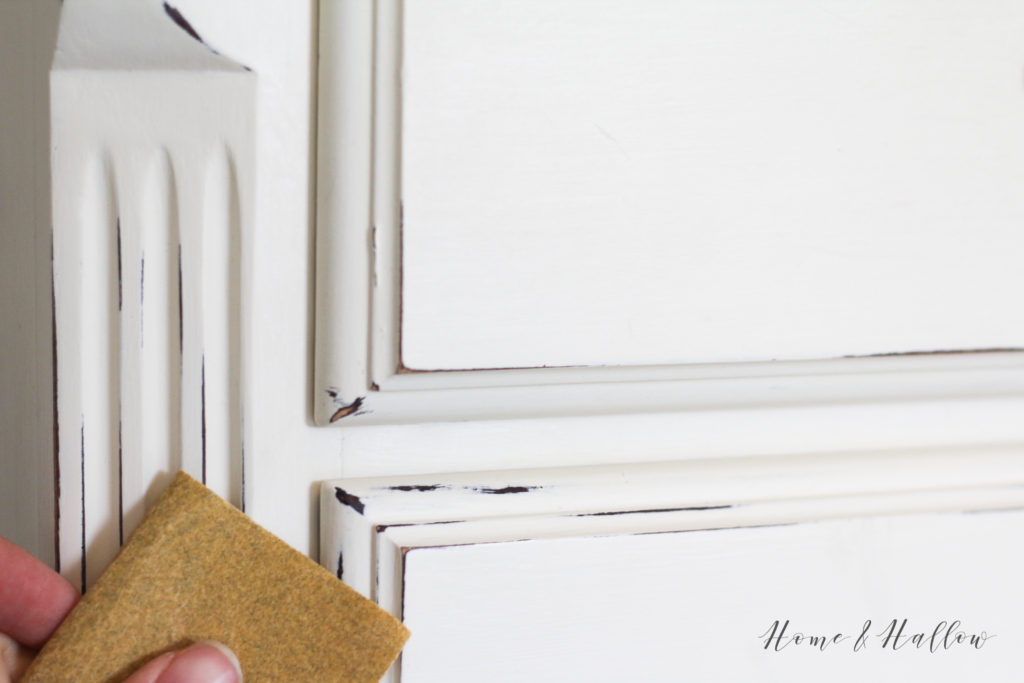
Use a medium grit sandpaper to lightly distress areas that naturally wear over time such as corners, edges, detailing, etc. Distress as much or as little as you would like depending on the look you are going for.
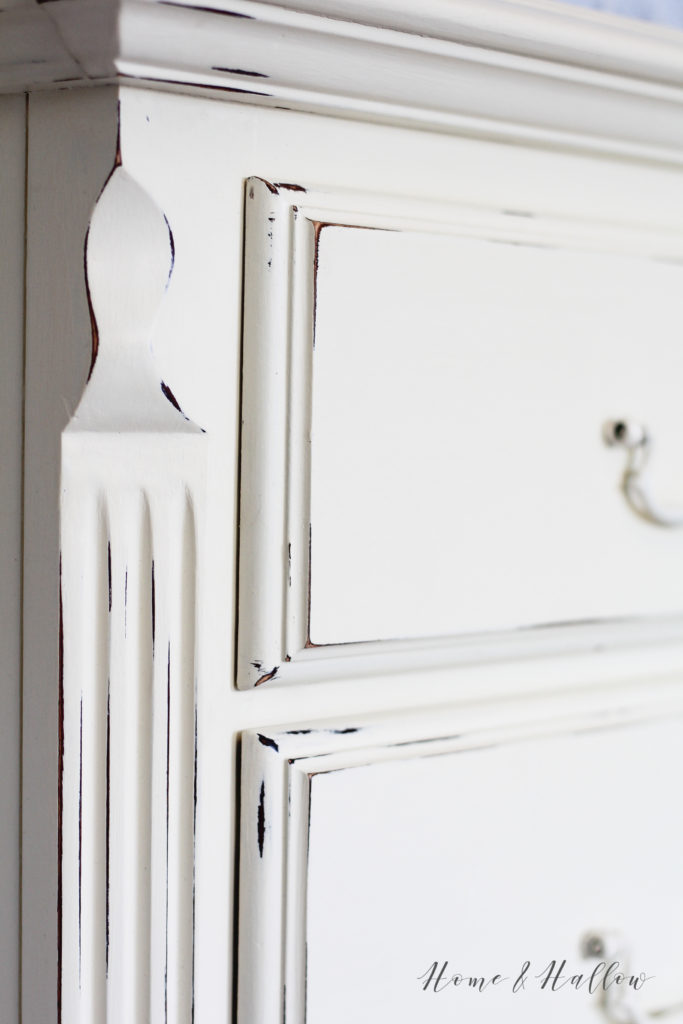
I wanted a soft, natural look for the nursery so I distressed lightly around edges and corners.
Reinstall Hardware
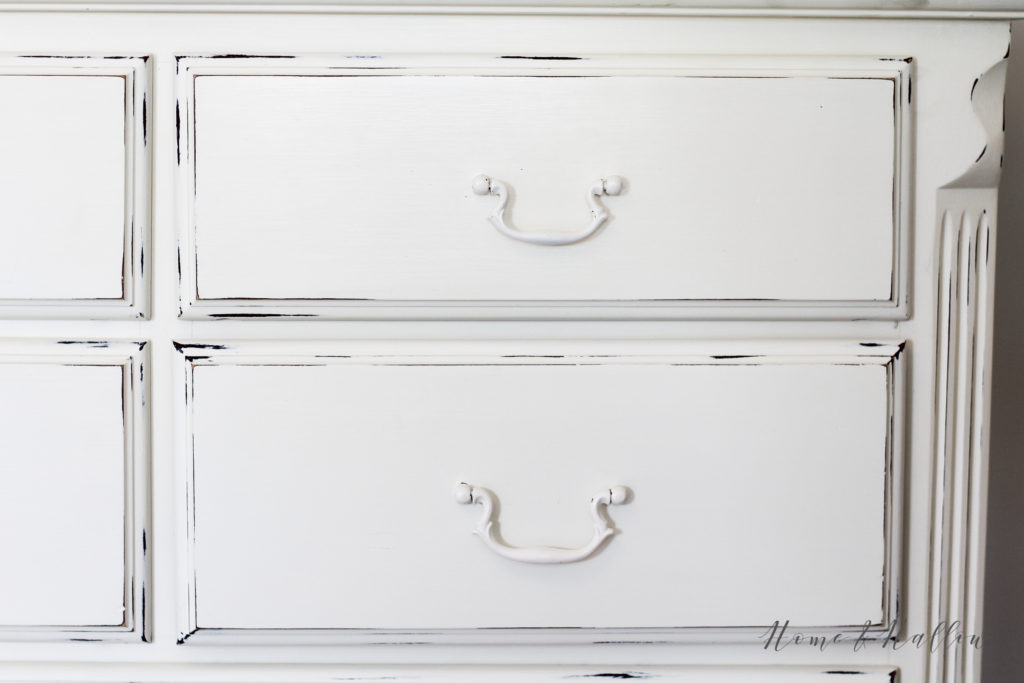
Reinstall your hardware and step back and admire your work!
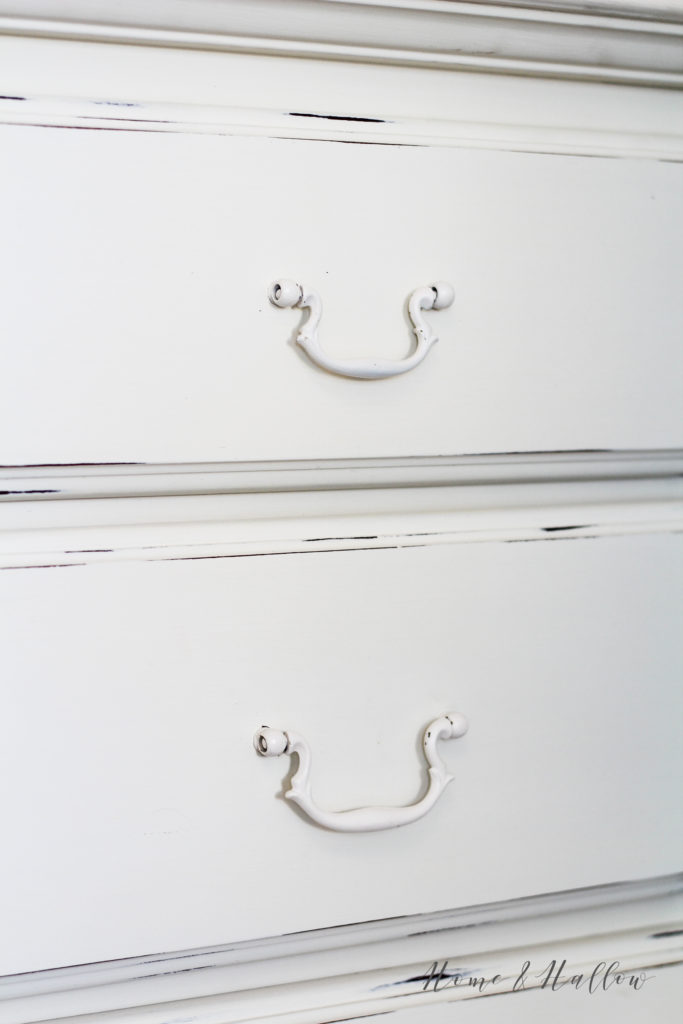
You will notice my hardware looks very different but believe it or not it is actually the same hardware! I removed the back piece and sprayed them with two coats of Rustoleum Ultra Cover 2x Spray Paint and Primer in 1 in Heirloom White.

I hope this tutorial is helpful. I am still blown away by the transformation and I’m already looking for my next piece of furniture to paint!
Do you have any tips or tricks for using Chalk Paint? Have you completed your own chalk paint transformations? I would love to see them!