How to Paint Old Barstools: Before and After Makeover
Are you looking to easily update old barstools? Learn how to paint old barstools in this step by step tutorial with photos. A barstool makeover is easily achieved with some fresh paint and new fabric!
Painting old barstools is a relatively quick and inexpensive way to give old, outdated barstools new life. Reupholster an old barstool cushion with new fabric and you have a brand new custom piece of furniture!

This post will show you how I took secondhand barstools I found on Facebook Marketplace and made them look beautiful again. With a fresh coat of paint and some pretty new fabric, these “new” barstools turned out more beautiful than I could have ever imagined!
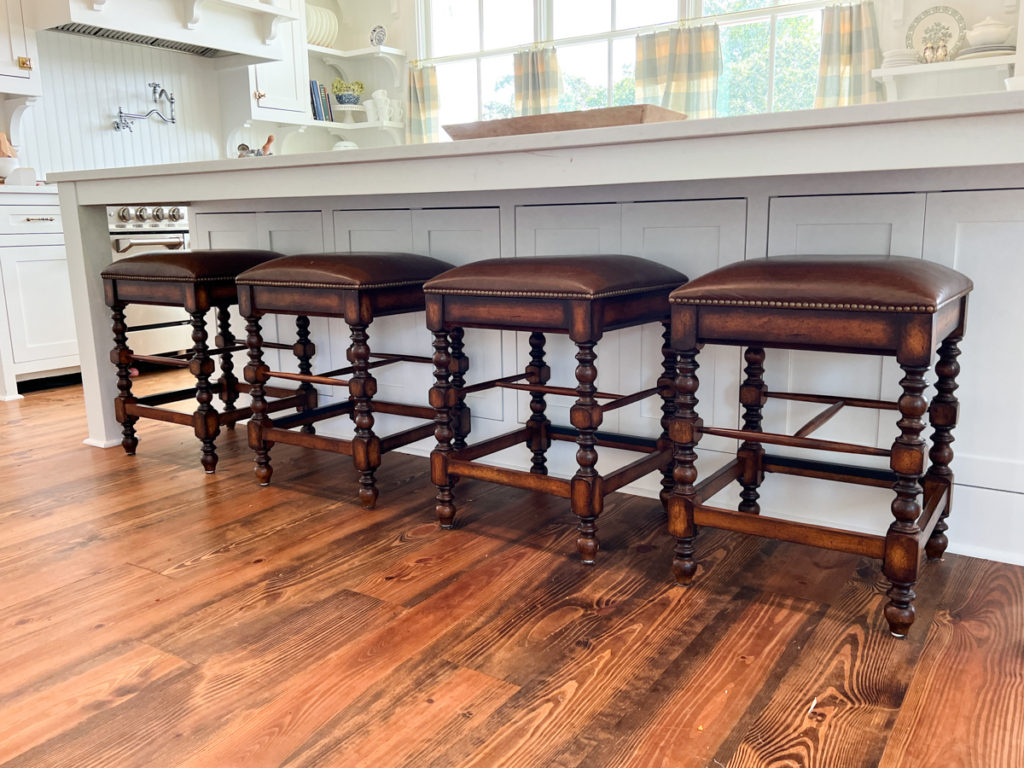
Barstools Before
Before we get into how I painted these old barstools, let’s take a look at what the barstools looked like before.
I had been on the hunt for barstools for our kitchen island since moving into our home. I loved the overall look of these barstools from Ballard, but at $219 each I decided to keep searching.
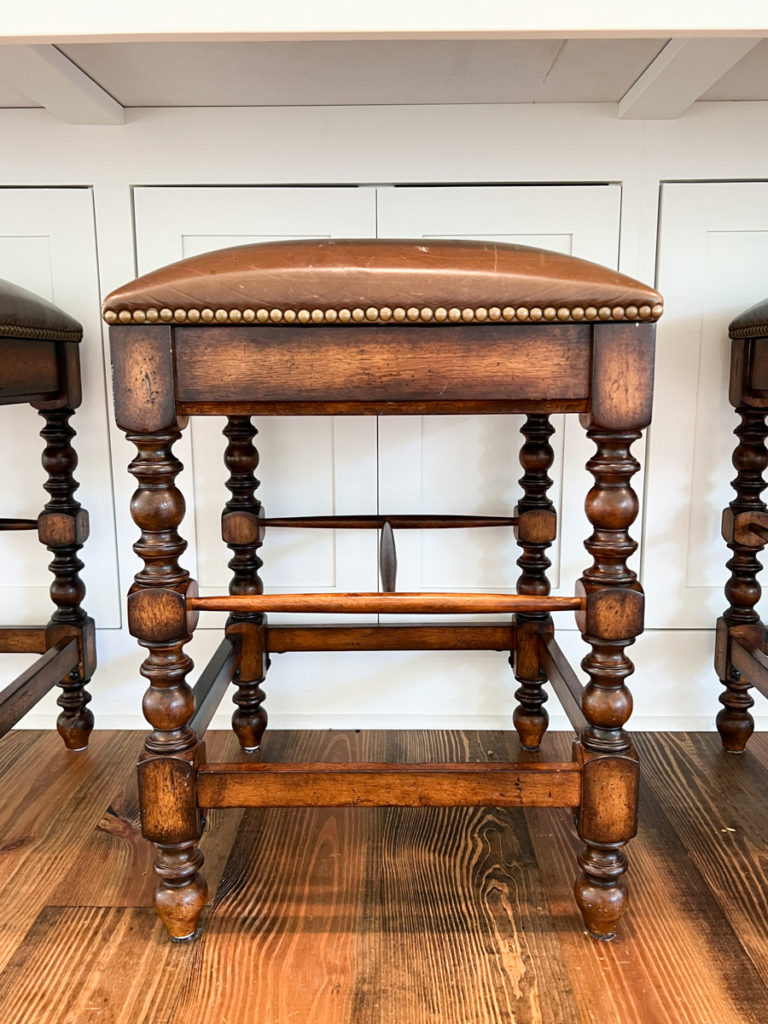
One day I was browsing Facebook Marketplace (per usual) when I came across this set of dark wood barstools. I instantly fell in love with the shape of the legs and knew they would be perfect in our kitchen.
The seller agreed to $35/each and you better believe I hopped in my car and immediately drove to pick them up 🙂
The barstools were extremely nice and in excellent condition. In fact, there was nothing wrong with the before! The dark wood and leather just wasn’t the style I was going for in my kitchen.
I got them home and was so excited to get to work on making them what I had envisioned.
How to Paint Old Barstools Tutorial
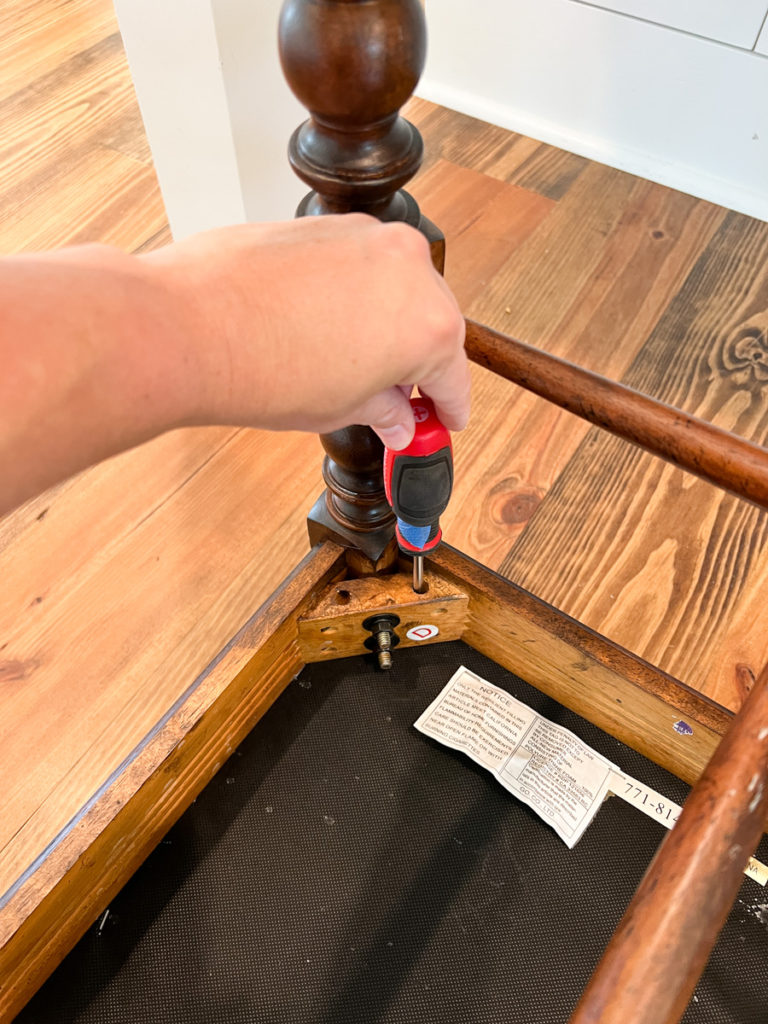
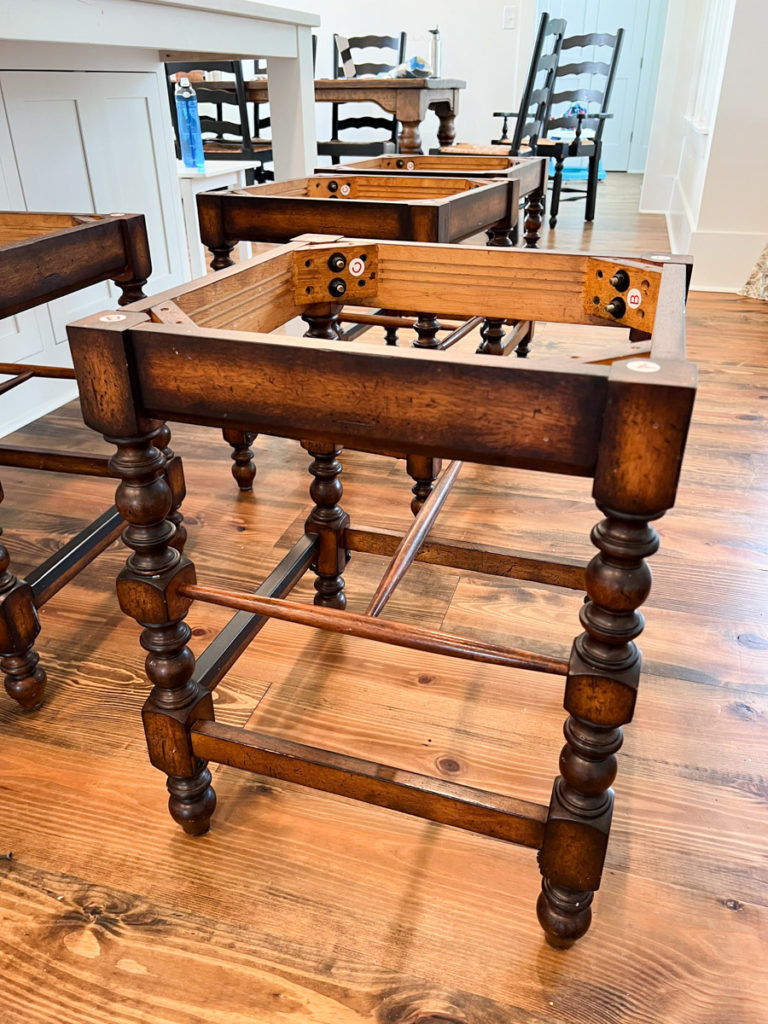
Step 1: Remove Barstool Seat
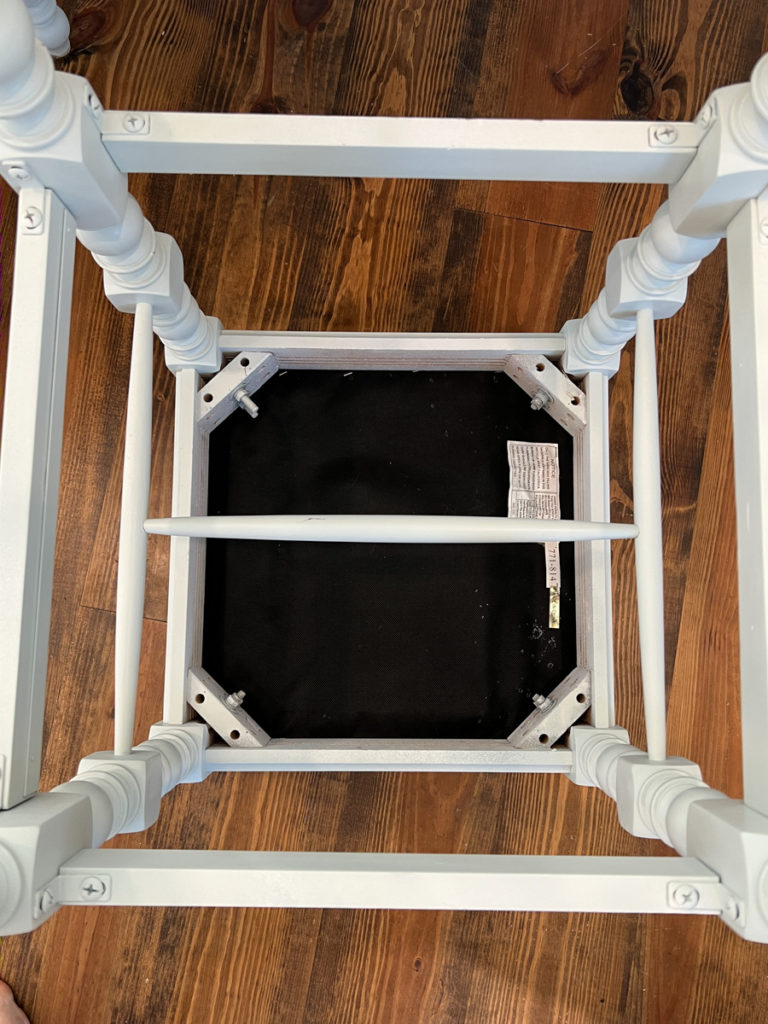
The first step is to remove the top seat cushion from the barstool.
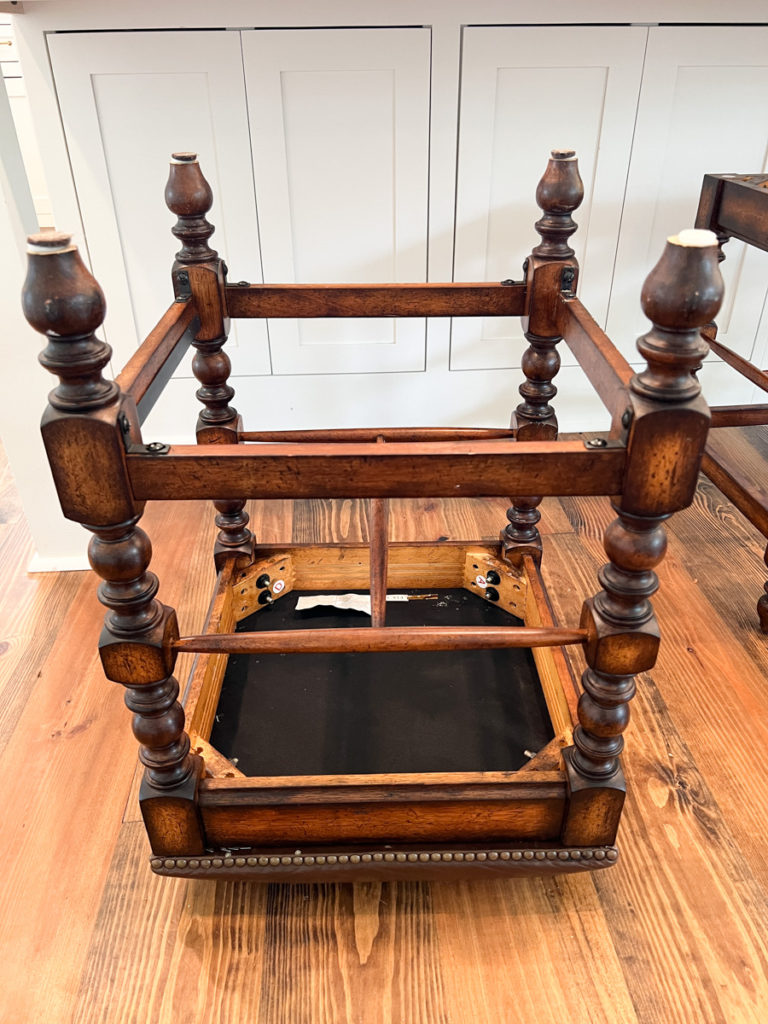
Flip the barstool upside down and look for the holes that contain the screws that connect the seat cushion to the barstool.
Use a screwdriver to unscrew all of the screws until the seat cushion is no longer attached.
step 2: clean and sand barstools
Once your barstool seat cushions are removed, you will need to prep your barstools for paint.
First use a damp rag to wipe down the barstools, making sure they are clean of any dust or residue.
Next, use medium to fine sandpaper to lightly buff away the shiny finish on the barstools. You don’t need to do a lot of sanding here. You are simply sanding lightly to “rough” up the finish. This will allow the paint to have better adhesion to the wood.
Lastly, after cleaning and sanding, thoroughly wipe down your barstools with tack cloth to remove every trace of sawdust.
step 3: Prime and Paint barstools
Next is the fun part of the barstool makeover: paint!
A paint sprayer is practically a must-have when painting detailed surfaces such as spindles. This sprayer is the exact sprayer I use and I highly recommend it. It is beginner friendly, easy to use, and comes at a great price point. With the right prep work and high quality paint, it will deliver professional looking results.
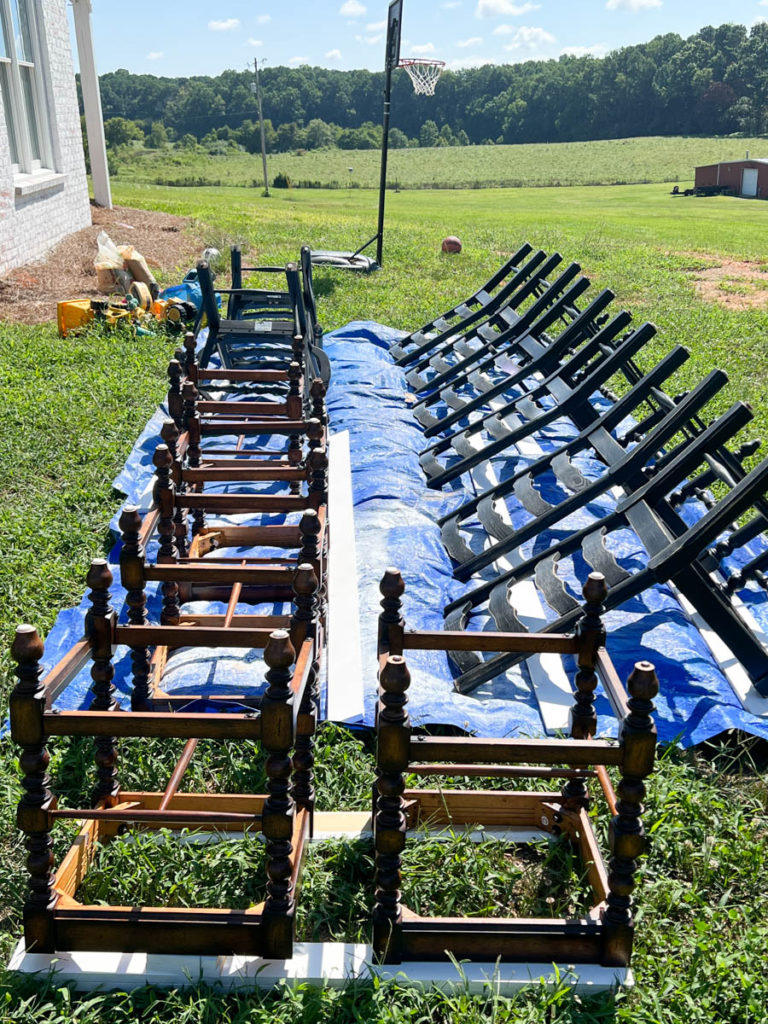
Set all the barstools on a drop cloth outside. Any time I am painting chairs or stools I prefer to start with them upside down to make sure I am getting all surfaces of the legs and spindles.
How to Achieve a Professional Finish when Painting Old Barstools
My method for professional-looking paint results is as follows:
- Sand furniture surface with medium to fine sandpaper
- Wipe down furniture with tack cloth to ensure all dust has been removed
- Prime furniture with this Zinsser primer (I won’t use anything else!)
- Very lightly sand with 220 grit sandpaper
- Wipe down once again with tack cloth
- Paint two coats with Sherwin Williams Urethane Enamel Paint. Be sure to let the first coat dry before painting the second coat.
I can’t tell you just how incredible the Sherwin Williams Urethane Enamel Paint is. It paints like butter, is self-leveling, and gives you the most beautiful, flawless finish. Just trust me on this one 😉
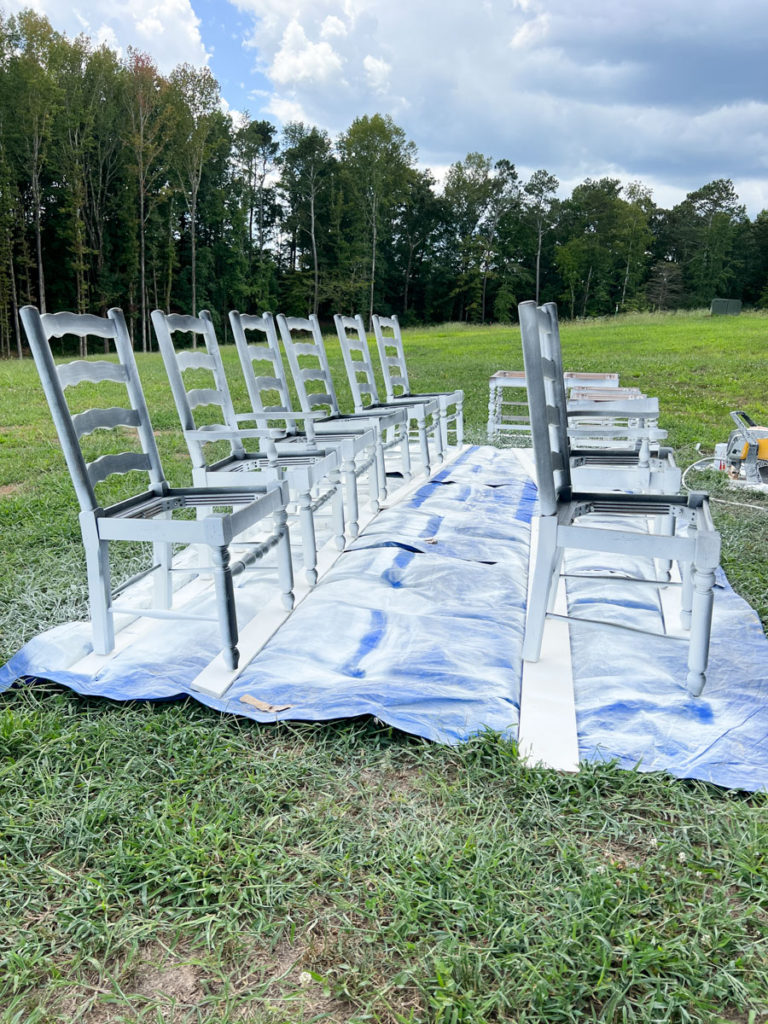
*I chose the color Sherwin Williams Sea Salt. It’s the perfect soothing blue-green paint color!
step 4: recover barstool seat cushions
The last step is to cover the barstool seat cushions with new fabric.
I chose this beautiful fabric that perfectly matches the paint color. It’s been a favorite of mine for as long as I can remember and I’m so glad I finally got a chance to use it somewhere in our house.

I first had to (painstakingly) remove all the nailheads from each seat cushion.
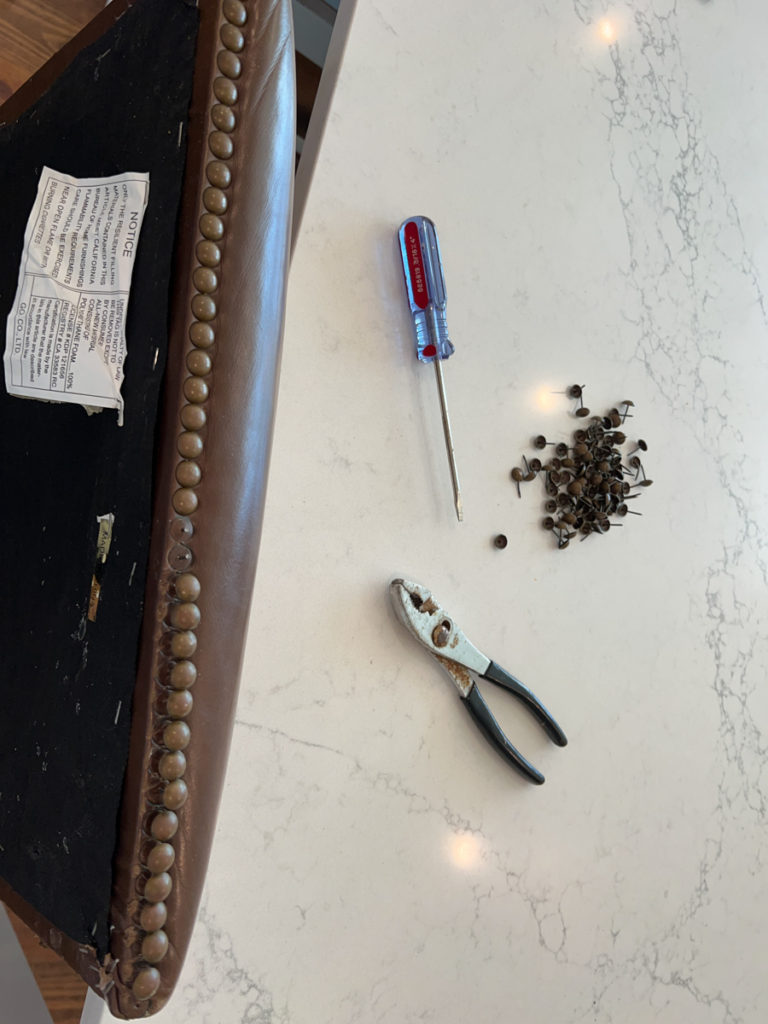
This tutorial will walk you through exactly how to recover a seat cushion.
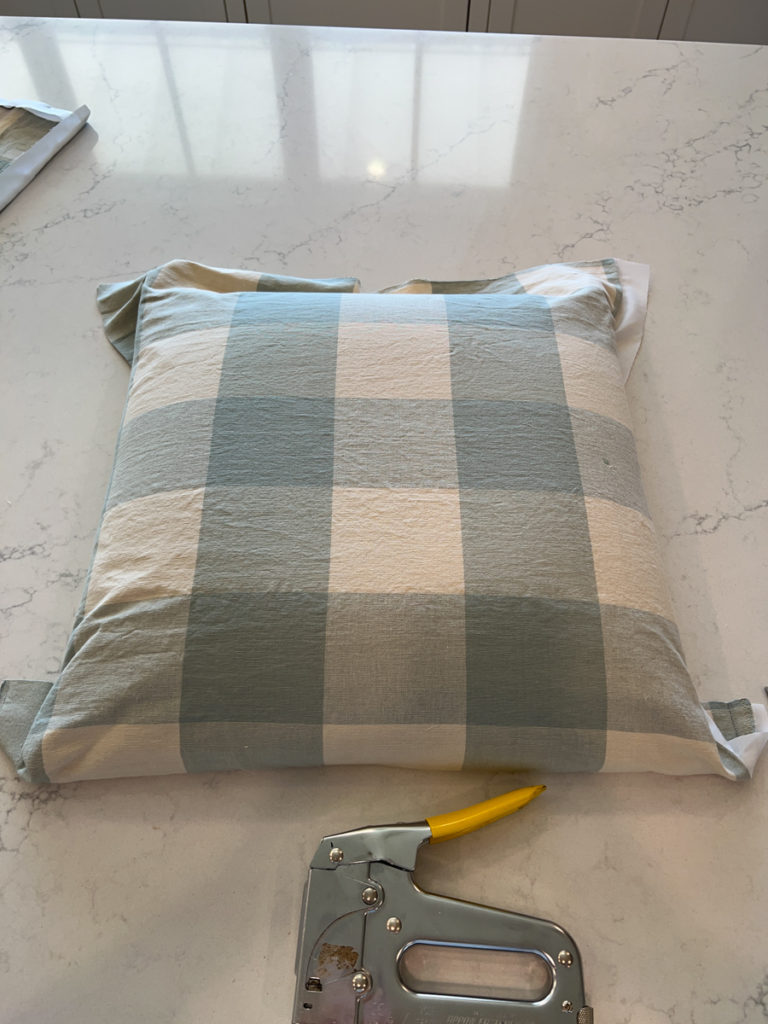
It’s fairly simple and straightforward and truly anyone can do it! You will need scissors, fabric and a stapler.
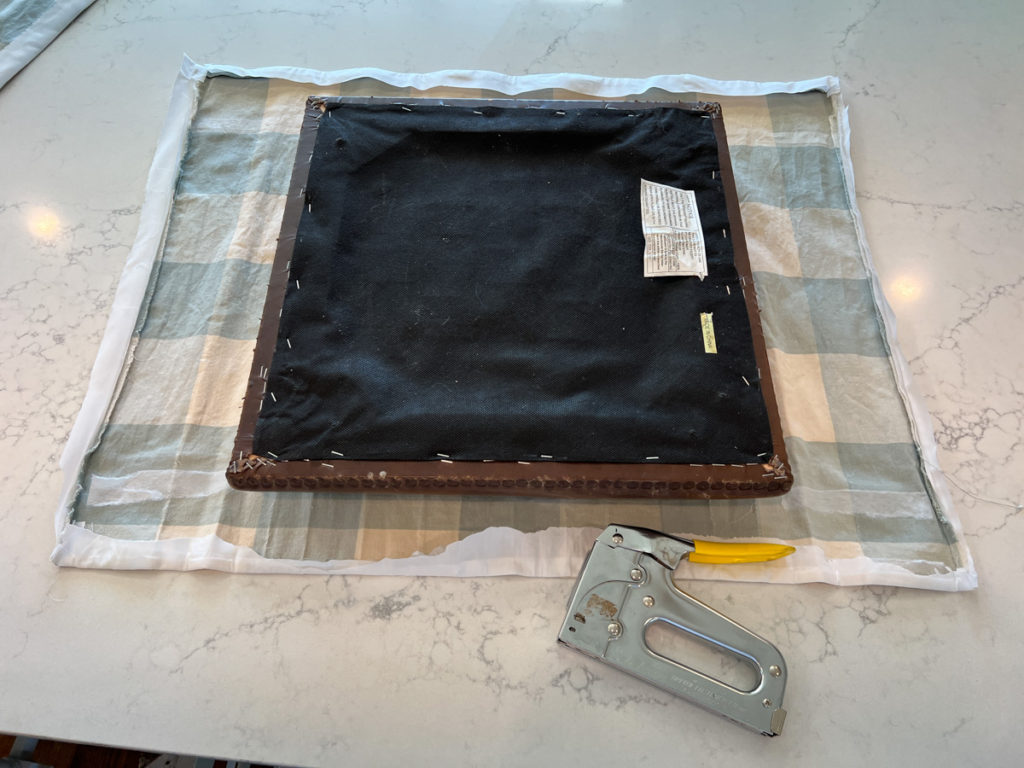
First lay your fabric on a flat surface, with the “right” side facing down. Set your seat cushion directly on top of it.
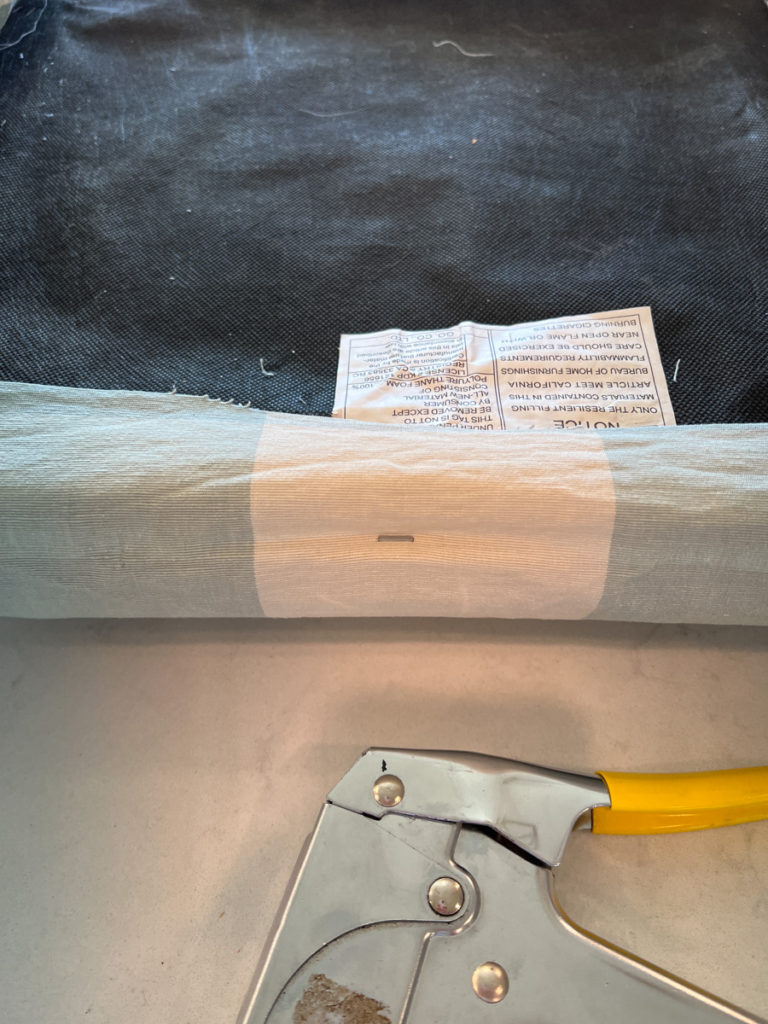
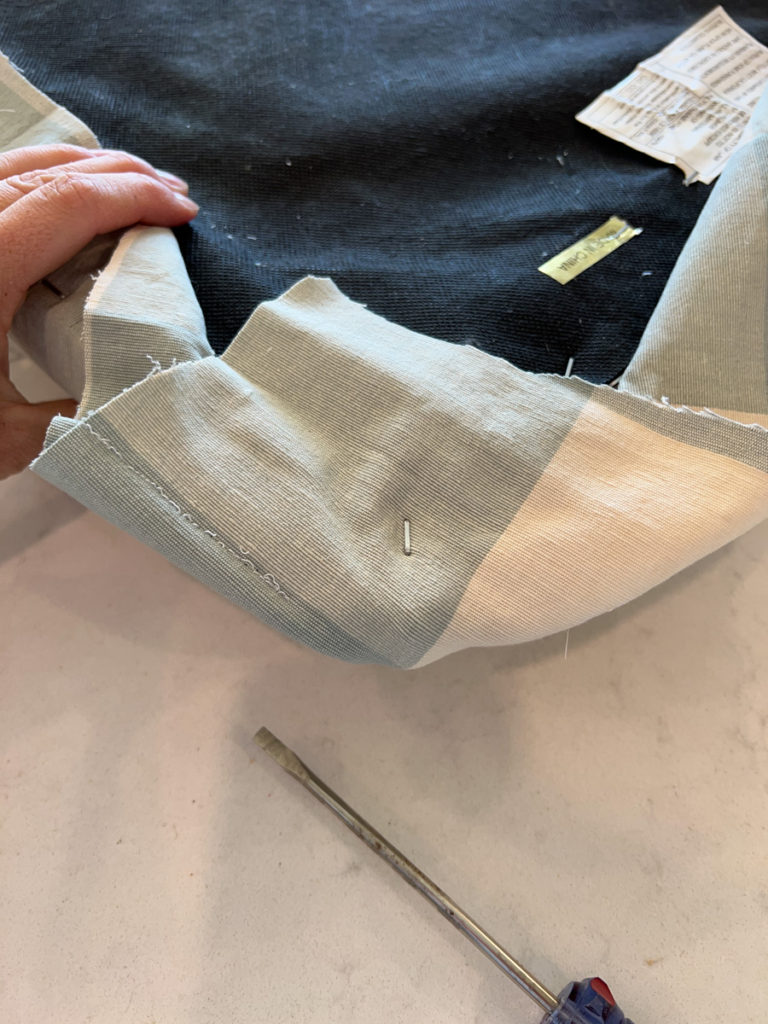
Starting with one staple in one side at a time, pull the fabric just taught (but not too tight), and staple it in place. Start in the center of each side and work your way to the corners.
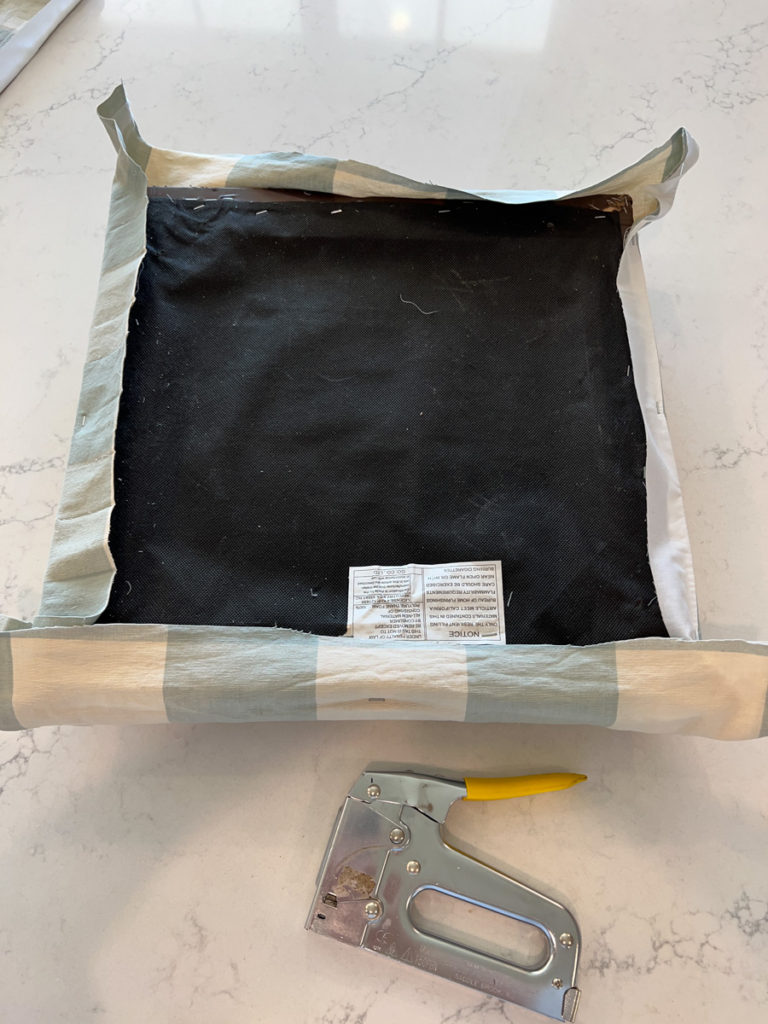
Repeat this method all the way around your seat cushion until you have reached your corners.
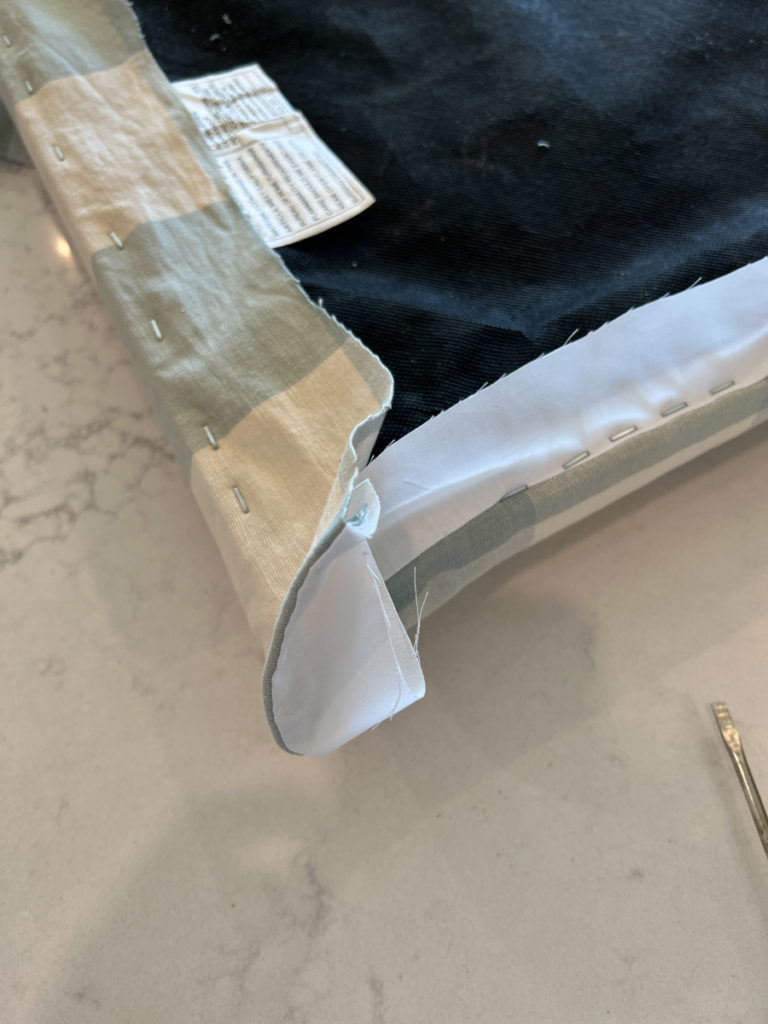
If you’ve never covered a seat cushion before, it can be a little tricky at first to get the corners to look smooth.
I believe it’s better shown in a video (and I forgot to record one!), but you can easily watch this quick video to learn how to create smooth corners on your seat cushion.
If you can wrap a gift, you can create smooth corners 😉
step 5: reattach barstool seat cushion
Once your seat cushions are covered in the new fabric, it is time to reattach them back onto the barstools.
Use a screwdriver to securely attach your seat cushion back on to the barstool.
And that’s it! Now they are ready to be enjoyed.
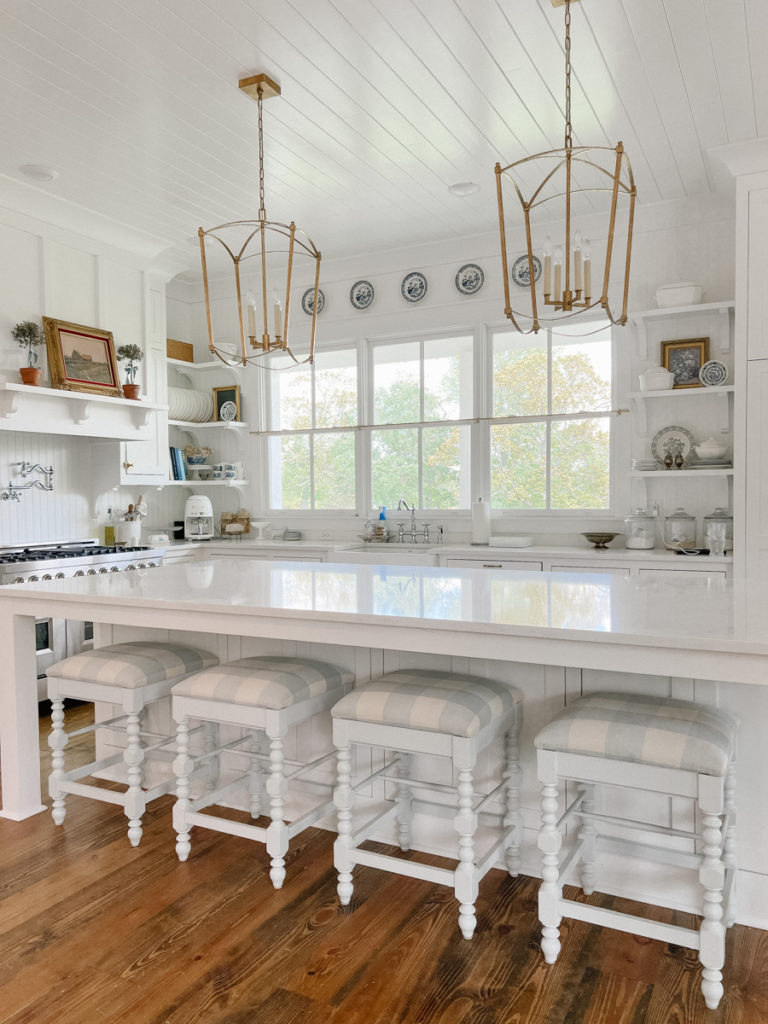
Paint old Barstools Makeover: After
All done!
2 Comments