$10 Nursery Bunny Rabbit Chandelier Makeover
Today I’m sharing the easiest, quickest, and most inexpensive way to update any outdated or thrifted chandelier. How, you ask? Spray paint, of course!
Easy $10 diy spray paint chandelier makeover
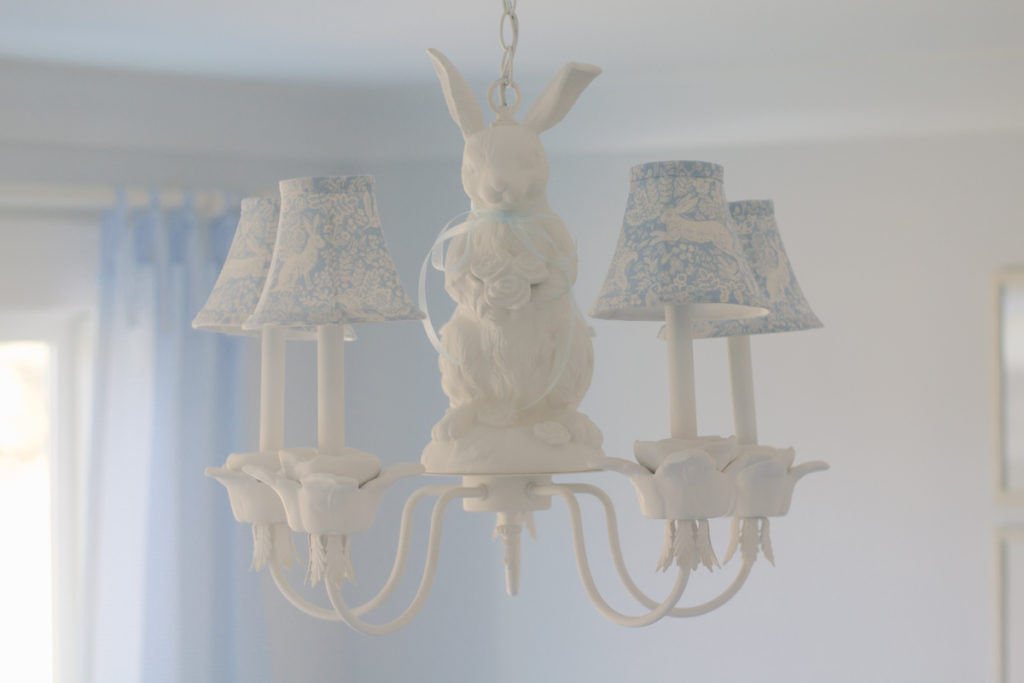
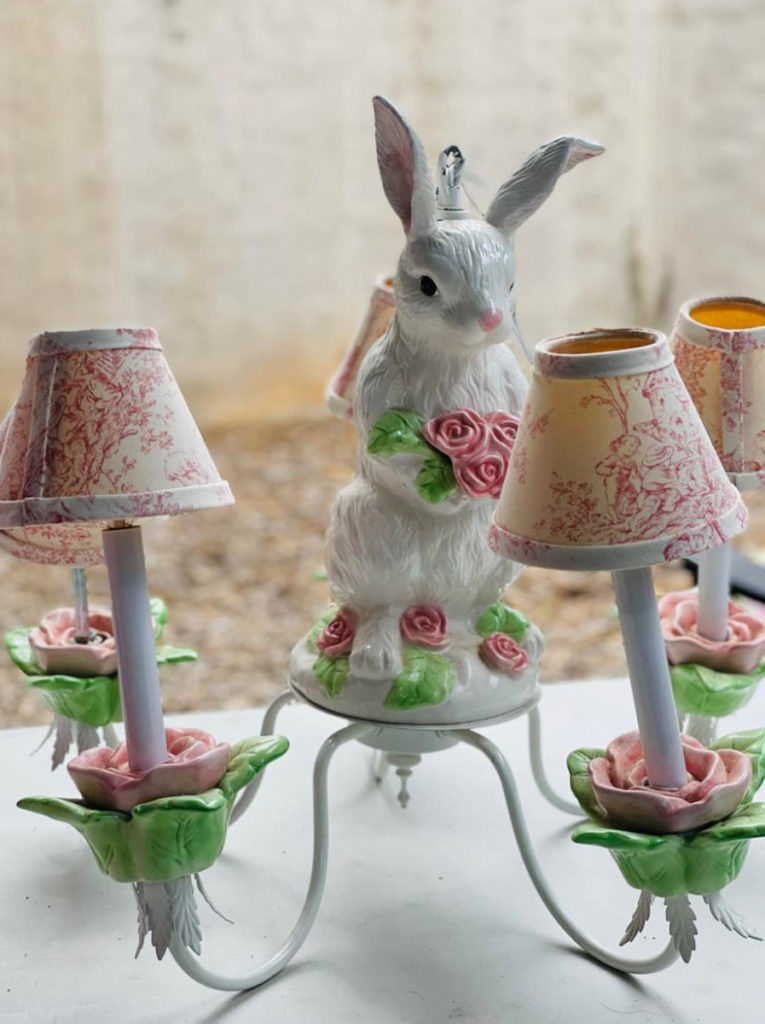
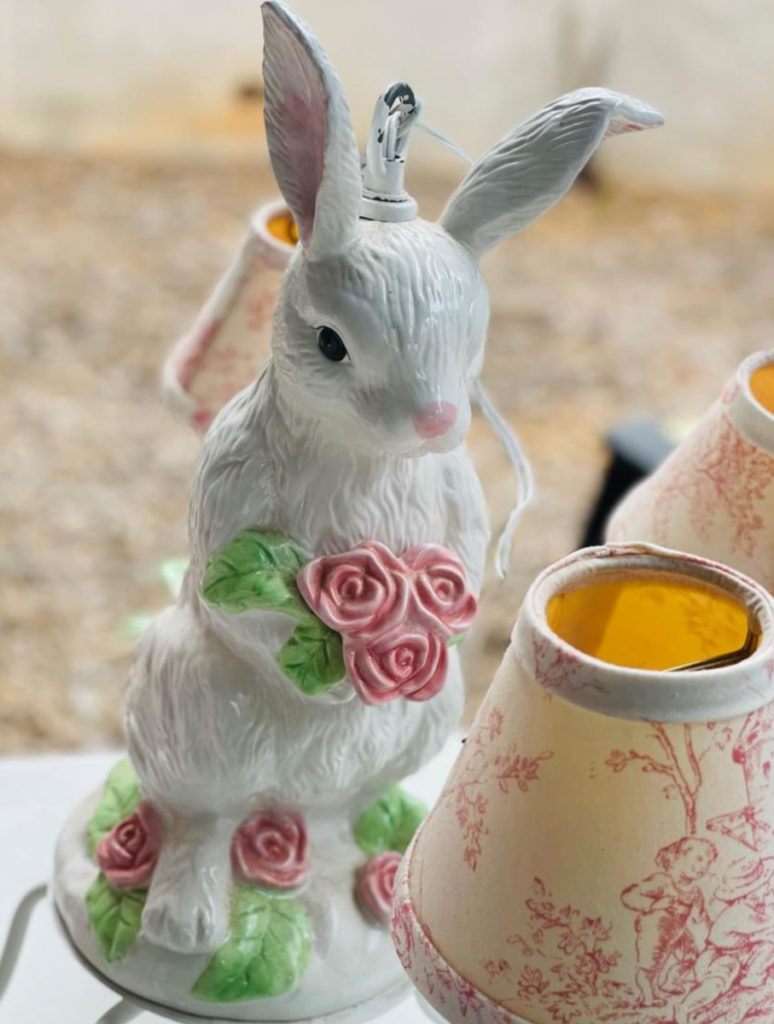
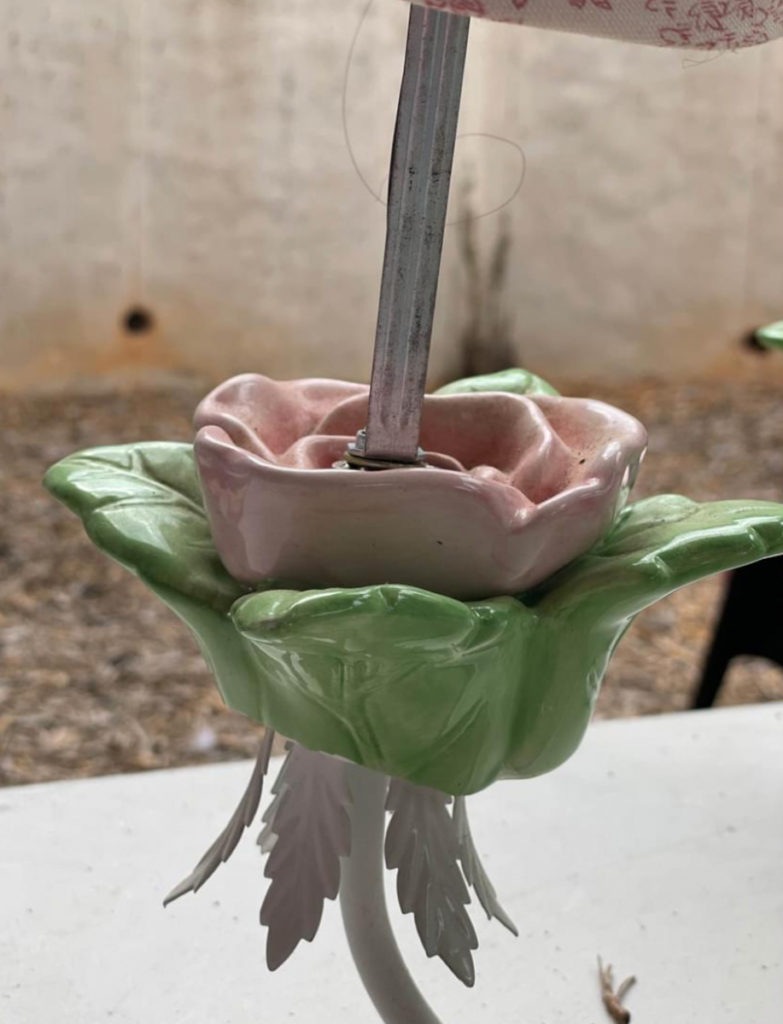
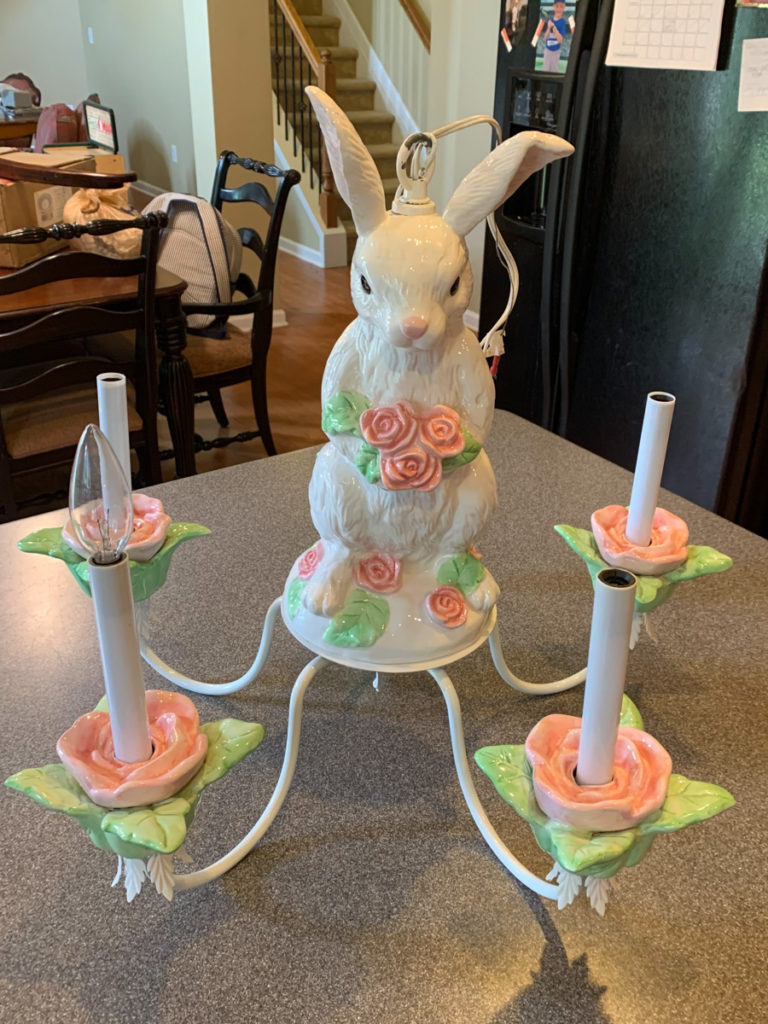
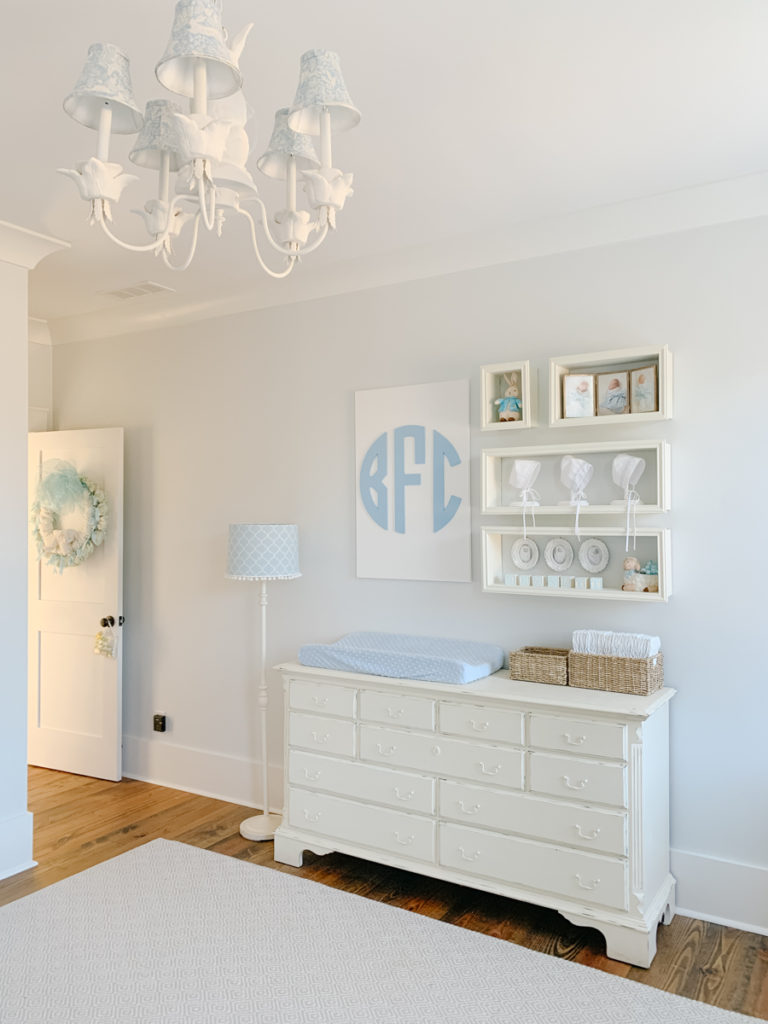
Take a look at the before and after photos of this $10 FBMP bunny rabbit chandelier that just very well be my most favorite thing in the entire nursery.

There are two things I always tell everyone to keep in mind while thrifting, antiquing, or browsing Facebook Marketplace.
- Look for potential! Look past the present state and look for good bones, good shape, and lots of potential!
- Paint is your best friend! Paint is the easiest, quickest, and least expensive way to give any item new life.
That’s why I squealed when I came across this $10 FBMP listing for this bunny chandelier!
What can I say? My love of bunnies and rabbits runs deep!
I actually love it the way it was, buuuut I don’t think it would have gone over too well in our mini fraternity house full of rowdy boys 🙂
In fact, I wish you could have seen my husband’s face when I came walking in the door with this pink bunny chandelier.
I may have even tried to sneak in undetected but wouldn’t you know he was standing right there when I walked in!
He normally trusts my design visions, but I could tell he was pretty skeptical about this one 🙂
Easy DIY Chandelier makeover: before and after
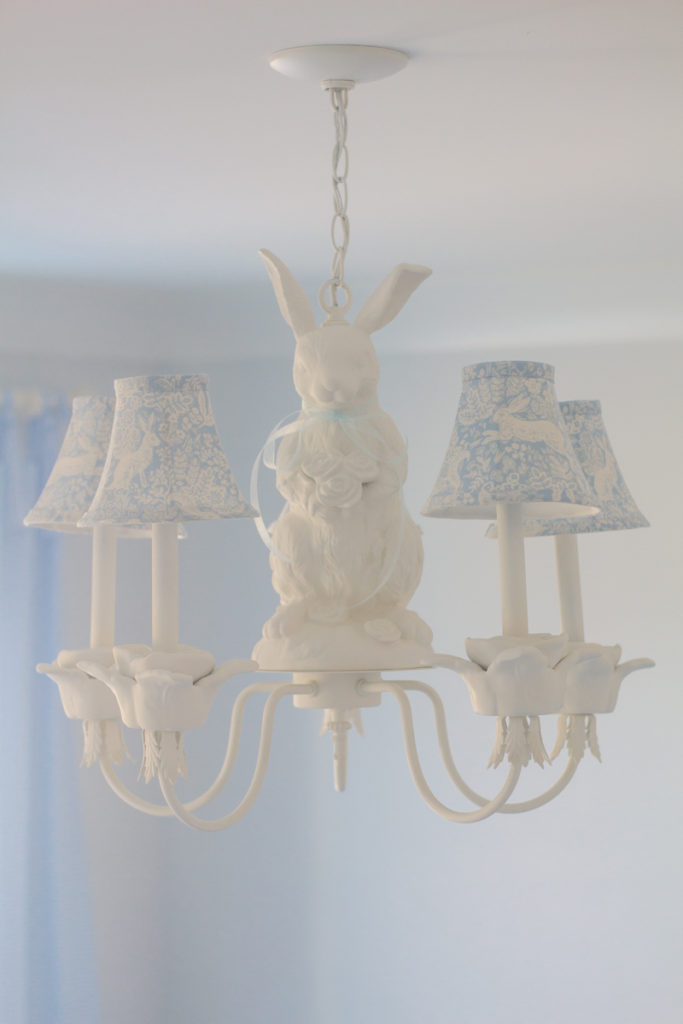
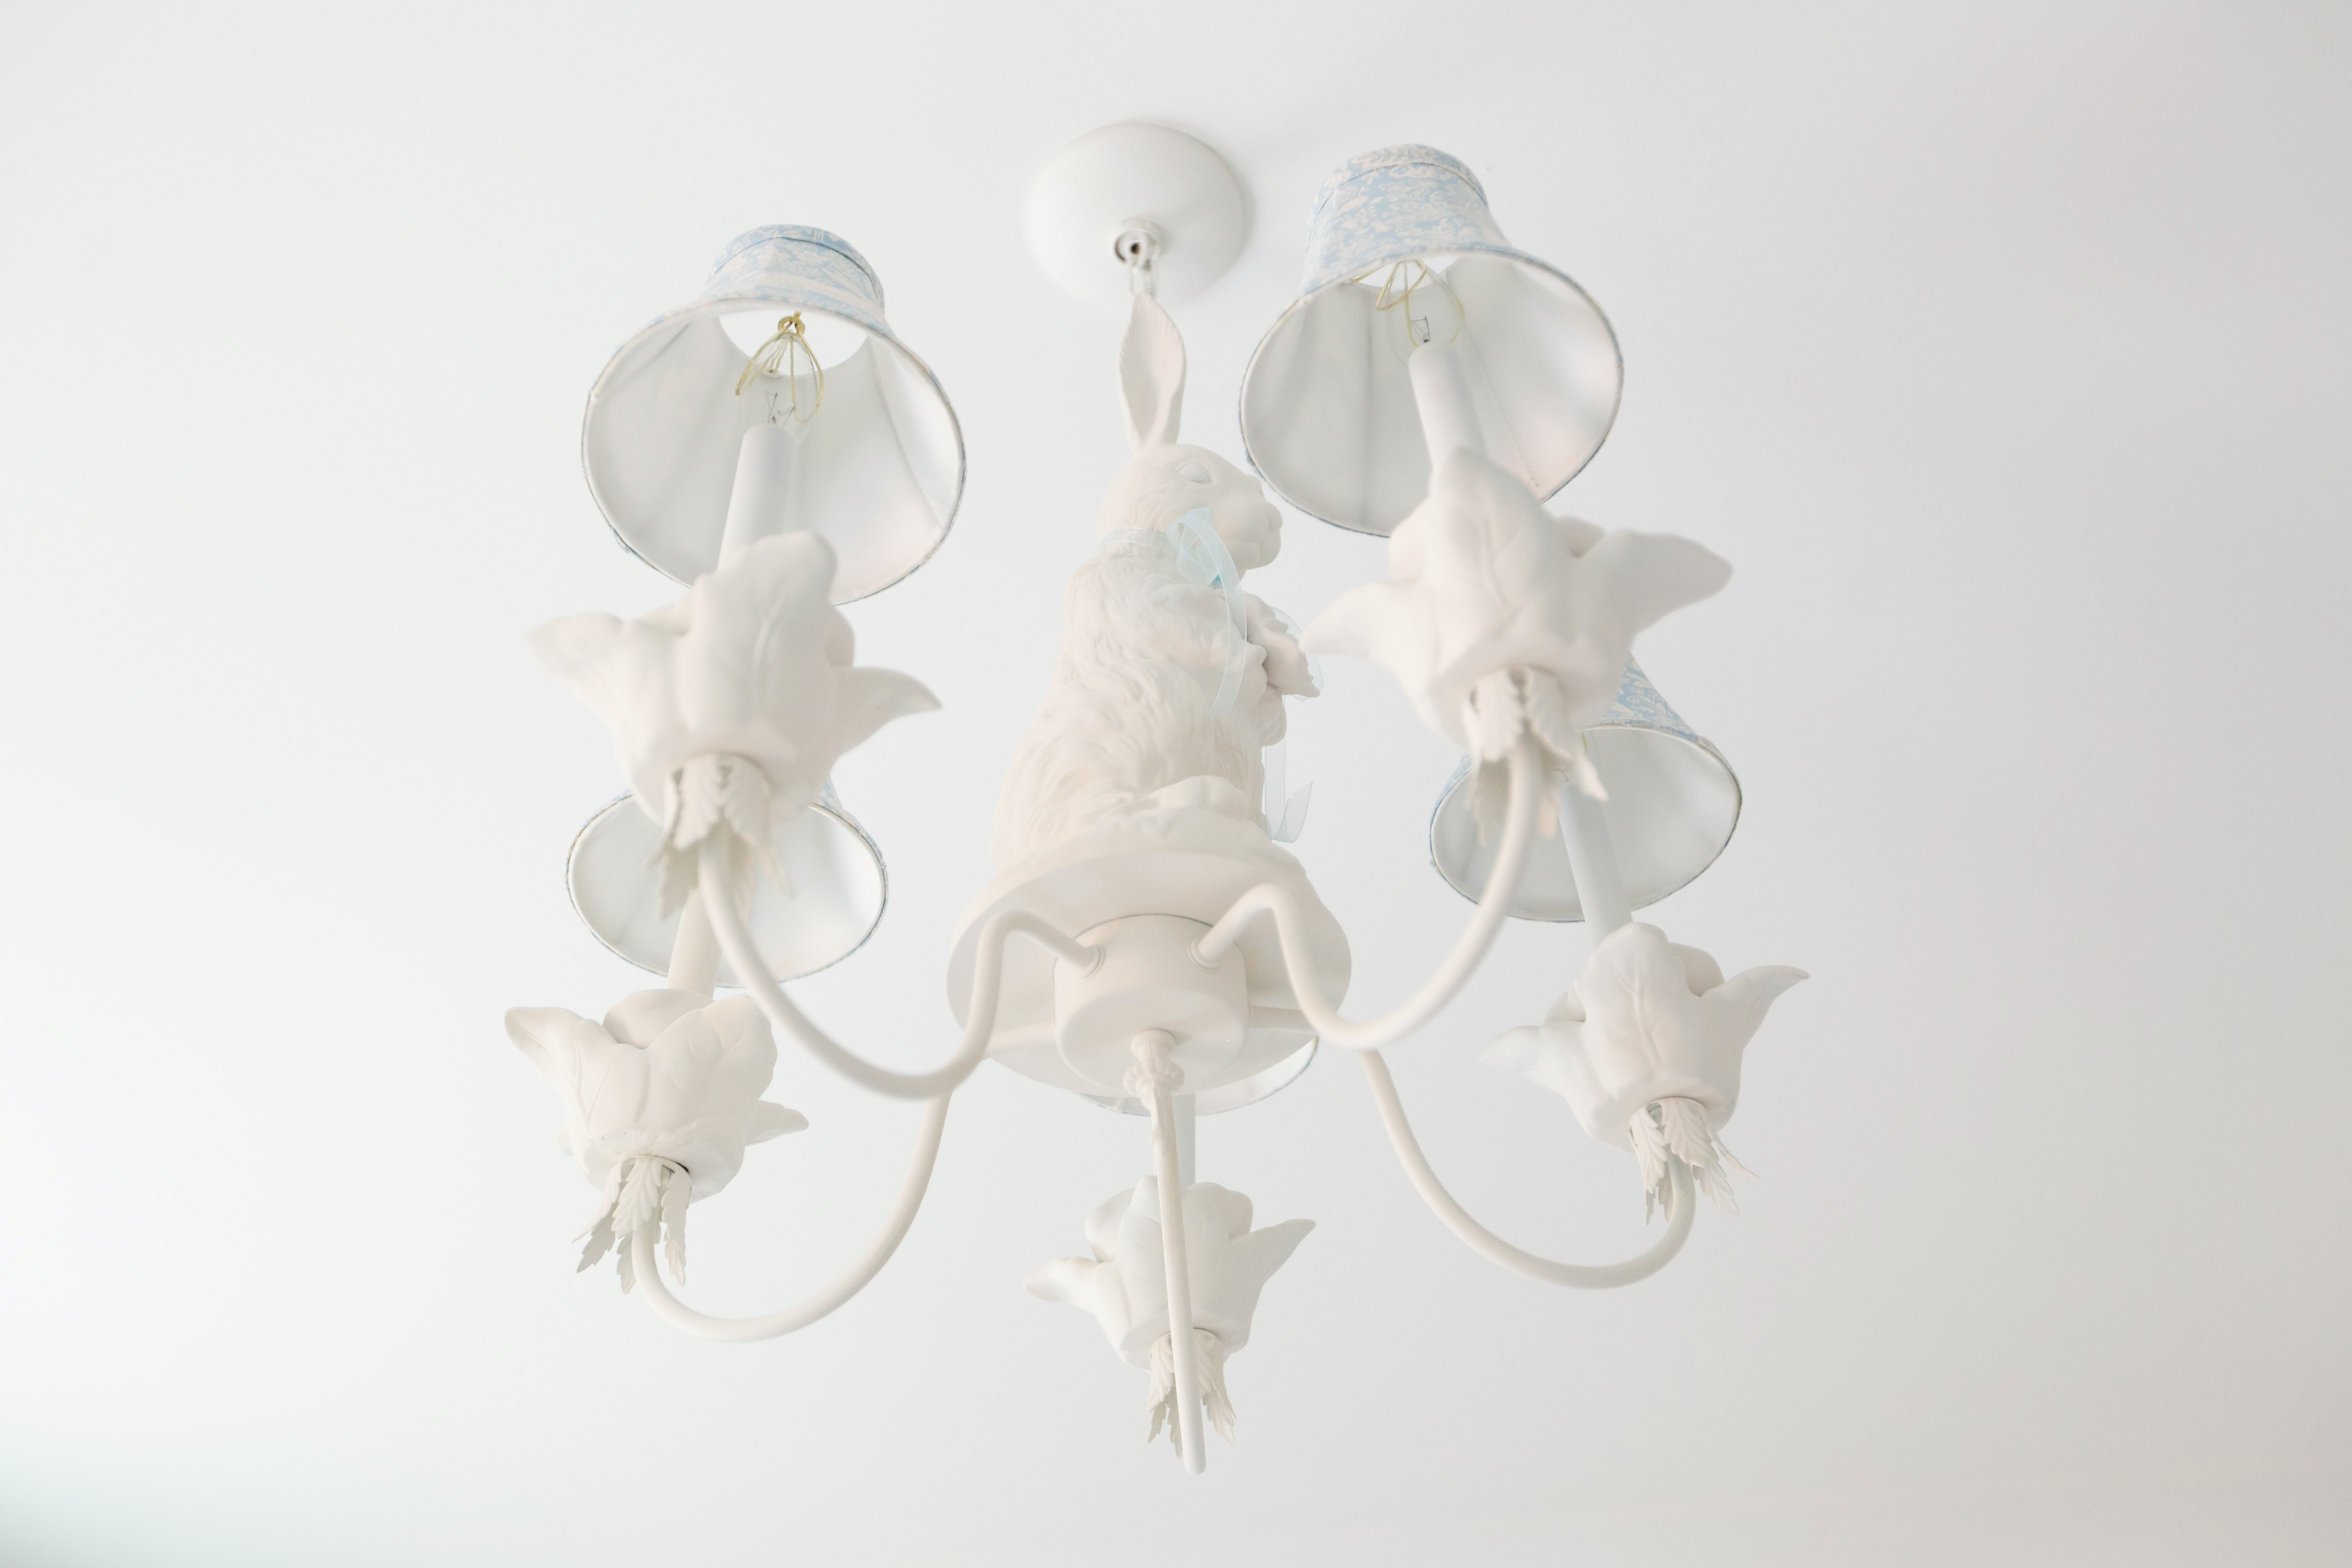
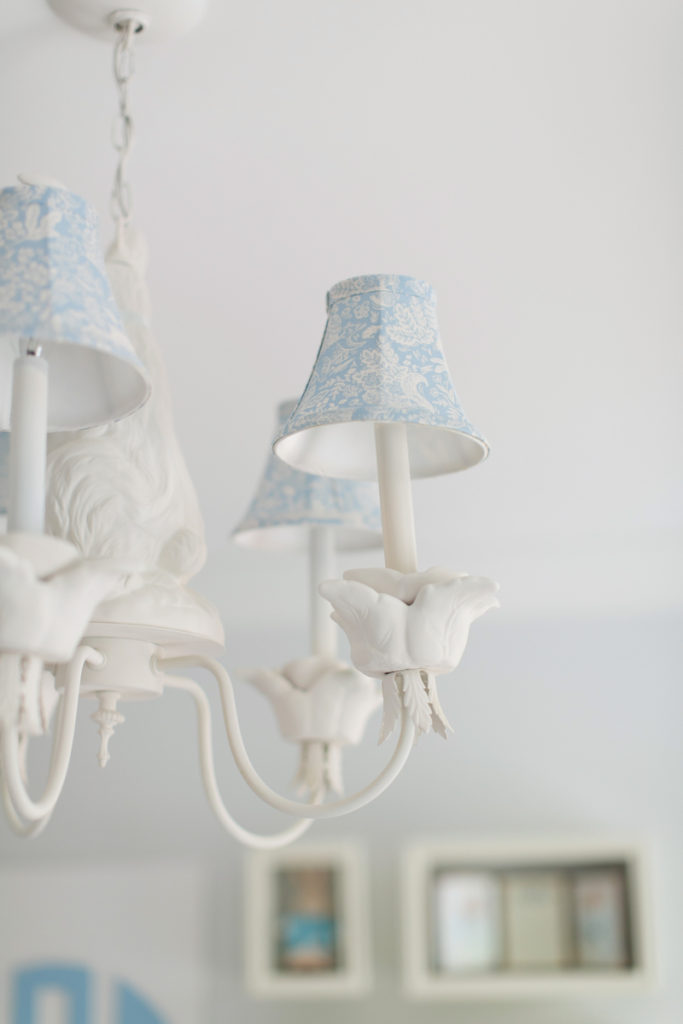
One can of spray paint and some new shades took that cute pink bunny chandelier to this beautiful, elegant blue and white bunny chandelier that is fit for a king!
How to spray paint a chandelier
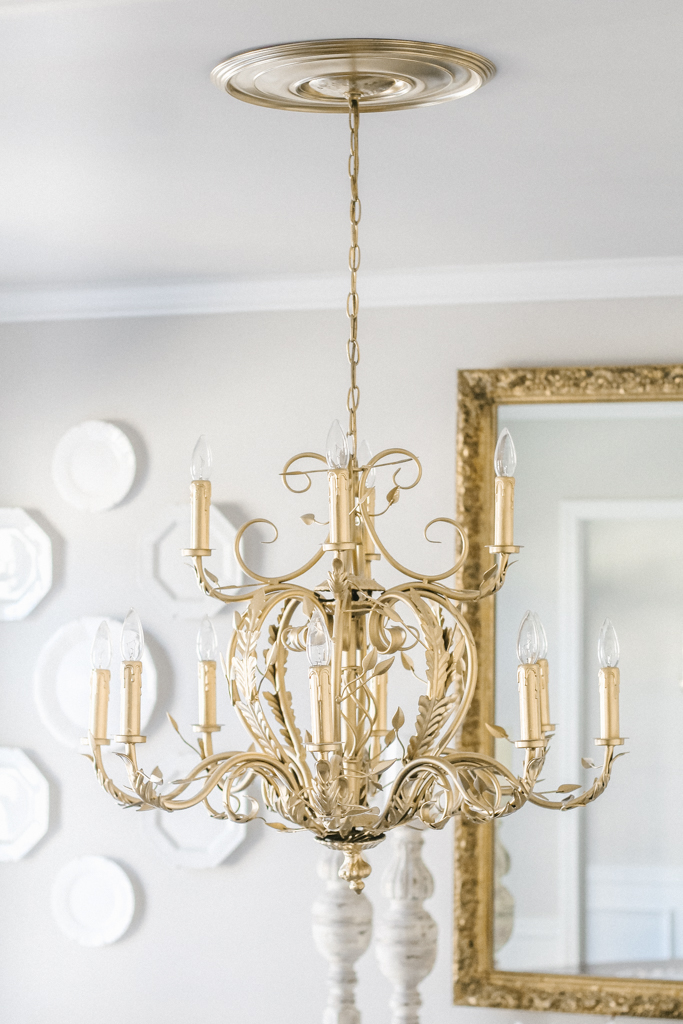
Spray painting a chandelier is so easy! You may remember that this chandelier and this chandelier were both spray painted as well.
step by step guide to spray paint a chandelier
The first thing to do is make sure your chandelier is clean. Wipe it down really well with a damp cloth to remove any dust or residue.
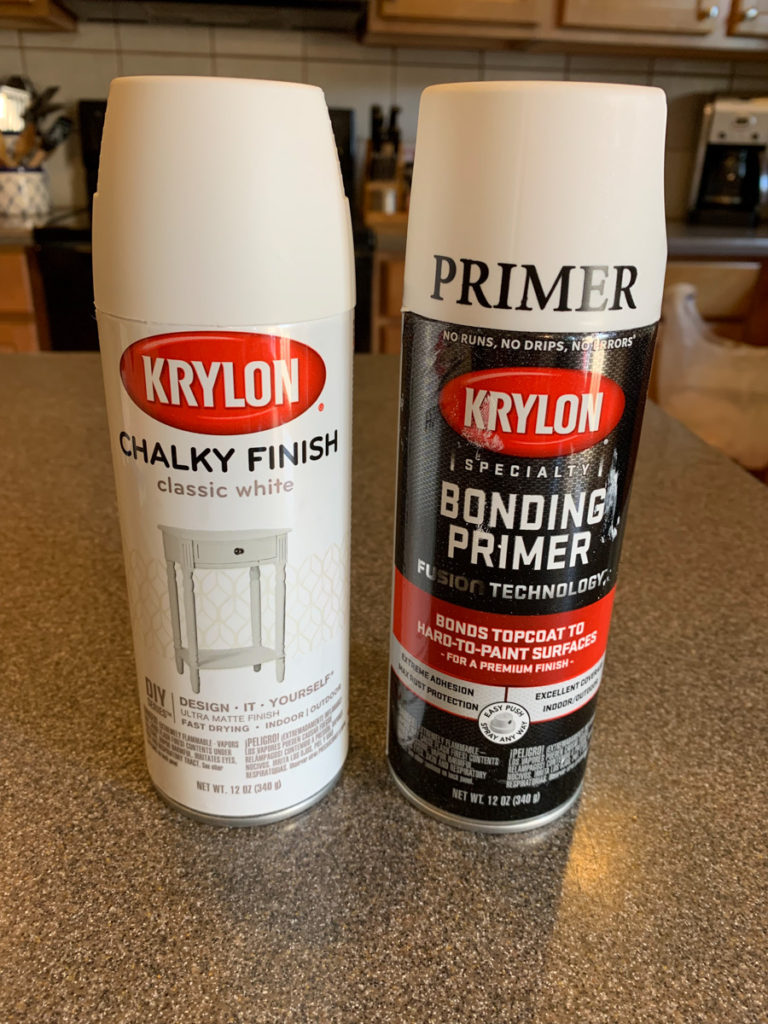
Next spray the chandelier with a good primer. This will give the paint something to “stick” to.
I used this bonding primer for this project because it was all the store had on hand at the time. It worked well and I have no complaints about it.
However, my favorite primer is this one. In my opinion it’s the very best primer out there and the primer I come back to time and time again for all of my DIY projects.

I couldn’t decide between going with a high-gloss spray paint, or a matte look spray paint. I think either would have looked incredible!
I ultimately decided on a matte look and used this chalky finish spray paint.
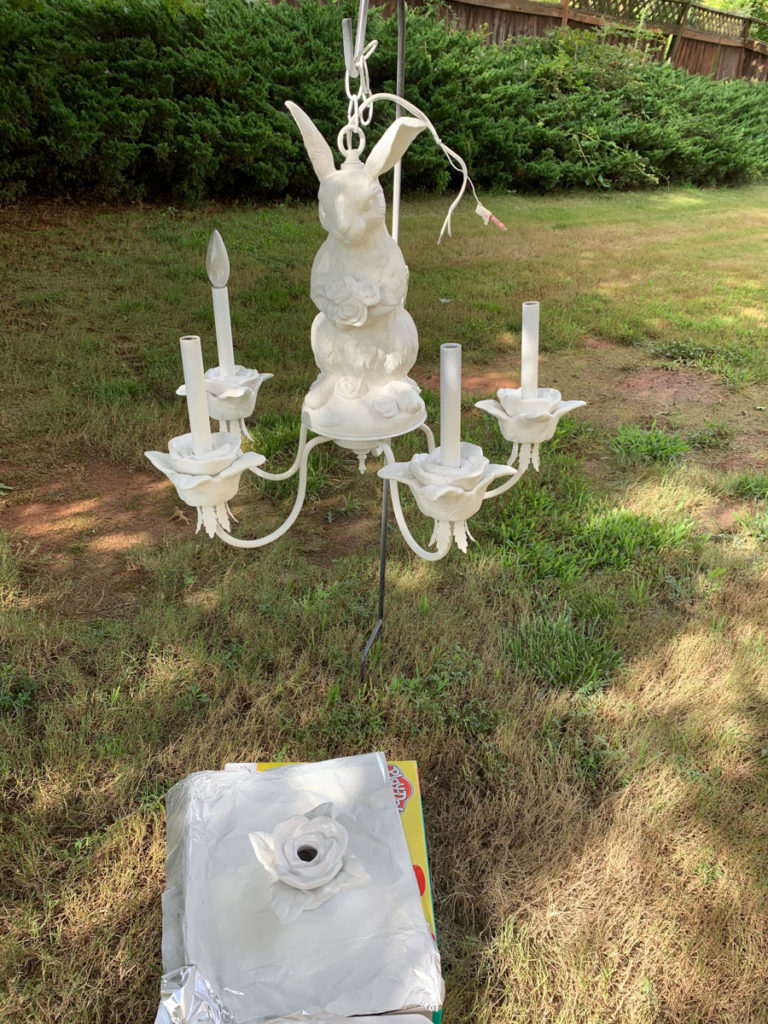
Now, the easiest way to easily spray paint a chandelier? Hang it!
Hanging the chandelier allows you to easily spray all angles (including the bottom) all at one time.
Here you can see that I used a shepherds hook to hang the chandelier. I have also hung a chandelier from a tree to spray it : )
Just make sure you cover the electrical parts of the chandelier with painter’s tape to ensure that you don’t paint over them.
Another little tool that will make things so much easier for you?
This little $8 tool that is one of my favorite DIY tools I own!
It attached to the top of any spray paint can and makes spray painting so much easier! Just trust me on this one 🙂
DIY chandelier makeover: add new shades
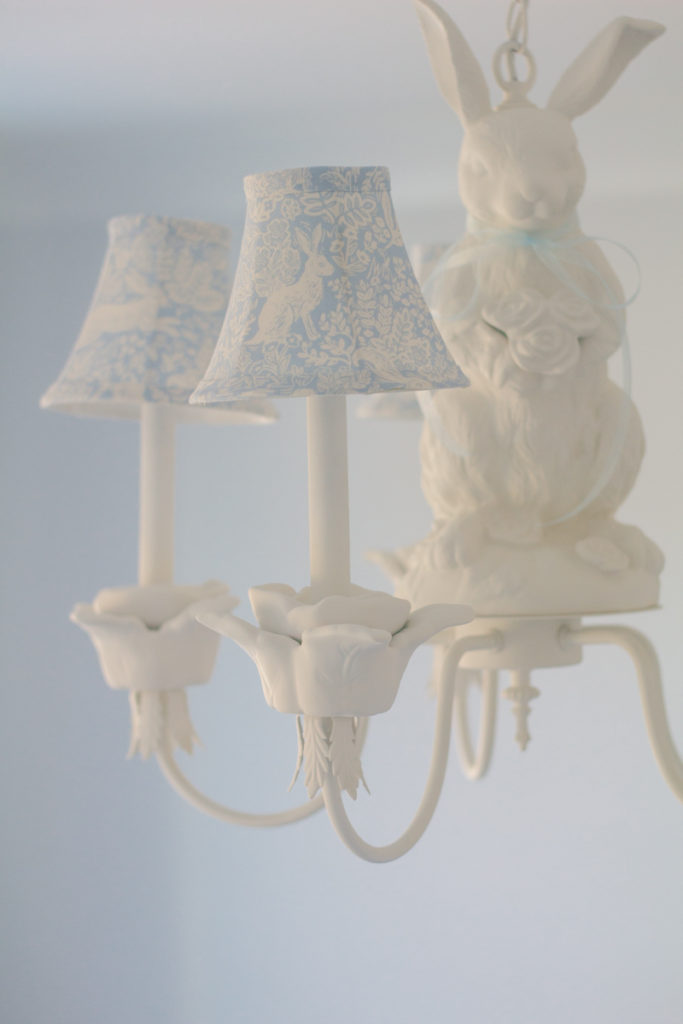
The icing on top of the cake on this DIY chandelier makeover are these gorgeous new bunny chandelier shades.
We found some chandelier shades at the thrift store for a few dollars in total.
I found this blue bunny rabbit fabric and Mother so graciously used spray adhesive to cover the new shades for me while I was recovering from a week in the hospital with preeclampsia.
diy chandelier makeover before and after
What do you think?
Can you believe that a can of spray paint took this chandelier from this…
… to this?!
I truly couldn’t love it more!
Another easy and inexpensive project that just goes to show that you don’t have to spend a lot to create a truly custom home that you love!
All you need is a little creativity and paint 😉
Easy diy chandelier makeover: shop this post

Can you tell me where you purchased your white sofas?
Hi Pamela! They are the Cindy Crawford Home Beachside sofas from Rooms to Go! Mine are about five years old and it looks like they have changed the design slightly but they are still very similar! They are great sofas.