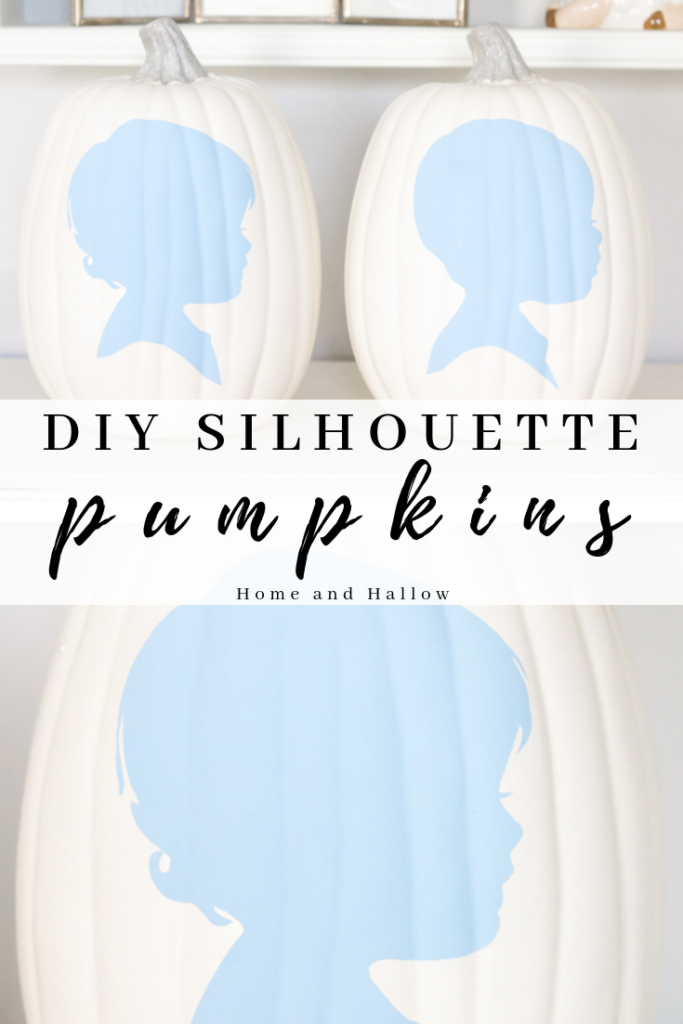
DIY Custom Silhouette Painted Pumpkins
These DIY custom silhouette painted pumpkins may just be my favorite craft of all time.
I am completely in love with them!
Today I am going to give you a detailed step-by-step tutorial so that you can easily create your very own DIY custom silhouette painted pumpkin, too!
DIY Custom Silhouette Painted Pumpkins: What You Need
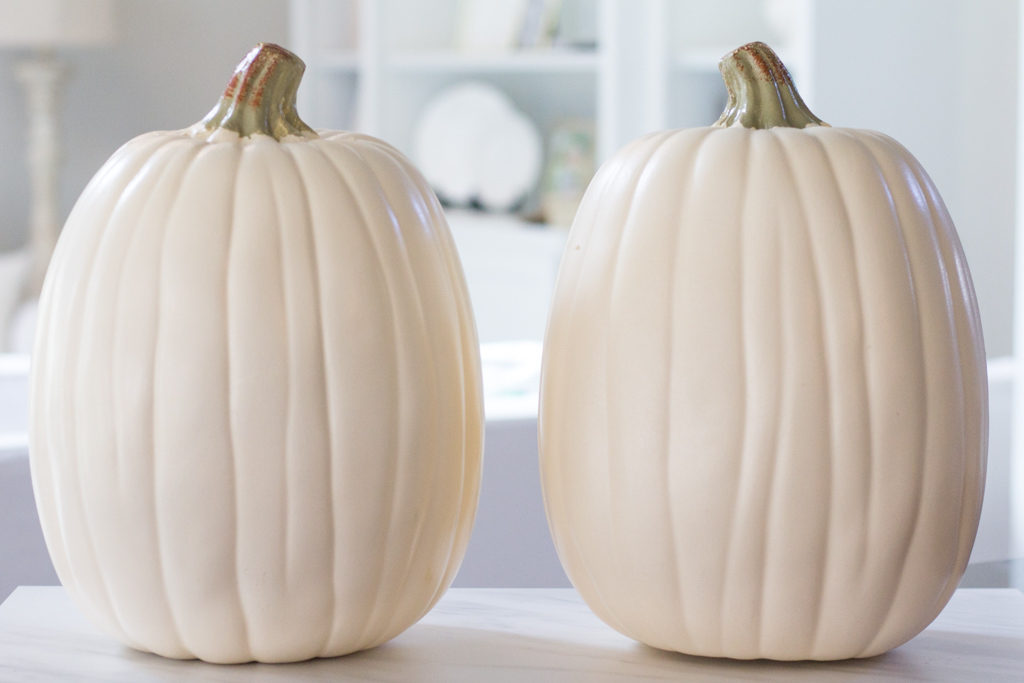
- White Craft Pumpkin (I used a white craft pumpkin I found in store at Walmart but it is not available online; this one is very similar and is on sale for 50% right now!)
- Silhouette Photo (if you don’t have a silhouette of your child YoungHouseLove walks you through how to easily create your own HERE)
- Removable Vinyl Adhesive (*it doesn’t matter what color it is but make sure it is removable!)
- Scissors
- Pencil
- Paint Brushes
- Craft Paint
- Protective Matte Finish Spray
How to Make Your Own DIY Custom Silhouette Painted Pumpkin

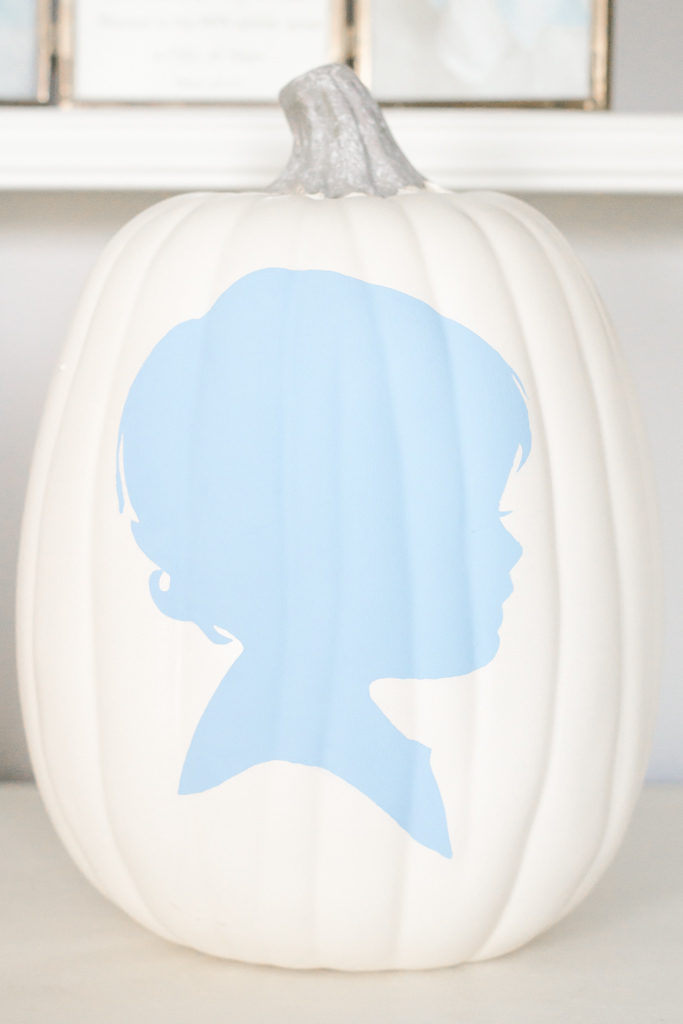
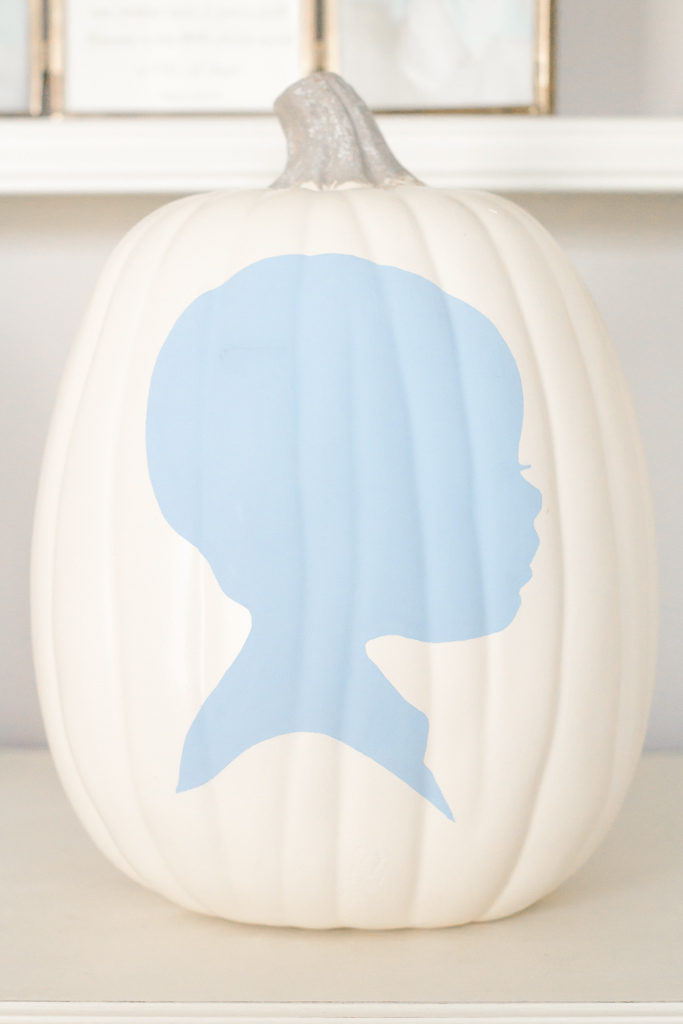
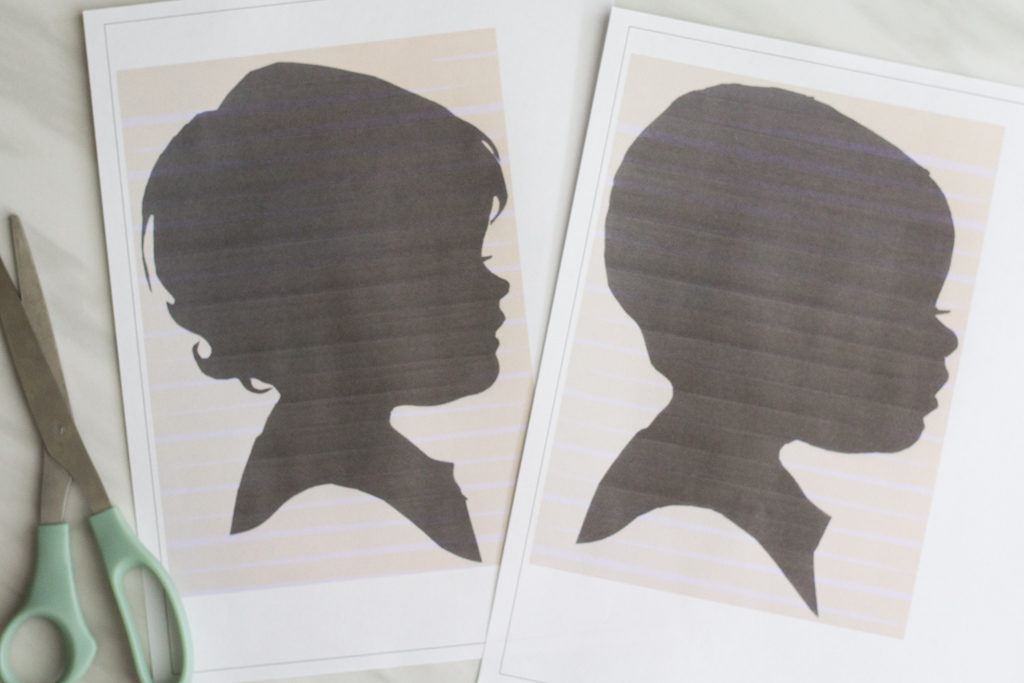
Step 1: Photograph or Scan Your Silhouette Images
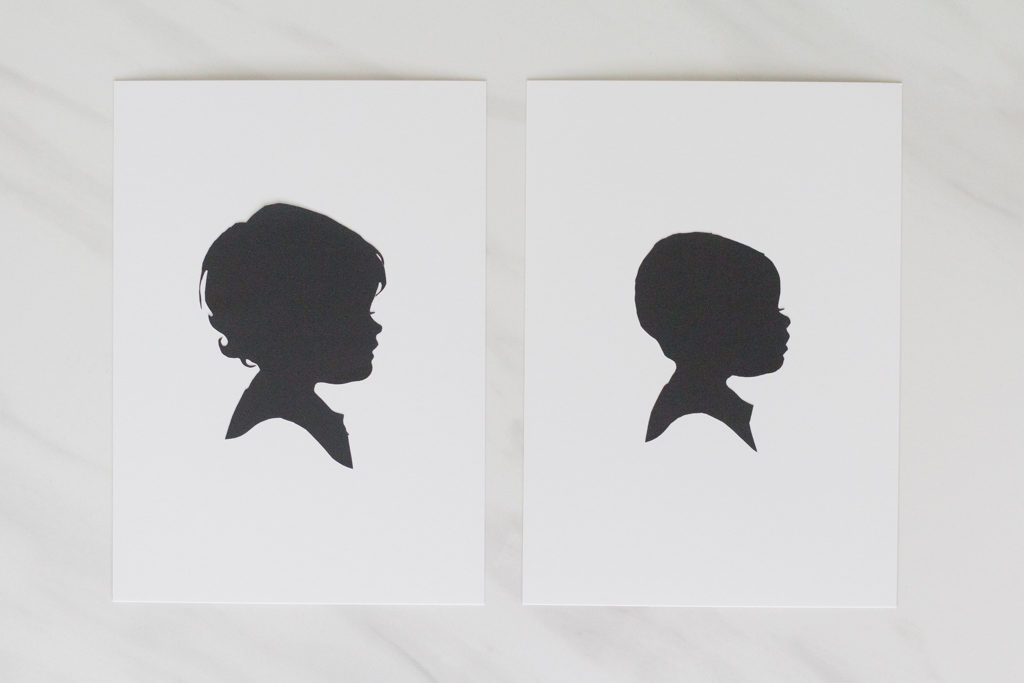
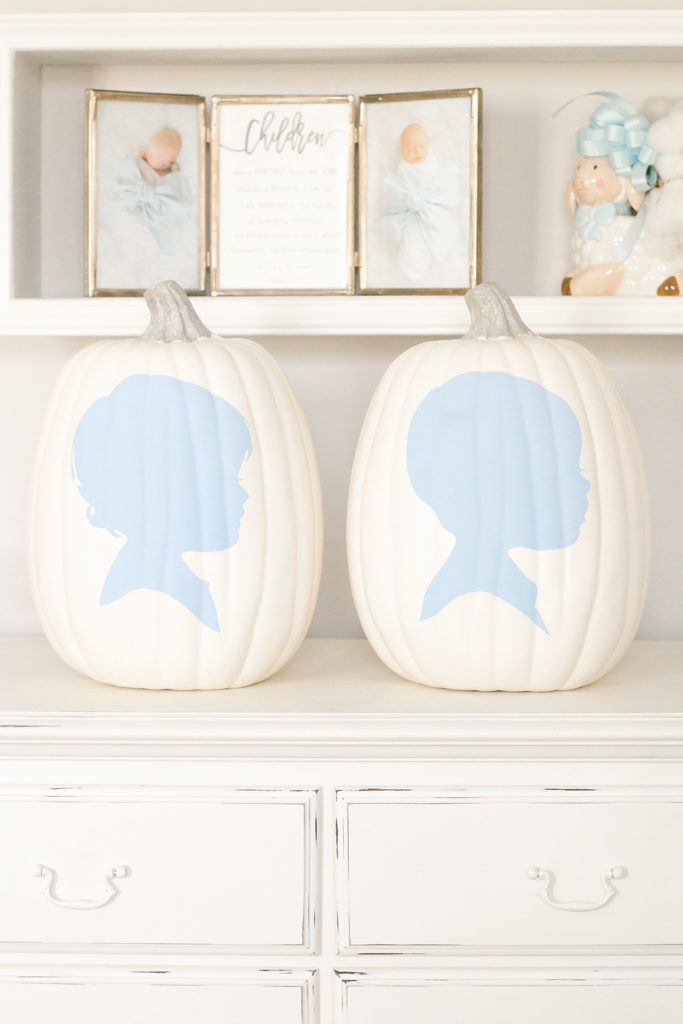
Aren’t they beautiful? Our silhouettes were done by the extremely talented Silhouettes by Edward at our local Pottery Barn Kids in the Spring.
He travels around hosting these silhouette events, so check your local Pottery Barn to see if he’s coming to a store near you! I can’t recommend him enough! It was quick, child-friendly (squirmy children are not a problem!), and inexpensive.
There is something so incredibly sweet about a silhouette. I cherish these sweet keepsakes that so perfectly capture every little detail of my babies and I think every Mama should have one of her children! These silhouettes also make excellent gifts ; )
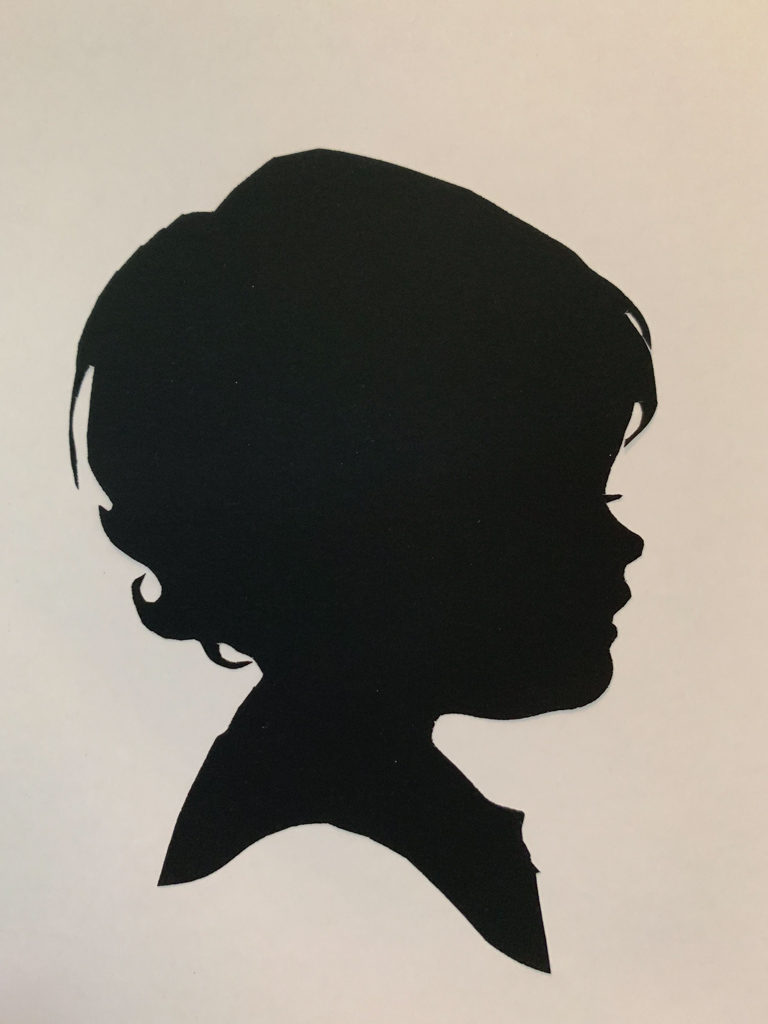
I took an up-close photo of each silhouette on my phone and then uploaded it onto our computer. (You could also scan it!)
The two photos above are the photos from my phone that I used for the project. You don’t need to worry about the quality of the photo as long as you have a clear, crisp outline of the silhouette.
Step 2: Print Silhouette Photo
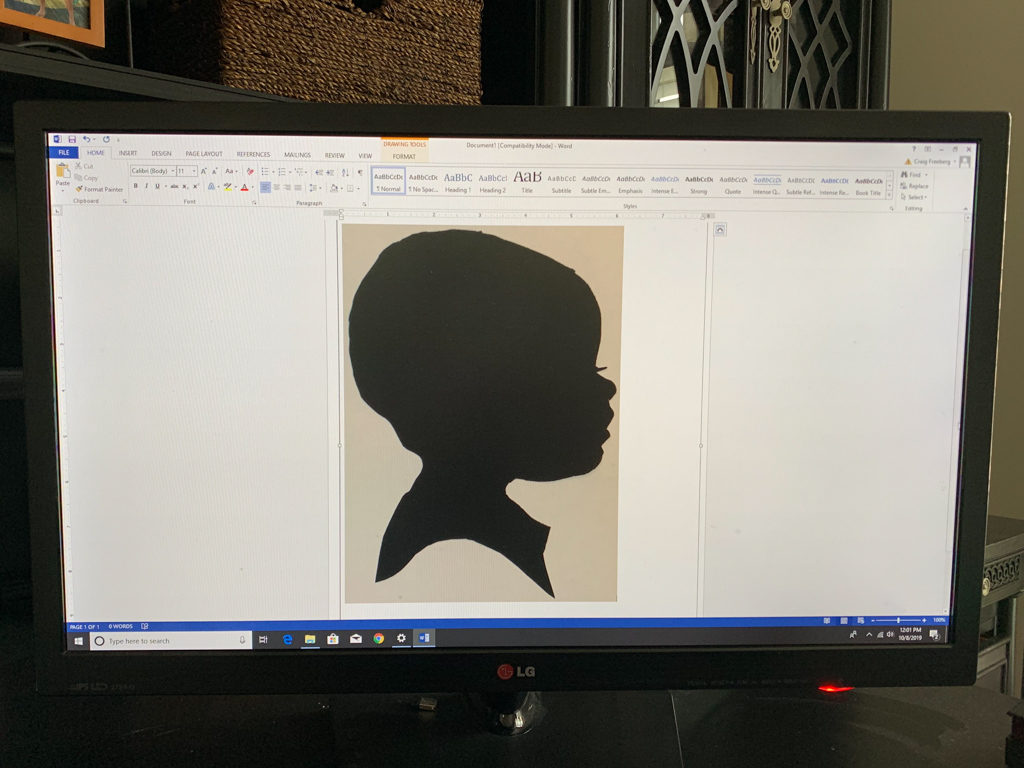
Once I uploaded my photos onto the computer I simply opened each silhouette photo individually in Word.
Decide how large you want your silhouette – I chose to make mine approximately 6 inches tall – and print your silhouette onto paper.
You can adjust the size of the silhouette by right clicking on the photo -> click Size and Position -> adjust the Height and Width.
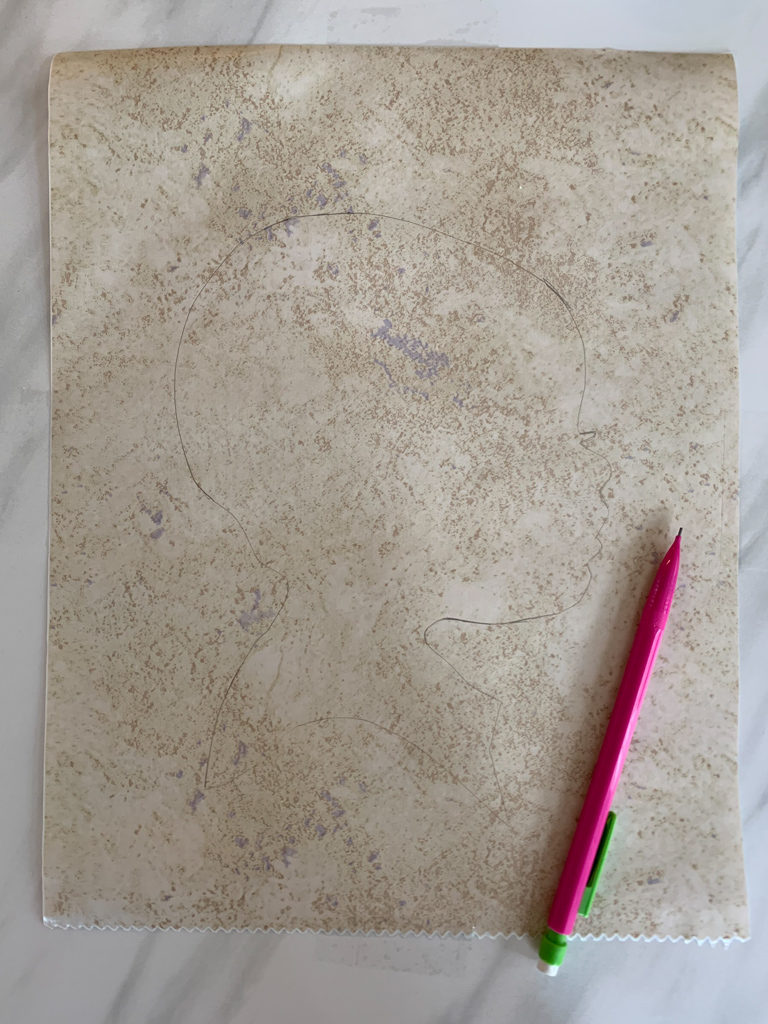
Step 3: Cut Out the Outline of Each Silhouette on Paper
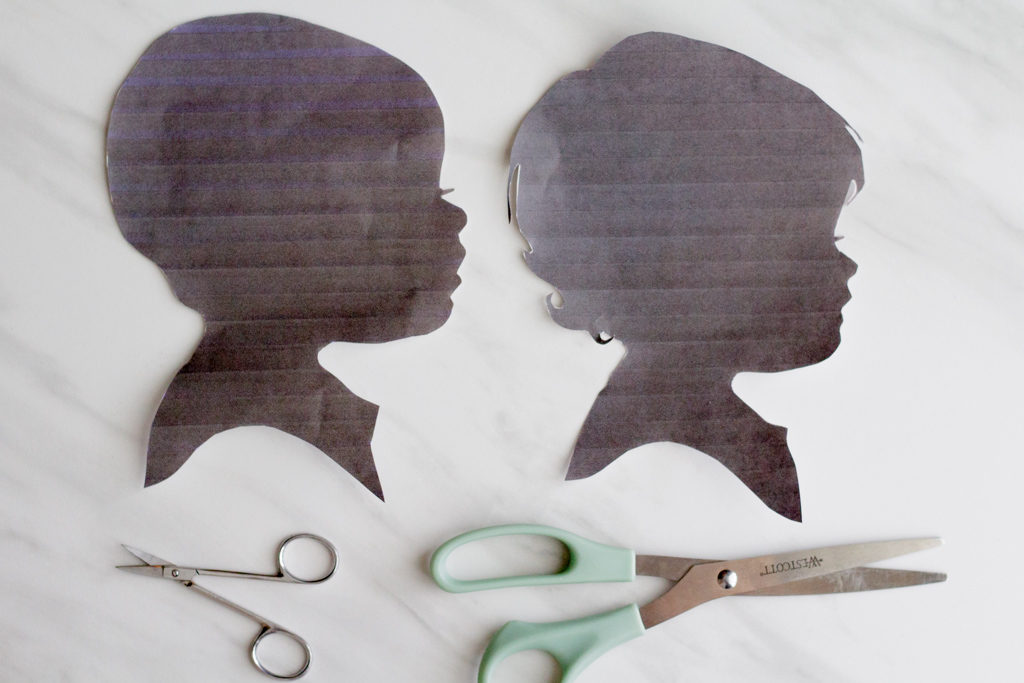
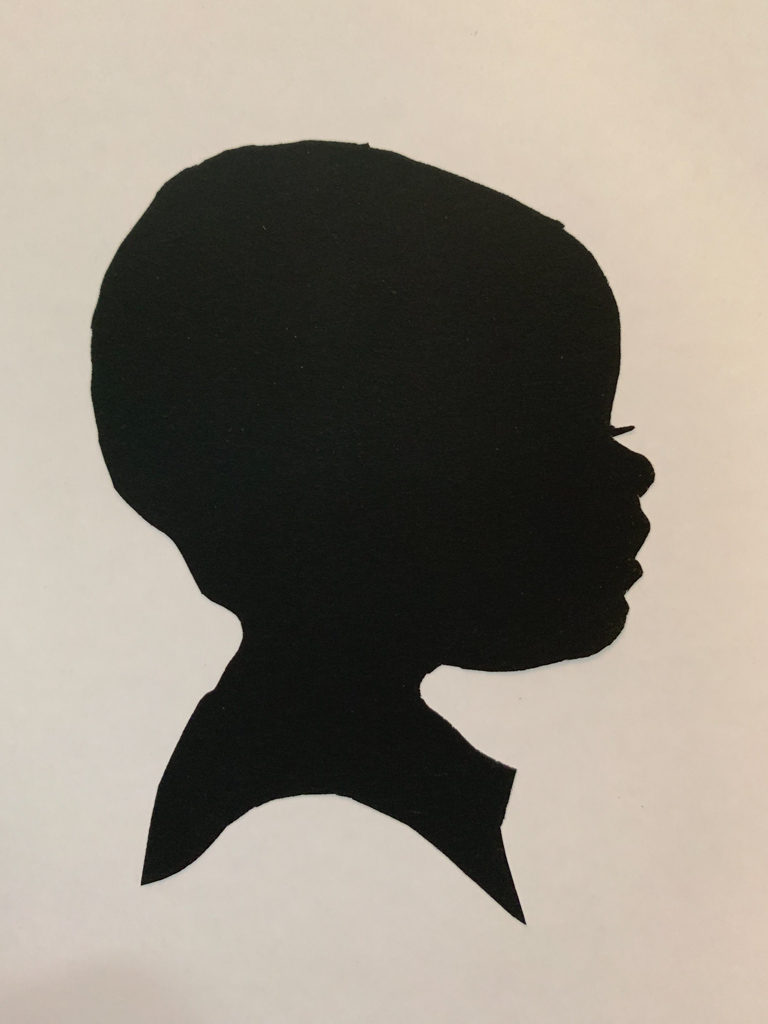
This was a little tedious, at least for John Davis. Fletcher was easy because he doesn’t have any hair 🙂 I used small scissors for the details.
Step 4: Trace Each Silhouette Onto Removable Vinyl Adhesive
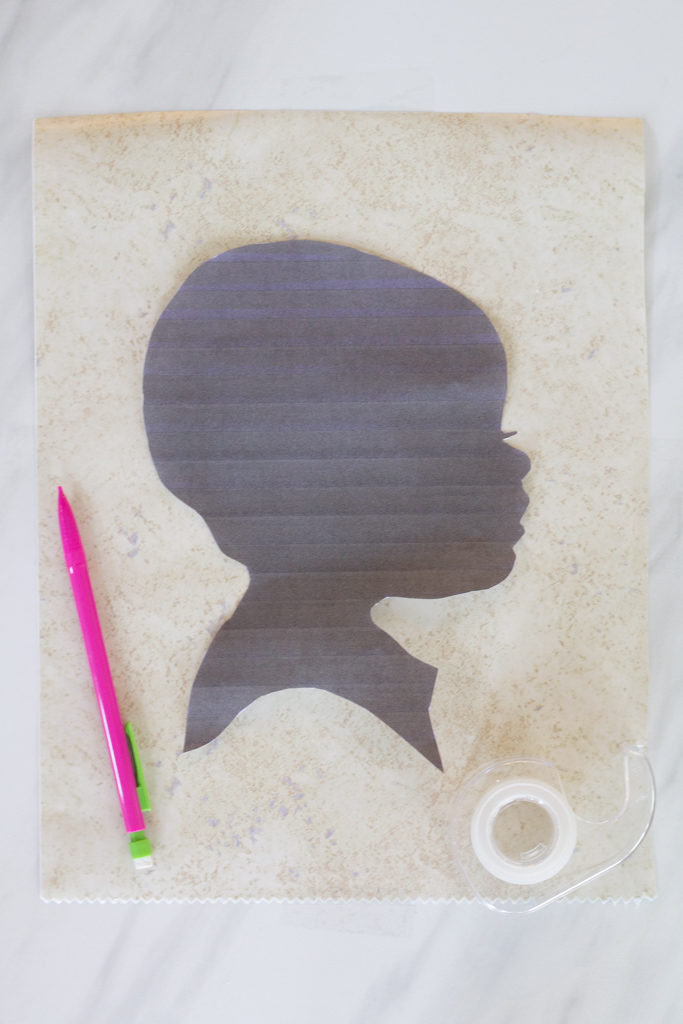
Place your silhouette directly on top of the vinyl adhesive and trace the outline with a pencil. Vinyl adhesive tends to curl up so I taped down the edges to keep it flat while I traced.
I used removable vinyl shelf and drawer liner from the DollarTree. Although it worked just fine, it wasn’t as “sticky” as higher quality vinyl I have used from my local craft stores. If I do these again I will use a higher quality vinyl for the better adherence. Better adherence = smoother edges and less touch up!
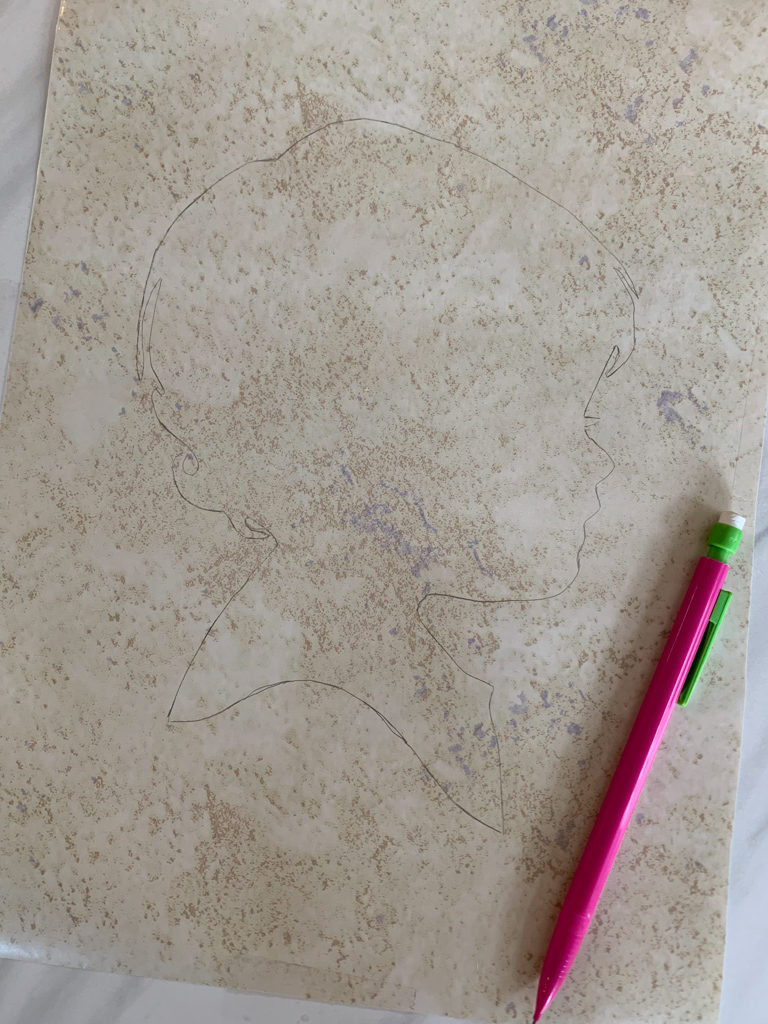
Step 5: Cut Out the Inside Outline of Each Silhouette on Vinyl Adhesive
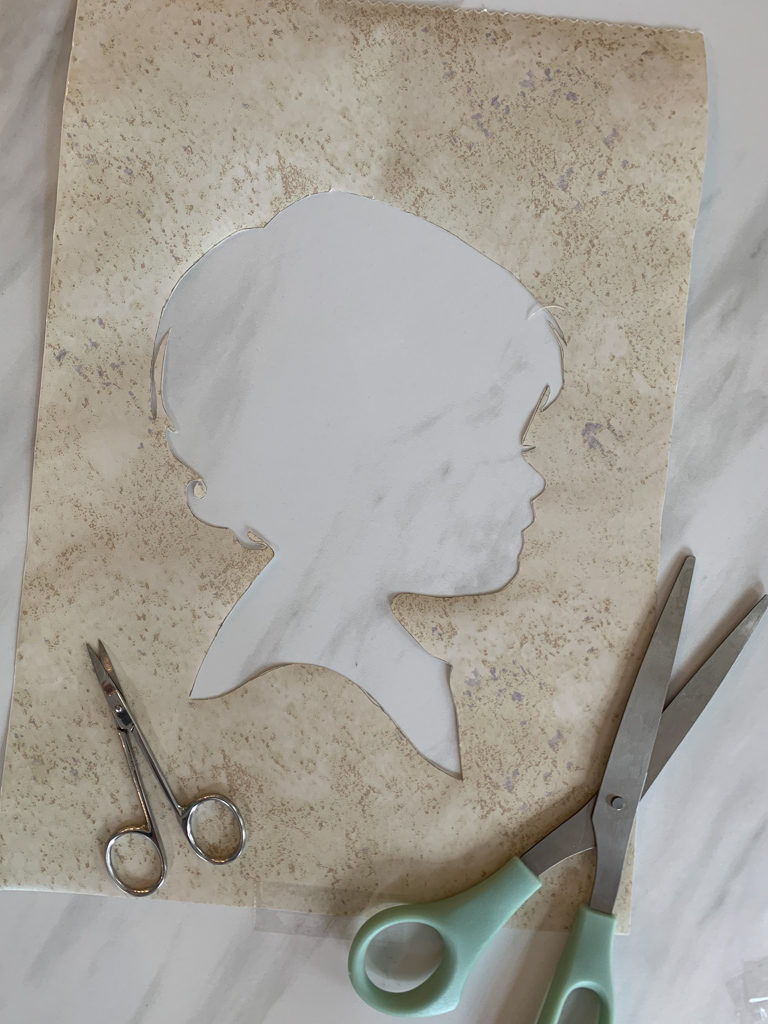
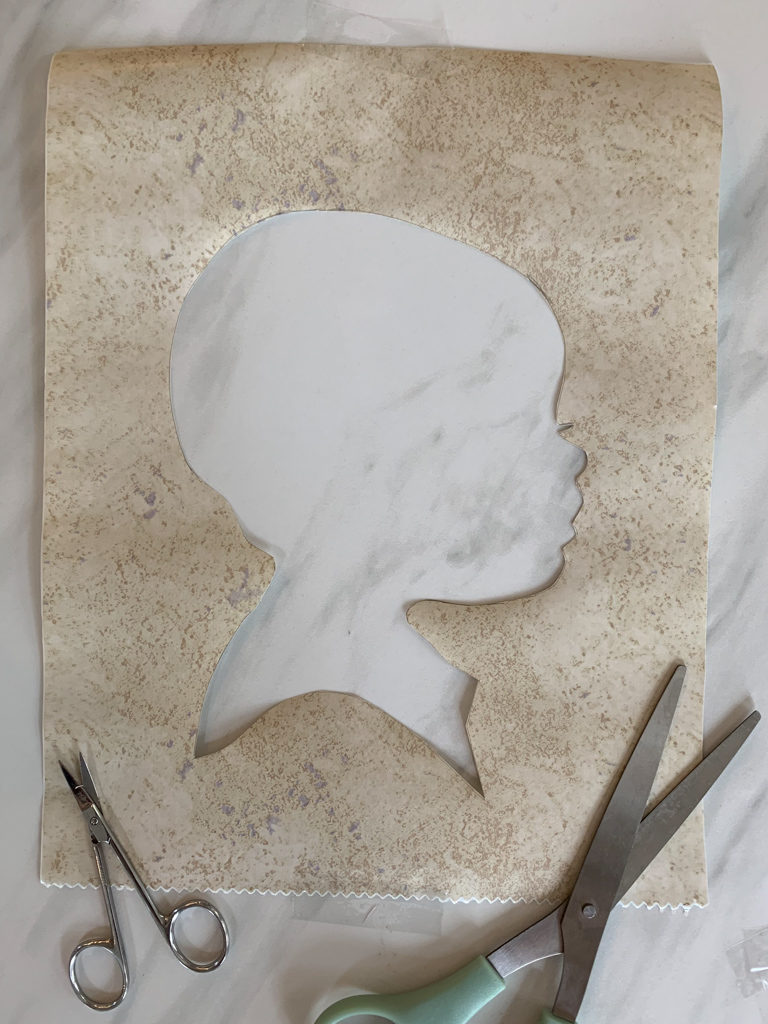
Cut out the inside of each silhouette on the vinyl adhesive. This will become your “stencil.”
*After I completed this project, my brilliant Mother asked if I could print the silhouette directly onto the vinyl. This would eliminate the need to cut the silhouette twice – which would in turn save a lot of time! I have never tried to print directly onto vinyl, but I have seen people put burlap and fabric directly through their home printers. I am planning to try it and I will report back!
Step 6: Place Silhouette Vinyl Stencil Directly Onto Pumpkin

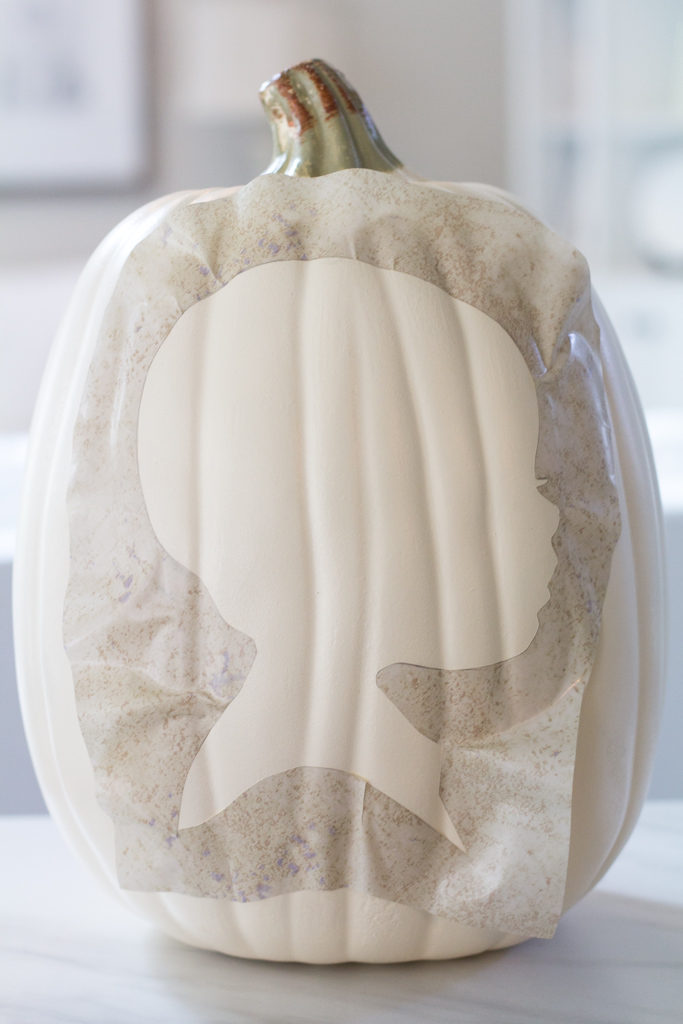
Remove the vinyl paper backing and place your silhouette vinyl stencil directly onto your pumpkin. It will take a little tweaking and repositioning to get it just right!
This is where the inexpensive vinyl adhesive may have been a plus: it wasn’t very “sticky” so I could easily lift it up and reposition it as many times as I liked. However, the more I did this the less “sticky” it became.
In order to get the silhouette in the best position on the pumpkin, start with the face details first. You want to make sure that the details of the face line up on a “flat” part of the pumpkin. You do not want the details of the face to be lost in a “ridge” of the pumpkin.
After you get the edge of the face into position, work your way counter-clockwise around the silhouette. As I said before, this will take some tweaking to get it just right because the pumpkin is not flat and you have to work your way around the ridges.
You want to ensure that the edges of the silhouette outline are flush and pressed down firmly on the pumpkin. This will be your stencil, so if the edge is not smooth and firm your paint will bleed through. (This did happen to me a little bit and I simply touched up the edges with a small paint brush).
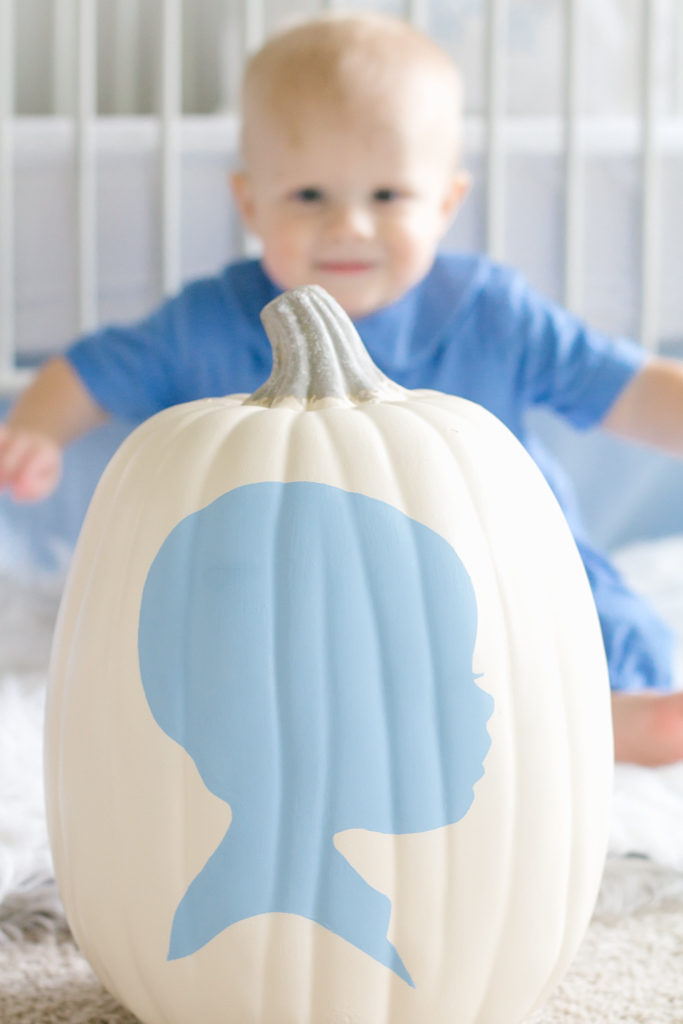
Step 7: Paint the Inside of the Silhouette Stencil
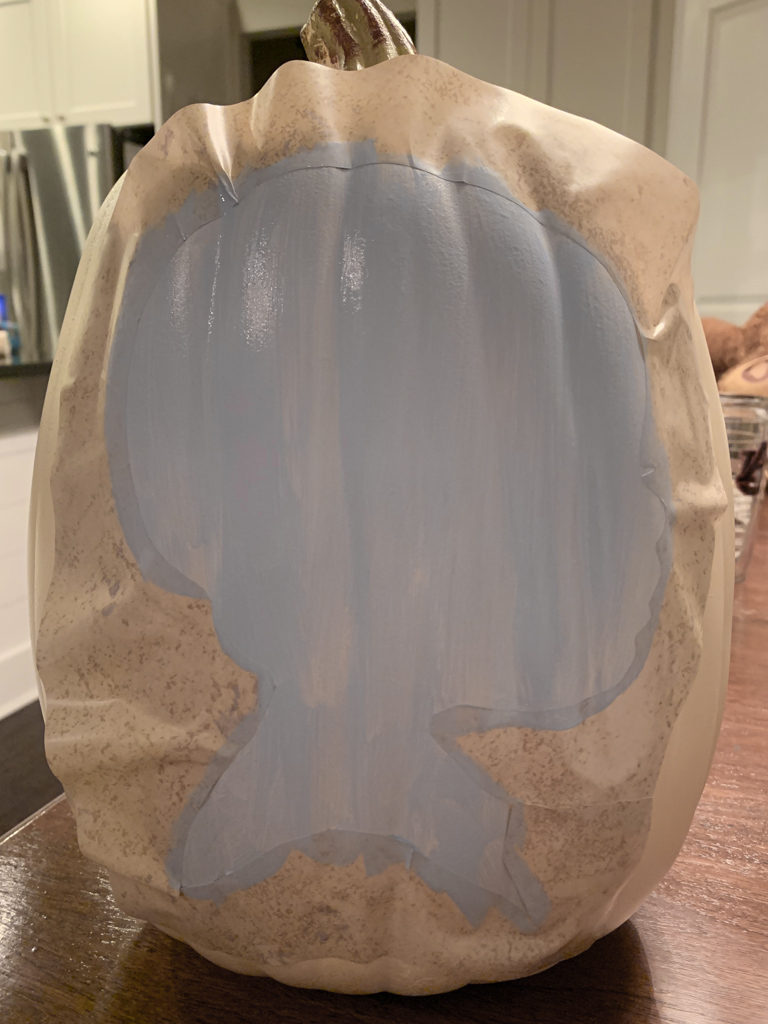
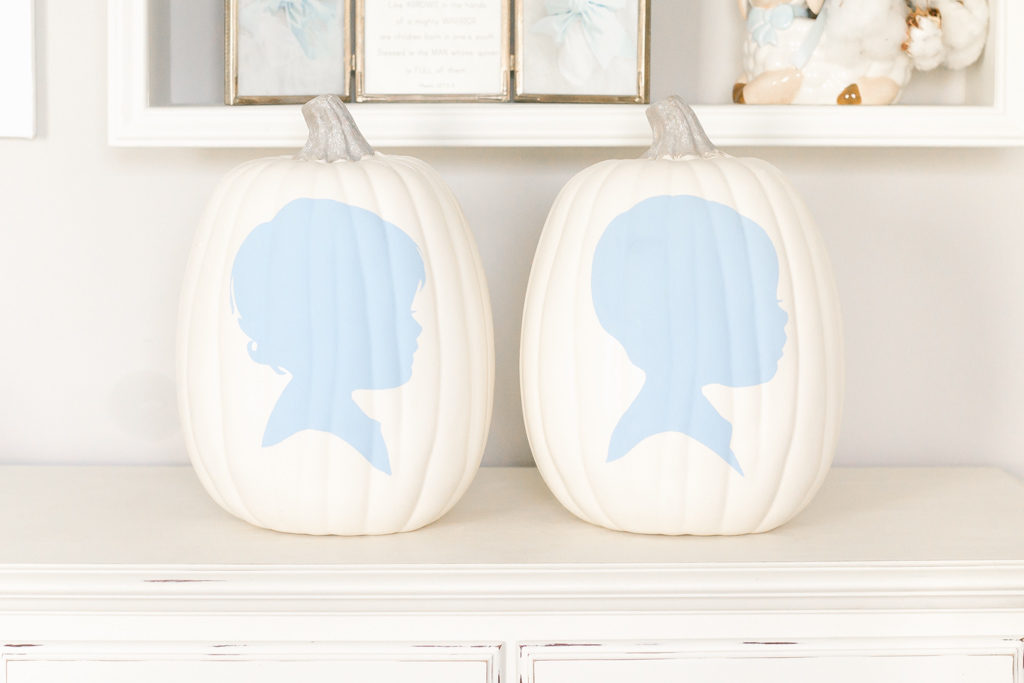
Paint the inside of the silhouette stencil with craft paint. I chose FolkArt craft paint in the color “Light Blue.”
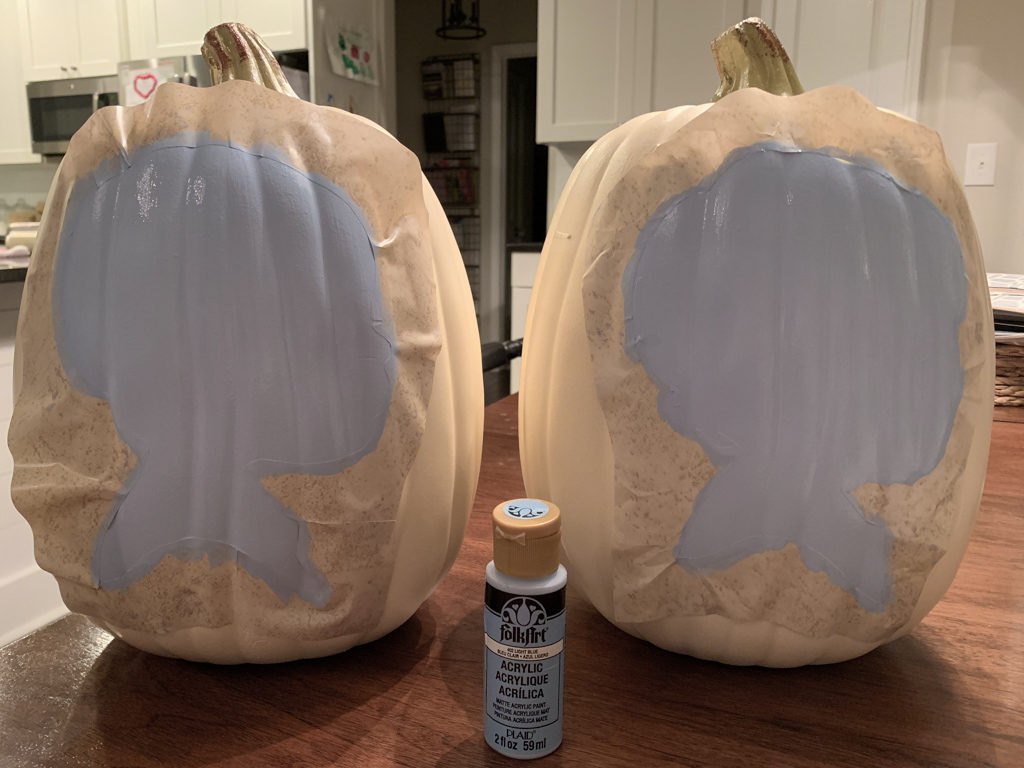
It took two coats of paint for full coverage.
Step 8: Remove Vinyl Stencil and Touch Up Edges
Once the paint has dried completely, remove the vinyl stencil.
My edges came out pretty clean, but I did have to touch up a few places with a small paintbrush.
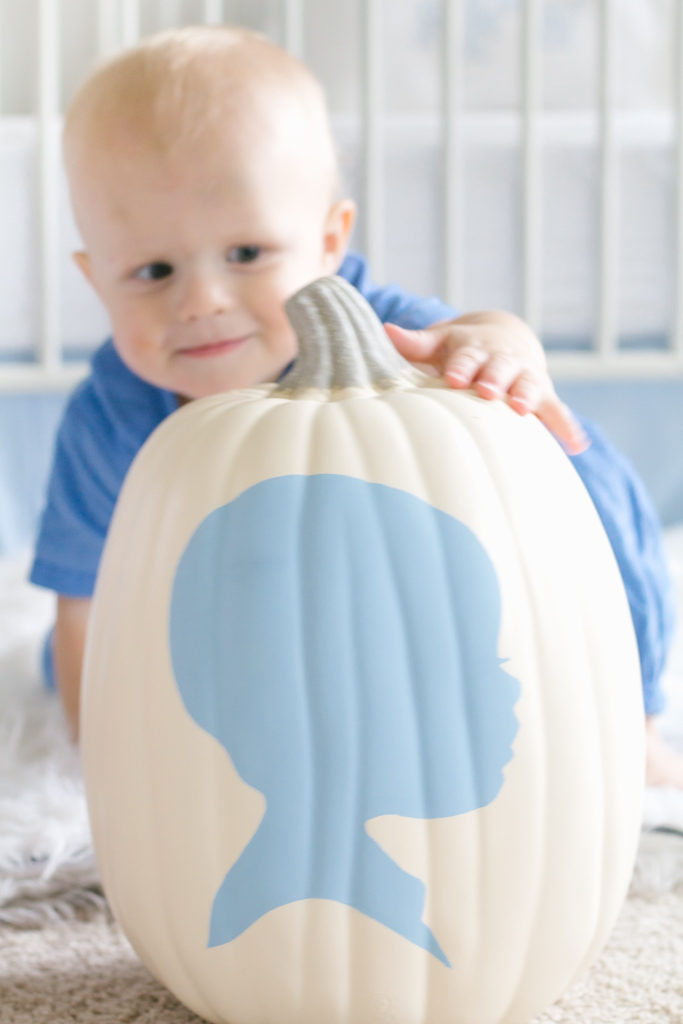
Step 9: Seal Pumpkin with Matte Finish Spray
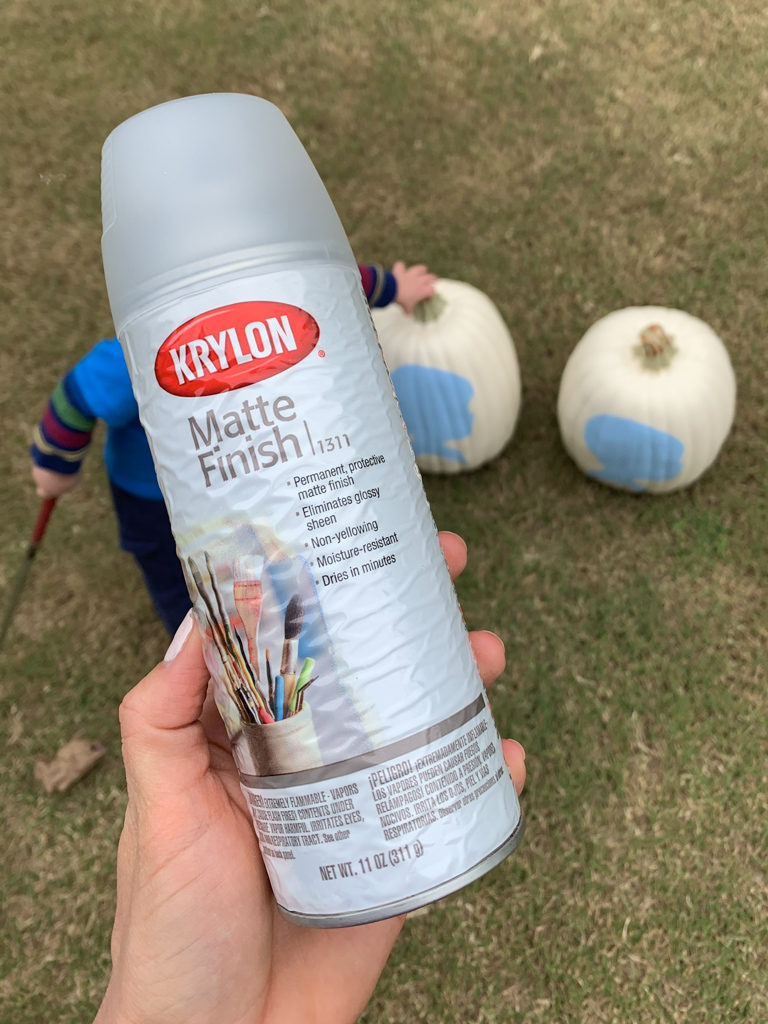
Seal your pumpkin by spraying with a clear matte finish spray.
I like the Krylon brand because it goes on clear and matte and dries almost immediately. This is the same spray I used to seal the wood monogram letters on the canvas in the nursery.
Make sure you choose a spray that is non-yellowing and matte. Do not use polyurethane spray!!
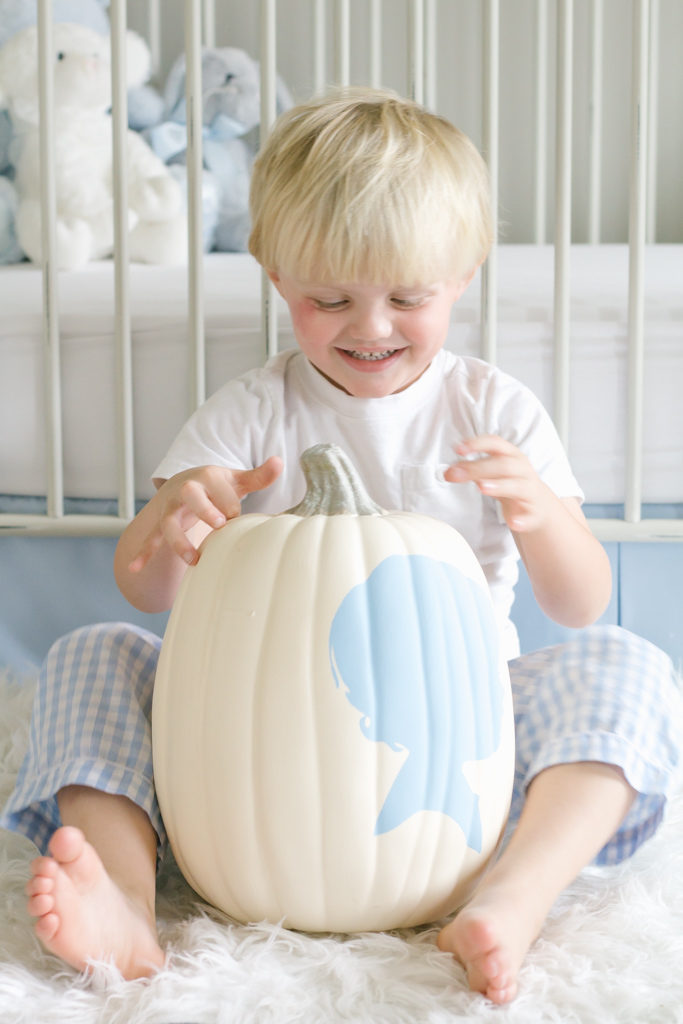
That’s It!
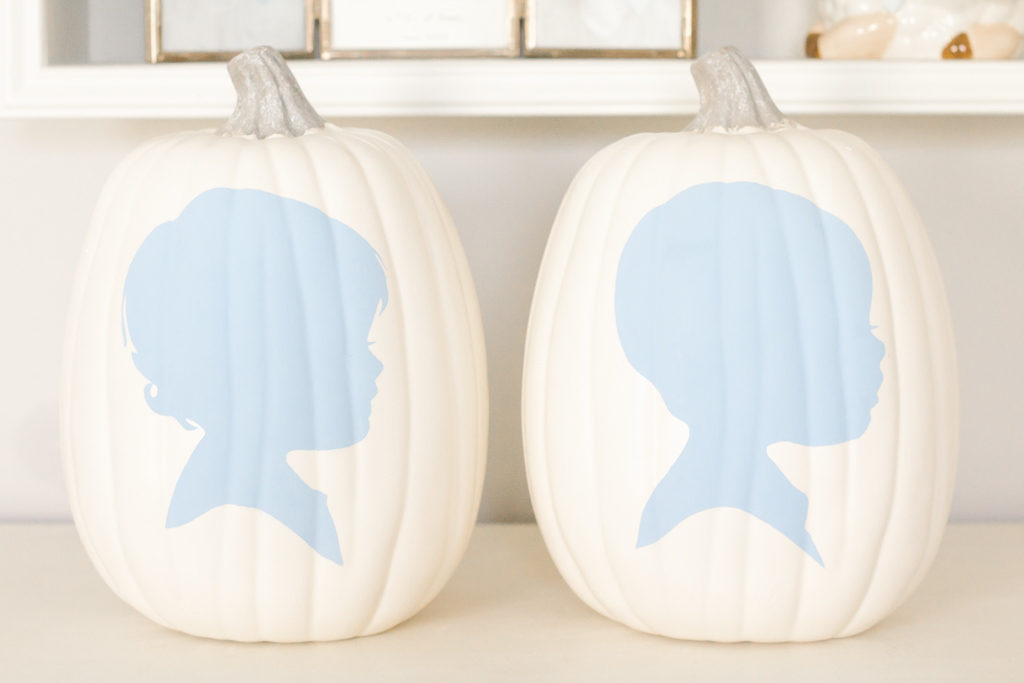
That’s it! Your DIY custom silhouette painted pumpkins are done and ready to be displayed. I love these so much that I don’t know that I will be able to put them away after the Fall season is over.
I’m already thinking about how I can make something similar for the Christmas season : )
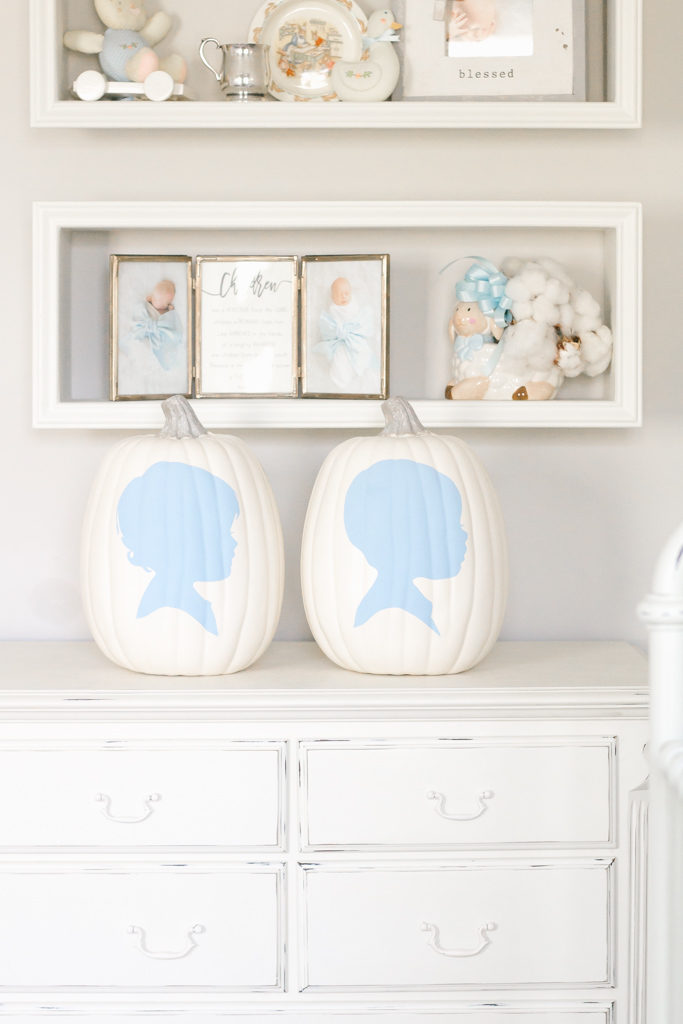
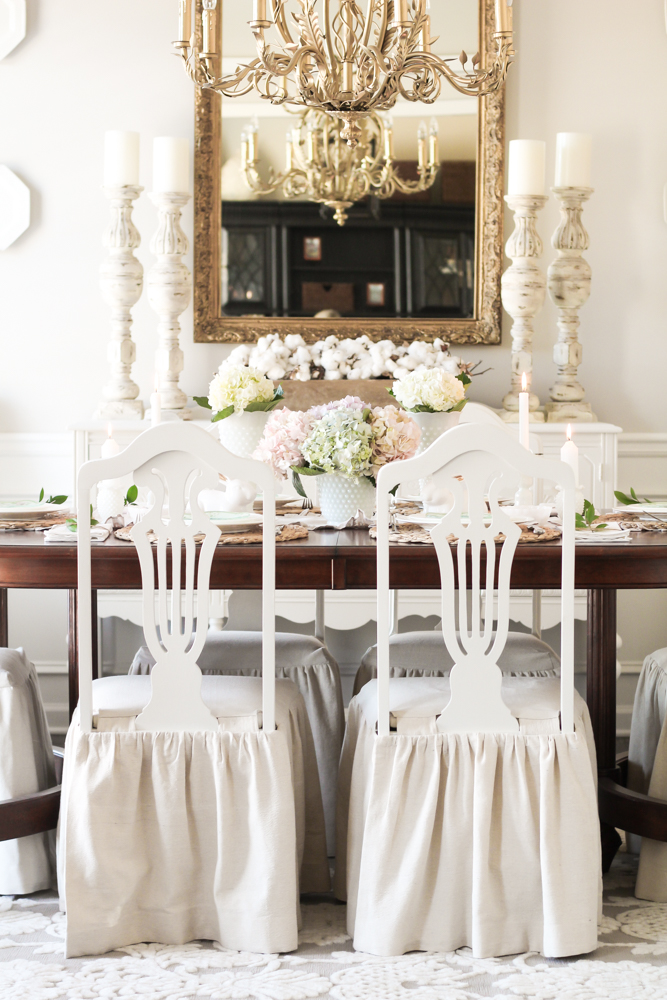
How sweet do they look in the nursery?!
I’m in love!
DIY Custom Silhouette Painted Pumpkin
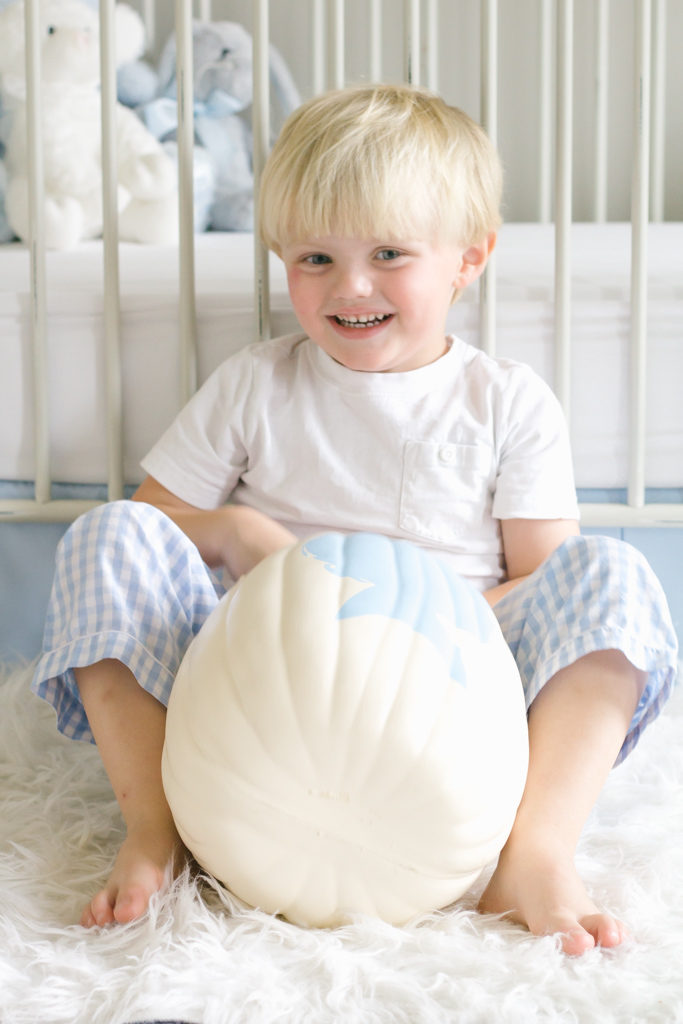
I had high hopes and dreams of taking the most angelic photos of the boys so sweetly holding their new silhouette pumpkins.
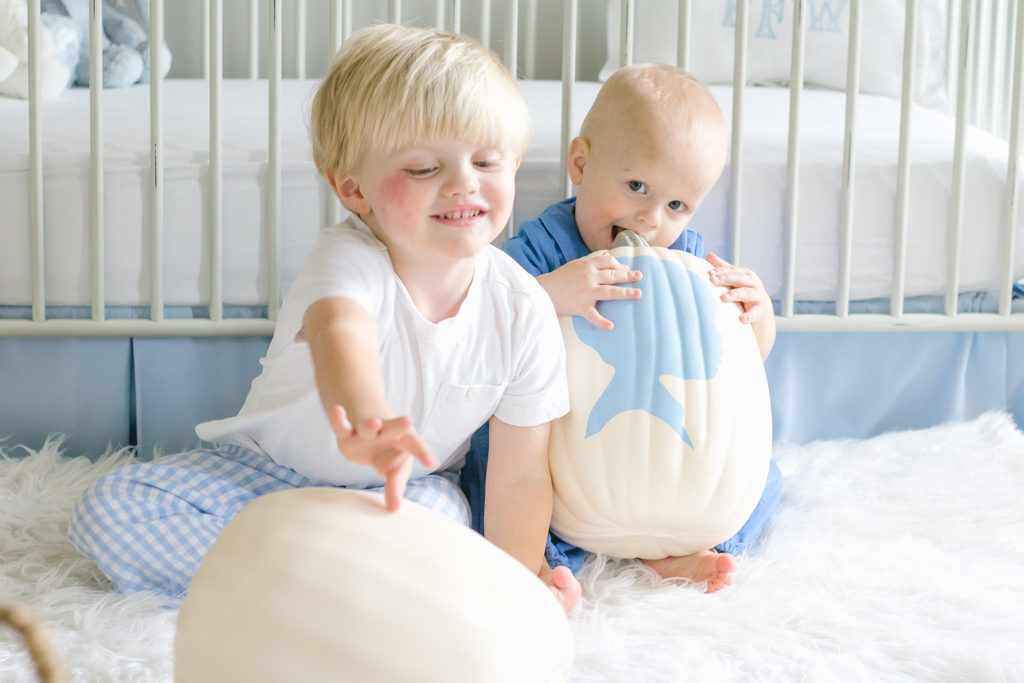
Well, here’s a dose of reality! They may be sweet, but not exactly what I envisioned ; )
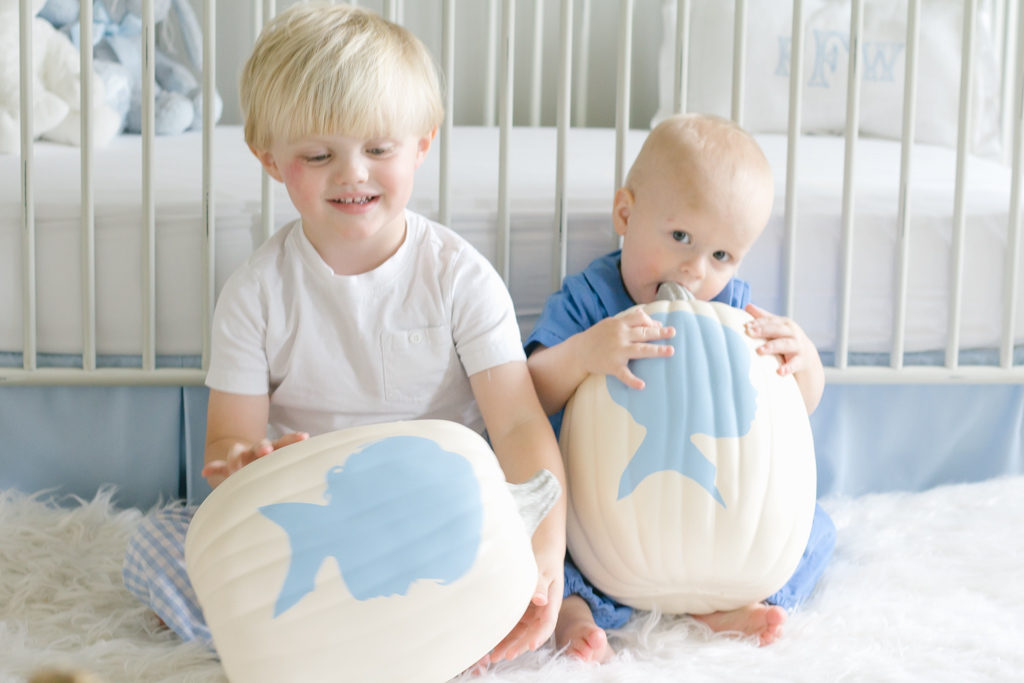
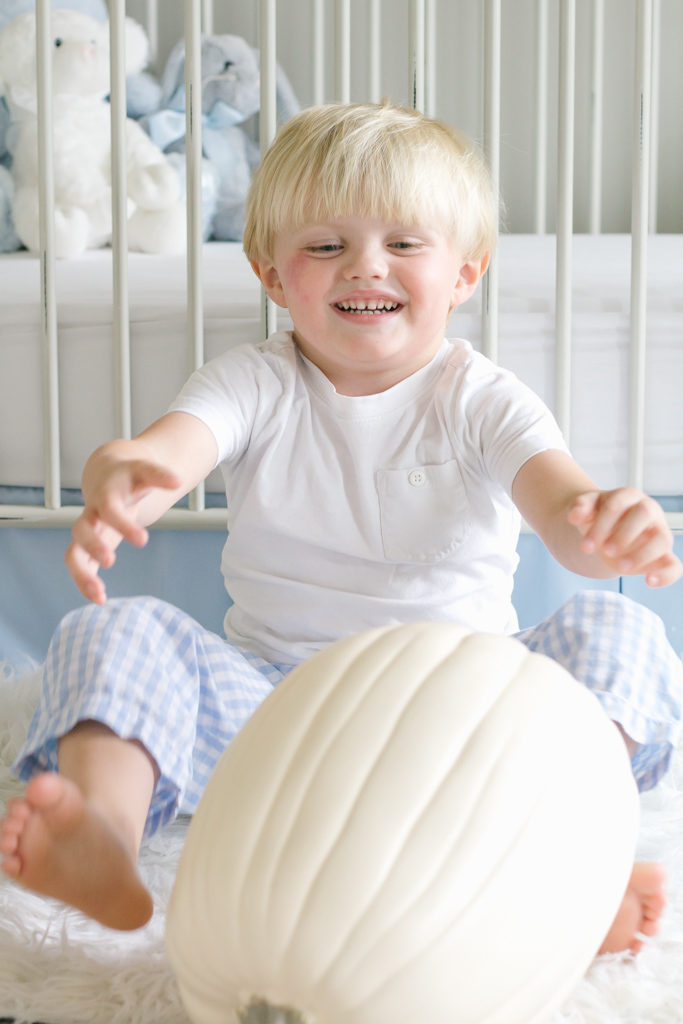
If you’re a boy mom you very well know that anything even remotely round will be turned into a ball to be thrown.

So while the baby was eating his pumpkin, John Davis was throwing his pumpkin across the room. And of course little brother thought it was hilarious.
Boys will be boys!
I love these two boys so much and I wouldn’t trade it for the world!

Easily Shop This Post:

Save “DIY Custom Silhouette Painted Pumpkin” to Pinterest
If you enjoyed this tutorial I would love for you to save this image to your favorite Pinterest board! And of course if you decide to make your own silhouette pumpkin please tag me on Instagram!
Let your light so shine before men, that they may see your good works, and glorify your Father which is in heaven. Matthew 5:16