ORC Week 2: How to Hang Cabinets
![]()
*This post contains affiliate links*
One Room Challenge Week Two
It is officially week two of the One Room Challenge and I’m here to give an update of our progress in the laundry room this week. If you’re just now following along, the ORC is an online event where twenty designers and hundreds of guest participants completely transform a room in six weeks. Every Thursday guest participants link up to share their progress until the final room reveal on November 8th.
It was so much fun and so inspiring to see everyone’s Week 1 room selections and design plans. There is so much talent among the participants and I can’t wait to see all of these gorgeous rooms take shape. Be sure to follow along on the blog every Thursday, and follow ORC, #oneroomchallenge and #BHGORC on Instagram so you don’t miss a thing!
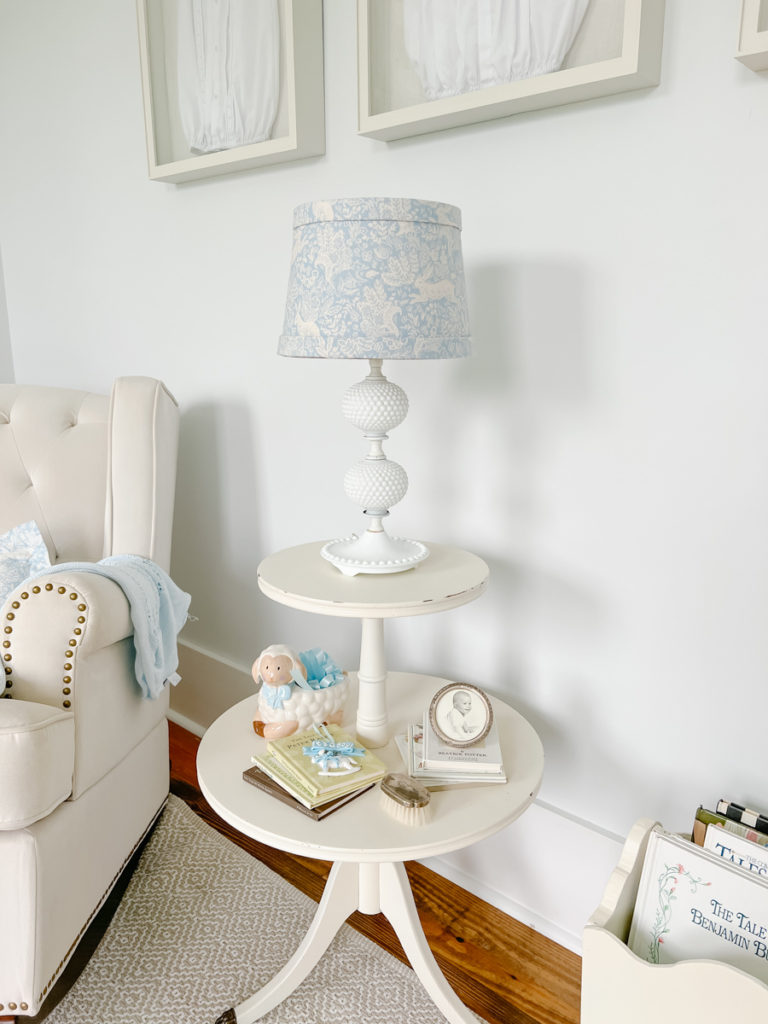
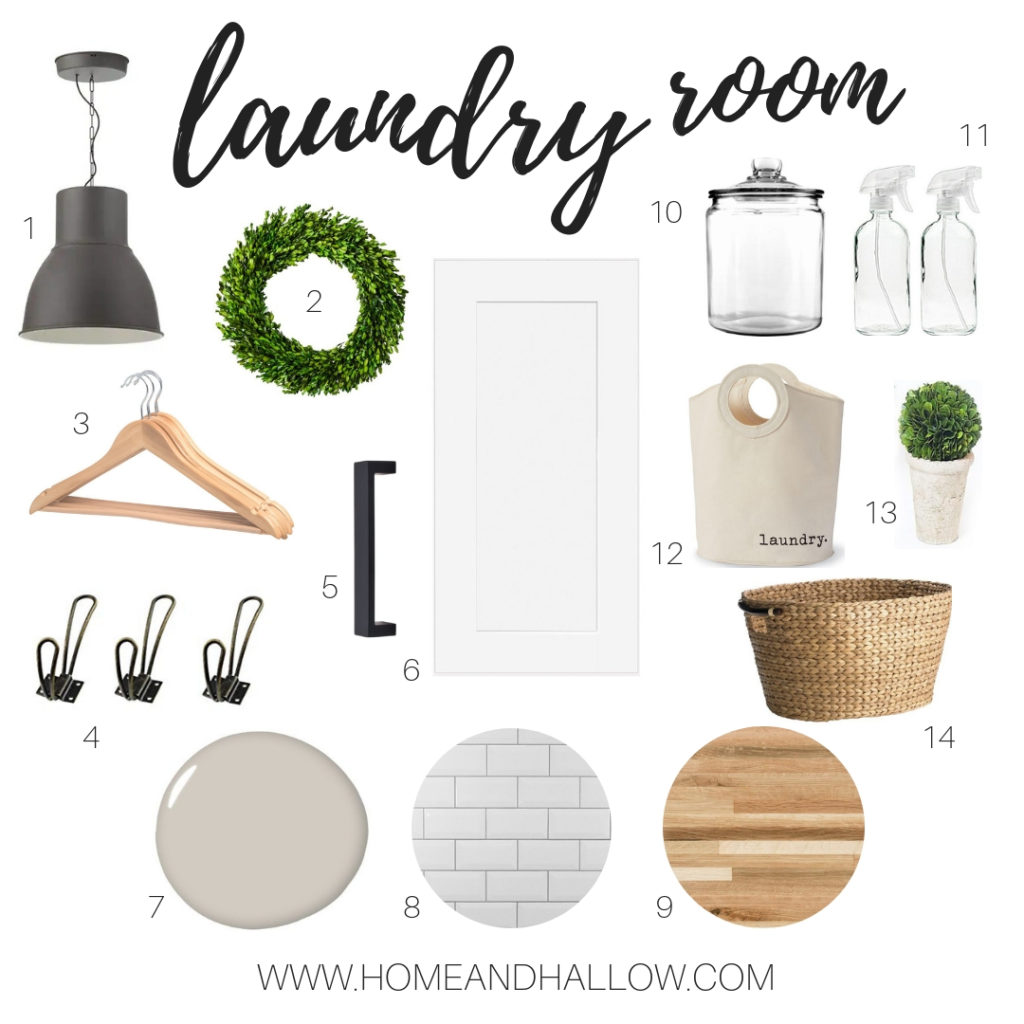
- Pendant Light | 2. Boxwood Wreath | 3. Wood Hangers | 4. Vintage Coat Hook | 5. Cabinet Pulls | 6. Shaker Style Cabinet | 7. Sherwin Williams Agreeable Gray | 8. Subway Tile | 9. Butcher Block Countertop | 10. Glass Jar | 11. Glass Spray Bottles | 12. Canvas Laundry Tote | 13. Boxwood Topiary | 14. Seagrass Laundry Basket
Catch Up
Last week I revealed that we would be making over our laundry room during the ORC. I shared my design inspiration as well as the (awful) before pictures. If you follow along on Instagram you saw where Fletcher made quite the debut and proved why we need a complete laundry room overhaul!
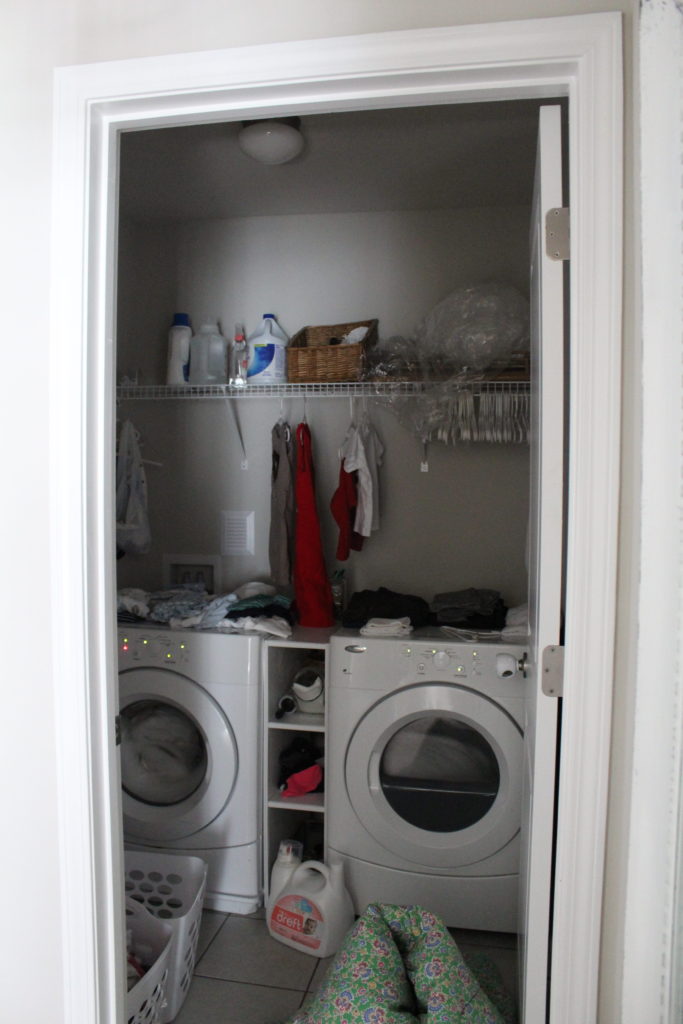
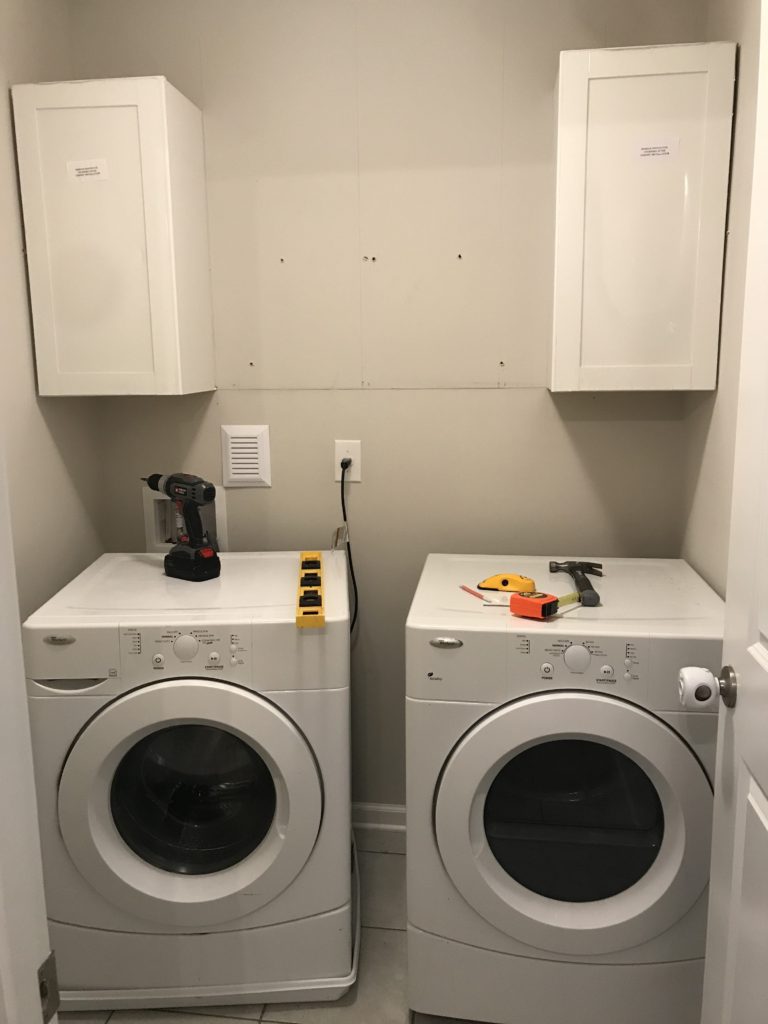
Here’s one last look at the before photo. It’s still just as bad today as it was last week!
Purchasing Wall Cabinets
This week we made a trip to Lowe’s Home Improvement (I think we single-handedly keep them in business) to purchase our wall cabinets.

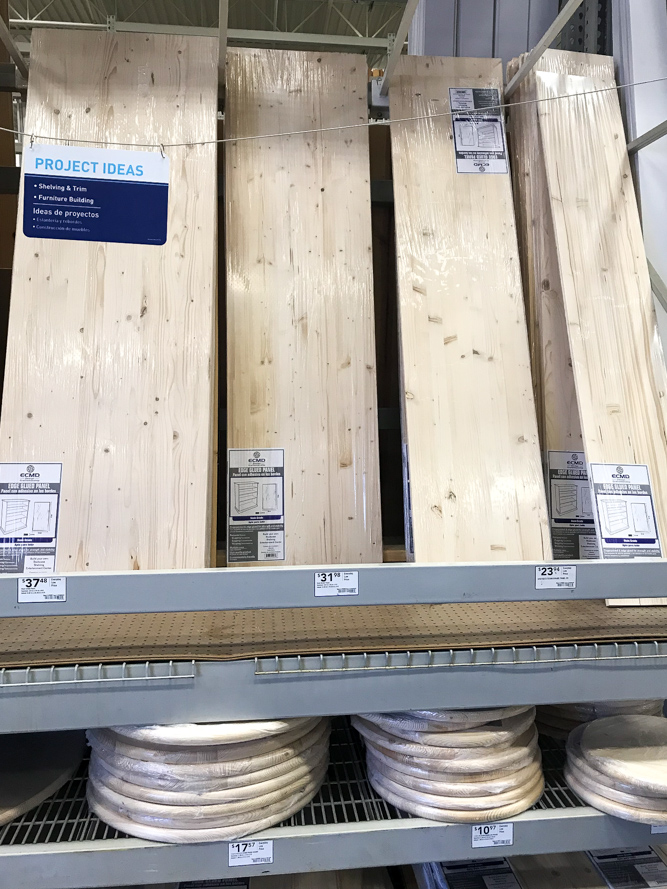
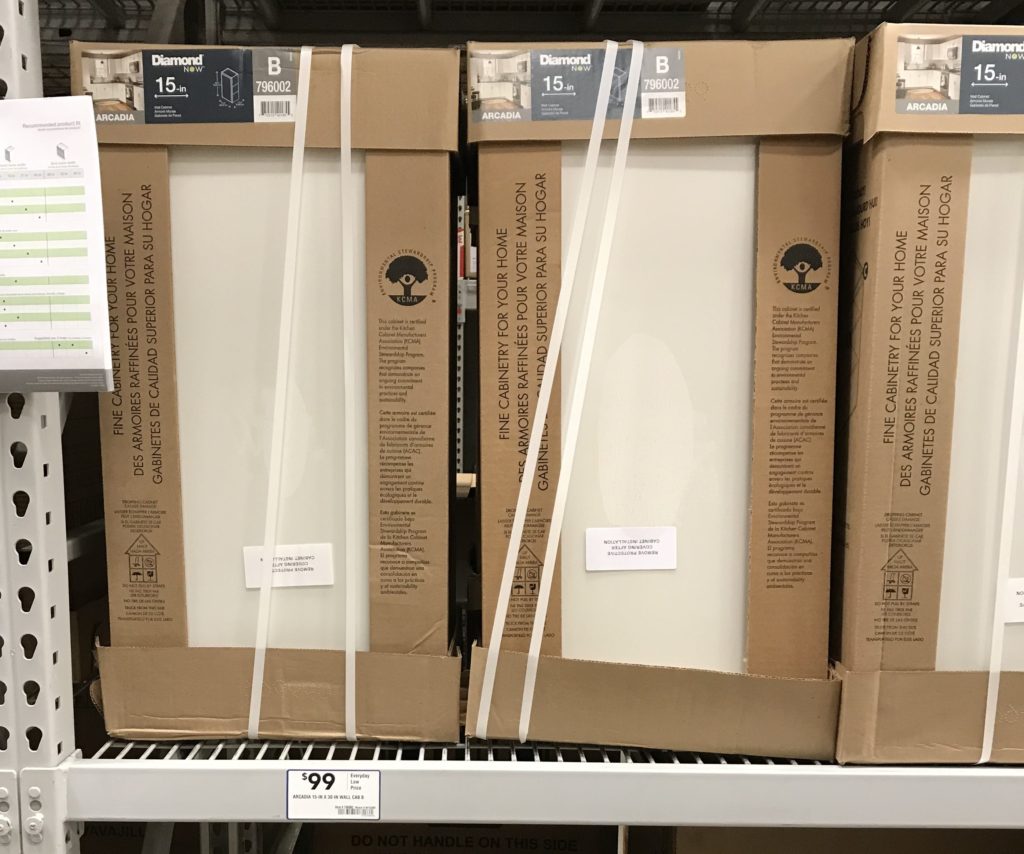
Image via Lowe’s
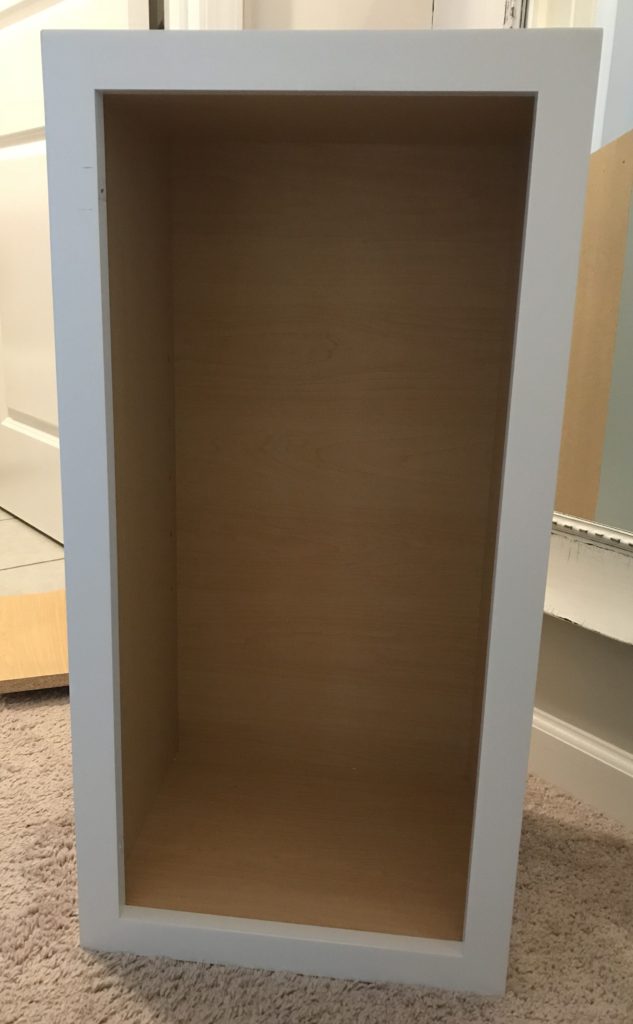
Lowe’s has a good variety of in-stock cabinets at a reasonable price point. We ultimately chose these 15-in W x 30-in H x 12-in Diamond Arcadia cabinets in white. They were originally $99 but were on sale for 25% off making them $74.25 each.
I almost chose these unfinished cabinets, and they would have been a steal at only $45 each. At any other time in our life I probably would have gone with these and and painted them myself. But even my cheap frugal self was able to recognize that our lives are busy enough right now and it was well worth it to pay a little more and be done with it. Plus, by the time I added in the cost of paint supplies I’m not sure that I would have saved any money in the long run.
Shout out to Lowe’s customer service for helping us out. I originally found the cabinets online where they were 25% off. But when we arrived at the store the sale was valid only if you spent $400 or more. We certainly weren’t planning on spending $400, but thankfully Lowe’s customer service recognized the online price and gave us the cabinets for 25% off.
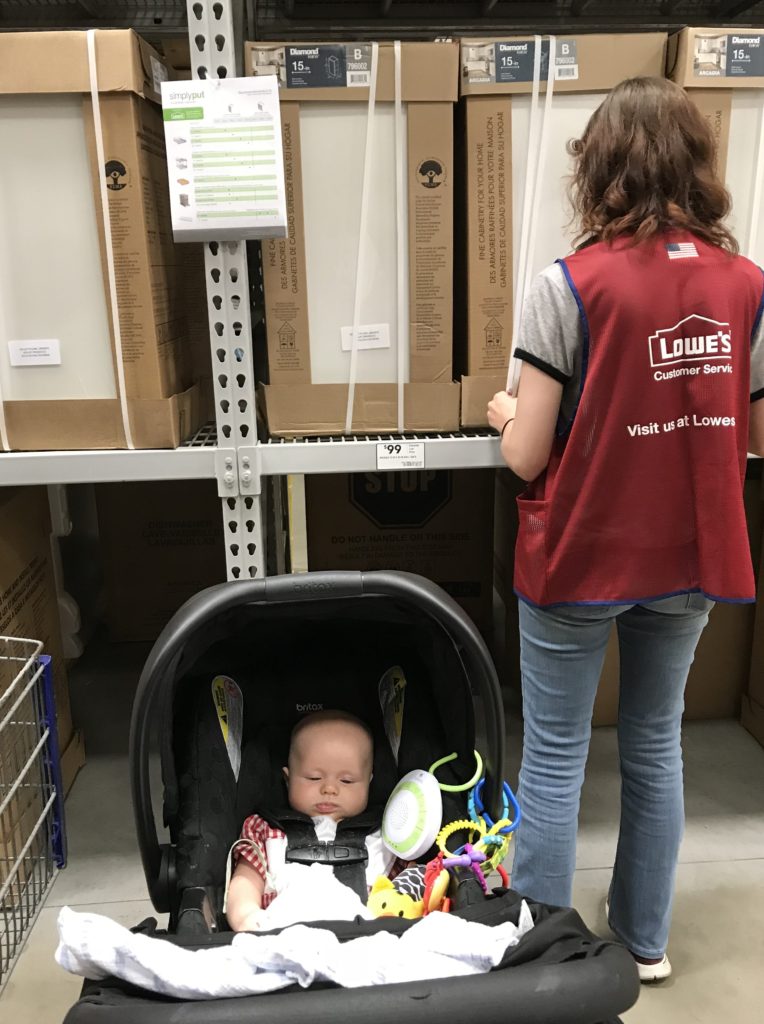
As you can see Fletcher was not very impressed by the whole thing.
Demo Day
Okay, maybe demo day is a little bit of an exaggeration since there technically wasn’t much to demo (other than our disorganized mess of laundry). But Chip Gaines makes #demoday sound so fun that I’m just going to go with it.

We started by completely clearing out the room (looks better already!) and removing the wire shelving.
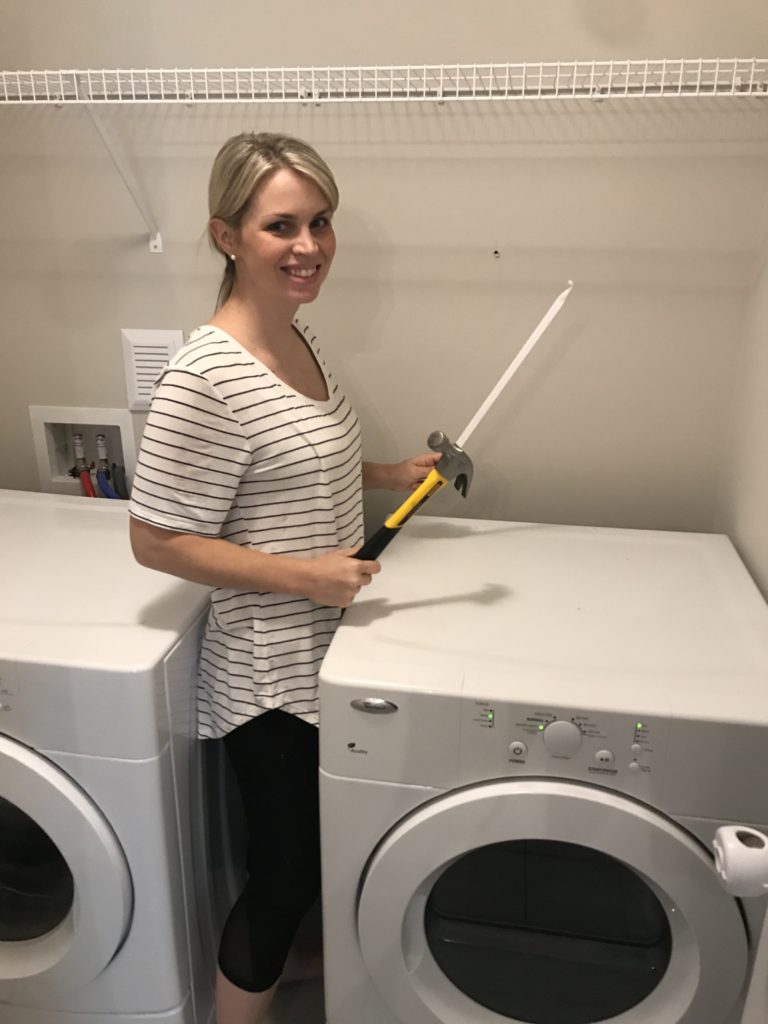
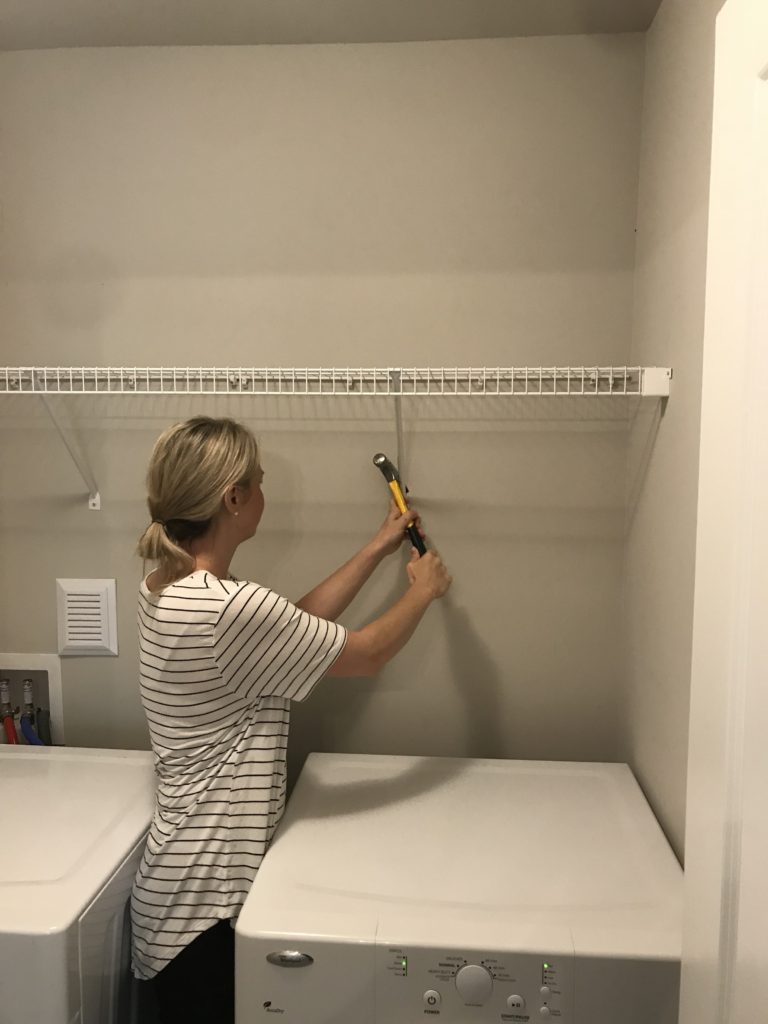
It felt good to rip that wire shelving right out of there!
DIY: How to Hang Wall Cabinets
This was our first time ever hanging wall cabinets, and it was surprisingly easier than anticipated. We watched this step-by-step video tutorial and learned as we went.
Hanging Wall Cabinets: What You Need
- Cabinets
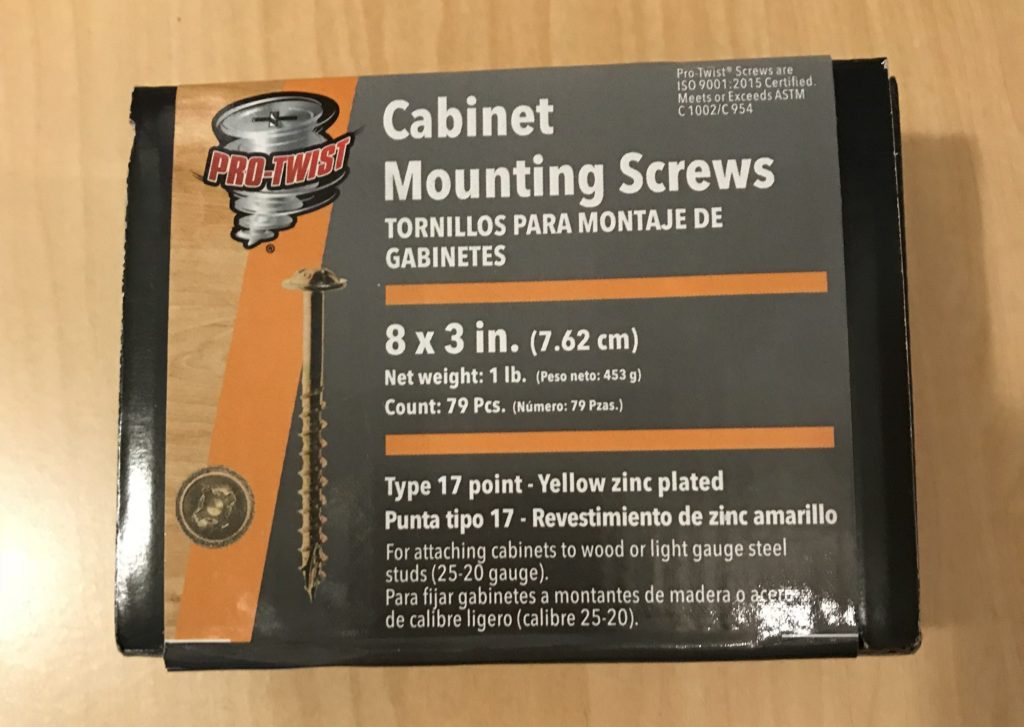
- Cabinet Mounting Screws
- Drill
- Tape Measure
- Level
- Stud Finder
- Pencil
- Shims
- 1×4 to be used as temporary support ledger
Mark Studs
Use a stud finder to mark studs behind the wall.
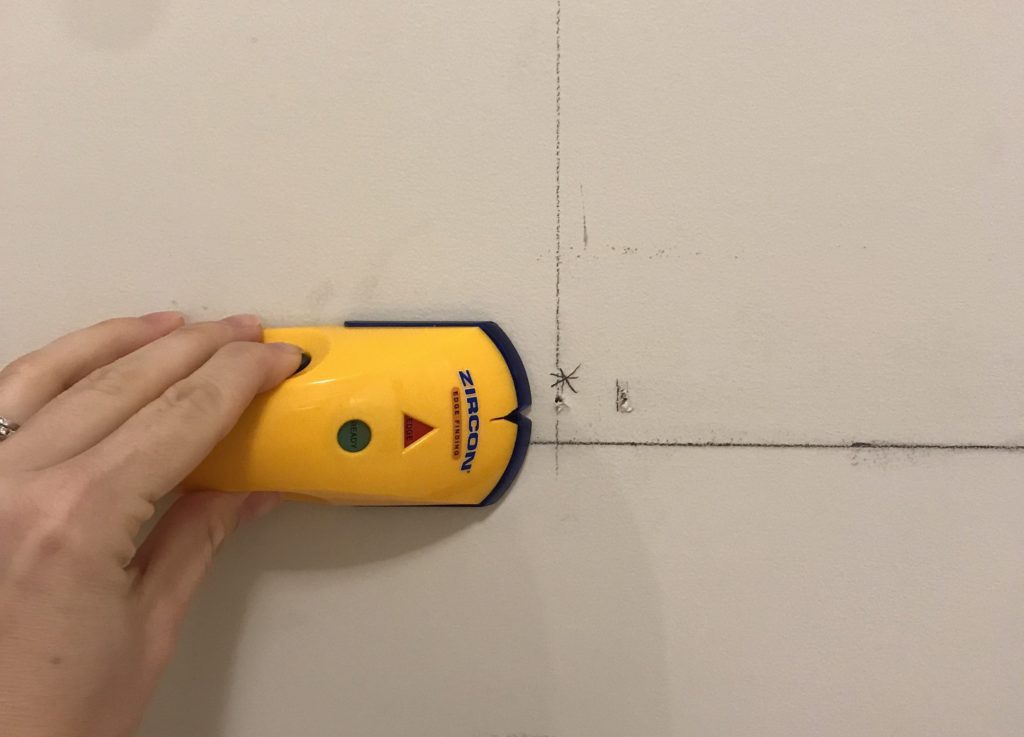
Also, can we please talk about how Hubby has to make the same corny joke every time we use the stud finder? He points it at himself and when it doesn’t light up and beep (to indicate it has found a “stud”), he says, “This thing isn’t working!”
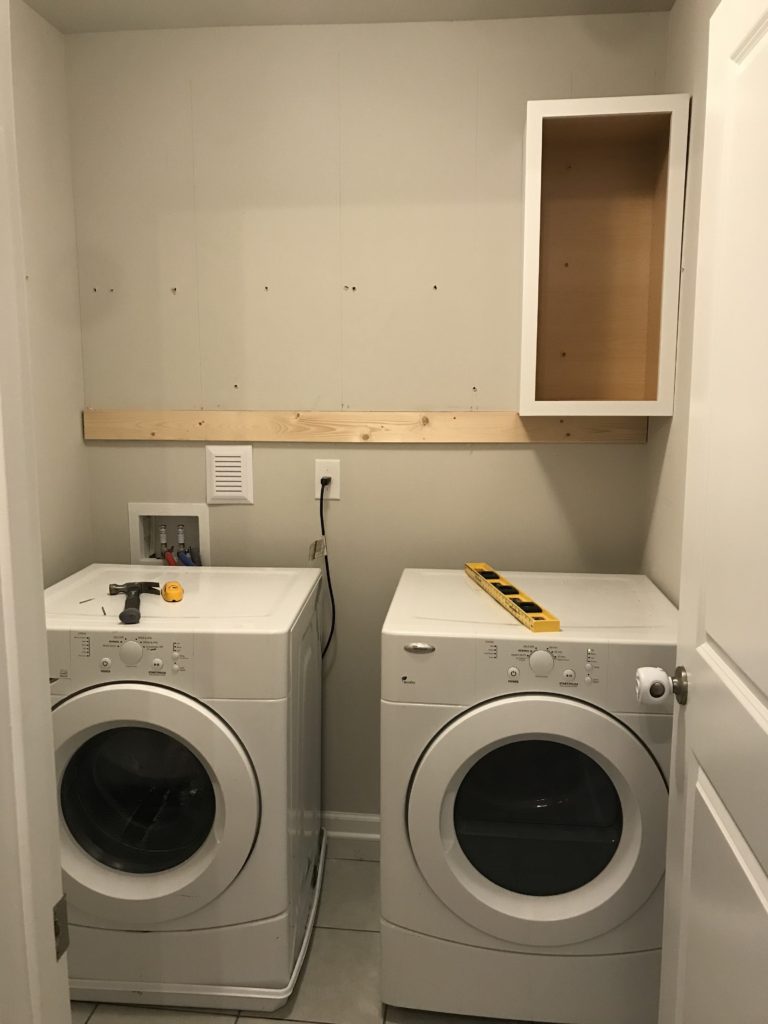
Hang Temporary Support Ledger
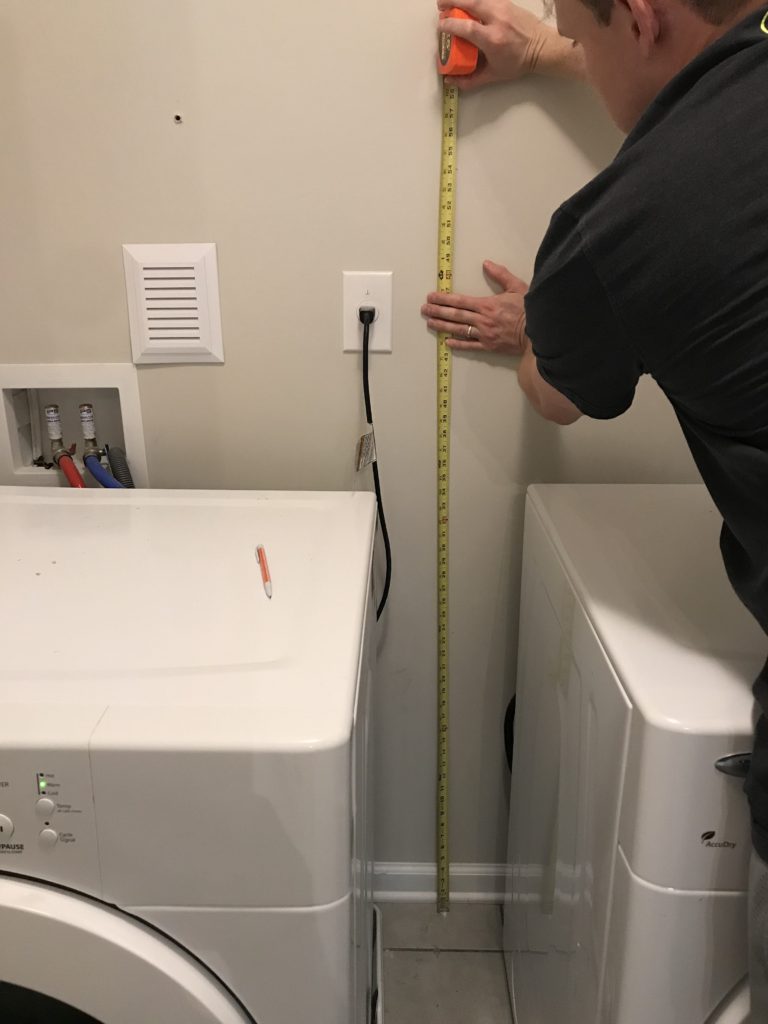
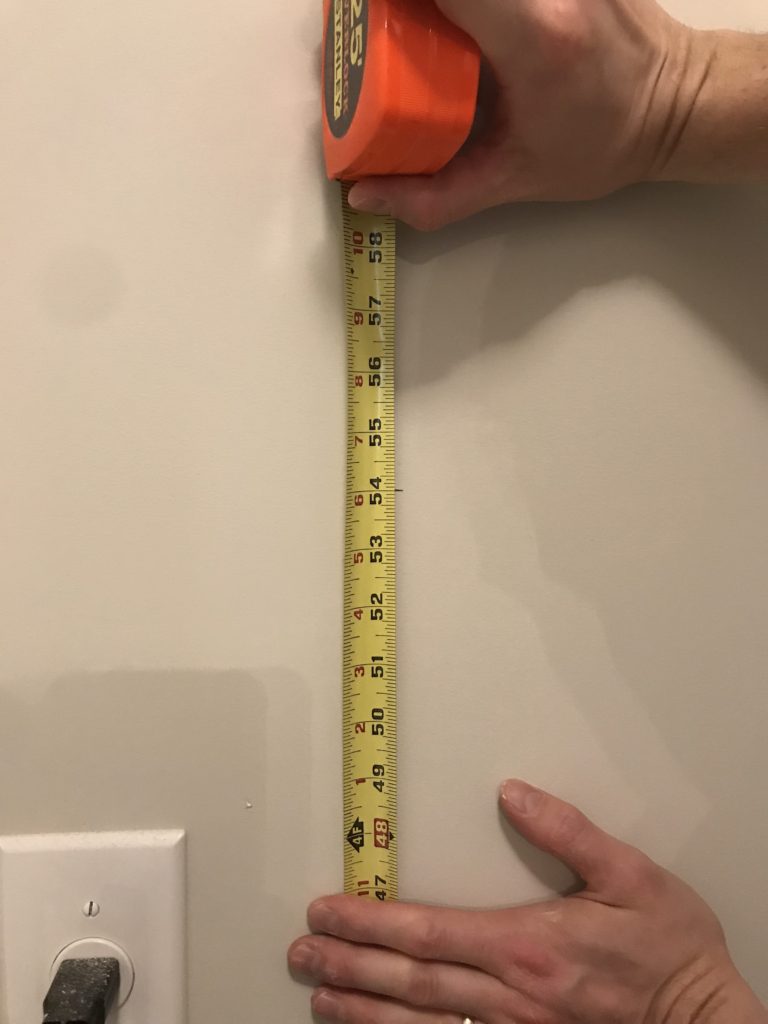
Hang a temporary support ledger at 54 inches (standard measurement for wall cabinets) to support the cabinets while you hang them. Measure 54 inches up from the ground and mark your measurement with a pencil.
Use a level to to a draw a horizontal line at your 54 inch mark.
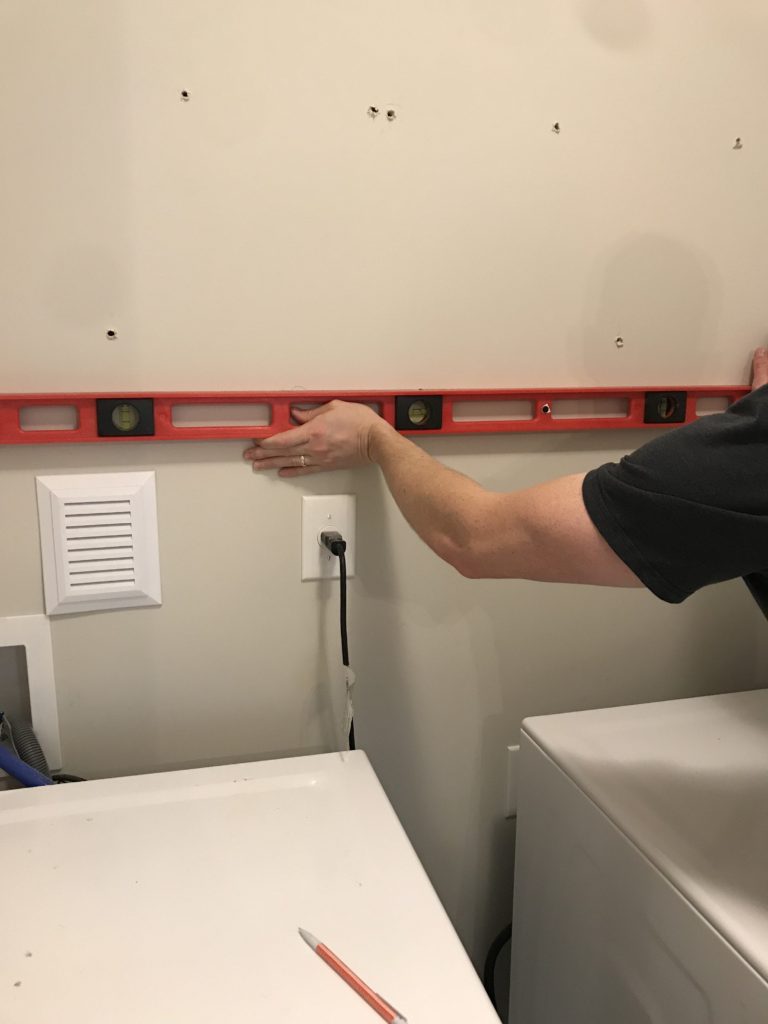
Align the top of the 1×4 with your pencil mark and drill directly into the studs to attach the 1×4 to the wall.
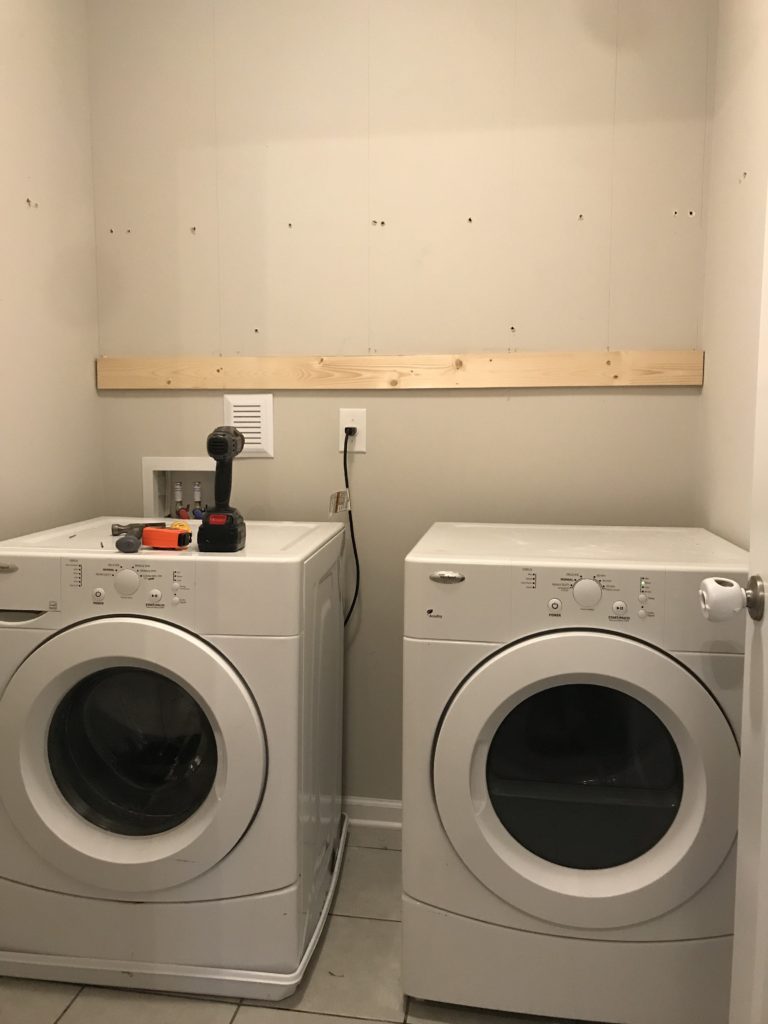
This will serve as a temporary ledger to support the cabinets while you hang them.
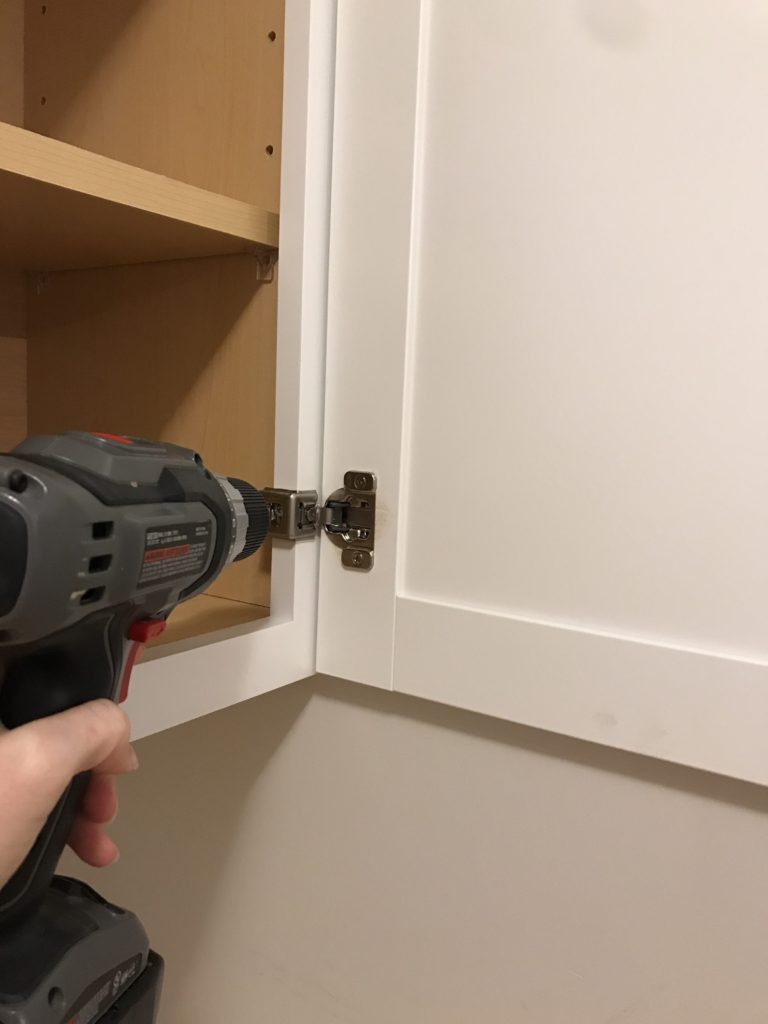
Remove Cabinet Doors
Remove your cabinet doors and set them aside for now.
Hang Cabinets
If you are installing multiple cabinet units that will connect together, be sure to start in the corner (or from the left if you don’t have a corner unit). Since we were installing two cabinet units that will hang independently, it did not matter which side we started from.
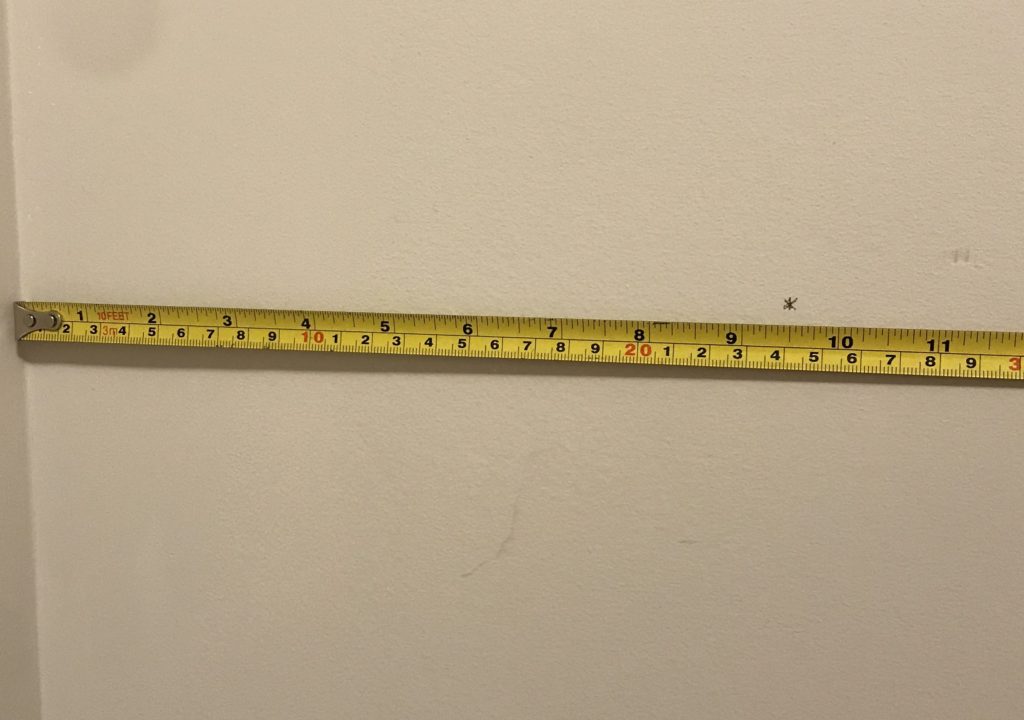
Measure the distance from the edge of the wall to the stud. Transfer this distance to the cabinet itself, remembering to account for the cabinet frame.
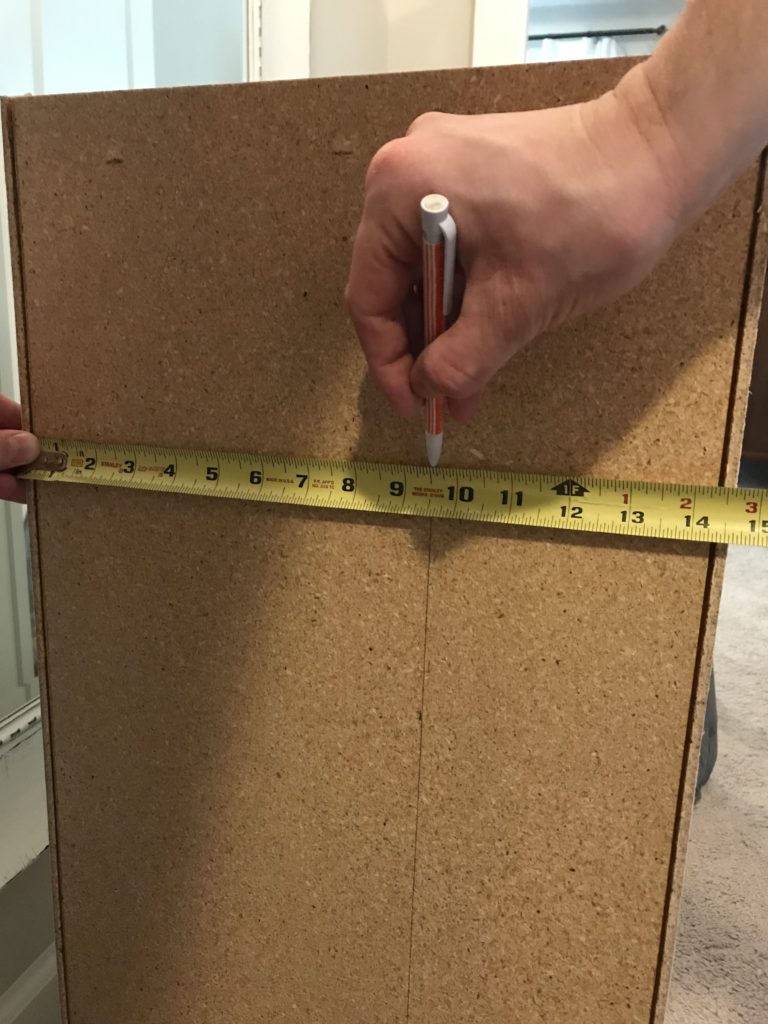
The distance from the wall to the stud was 9.5 inches, so we marked 9.5 inches from the edge of the cabinet and drew a vertical line.
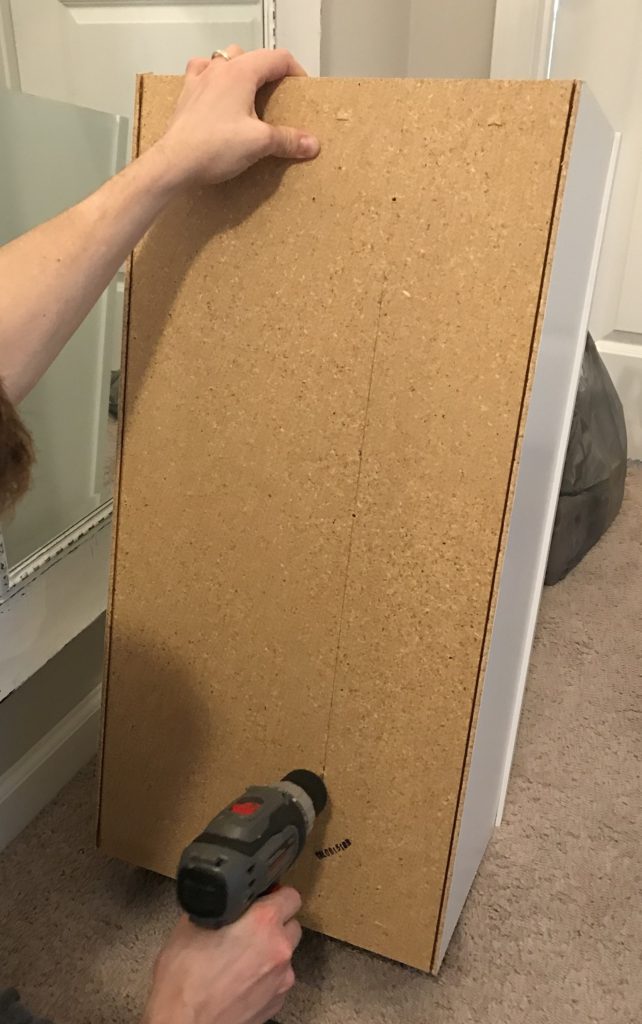
Drill pilot holes at the top, middle and bottom.
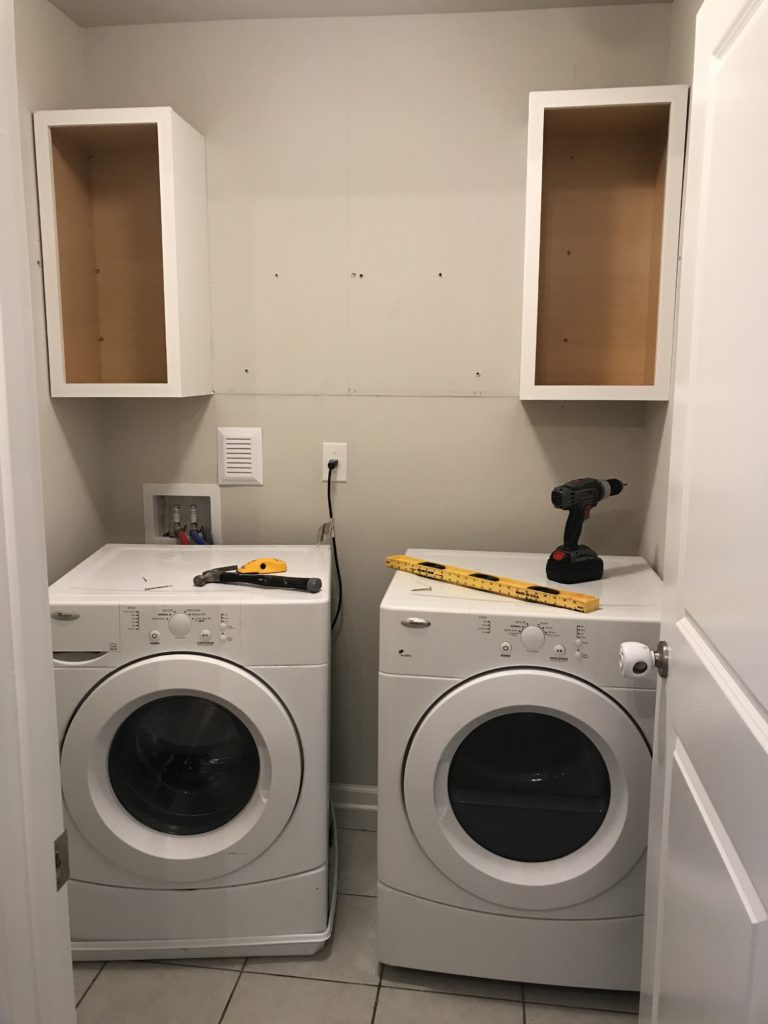
Set your cabinet on the support ledger.

Hang cabinets by driving mounting screws through the pilot holes directly into the stud. Tighten the screws enough to hold the cabinet in place but do not tighten them completely just yet.
Make sure your cabinet is level and plum with the wall. If your walls are anything like ours (so crooked!), use shims to to get it properly aligned and level.
When you do so you may have spaces between the cabinets and the walls. Don’t worry, you can fix these later with filler strips made especially for this.
Once your cabinets are level and plum you can fully tighten the mounting screws and reattach your doors.
As you can see we do have a small space between the cabinets and the wall that will need to be filled with filler strips before we can officially call this project complete.
You can refer back to this video tutorial for step by step instructions on how to install filler strips.
Punch List
Overall we made a pretty good dent in our to-do list during Week 2 of the One Room Challenge.
Clear out room to start from scratchRemove wire shelvingPurchase wall cabinetsHang wall cabinets to provide useable storage- Finalize countertop choice
- Install countertop to provide useable folding and sorting space
- Install subway tile on the back wall
- DIY floating shelf between the two wall cabinets for extra storage
- Install rod between wall cabinets for hanging clothes
- Purchase and install cabinet hardware
- Purchase and install new light fixture
- Incorporate hanging laundry totes to utilize wall space and clear the floor of clutter
- Purchase rug
- Accessorize!
Next Week
As you can see the next item on our to-do list is to finalize our countertop choice. Well… we already ran into a problem here. The original plan was to use these Ikea butcher block countertops because of the great price point and the excellent reviews. After doing a little more research I discovered that the countertops are standard depth (25 5/8″) which is not deep enough to cover our washer and dryer. Our washer and dryer stick out about 30 inches from the wall and I want the countertop to cover them entirely.
So, onto plan B. After doing tons of research and reading a bazillion tutorials, I think we have decided to DIY our own butcher block style countertop. Stay tuned and wish us luck!
Once again, in the meantime be sure to follow along on the official ORC blog page and on Instagram. See you next week!
![]()