ORC Week 3: DIY Wood Countertop
![]()
*This post contains affiliate links*
One Room Challenge Week Three
It’s week three of the One Room Challenge which means we are officially halfway to the final room reveals on November 8th! We made good progress this week but we still have a lot of work to do if we hope to finish in three weeks. Trying to complete home projects with two young children is a whole new level of crazy. We used to be able to knock out an entire project in one weekend and now we try to squeeze in as much work into nap time as humanly possible!
If you’re just now following along, the ORC is an online event where twenty designers and hundreds of guest participants completely transform a room in six weeks. Every Thursday guest participants link up to share their progress until the final room reveal on November 8th. Be sure to follow along on the blog every Thursday, and follow ORC, #oneroomchallenge and #BHGORC on Instagram so you don’t miss a thing!
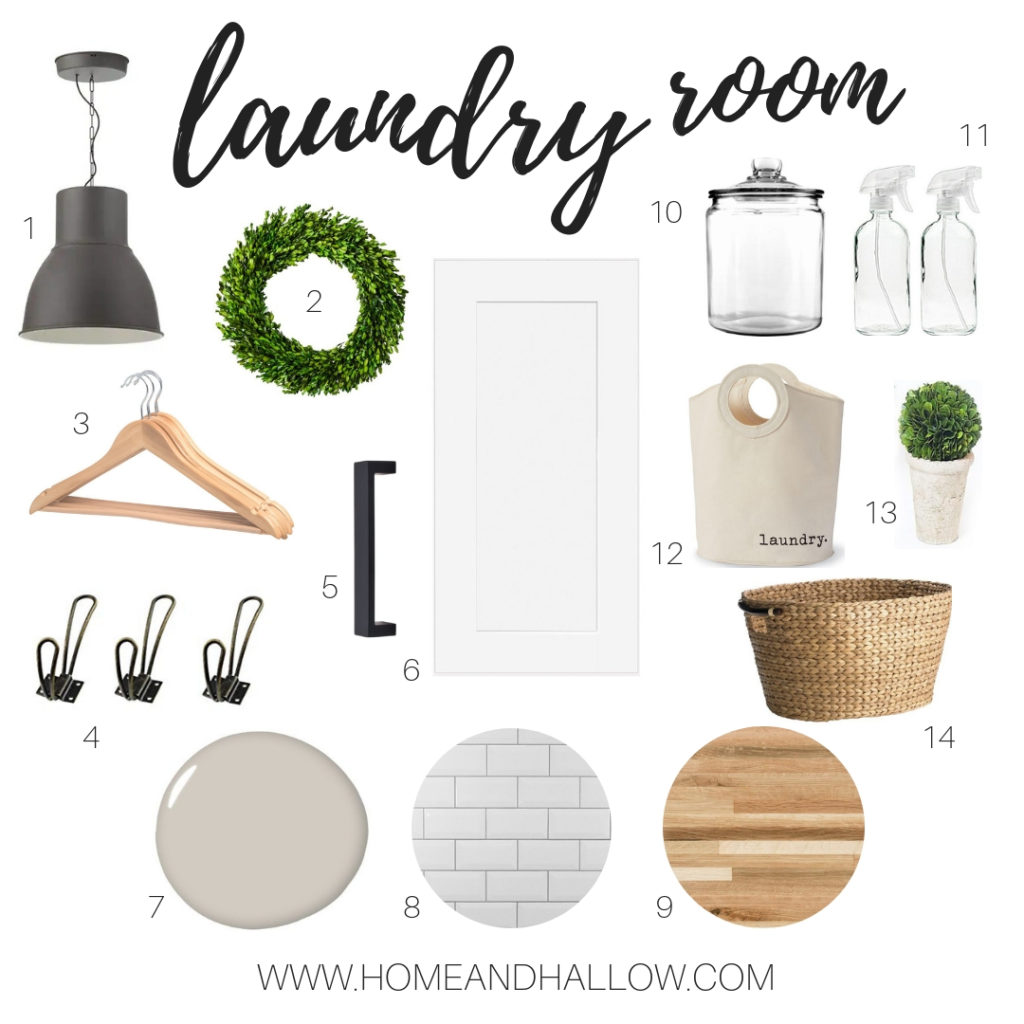
- Pendant Light | 2. Boxwood Wreath | 3. Wood Hangers | 4. Vintage Coat Hook | 5. Cabinet Pulls | 6. Shaker Style Cabinet | 7. Sherwin Williams Agreeable Gray | 8. Subway Tile | 9. Butcher Block Countertop | 10. Glass Jar | 11. Glass Spray Bottles | 12. Canvas Laundry Tote | 13. Boxwood Topiary | 14. Seagrass Laundry Basket
Catch Up
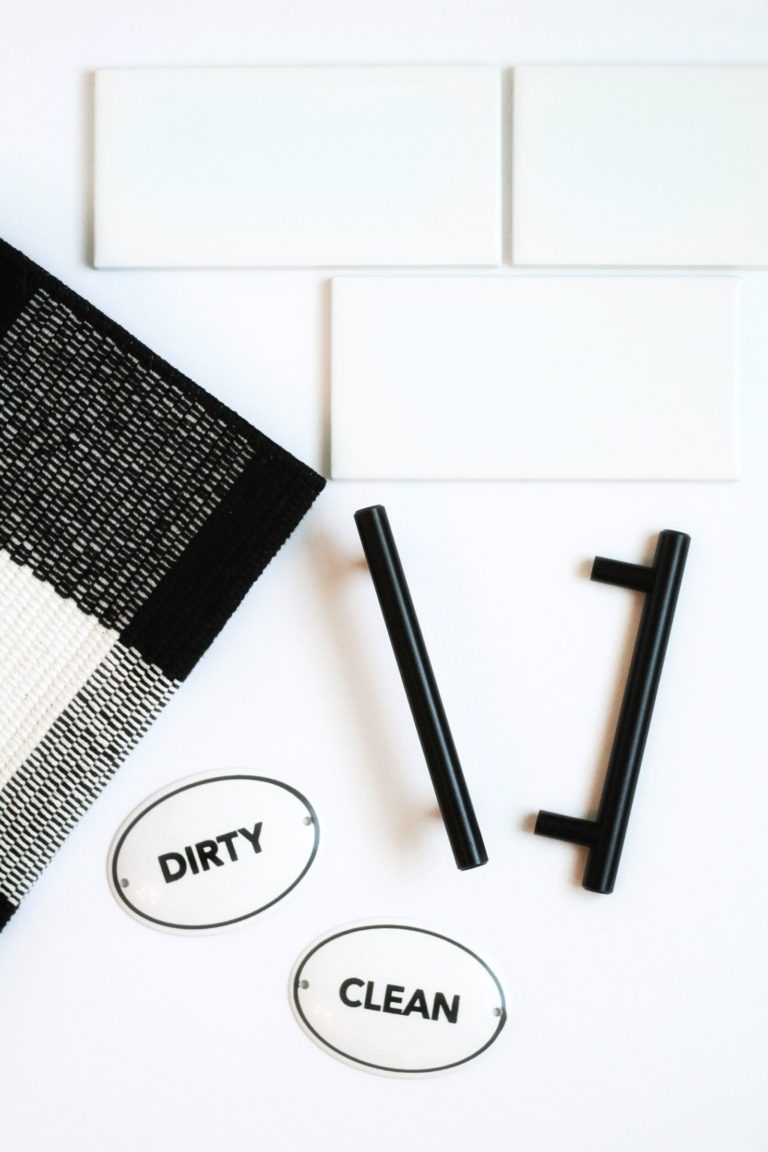
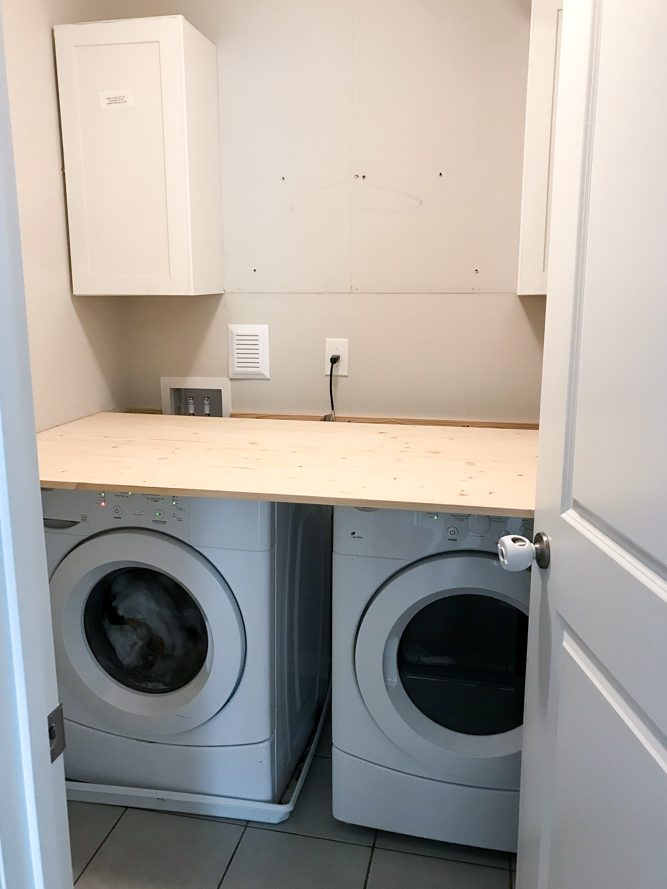
Last week we purchased and installed white shaker style cabinets by watching this step-by-step video tutorial. We also ran into our first design problem. We realized that the original butcher block countertop choice was not going to work in our space because standard depth countertops are not deep enough to cover our washer and dryer. That was pretty disappointing because the Ikea butcher block countertops come at a great price point and have excellent reviews.
No time to hark on it though! We had to figure out a plan B and quick. We looked at purchasing butcher block countertops from other retailers but we quickly learned that wasn’t in our budget. We were set on the butcher block look so we got creative and decided we would make our own DIY wood countertop. After browsing Pinterest for some ideas and watching a few different tutorials we headed off to Lowes with no real definitive plan.
DIY Wood Countertop
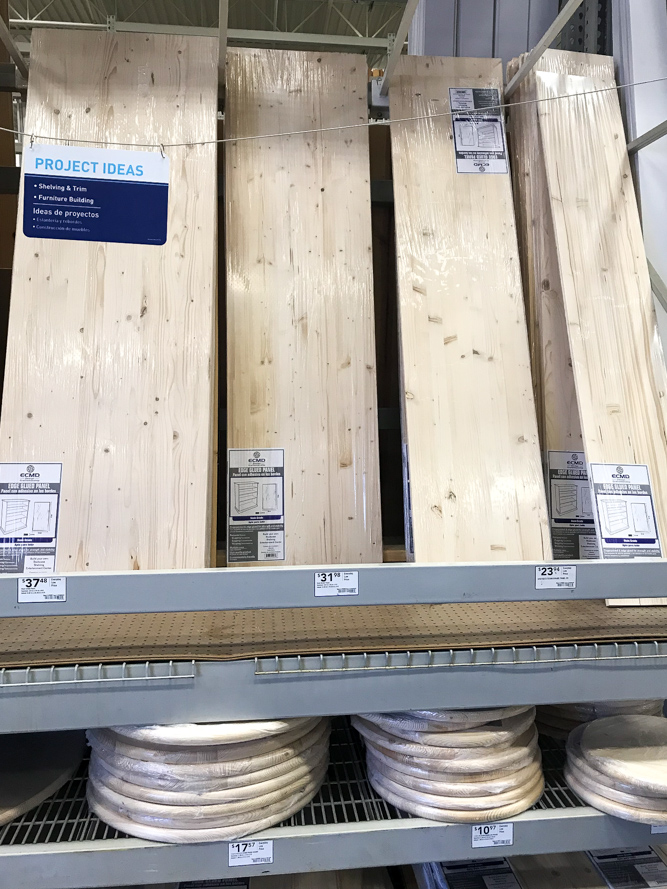
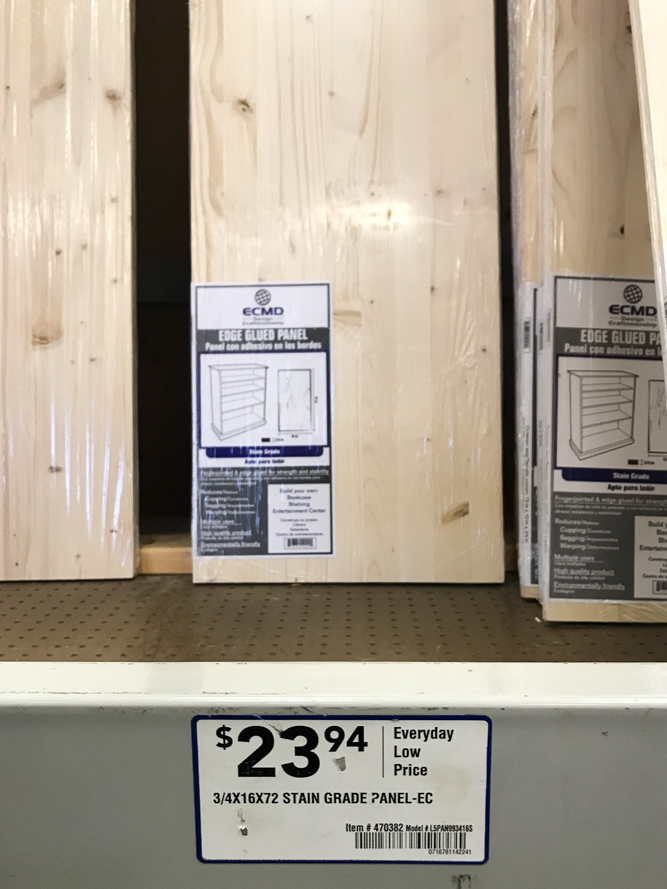
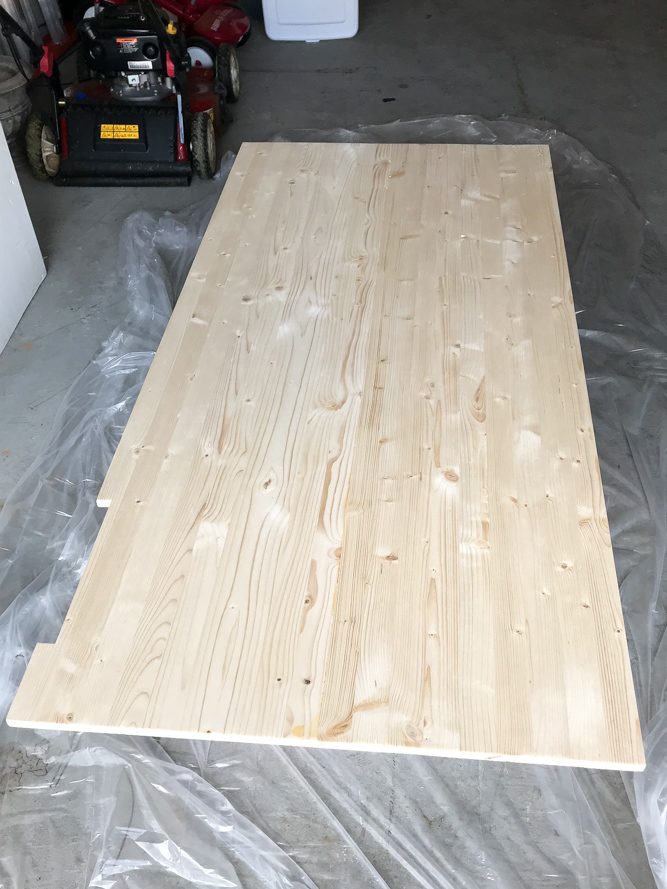
We roamed the lumber aisles until we came across these stain-grade panels that have a somewhat of a butcher block “look” to them. Our countertop needs to be at least 30 inches deep in order to cover the washer and dryer. These boards come in 16 inch wide panels so we grabbed two and set out to figure out how to seamlessly join them together. We were skeptic but hopeful, and for less than $25 each we figured we didn’t have too much to lose.
What You Need
- Wood – we used two of these wood panels
- Miter Saw
- Kreg Jig Pocket Hole System
- Kreg Pocket Hole Screws
- Wood Glue
- 1×2 for countertop ledger
- Jig Saw
- Level
- Tape Measure
- Drill
- Clamps
- Electric Sander
- Sandpaper
- 1×3 for front “trim” piece
- Stain
- Polyurethane
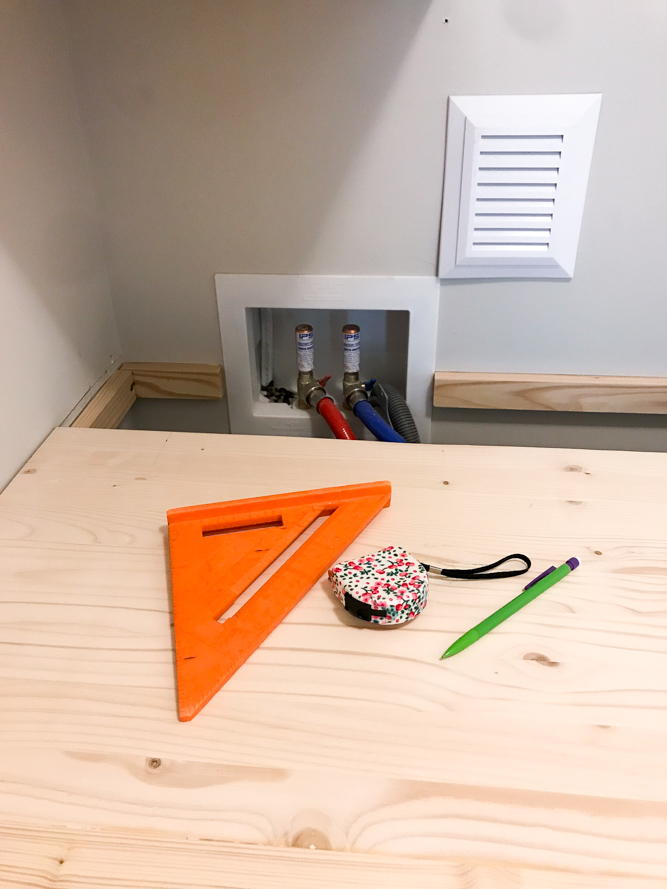
Create Countertop Ledger
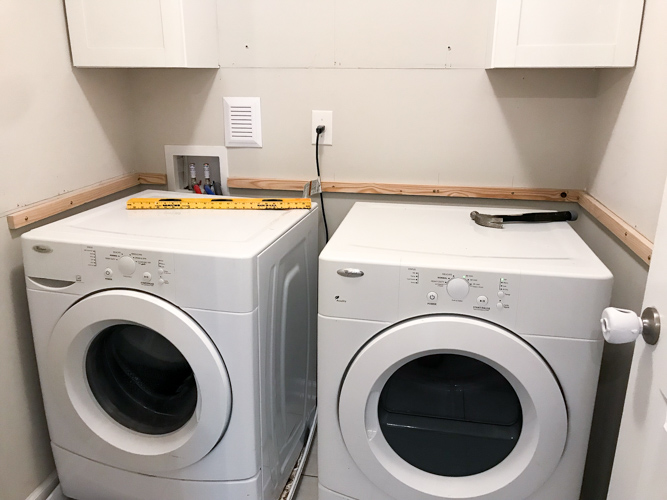
Using the same stud markings from the temporary cabinet ledger, we created a ledger for the countertop using 1×2‘s. This ledger is what the countertop will sit on.
Be sure to install your ledger and countertop at at height where you have enough clearance to slide your washer and/or dryer out from underneath should you need to (my parents learned this the hard way when they had a leak in their laundry room).
Measure and Cut Boards
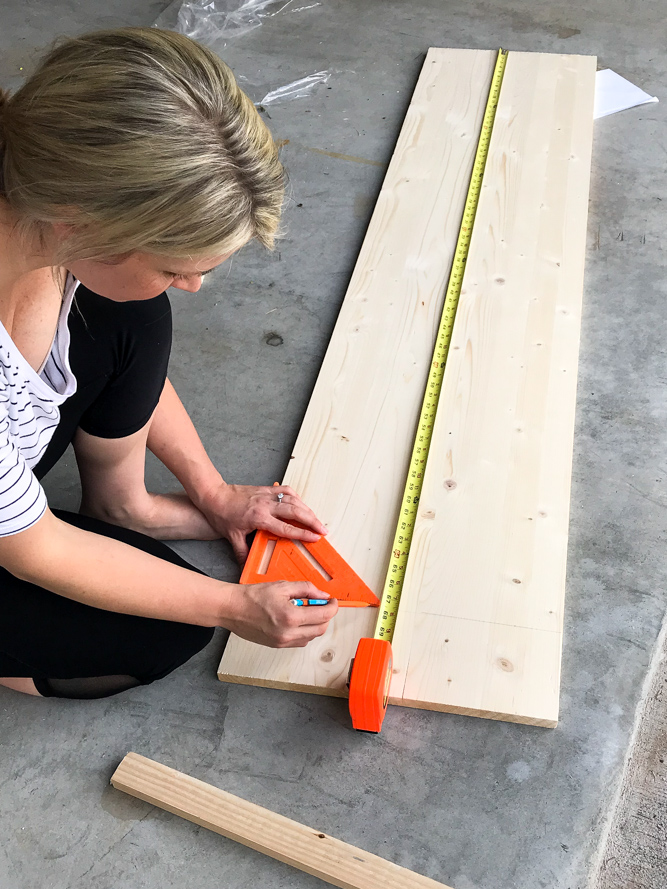
The boards come at 6 feet long so we had to take some length off of each one to fit the length of our countertop.
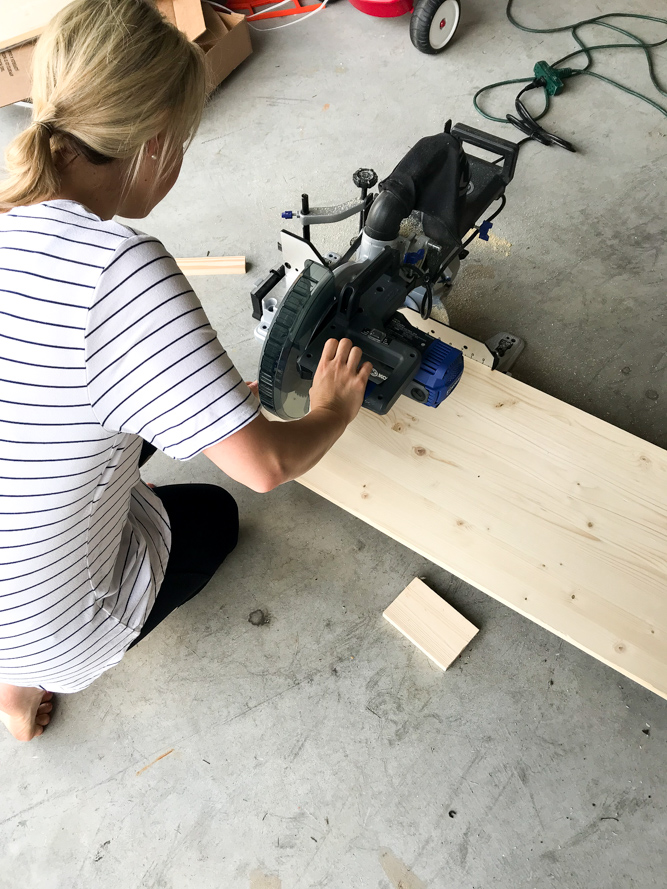
We measured and marked and used our miter saw to cut the boards to exactly 67.5 inches long. (Also, we clearly need some kind of work bench because I am always working [barefoot] in the garage floor).
Drill Pocket Holes with Kreg Jig
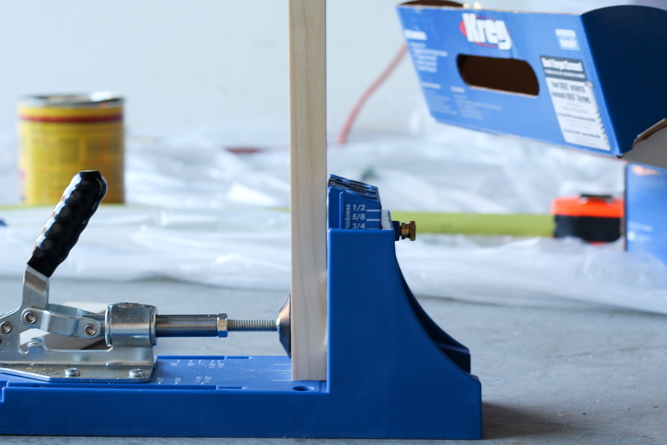
As I said earlier we needed our countertop to be at least 30 inches deep to cover the washer and dryer entirely. We bought two boards that were each 16 (15.25 actual) inches wide with plans to join them together to form one large piece 30.5 inches deep.
We received a Kreg Jig for Christmas last year and quite honestly I had been a little intimidated to use it. But y’all, it is so easy and so much fun to use! I wish I would have learned to use it sooner but I already have so many more ideas to put it to good use. Hubby was really excited about that ; )
But anyways, back to the countertop. We used our Kreg Jig to drill pocket holes approximately every 6 inches on the edge of one panel.
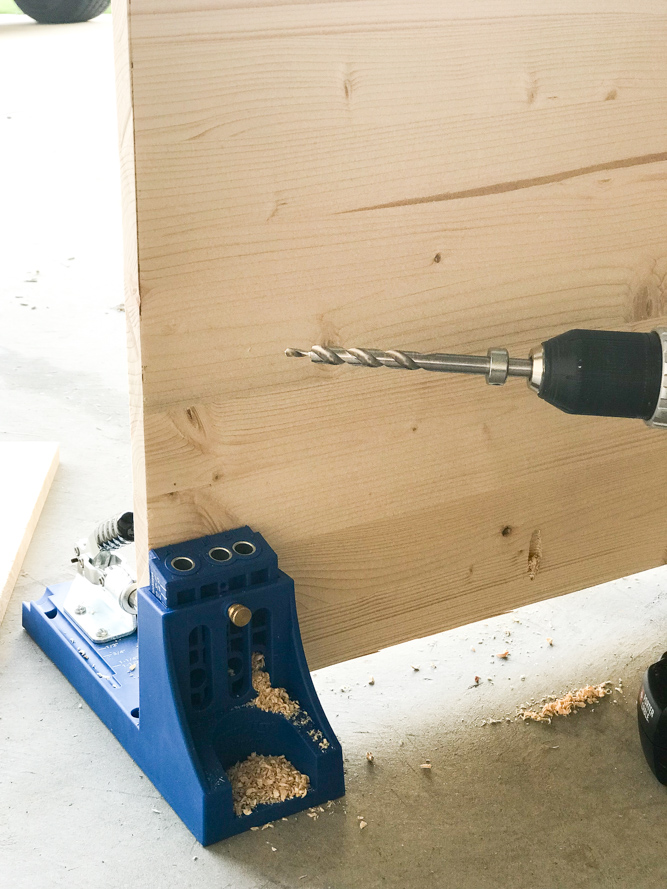
It is very user friendly and pretty much fool proof. You set the pocket hole guide according to the thickness of your wood and use a special Kreg drill bit to drill your pocket holes. It really does all of the work for you!
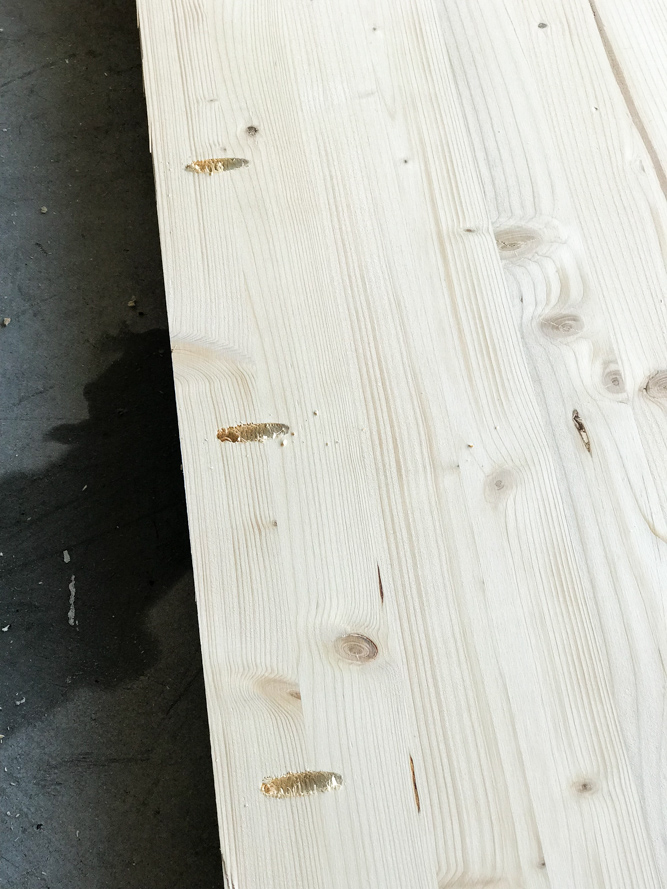
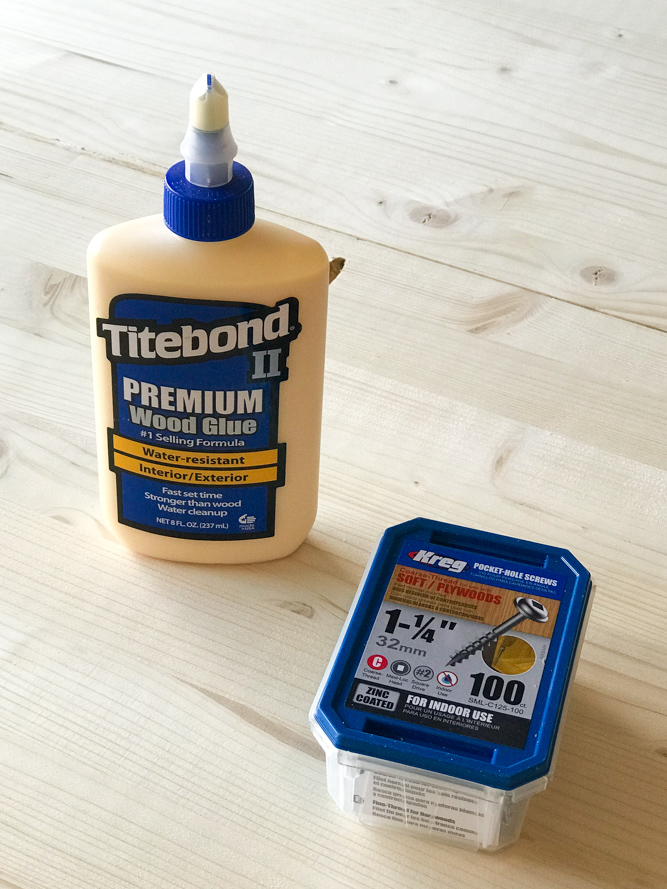
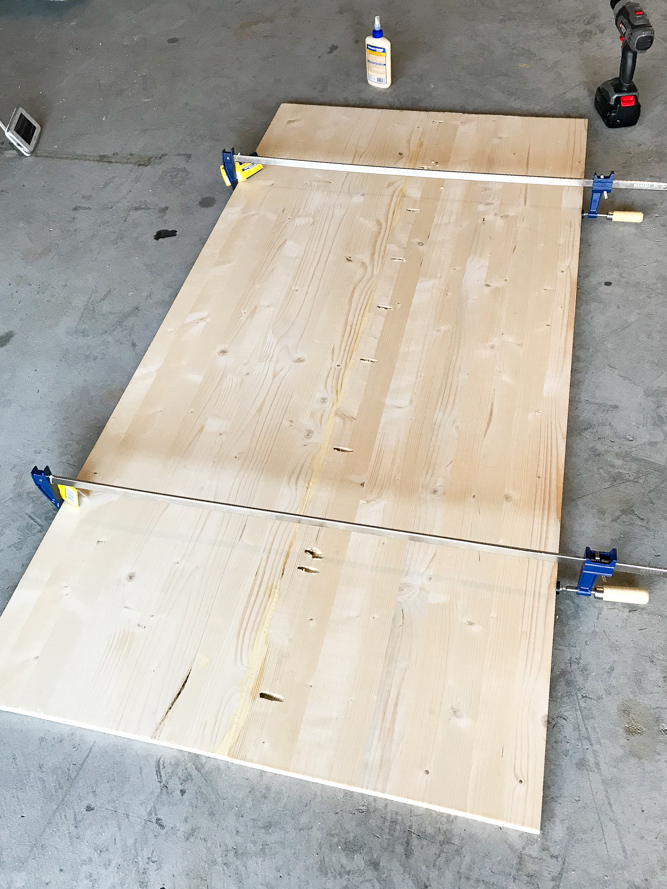
Join Wood Boards
After we drilled all of the pocket holes we lined the two boards up next to each other. We put a line of wood glue in the seam and used Kreg pocket hole screws to join the two boards together. You must use the Kreg screws specifically designed for pocket holes. The size of your screw depends on the thickness of your wood (there is a size chart on the back of the box) and the type of wood you are working with (soft or hard).
We used two large clamps to keep the boards tight and let it sit for about 24 hours. (Always a baby monitor in the background while we’re working during nap time!)
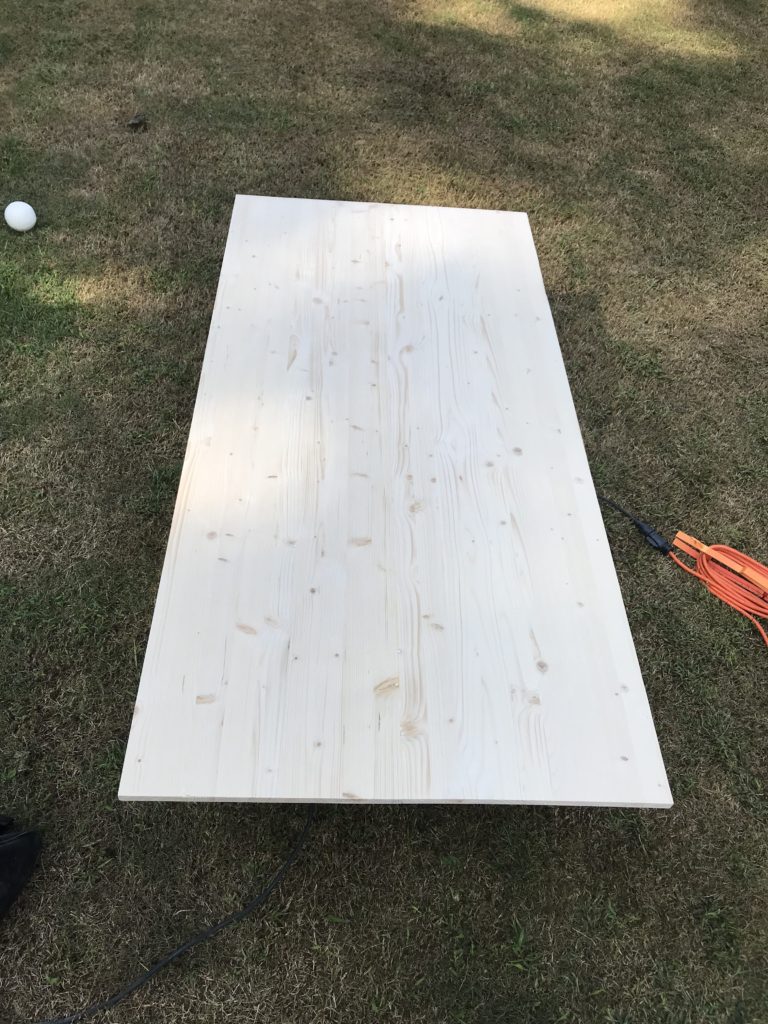
After 24 hours we unclamped the boards (now one large board) and took it outside to the back yard.
If it’s not nap time our little DIYer is always around “helping” us : )

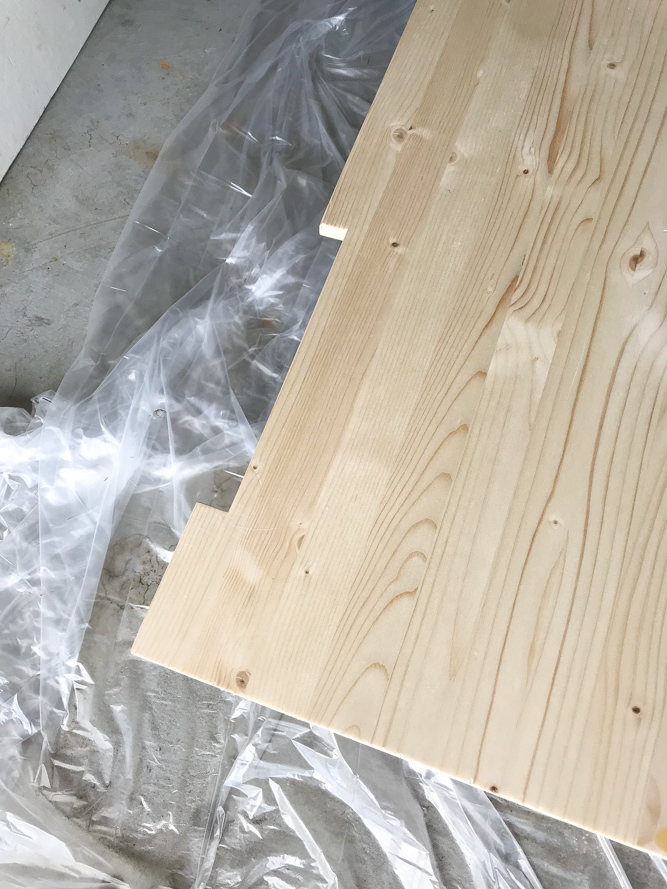
Sand to Smooth Finish
We used our electric sander to smooth out the small ridge where the two boards were joined together and to give the countertop a smooth finish before staining. These wood boards are stain grade and already pretty smooth so they only needed a very light sanding.
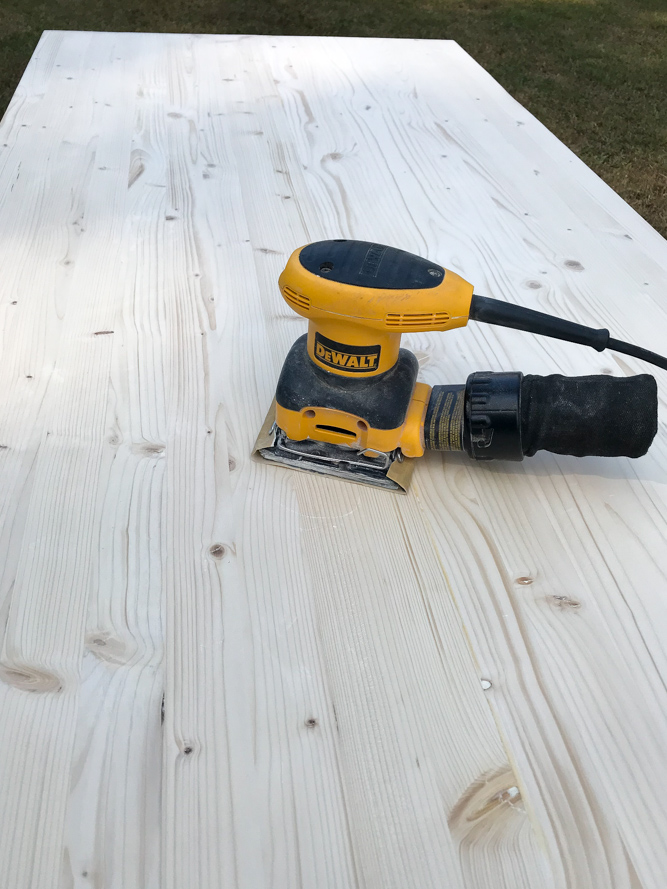
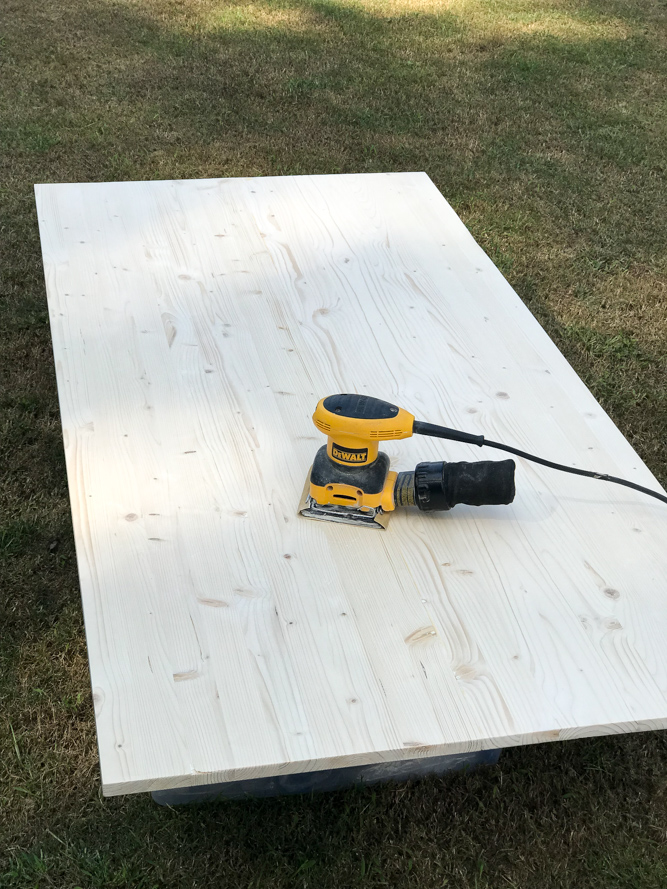
I was so pleasantly surprised at the way it turned out. You cannot see even the slightest seam where the two boards were joined together. Don’t you just love when something turns out the way you had envisioned?!
Make Room for Water Valves
When we took the countertop upstairs we realized we would need to make a small cut in the countertop to allow room for the water valves.
We measured the area surrounding the water valves and cut it out using a jig saw. Don’t do what I’m doing in this photo: working barefoot, wearing no safety goggles, and using a storage bin as a work bench. Do as I say and not as I do!
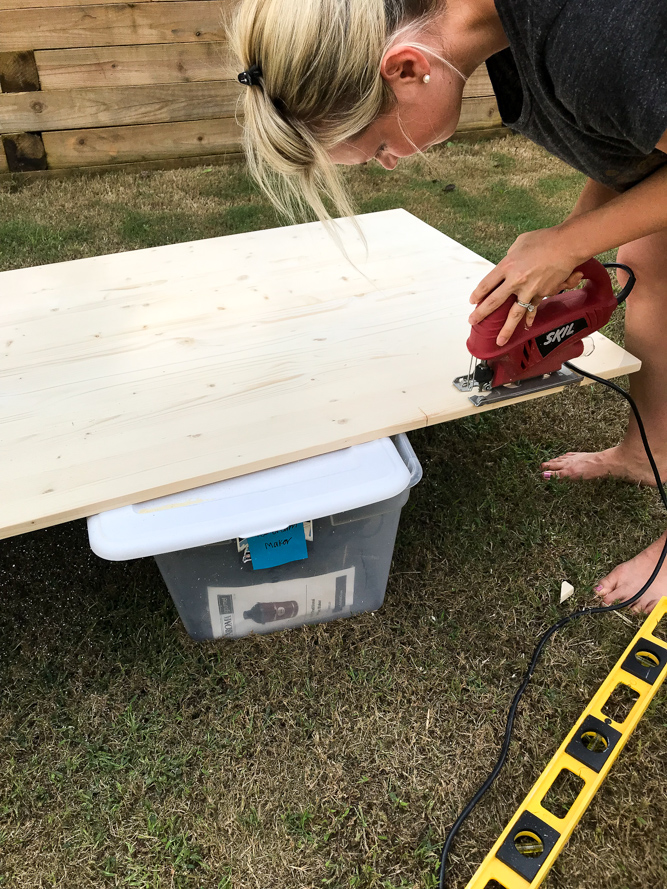
We cut the area just large enough to access the water valves.
Stain Countertop
The countertop was now ready to be stained so we took it into the garage and set it down on one of my go-to DollarTree drop cloths that I talk about here.
I used an old t-shirt to apply two coats of Minwax Natural stain. (Once again, working during nap-time with my baby monitor in sight!)
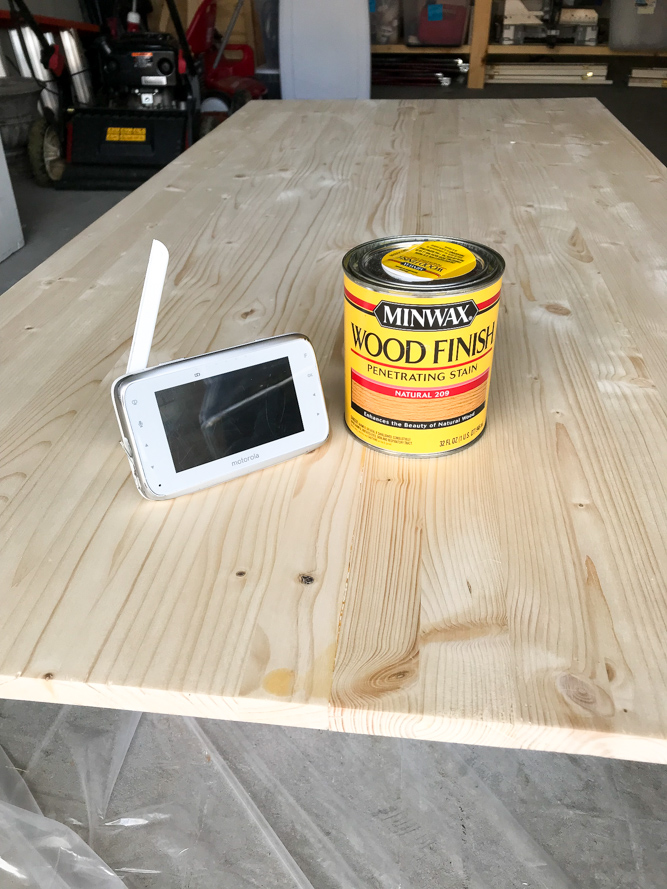
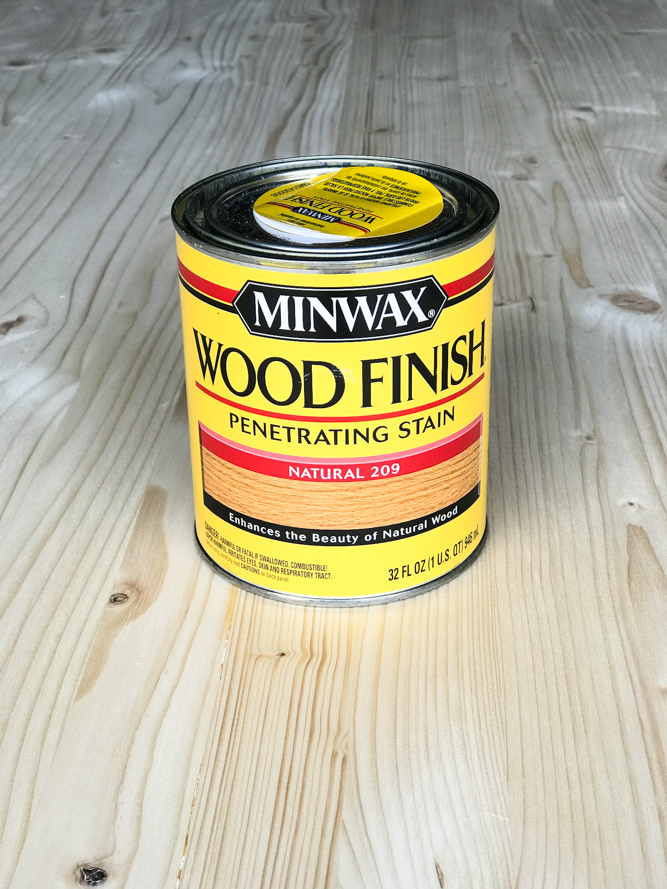
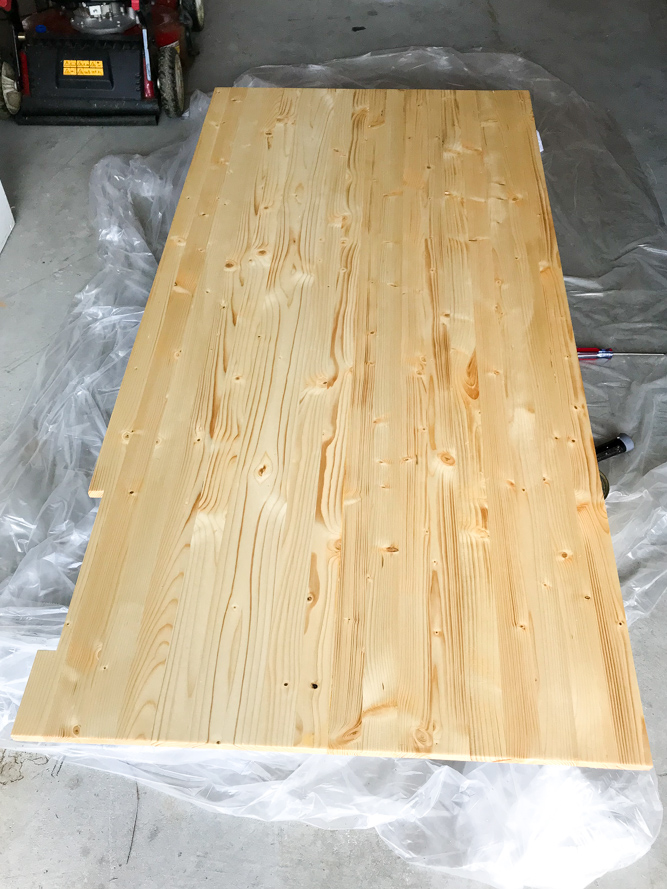
The stain is very subtle and just simply brings out the natural color and beauty of the wood. We left it in the garage and let it dry completely overnight.
Install Countertop on Ledger
The next day we took the countertop upstairs and I wish I could say it slid right into place, but our walls are so crooked and bowed (thank you Taylor Morrison) that we had to do a lot of maneuvering and a little destruction of the sheetrock to get it set in place. We secured the countertop into the ledger using construction screws.
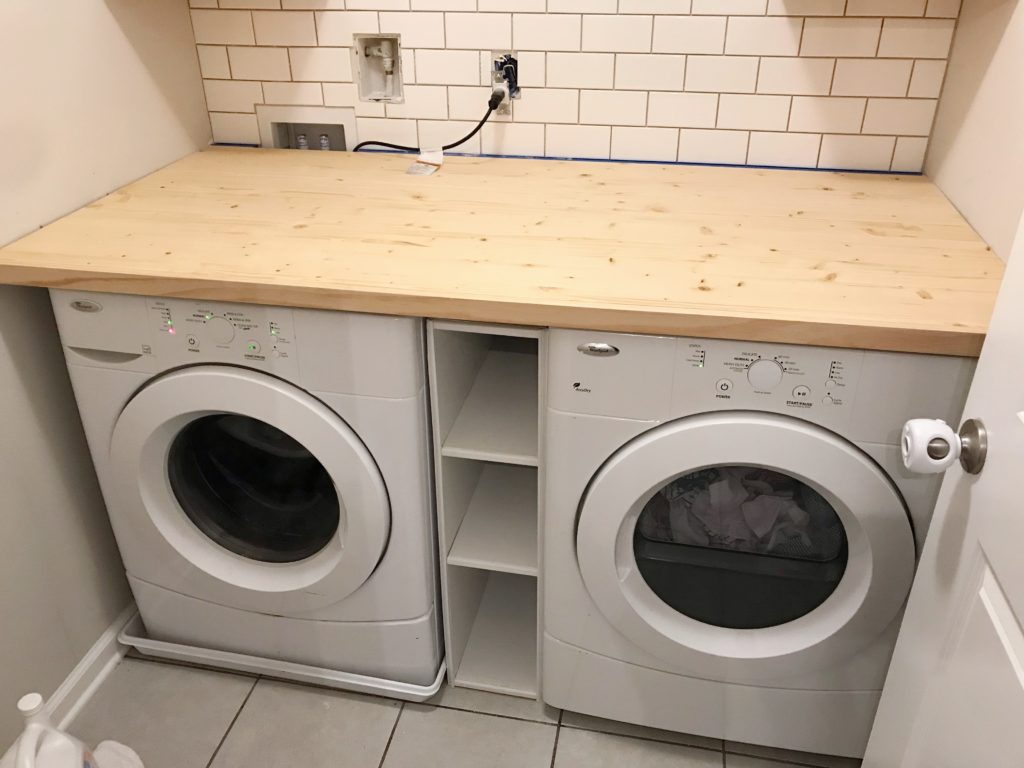
Once I saw the countertop in the laundry room I thought it needed a “trim” piece to finish the front edge so to speak. We added a 1×3 to the front of the countertop using pocket holes in the same way I described above. It finishes the countertop edge and makes the countertop look much more substantial.
Seal with Polyurethane
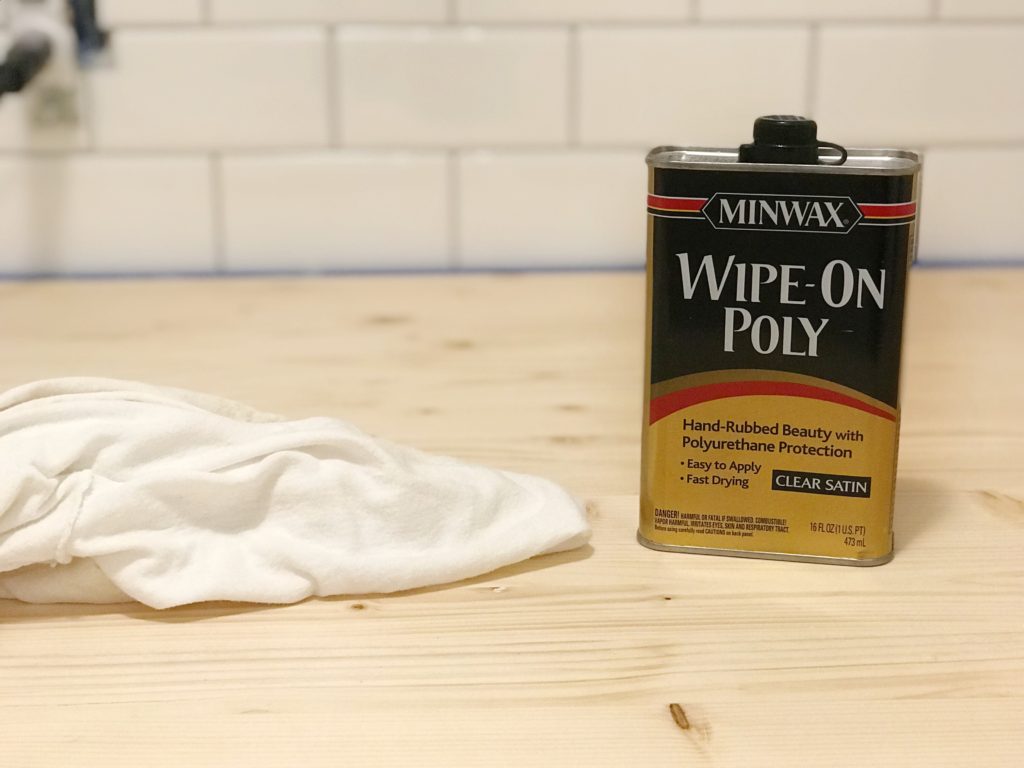
I sealed the countertop with polyurethane to provide durability and protection from wet laundry. I prefer to use wipe-on polyurethane because it seems to go on smoother and does not leave any brush marks as compared to traditional polyurethane. I applied it with an old t-shirt and let it cure per the directions on the bottle.
DIY Wood Countertop: Done!
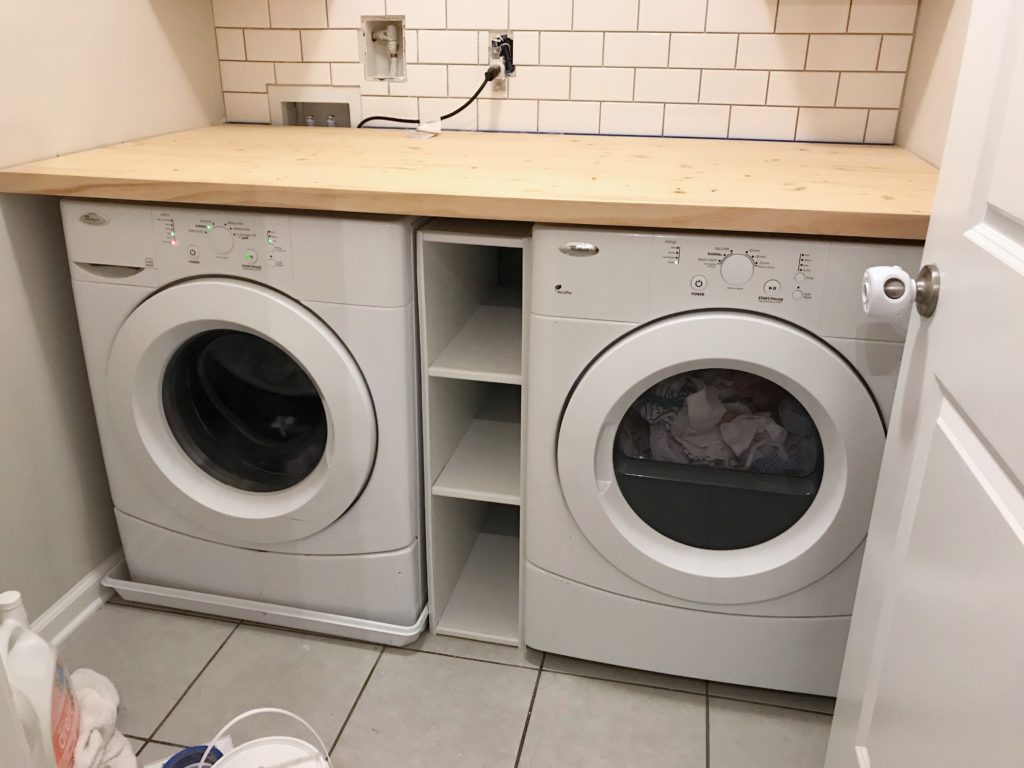
The DIY wood countertop is officially done and I love the way it turned out. It was certainly a gamble but I’m so glad we took a chance here. We have a beautiful wood countertop that gives off the same look and feel as butcher block for an all in cost of around $50. You can’t beat that!
Punch List
Looking at our to-do list it doesn’t look like we made much progress over the past week but the countertop was arguably the largest project in this room so I am glad to have it behind us.
Clear out room to start from scratchRemove wire shelvingPurchase wall cabinetsHang wall cabinets to provide useable storageFinalize countertop choiceInstall countertop to provide useable folding and sorting space- Install subway tile on the back wall
- DIY floating shelf between the two wall cabinets for extra storage
- Install rod between wall cabinets for hanging clothes
- Purchase and install cabinet hardware
- Purchase and install new light fixture
- Incorporate hanging laundry totes to utilize wall space and clear the floor of clutter
- Purchase rug
- Accessorize!
Next Week
Over the next week we will be adding a floating shelf between the two wall cabinets as well as tiling the back wall (as you can see in the last two photos I got a head start on that!) That’s a lot to get done in the next week (especially since we are going out of town) so wish us luck!
In the meantime be sure to follow along on the official ORC blog page and on Instagram. See you next week!
![]()