DIY Tutorial: How to Make Custom Vinyl Silhouette Pillows
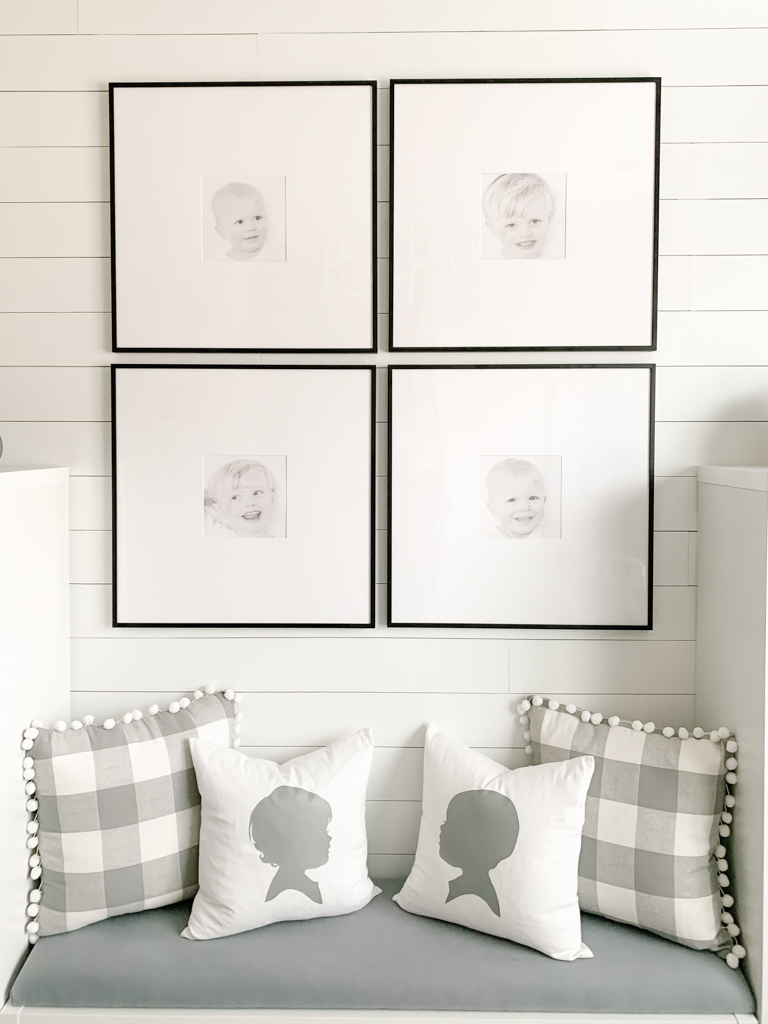
Just go ahead and call me the crazy silhouette lady : ) After the boys had their silhouettes done I loved them so much that I started putting them everywhere. I hung them on my walls, painted them on pumpkins and Christmas ornaments, and even put them on two pillows in the playroom.
I get asked about these pillows so frequently that I put together a quick tutorial to show you how to make your own! Spoiler alert: they are so easy and there is no fancy craft equipment (i.e. Cricut or Silhouette) required!
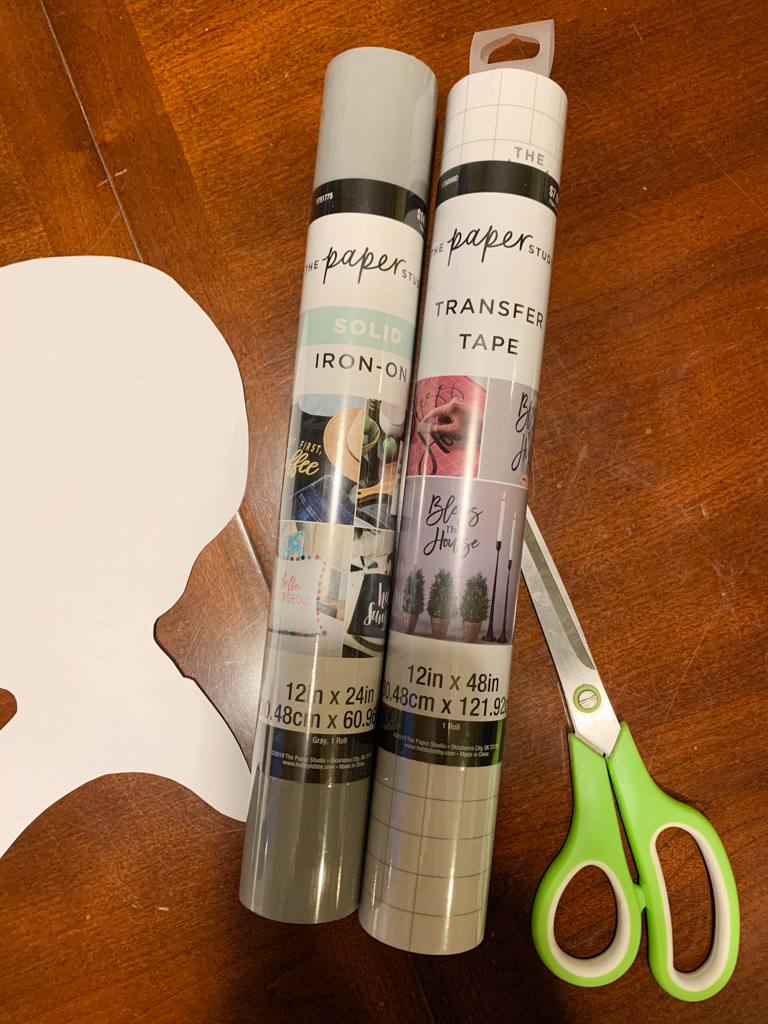
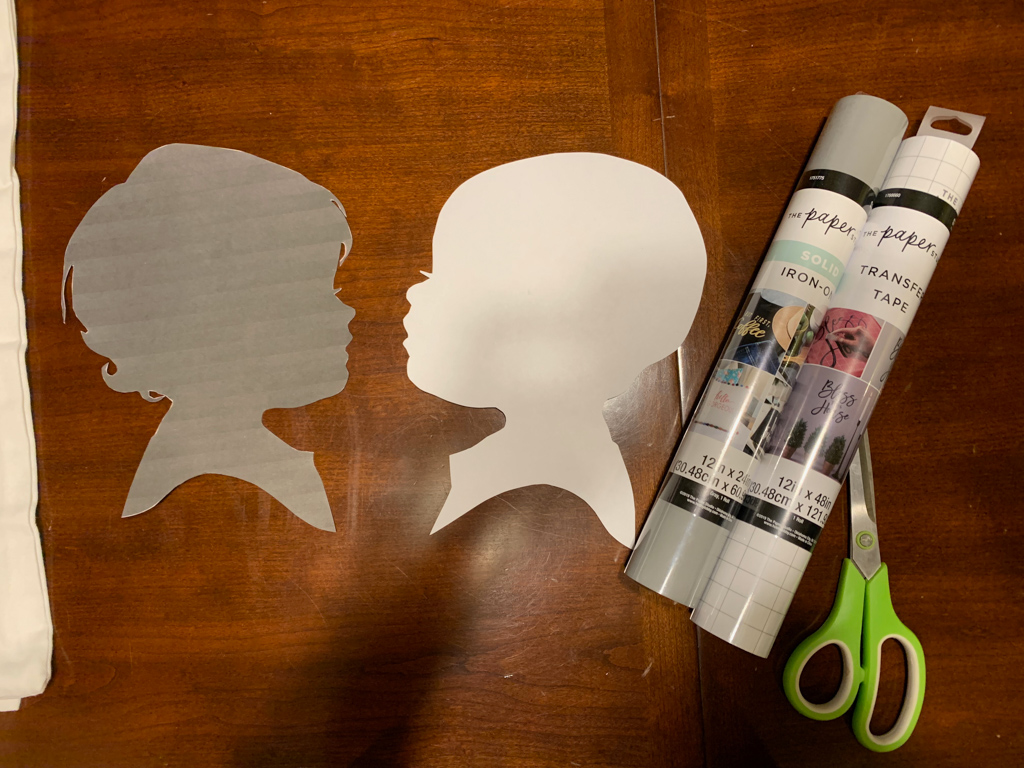
Custom vinyl Silhouette Pillows: What you need
This post contains affiliate links for your convenience. If you make a qualifying purchase I may receive a small commission at no extra cost to you.
- Silhouette photo of your child (if you do not have one, this post explains how you can easily create one yourself!)
- White pillow covers
- Permanent Vinyl
- Scissors
- Detail Scissors
- Iron
- Pillow Inserts
- Pen or Marker

Step one: EnLARGE AND PRINT SILHOUETTE ONTO PAPER
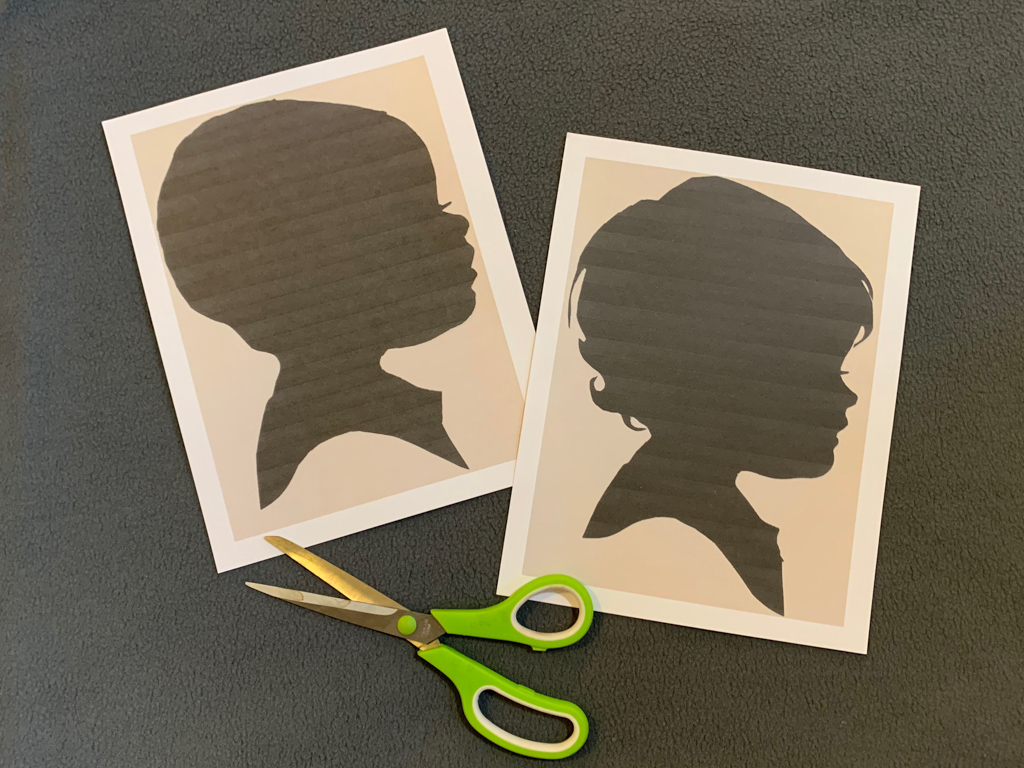
Import your silhouette photo into Word and enlarge it to the size you want it to be on the pillow. As reference, I used 18×18 pillow covers, and my silhouettes are approximately 10 inches tall.
Print your enlarged silhouettes onto paper. I recommend printing onto a thicker paper like cardstock – this will make it easier to use as a “stencil.”
Don’t worry about the color or quality of the print, you are simply using the outline!
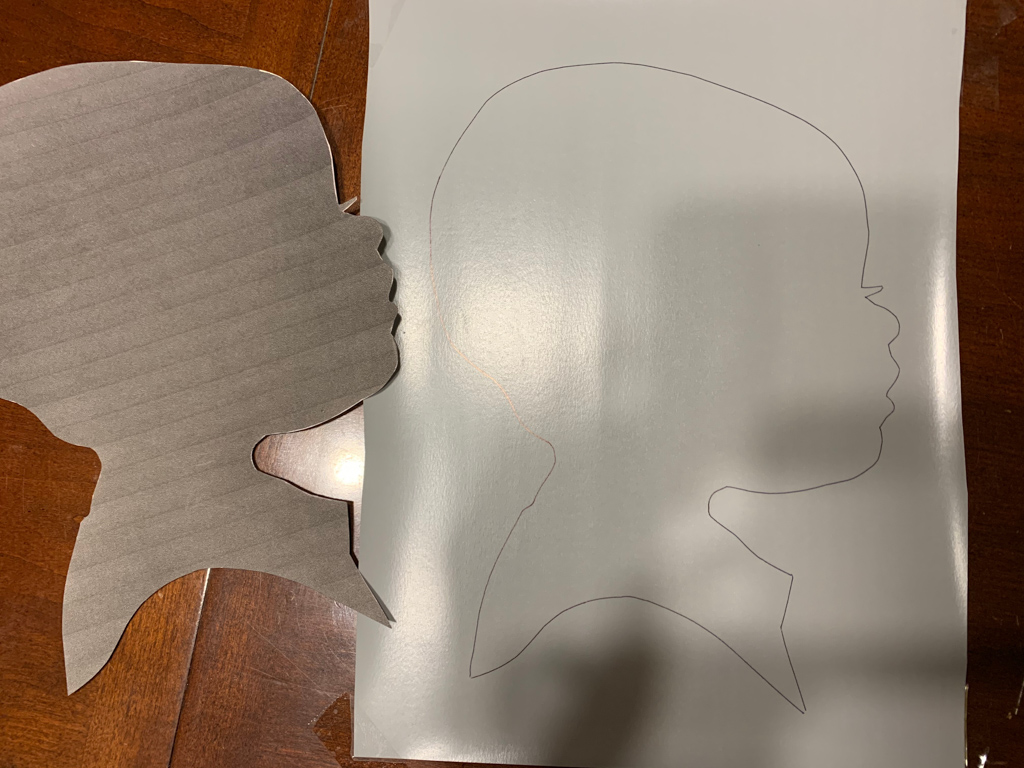
Step TwO: Cut Out the silhouette outline
Use scissors to cut out the outline of the silhouette. I used detail scissors for the intricate details.
Step Three: Trace silhouette outline onto vinyl
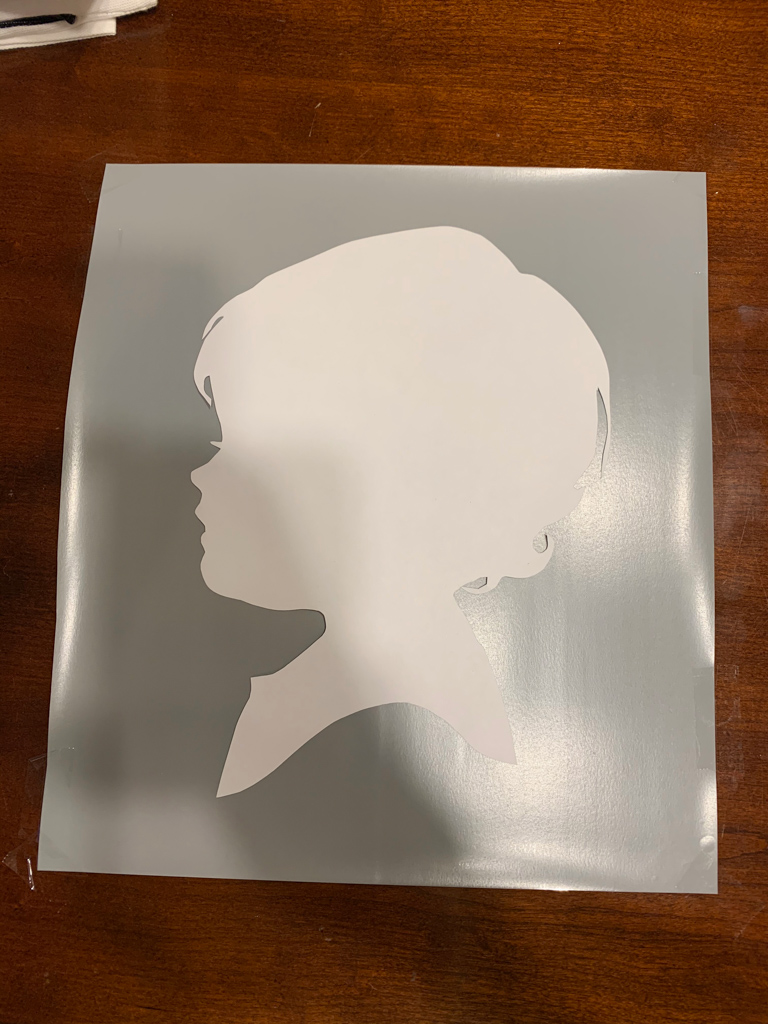
Place your cut silhouette outline directly on top of your permanent vinyl.
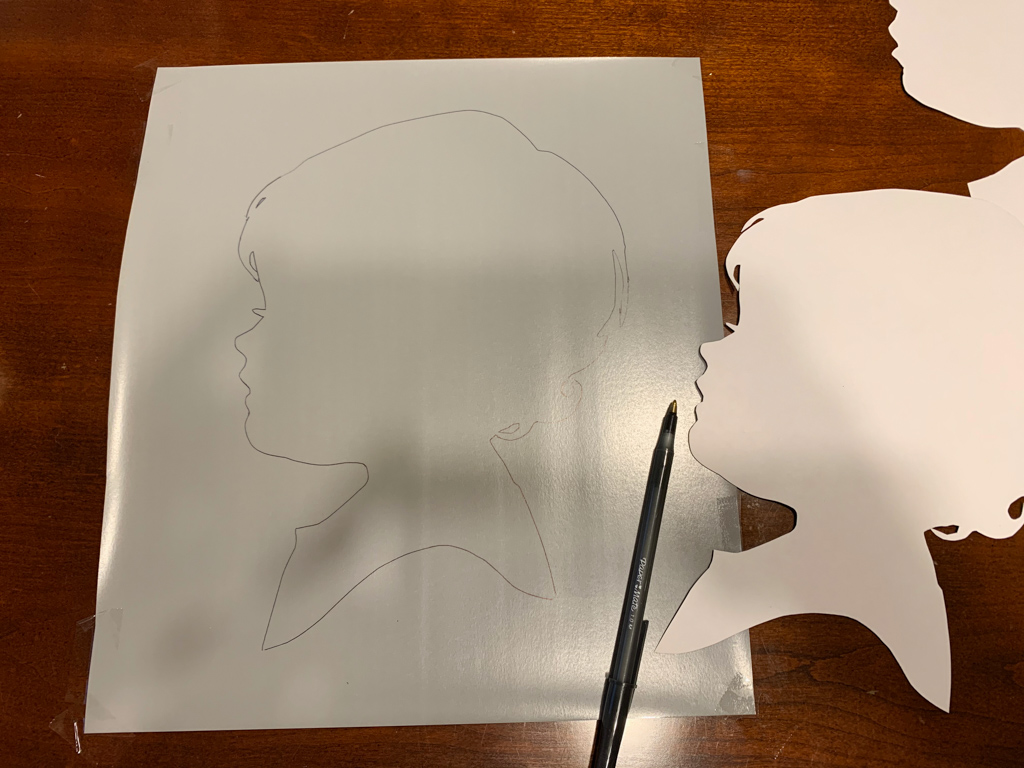
Use a pen to trace the outline directly onto the vinyl.
STEP Four: cut out vinyl silhouette and center on pillow cover
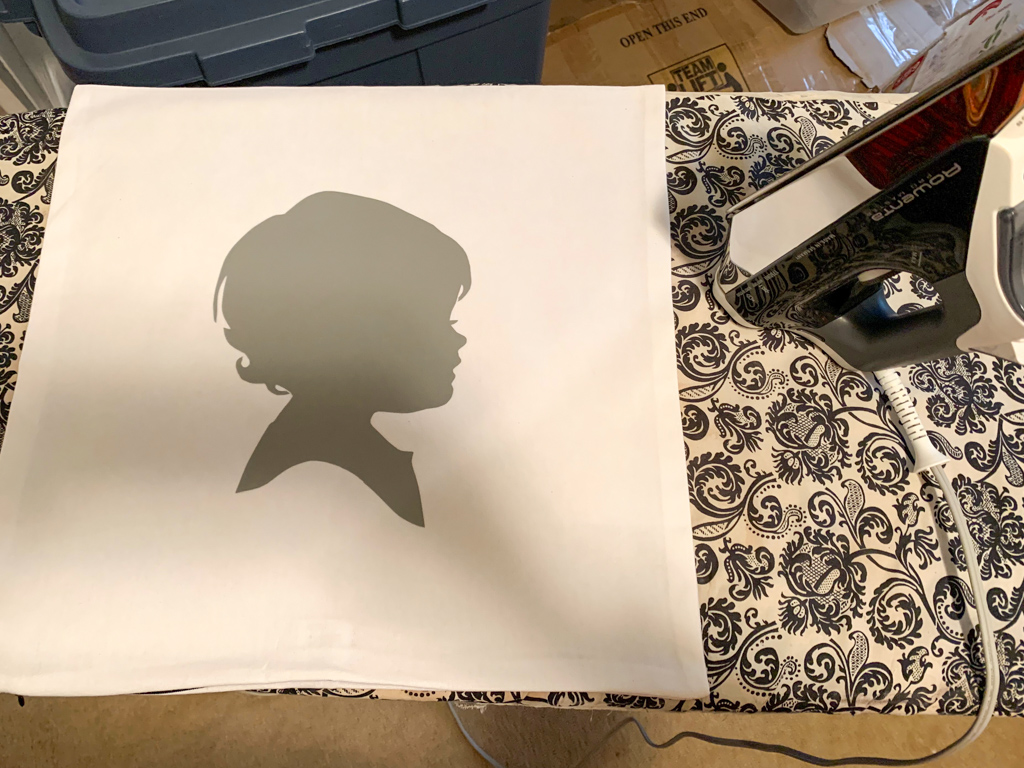
Cut out the vinyl silhouette and center it on the pillow cover.
step five: Adhere vinyl to pillow cover
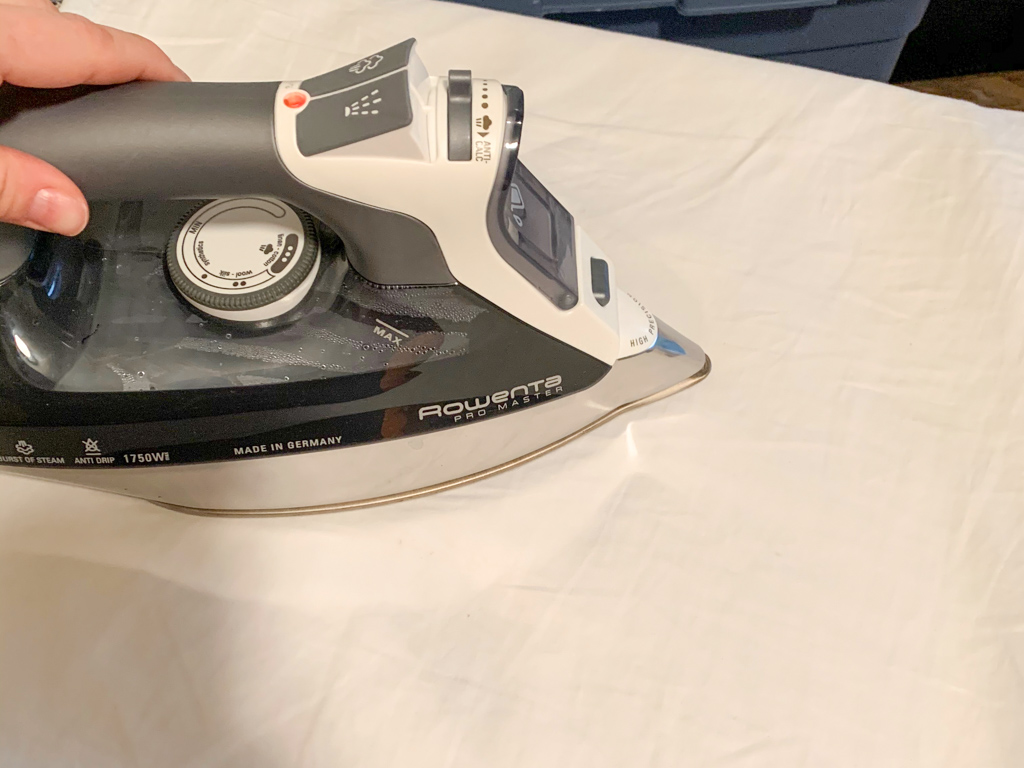
Follow directions per vinyl company for permanently adhering vinyl to pillow cover.
For this particular vinyl, I placed a pillow case directly over the vinyl and ironed on medium-high heat with no steam.
step six: remove clear film
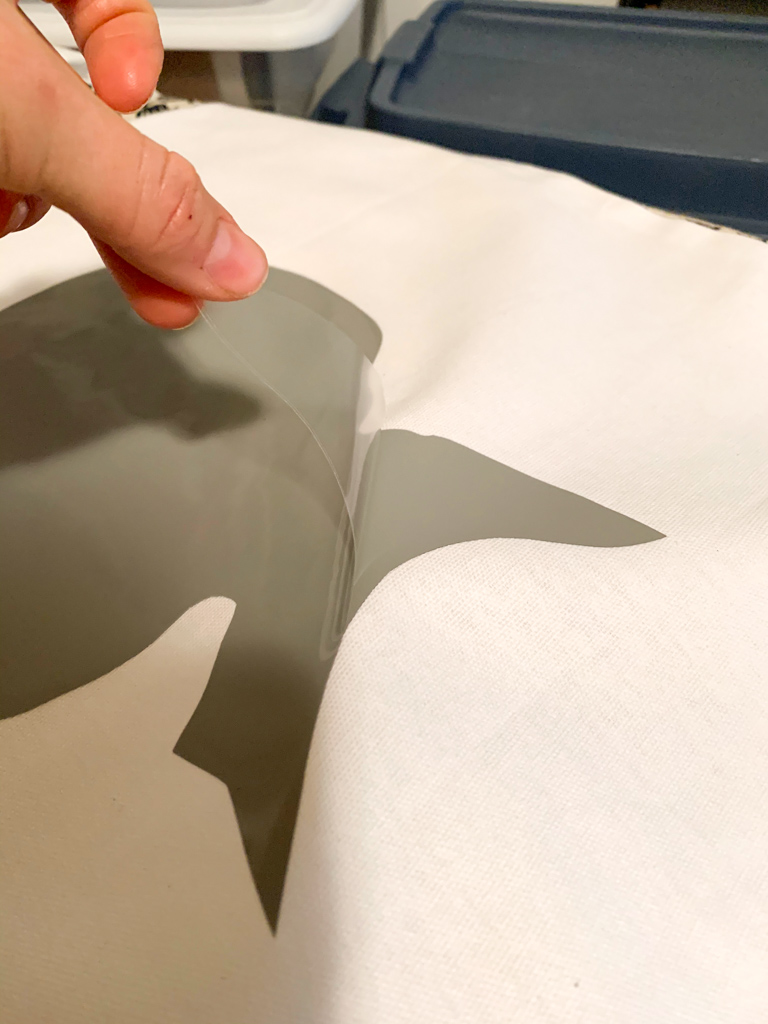
After ensuring that all of the vinyl is securely adhered to the pillow cover, remove the clear film.
It should remove very easily. If it doesn’t, or if your vinyl begins to pull up on the edges, repeat step five as needed until all vinyl is securely adhered to pillow cover.
step seven: add pillow inserts

And that’s it! Add your pillow inserts and you have the cutest custom silhouette pillow capturing those sweet baby features 🙂
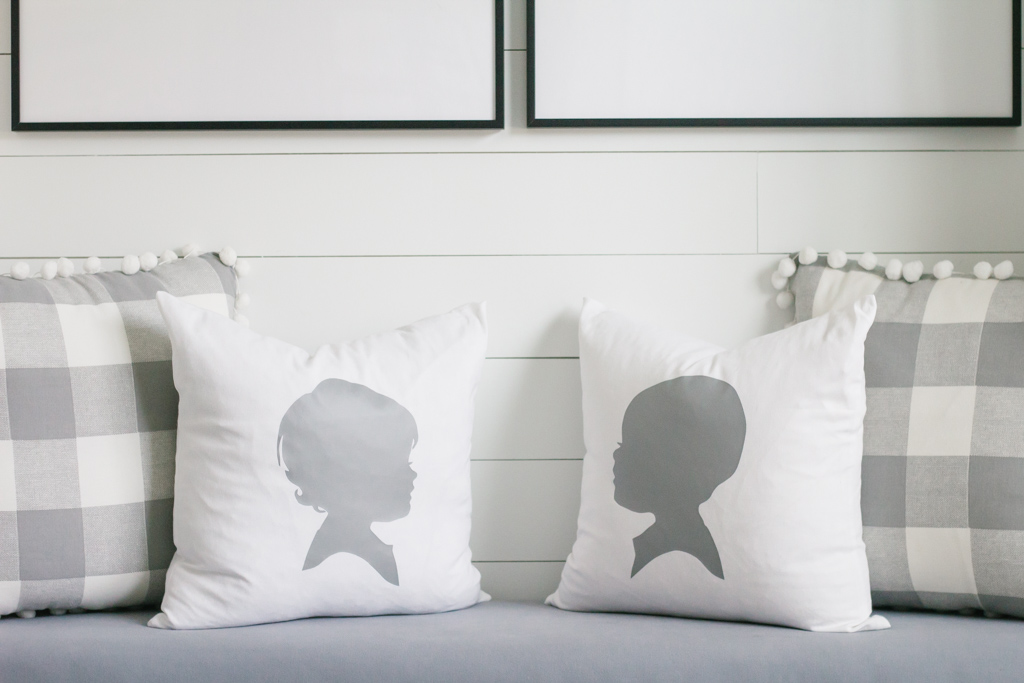
I couldn’t love them more!
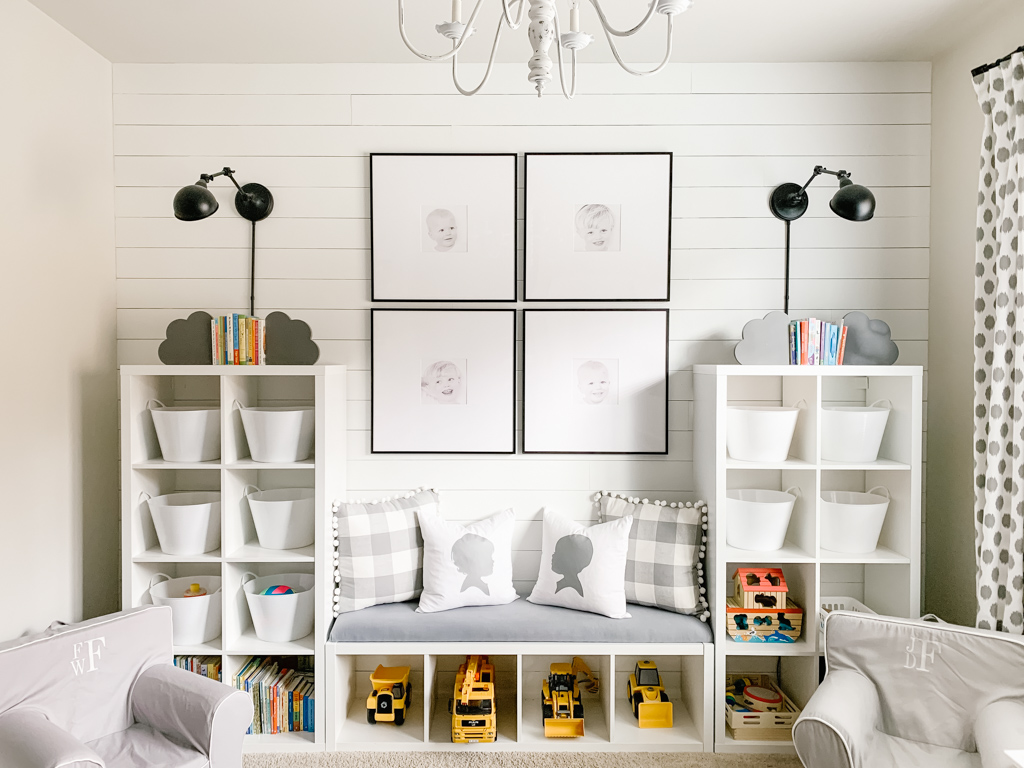
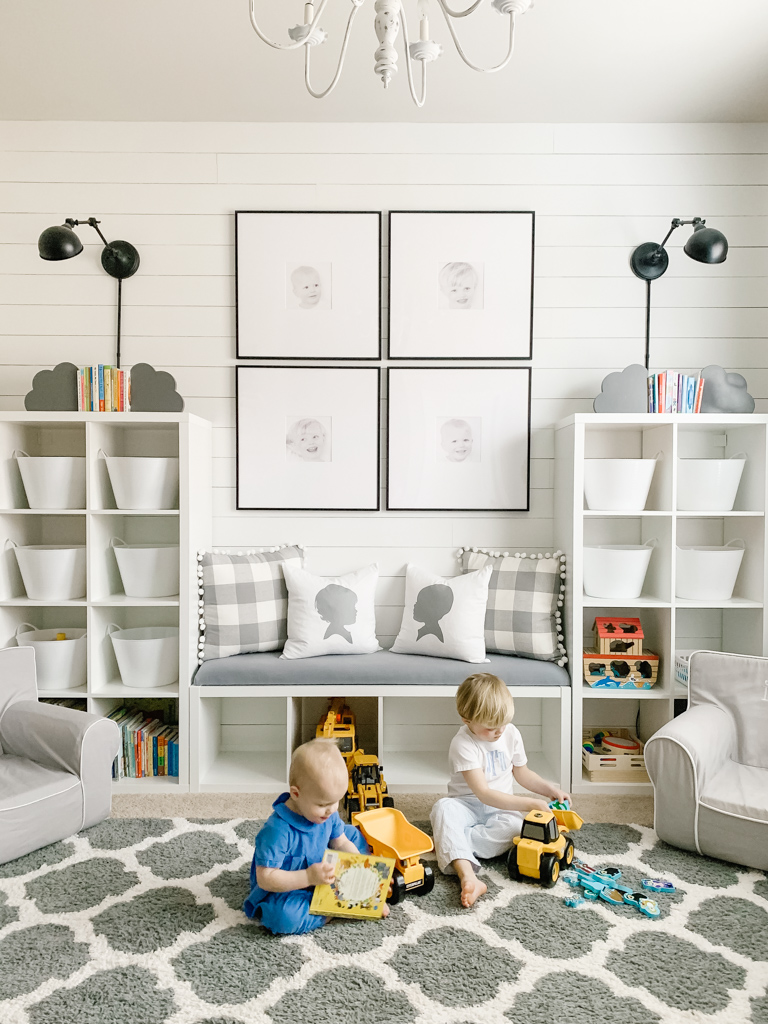
View the full playroom tour HERE.
Shop the Post