How to Build an Easy + Inexpensive DIY Playground Border: Tutorial
Learn the easiest and most cost effective way to install a DIY playground border yourself in this step by step tutorial. This easy DIY playground border can be completed in one weekend using materials found at your local hardware store.
Easy + Inexpensive DIY Playground Border
We spent a lot of the Spring months prepping our backyard to get ready for summer. Our backyard has been pretty much unusable space since moving into our new home two years ago. Not ideal for a family with three boys who spend all their time outdoors!
This past Spring we were finally able to give it some love and make it a space where we love spending time as a family. We bought the boys a swing set, had stairs built from the back porch down to the backyard, had a fence installed, and lastly had hydroseeding done to finally get some grass growing. Mama was about sick of all the dirt!
It’s been a financial investment as well as a lot of physical work, but boy has it been worth it! The backyard is now the most used spot at our home. The boys spend hours out here on the swing set every single day, and one of my favorite things to do is drink my coffee out on the back porch in the morning while the boys play in the backyard.
The last step was to install an easy DIY playground border around the swingset. There are so many different ways to build a DIY playground border. We did a good bit of research and ultimately decided on the method outlined below. This easy DIY playground border is the most cost effective and easiest method to install a playground border in just one weekend.
Backyard Swing Set Before DIY Playground Border
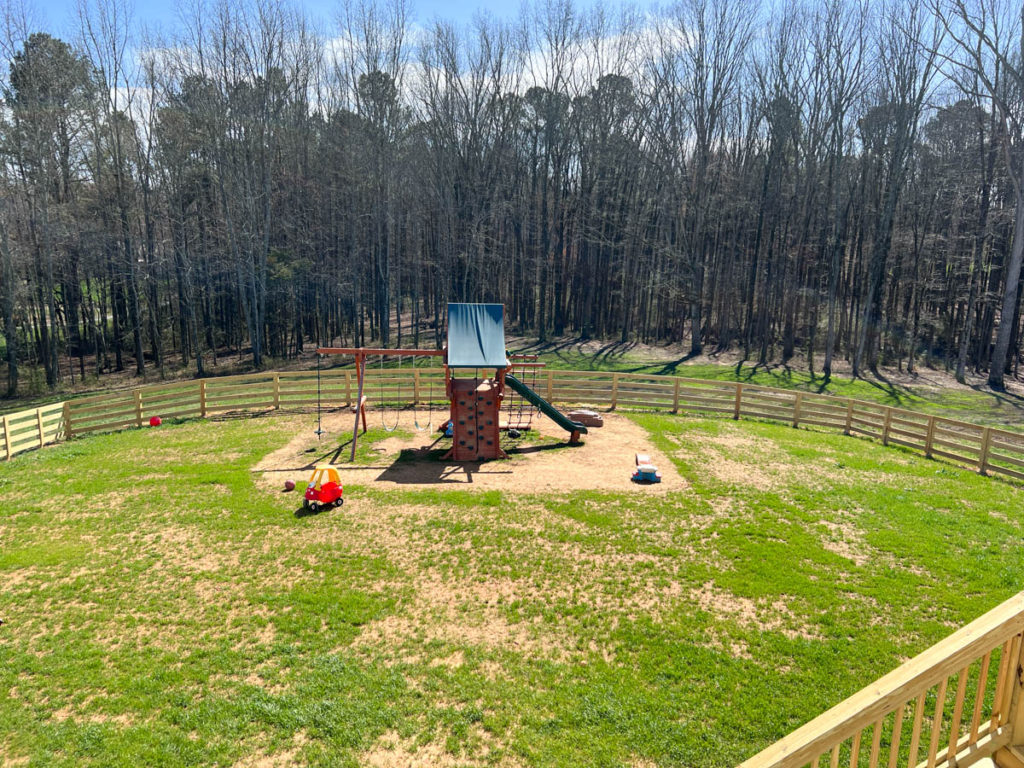
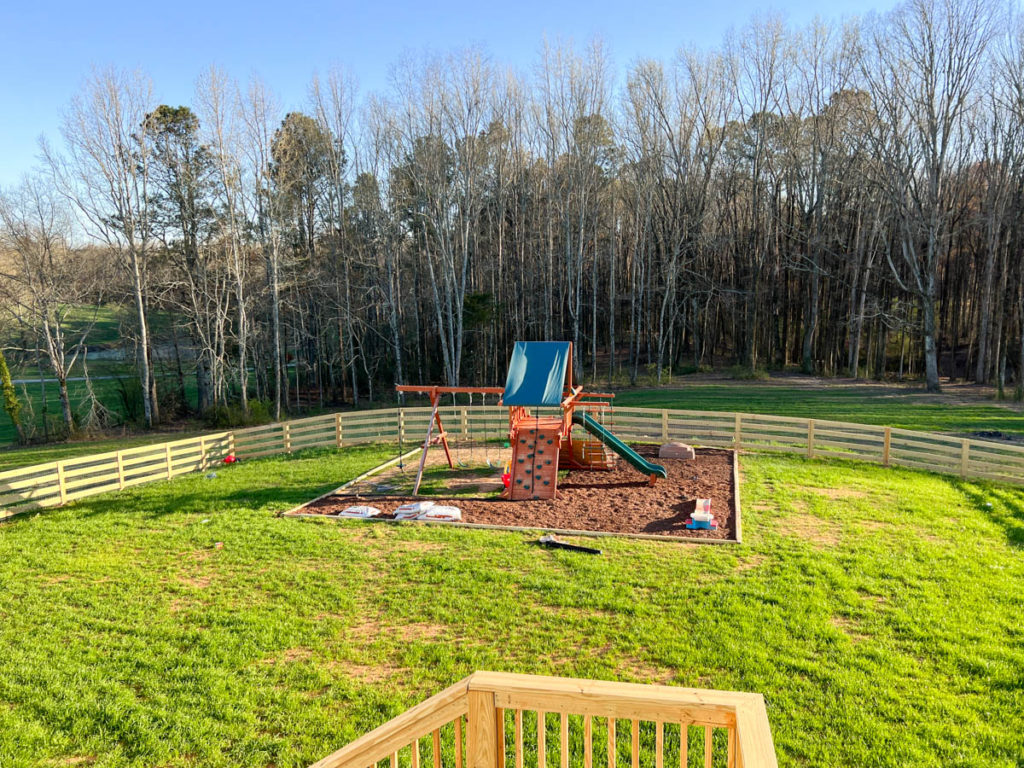
Here is a look above at where the backyard stood after buying a swing set, having the fence installed, and post- hydroseeding. This photo was taken soon after the grass started to come up as you can see by the scarce and bare spots yet to fill in.
I knew having grass under the swing set was not an option, so I set out to figure out the easiest way to make a border around the swingset. It’s a large area, so I needed something that would be cost effective and easy to install myself.
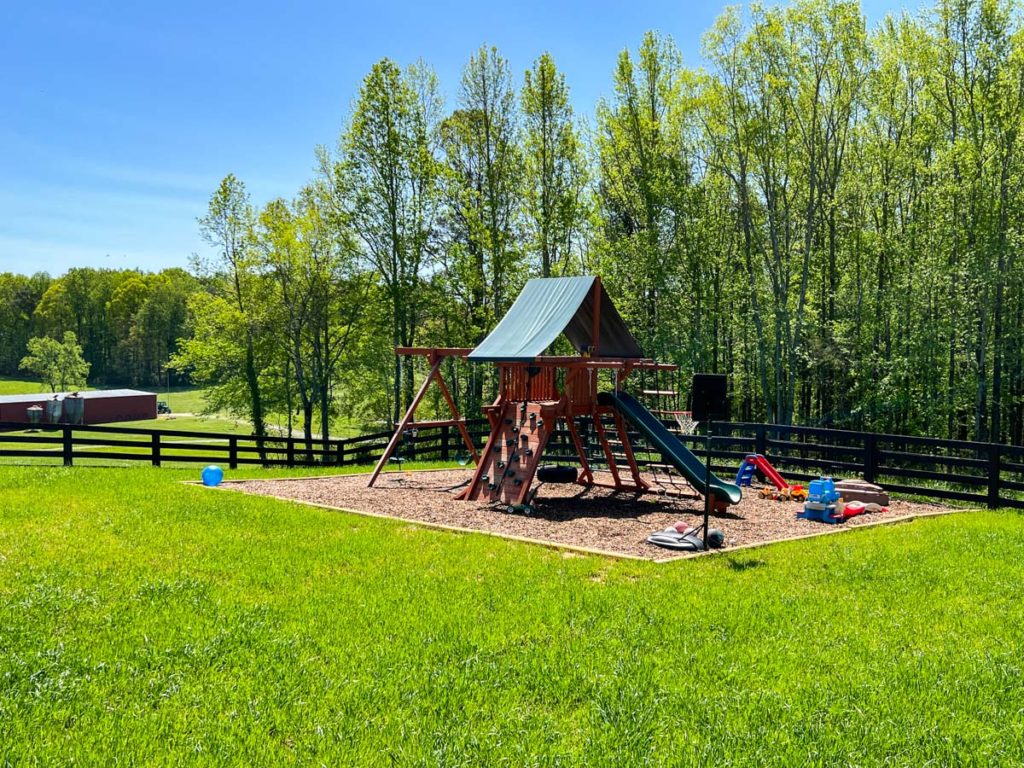
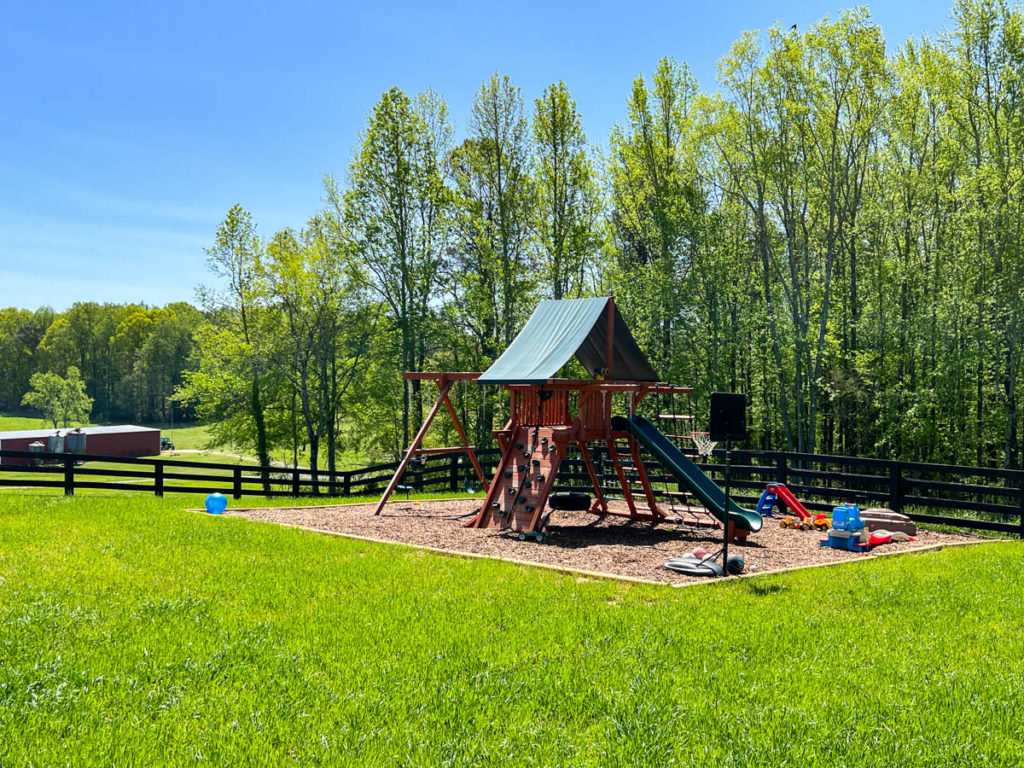
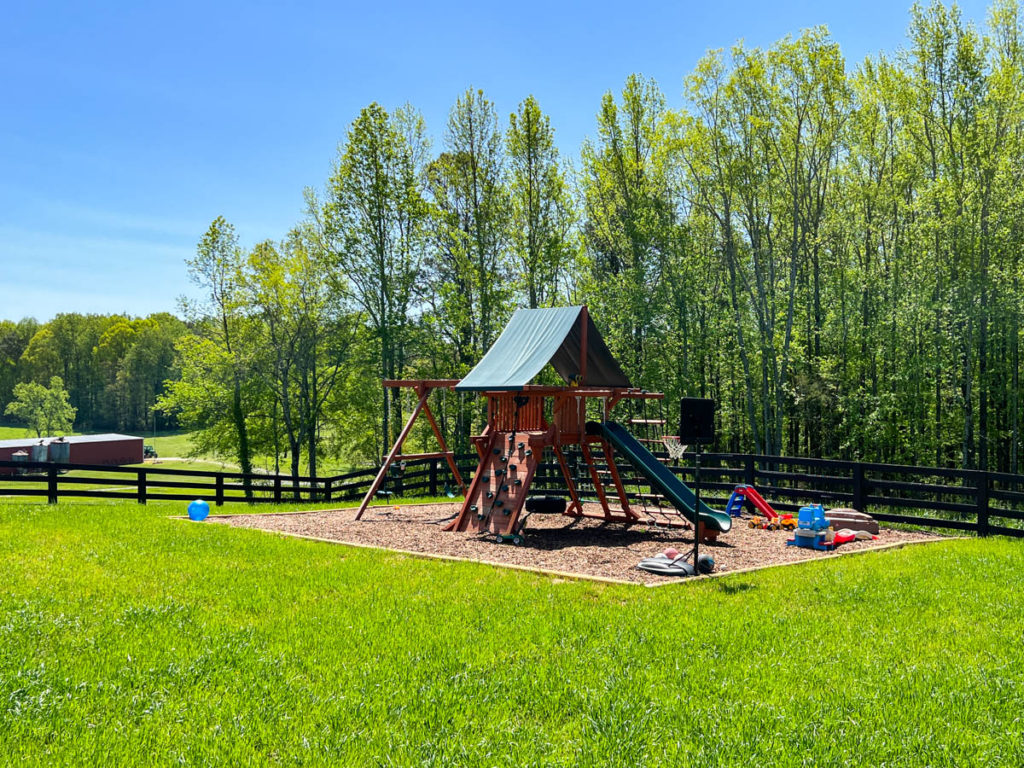
Below is a look at that same space just a few weeks later with an easy DIY playground border installed (and lush green grass that filled in!).
Easy DIY Playground Border: Materials List
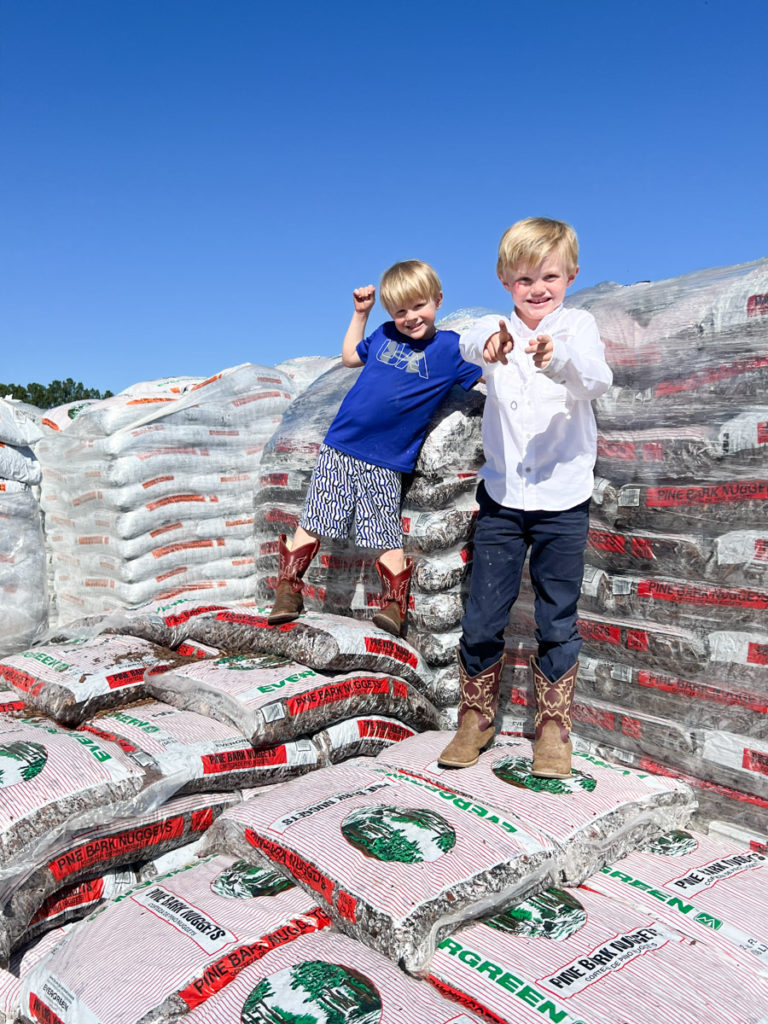
As you can see, the boys had a good time helping load up the playground border supplies in Daddy’s truck!
Here is a list of everything you will need to install your own easy DIY playground border:
- Hammer
- Scissors
- Measuring Tape
- Circular Saw
- Drill
- Fabric & Garden Staples
- Landscape Weed Barrier
- Galvanized Landscape Spikes
- Landscape Timbers
- Pine Bark Mini Nuggets
- Rake
shop easy diy playground border materials here:

Step one: cut landscape timbers for border
I am more of an “eyeball it” kind of person, so I started by laying out all of the landscape timbers on the ground in the general shape and location I wanted.
I continued to tweak the location and spacing until it was exactly the way I wanted it.
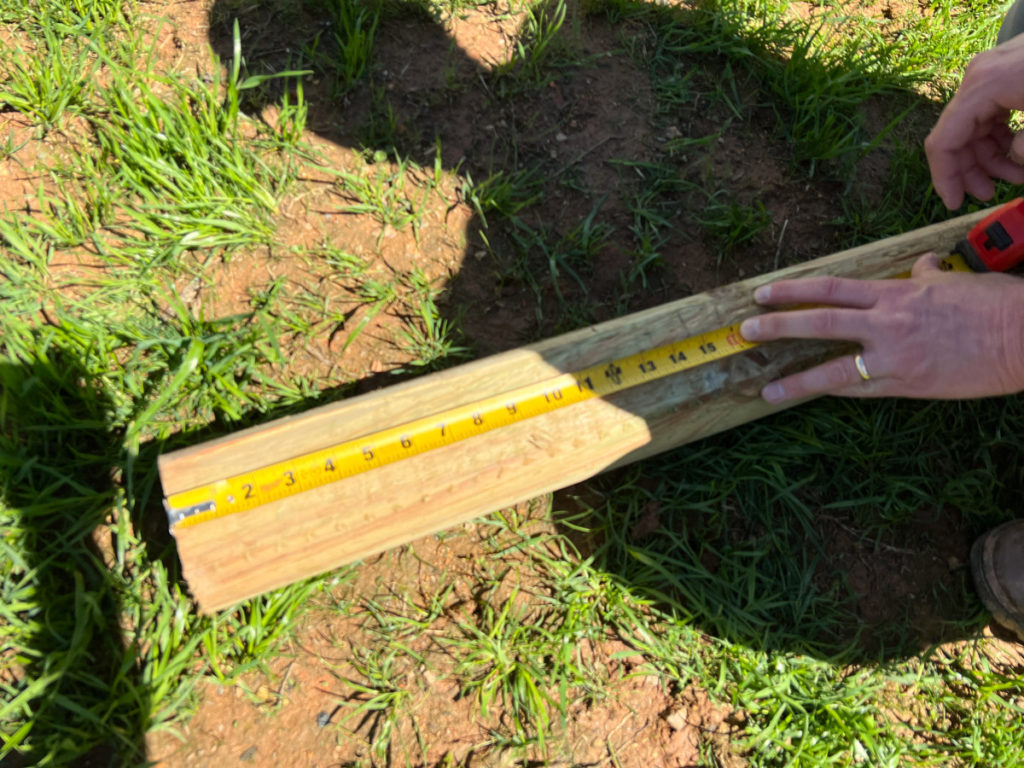
Chances are you will end up with a few landscape timbers that need to be trimmed to size. Use a measuring tape to measure and mark the length on the landscape timber.
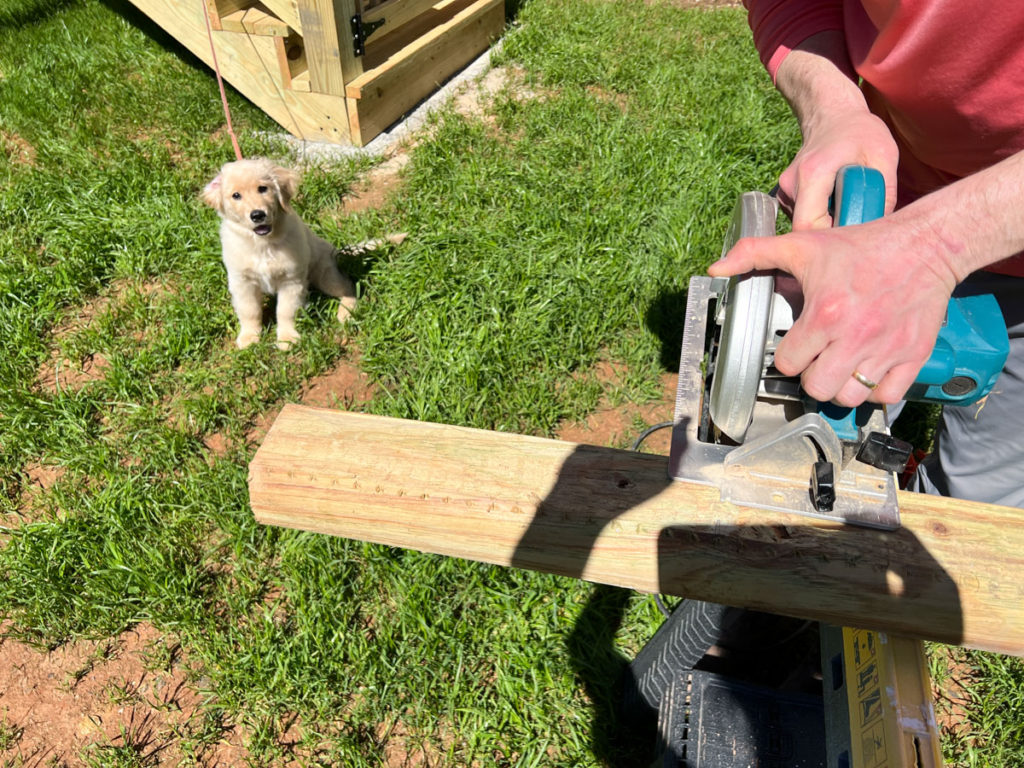
Next use a circular saw to cut the landscape timber to length.
Look at little Murphy in the background!!
step two: secure landscape timbers in place
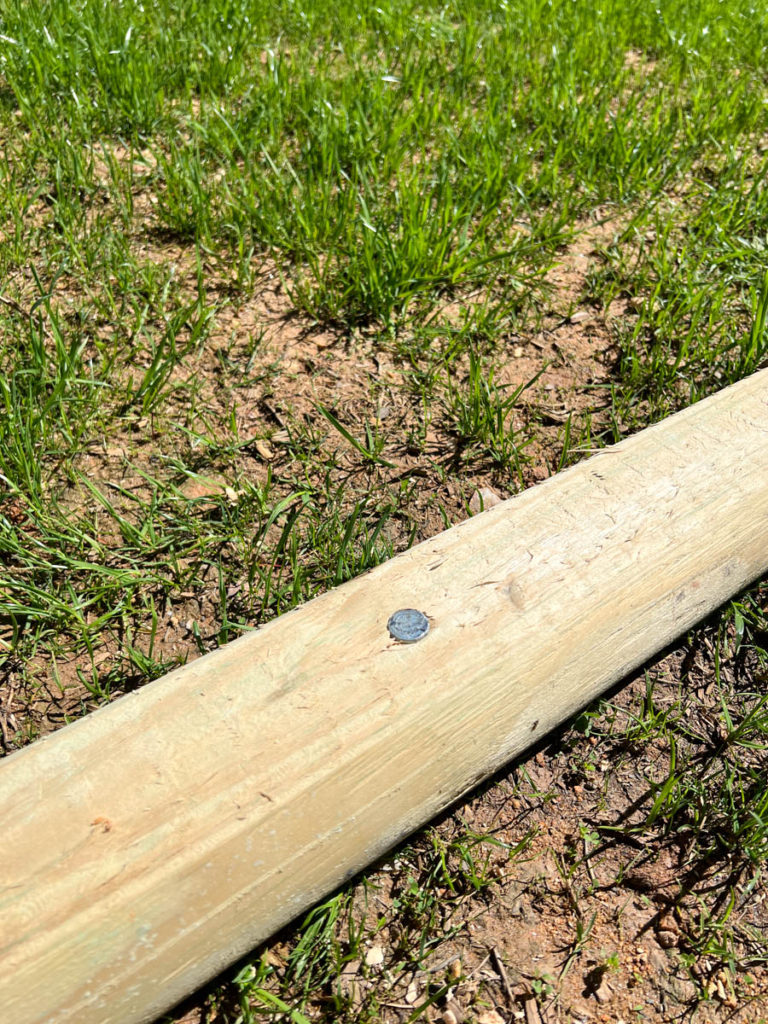
The easiest way to secure landscape timbers to the ground is with inexpensive galvanized landscape spikes.
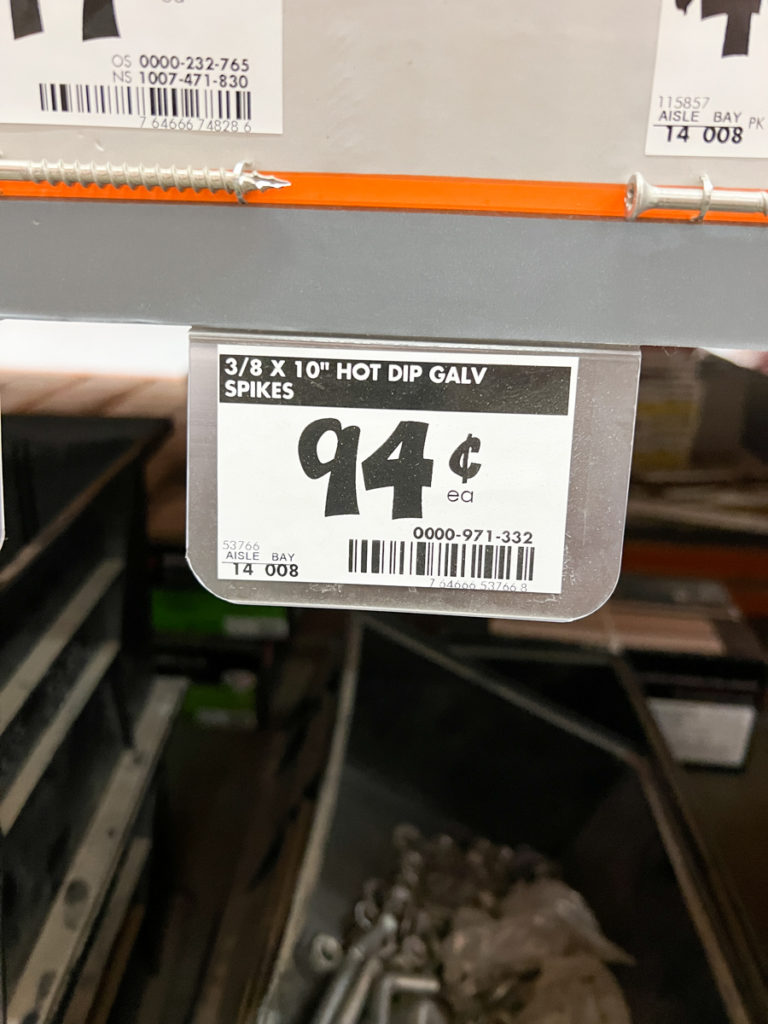
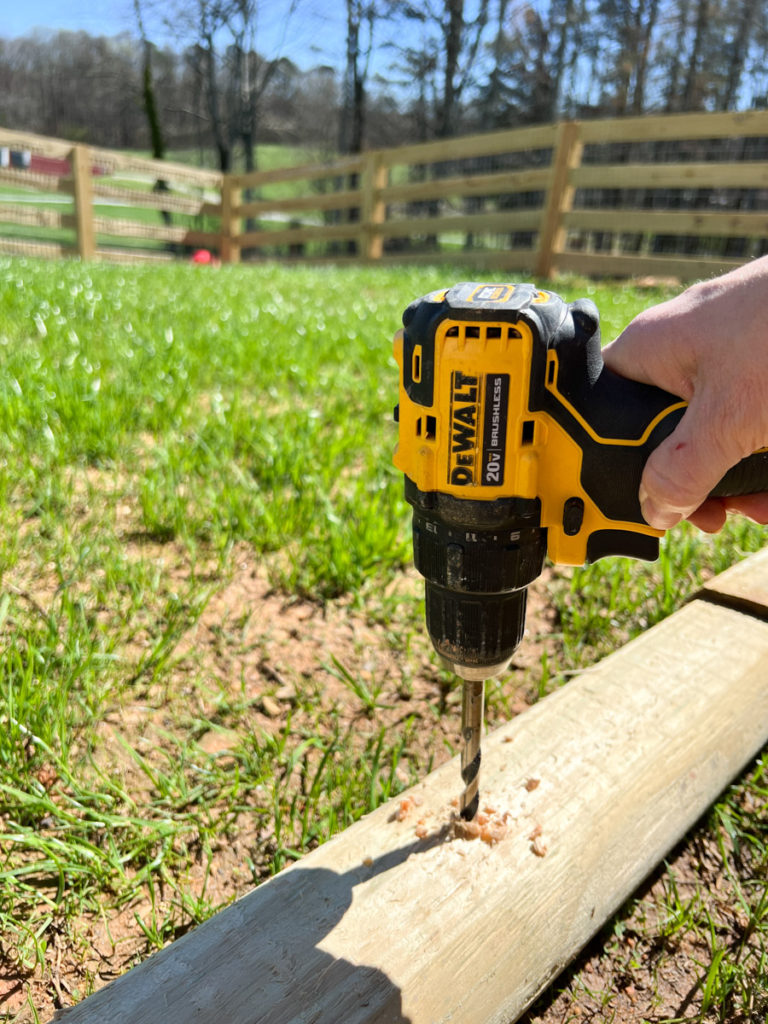
Start by drilling pilot holes in the landscape timbers every three to four feet.
I put a landscape spike on each end, as well as in the middle of each landscape timber.
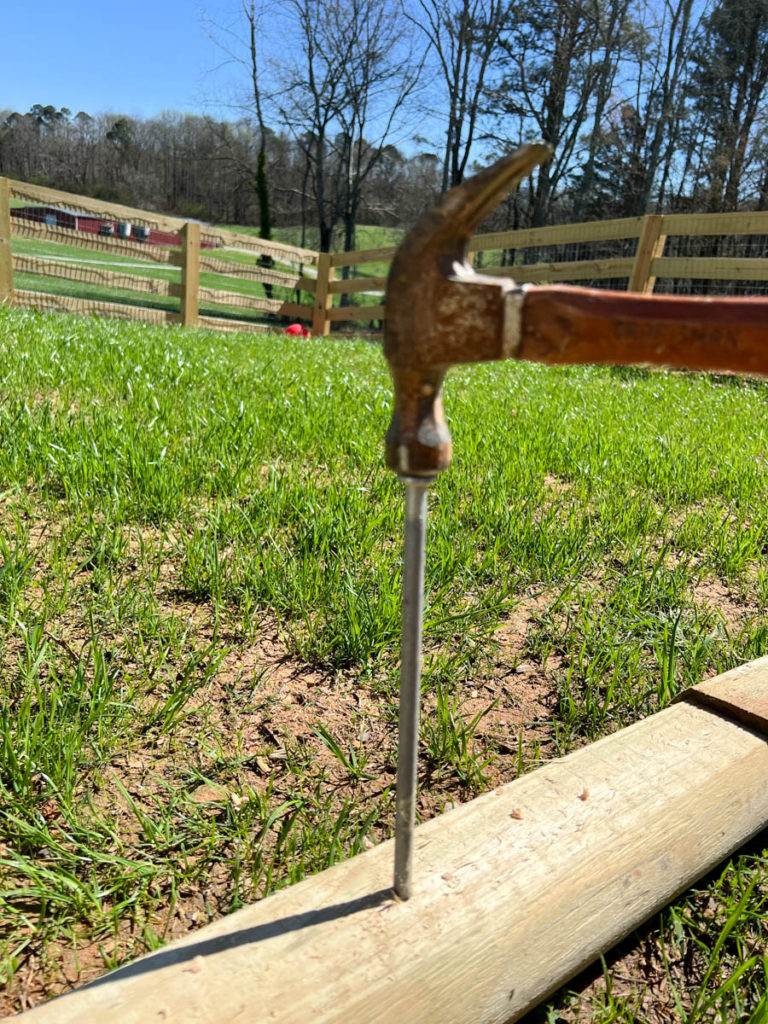
Next use a hammer to drive the landscape spike through the pilot hole and all the way into the ground.
Repeat this process until all of the landscape timbers are secured to the ground.
step three: install weed barrier
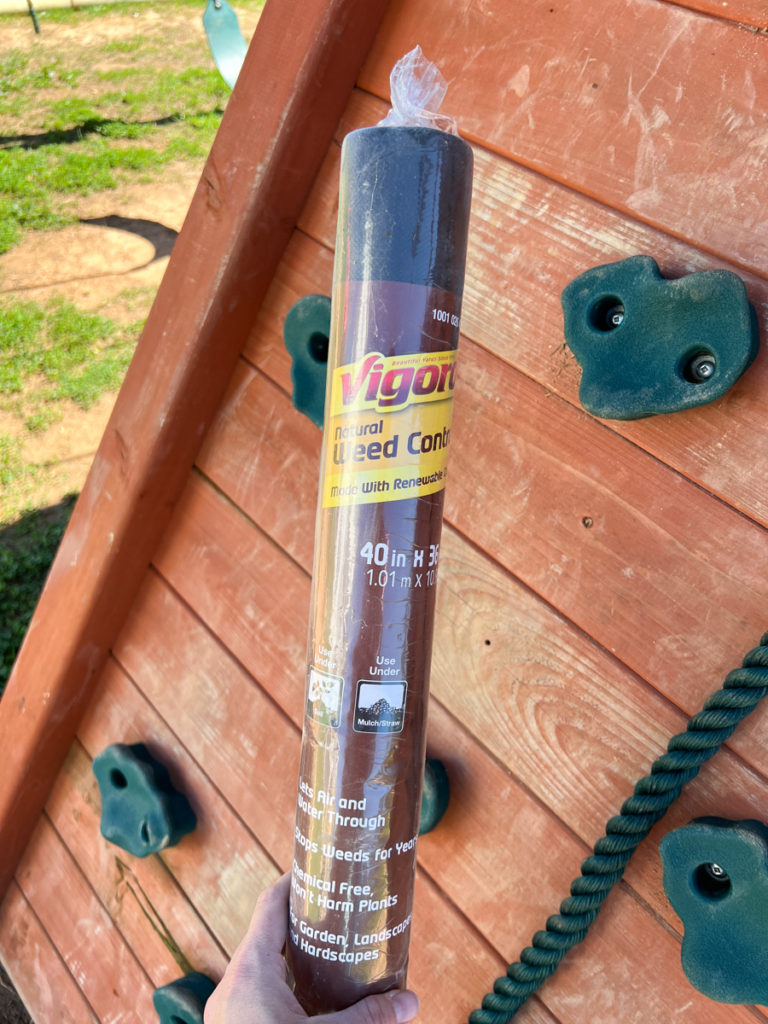
We chose to install a weed barrier over the ground to keep the weeds and grass from growing up into the playground area. Hopefully this will make for easier maintenance in the future!
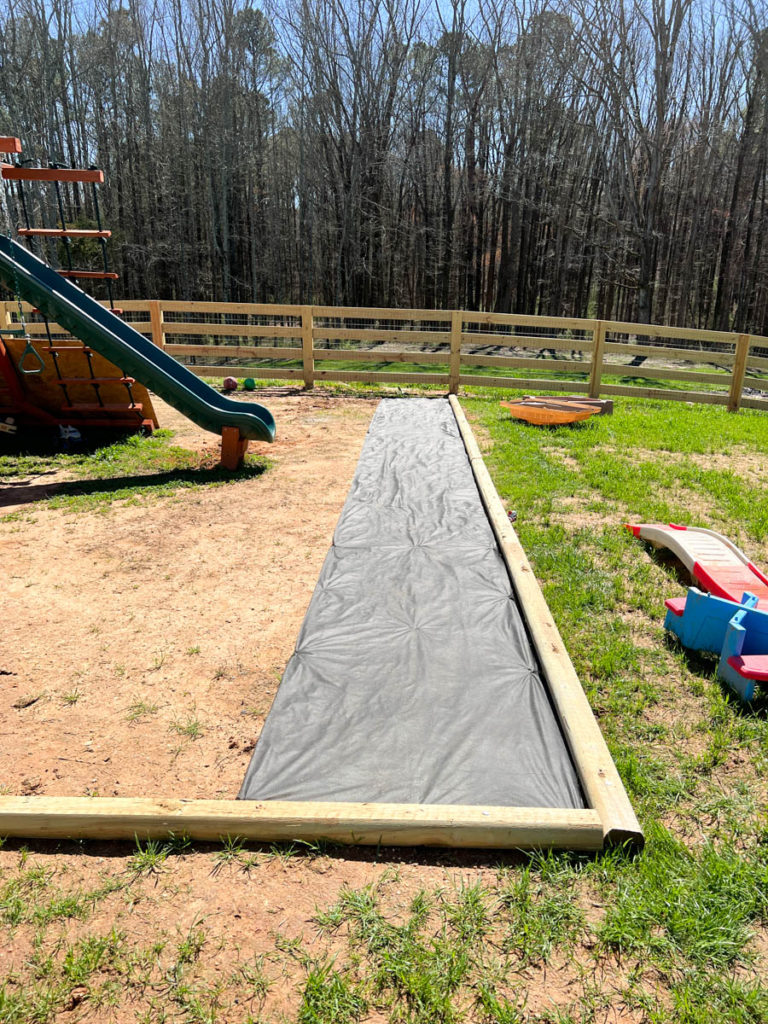
Choose a corner and start rolling out the weed barrier.
Be sure to overlap the edges of each roll a few inches.
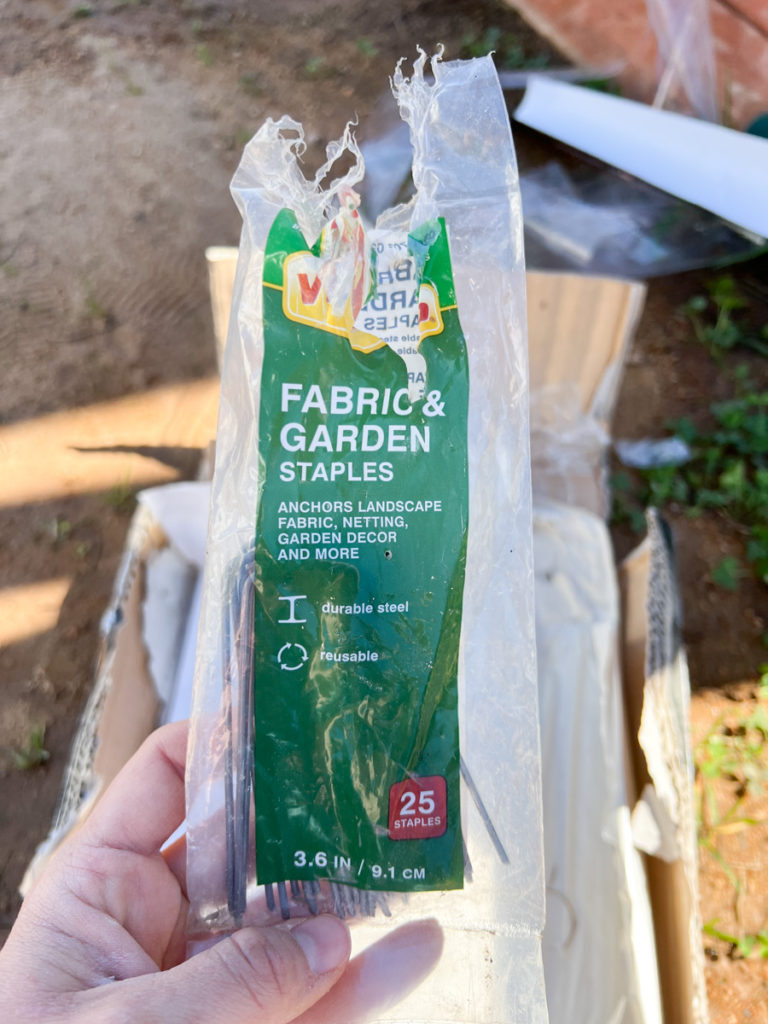
Use garden staples to secure the weed barrier into place.
step Four: Install pine bark
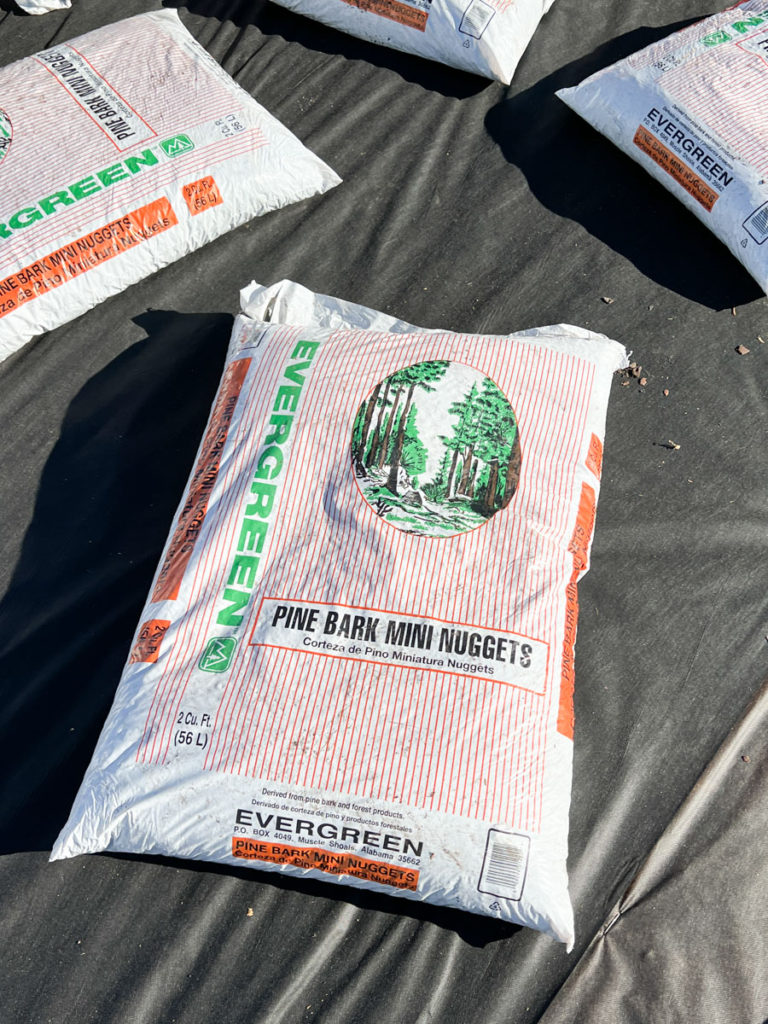
The last step is to fill the new bordered area with mulch or bark.
We chose these Pine Bark Mini Nuggets. I wanted something that didn’t have large or sharp pieces that could hurt the boys. These are small and relatively soft and have worked well so far.
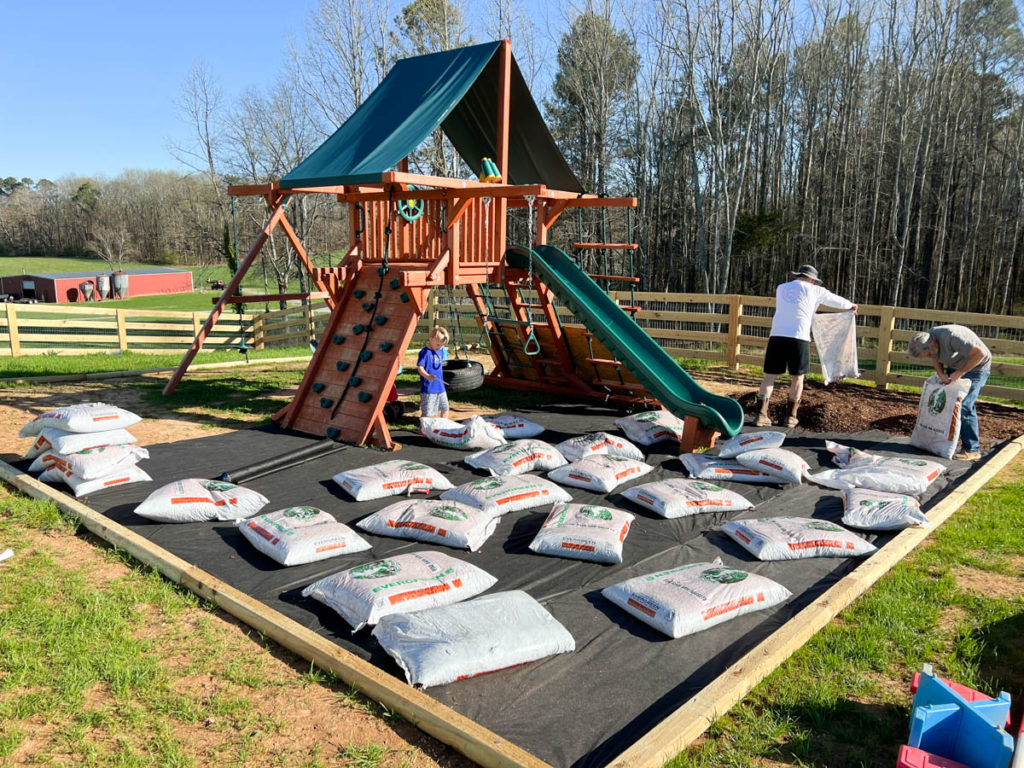
The best part is that these bags are extremely light weight!
Dump each bag directly on top of the weed barrier and then use a rake to smooth out the pine bark.
This process went extremely fast and was so easy that the boys enjoyed helping.
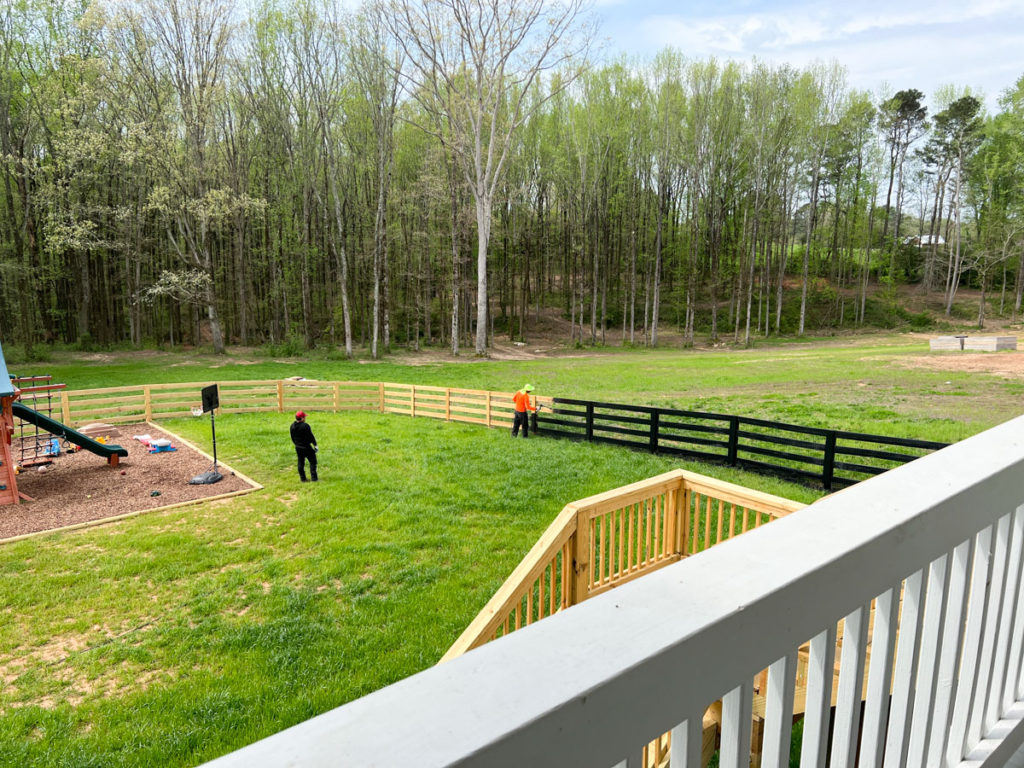
Our fence also got painted around this same time.
step five: Enjoy your new playground area
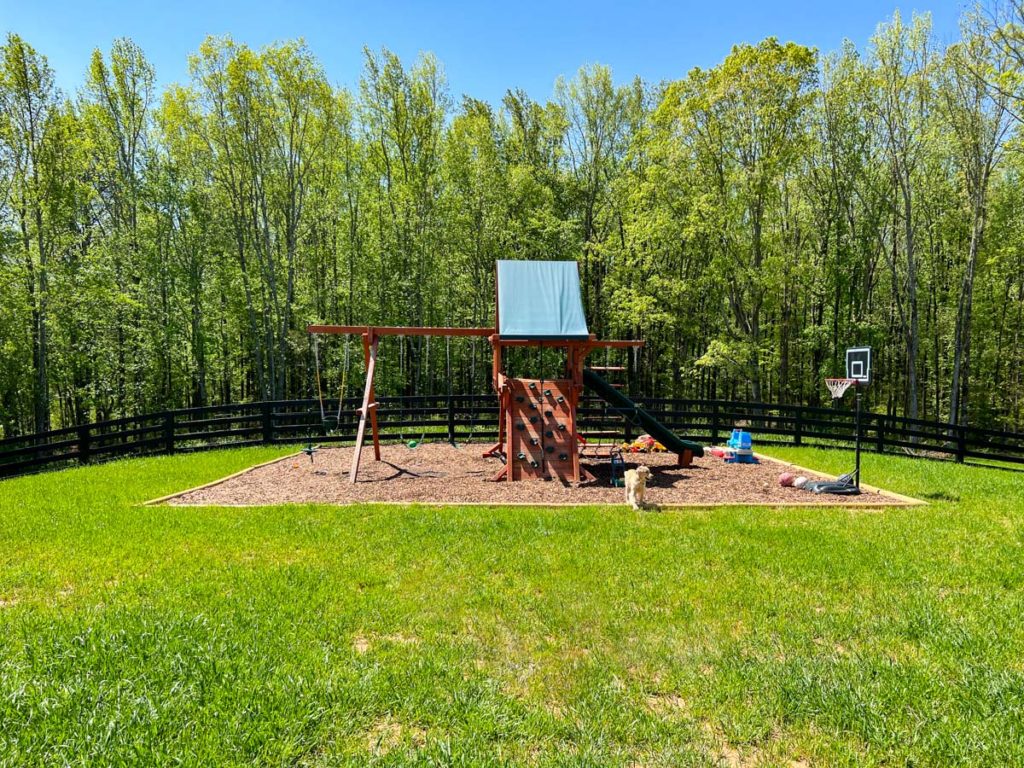
And that’s it! So easy, right?
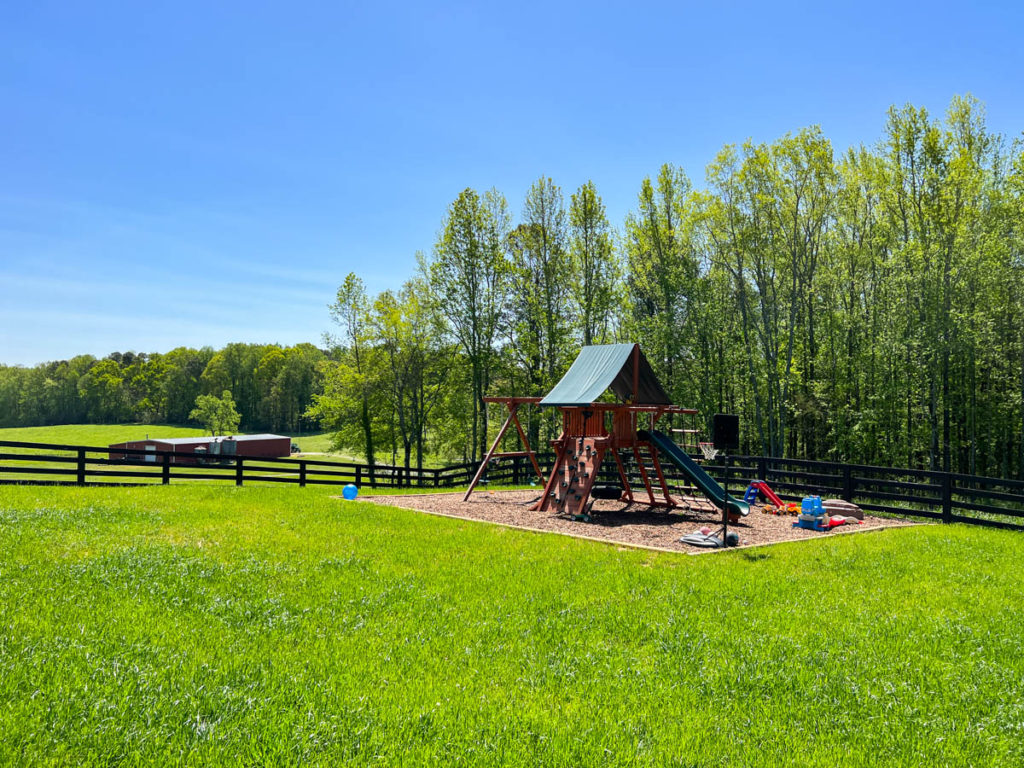
The backyard swingset area looks so much more polished with the easy DIY playground border completed.
I am very pleased with the way it turned out!
