How To Cover A Lampshade with Fabric
Learn how to easily cover a lampshade with fabric in this detailed step by step tutorial with pictures.
Can you cover a lampshade with fabric? Yes! Covering a lampshade with fabric is an easy and inexpensive way to update a lampshade and give it new life by adding a custom element to any room. A fabric covered lampshade adds visual interest, pattern, and layers to any space or room.
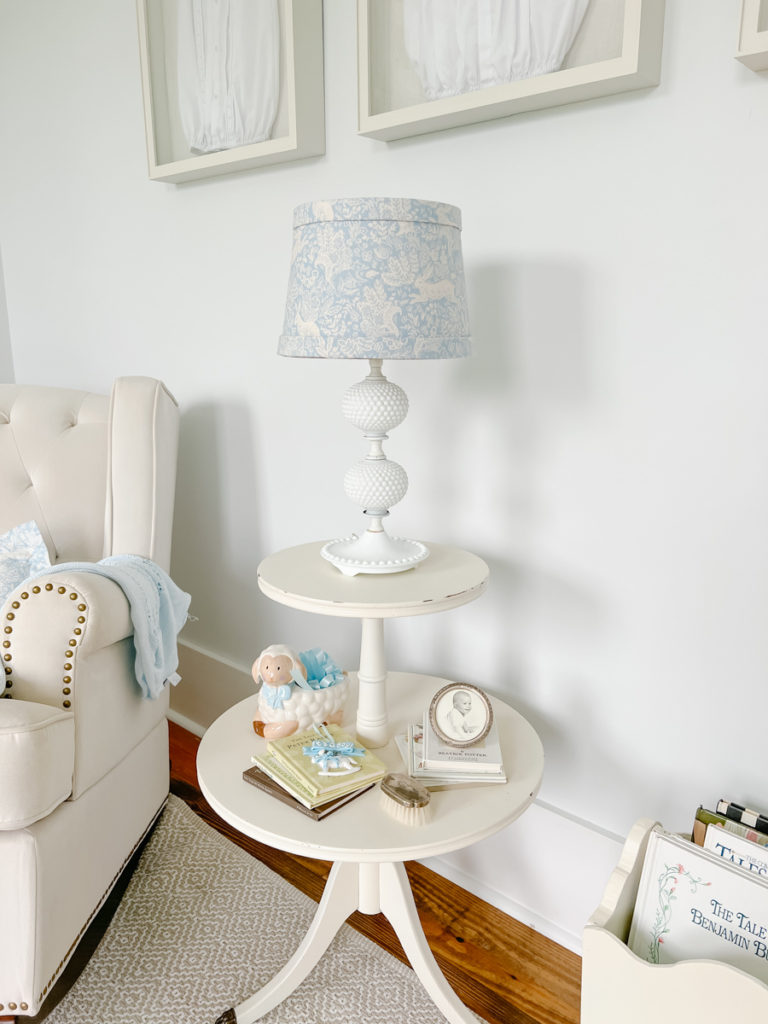
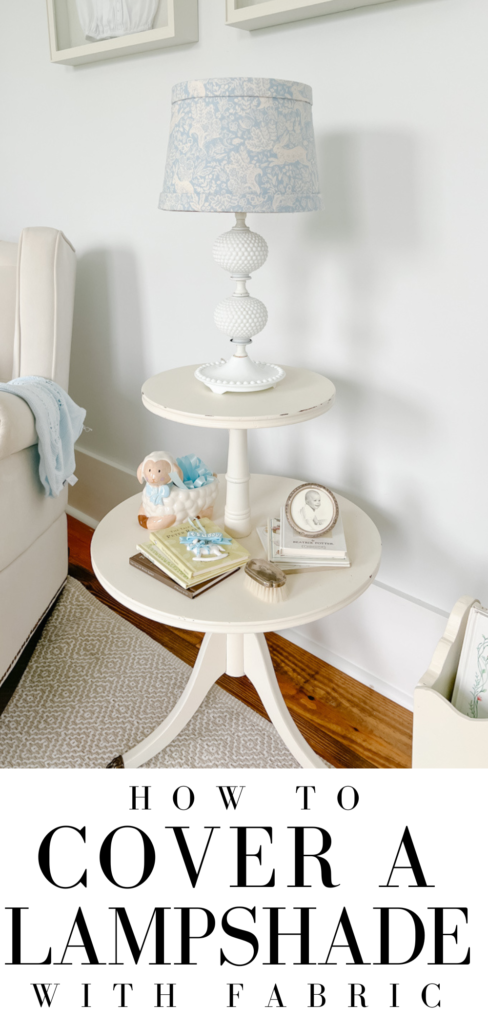
I recently covered this old lampshade with leftover fabric I had from the nursery bunny chandelier. It’s the perfect size and scale for the hobnail milk glass lamp I found while thrifting.
You may remember that $10 bunny chandelier makeover and the matching bunny fabric pictured below.
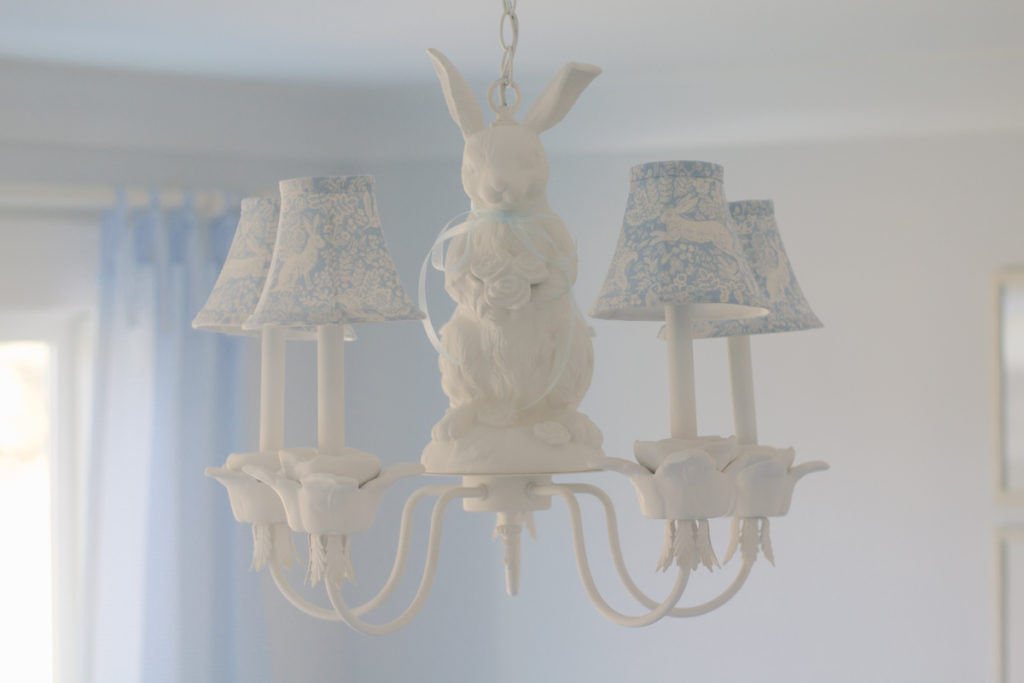
When I shared this bunny chandelier makeover as part of the nursery reveal, I got so many requests to share how I covered the shades with fabric.
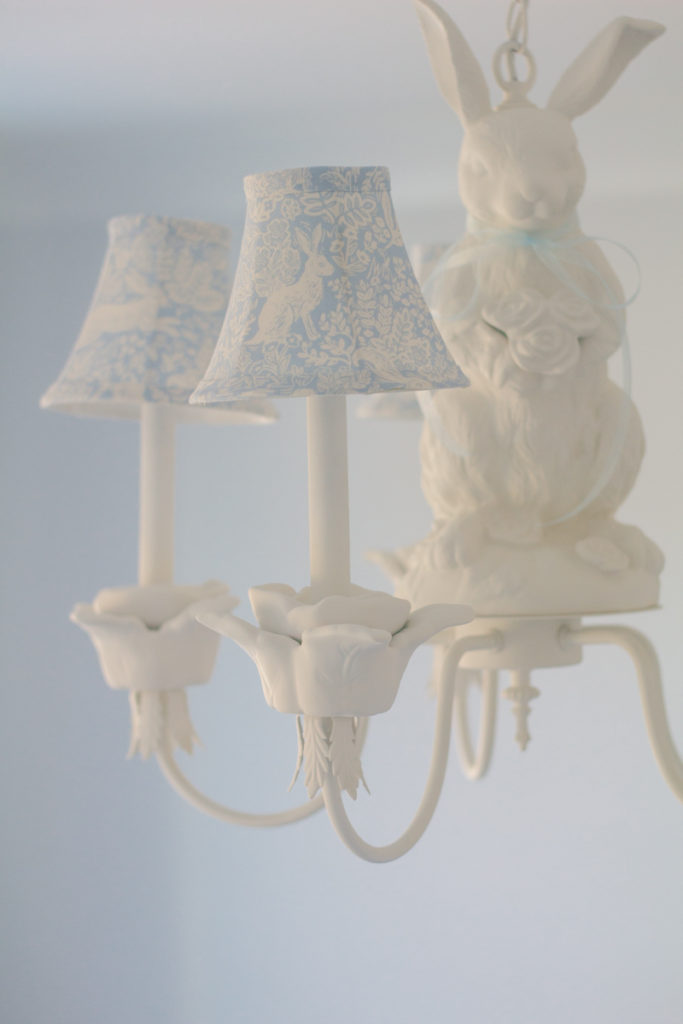
I am happy to say that with some practice I have perfected my technique for covering a lampshade with fabric (with a secret tip for getting straight and professional looking edges every time!). Today I am sharing that technique in a detailed step by step tutorial with photos so that you can easily cover your own lampshade with fabric at home.
Frequently asked questions
Can i cover an old lampshade with fabric?
Yes! Covering a lampshade with fabric is an easy and inexpensive way to update the lampshade and give it new life. You can use an old lampshade, a thrifted lampshade, or you can buy a plain lampshade to cover with fabric.
What kind of lampshade is best to recover?
A drum shade is the easiest shape lampshade to recover because the sides are straight from top to bottom. Bell and empire shape shades will work also, but it can be more difficult because the slanted lines can distort the pattern or print on a fabric.
I recommend starting with a drum shade to get the hang of it, then you can move on to a bell or empire shade!
What fabric material can you use to cover a lampshade? Do you need special fabric to cover a lampshade?
Cotton, linen, or light upholstery fabrics work best to cover a lampshade.
When choosing fabric to cover a lampshade, avoid fabric that is stretchy, transparent, or too thick.
The best fabrics to cover lampshades have smaller patterns or prints with an overall design.
What is the best glue for covering a lampshade?
A hot glue gun and spray adhesive is the best glue for recovering a lampshade with fabric.
where can i buy a fabric covered lampshade?
Don’t want to try your hand at a DIY fabric covered lampshade? Shop some of my favorite fabric covered lampshades below.
Can i cover a chandelier shade with fabric?
Yes! You can use this same tutorial to cover a chandelier shade with fabric. You can also use this tutorial to cover a sconce shade with fabric!
step by step Tutorial: How to cover a lampshade with fabric
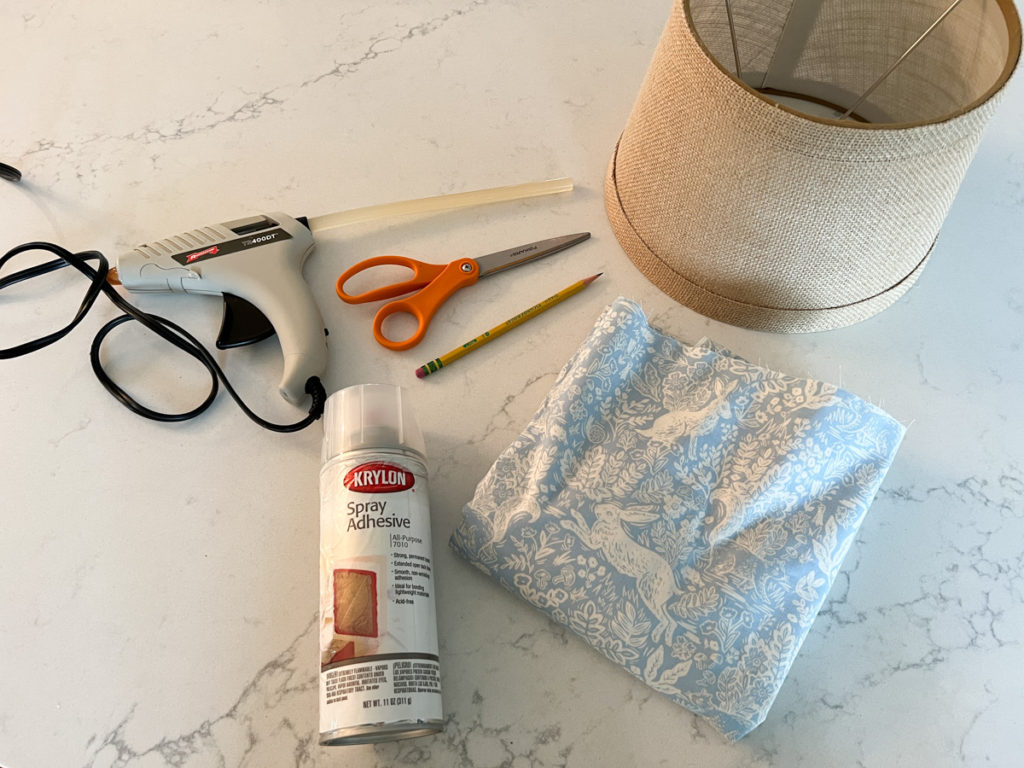
Supples Needed to cover a lampshade
- Lampshade
- Fabric
- Hot Glue Gun and Hot Glue Sticks
- Spray Adhesive
- Sewing Scissors
- Pencil
step one: prepare the lamp shade
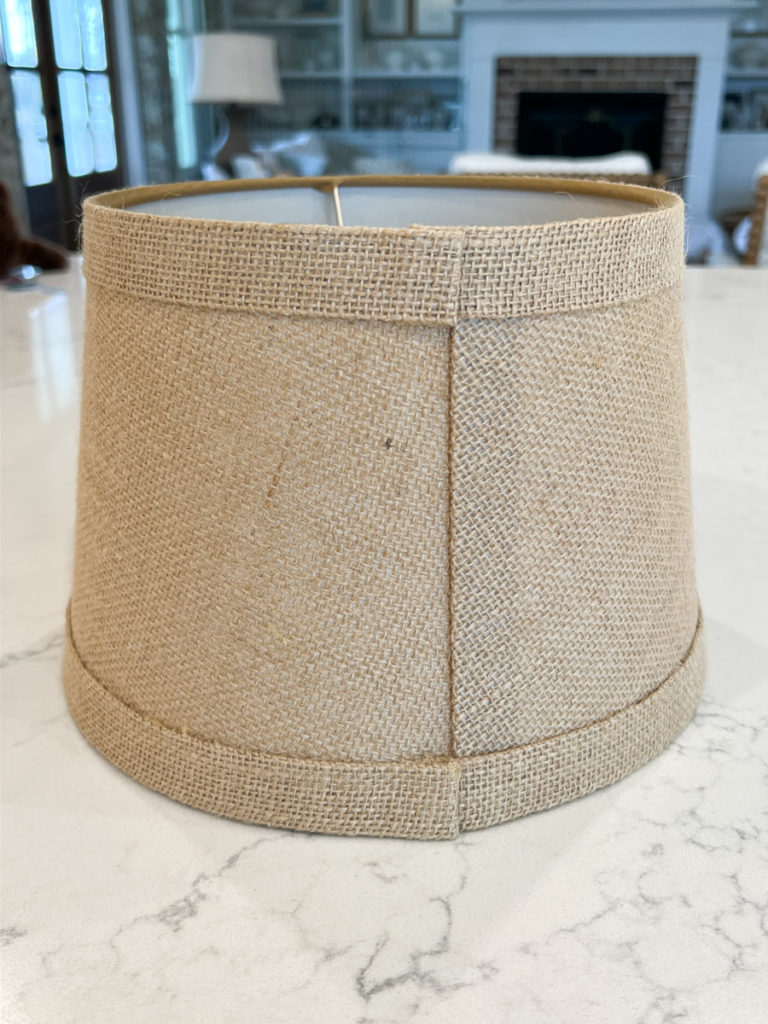
I have found that the easiest way to cover a lampshade with fabric is to use the existing edge banding.
Here’s my little caveat. I like DIY that doesn’t look like DIY. 🙂
Where a lot of people go wrong when covering a lampshade is with the edge banding. It’s really hard to keep it straight and perfect if you try to make it yourself. The easiest solution I have found is to remove and use the existing edge banding on your lamp shade!
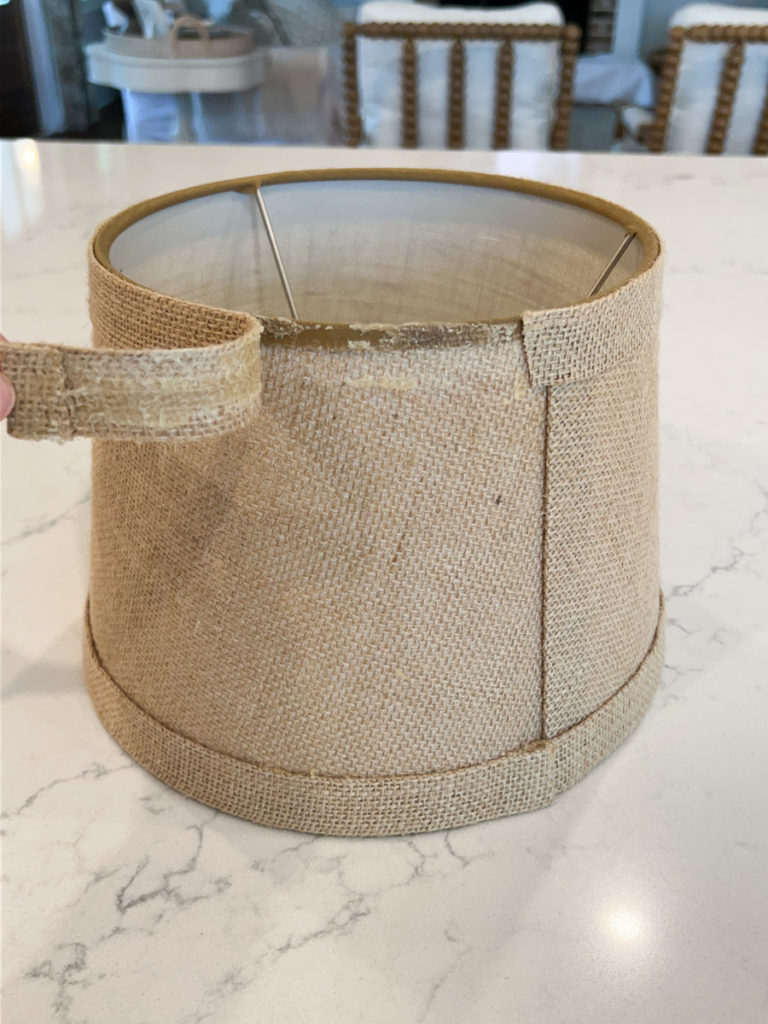
Set your lampshade on your work surface and find the fabric crease on the back of the shade. Gently start to pry and pull away the edge banding.
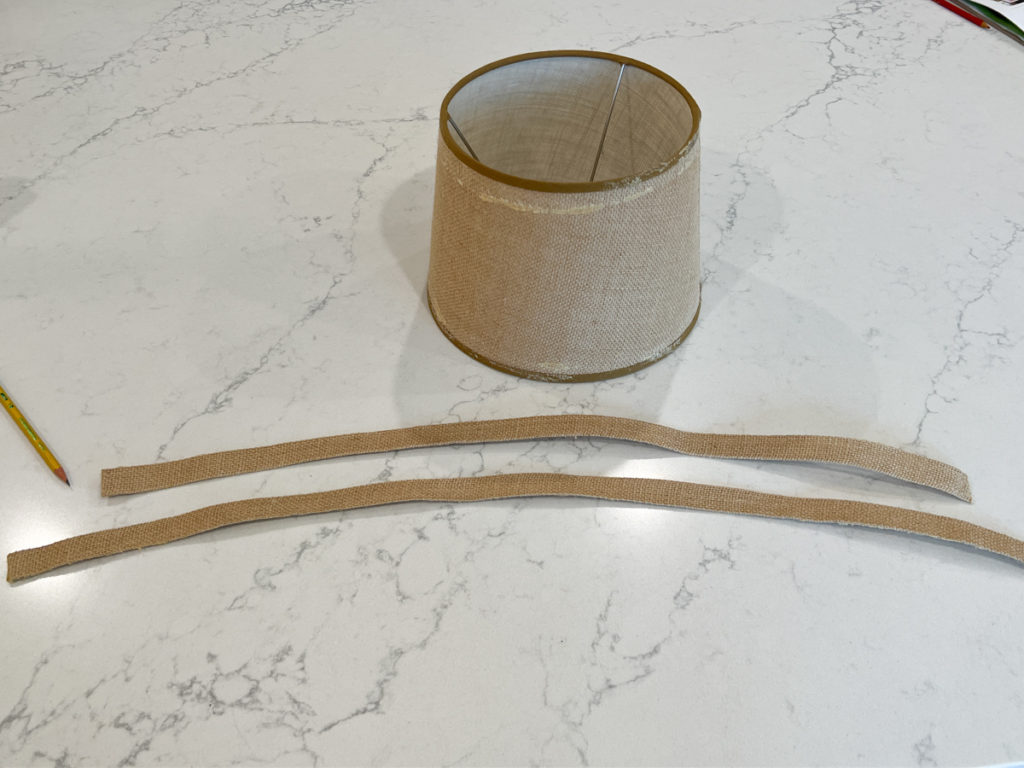
Once both the top and bottom edge banding has been removed set them aside to use in a later step.
Step two: Prepare the fabric
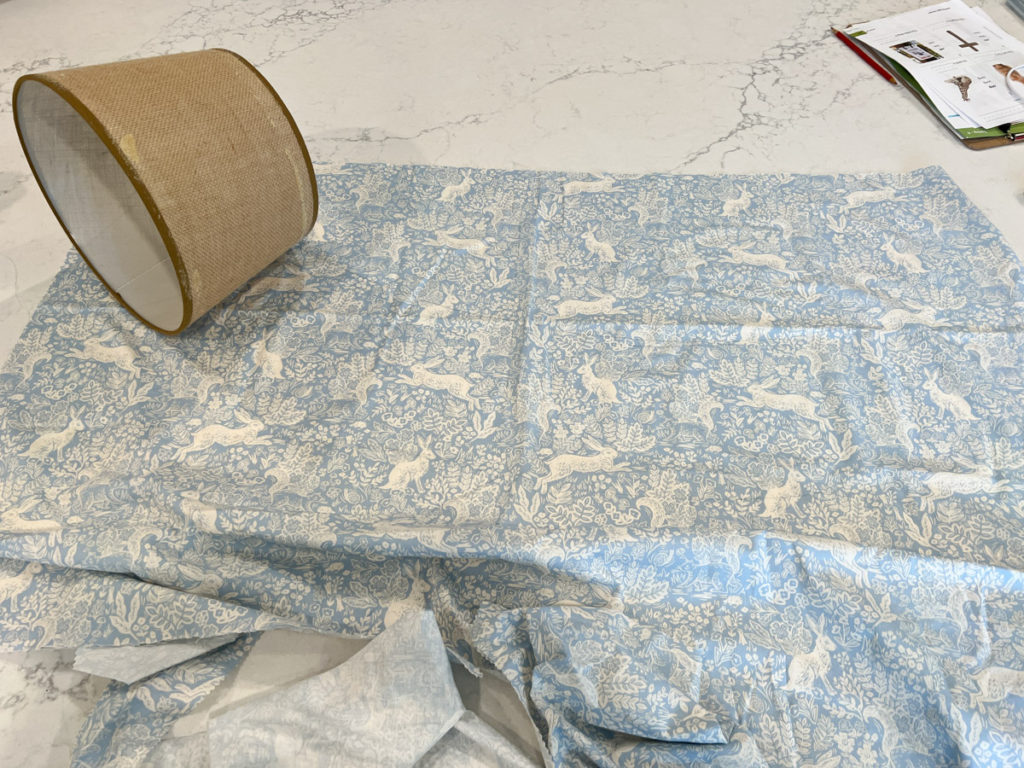
Iron the fabric flat to remove any wrinkles or fold lines.
Lay out the fabric on a large flat surface with the right side up. Take special note if the fabric has a direction, pattern or print. Roll your lampshade across the fabric to get an idea of the best placement or direction of the fabric on the lampshade.
For instance, I am using this sweet bunny fabric. First and foremost, I want to make sure my bunnies are upright and straight. Secondly, I want to try to center the bunnies as best I can and not cut them off in weird places if possible!
step Three: Trace your pattern
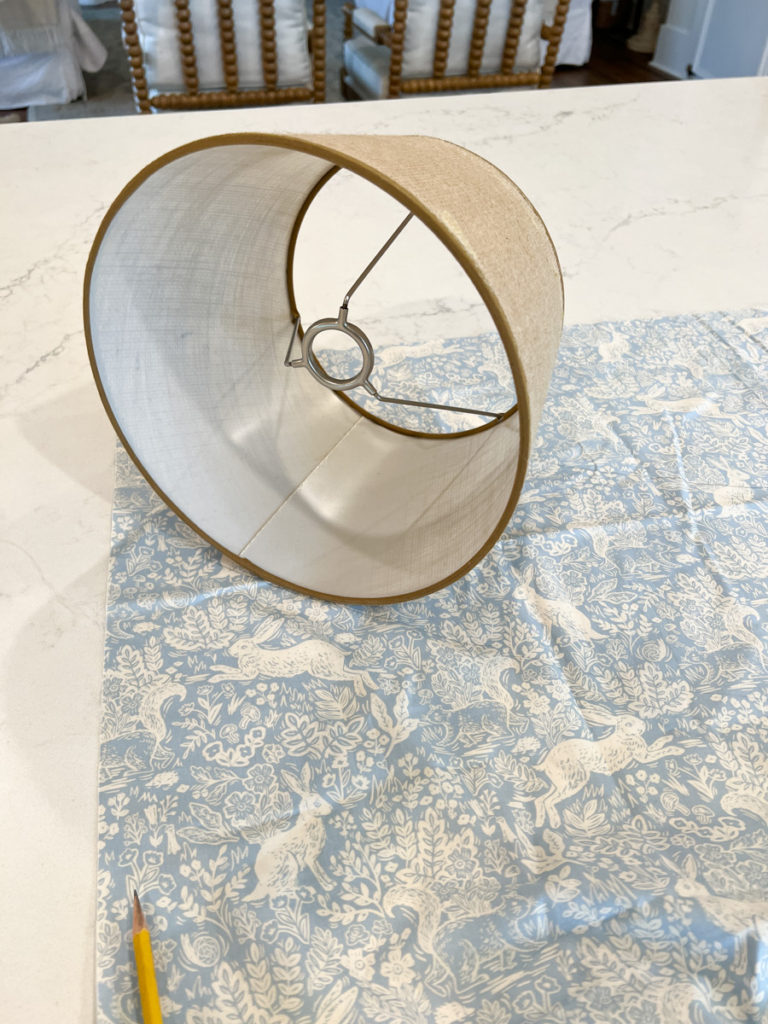
Set your lampshade near the edge of the fabric.
Your fabric should be right side up.
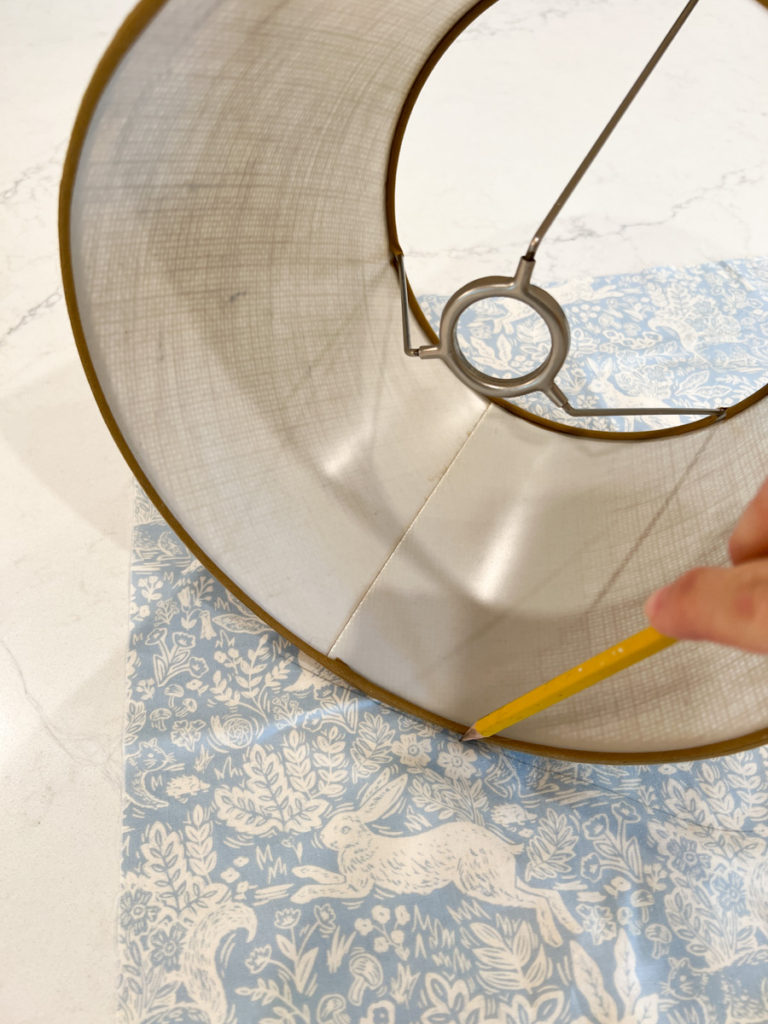
Starting at the fabric crease, use a pencil to trace the edge of the lampshade as you roll it across the fabric.
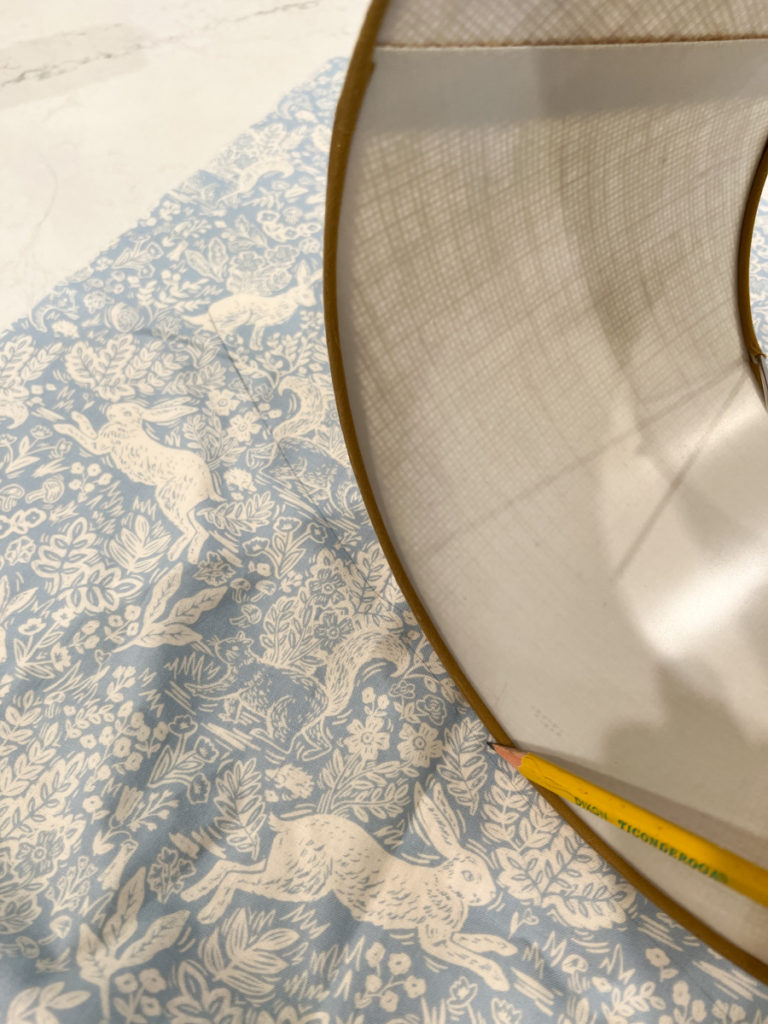
Continue rolling and tracing until you have reached the fabric crease on the lampshade.
Now, repeat the same steps, only this time trace the other edge of the lampshade. For instance, in the photo above I traced the bottom edge of the lampshade. Roll the lampshade back over the fabric, this time tracing the top edge.
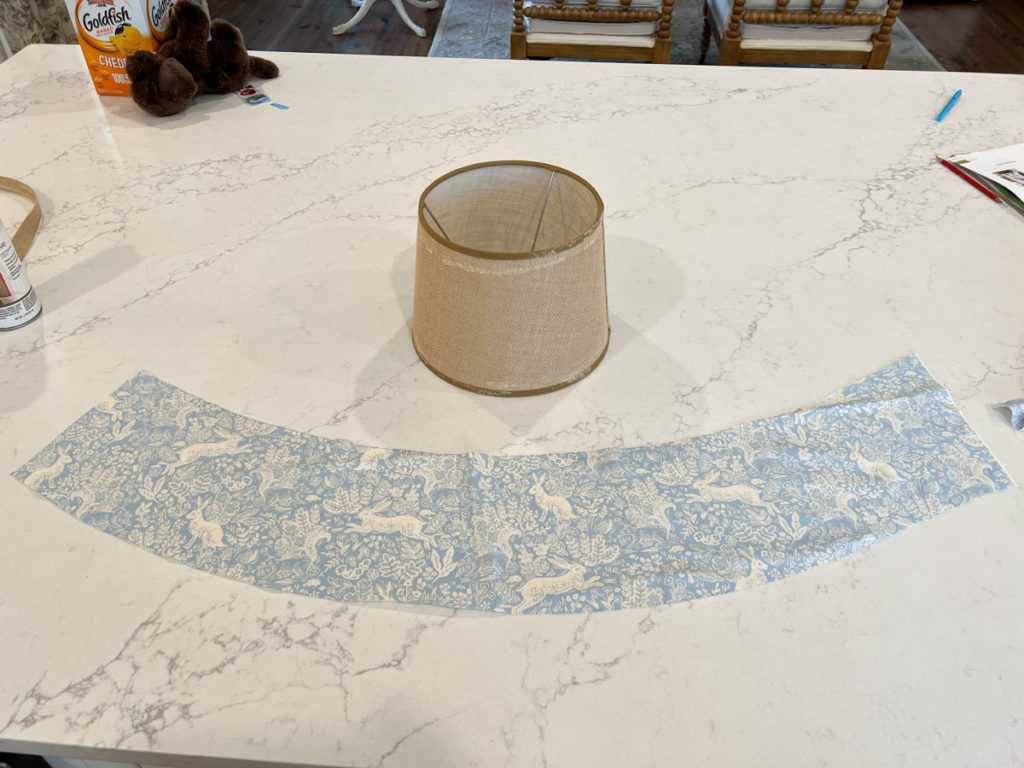
Use fabric scissors to cut your traced pencil line.
Depending on the shape of your shade, you should end up with something similar to the photo above!
Step four: cover edge banding
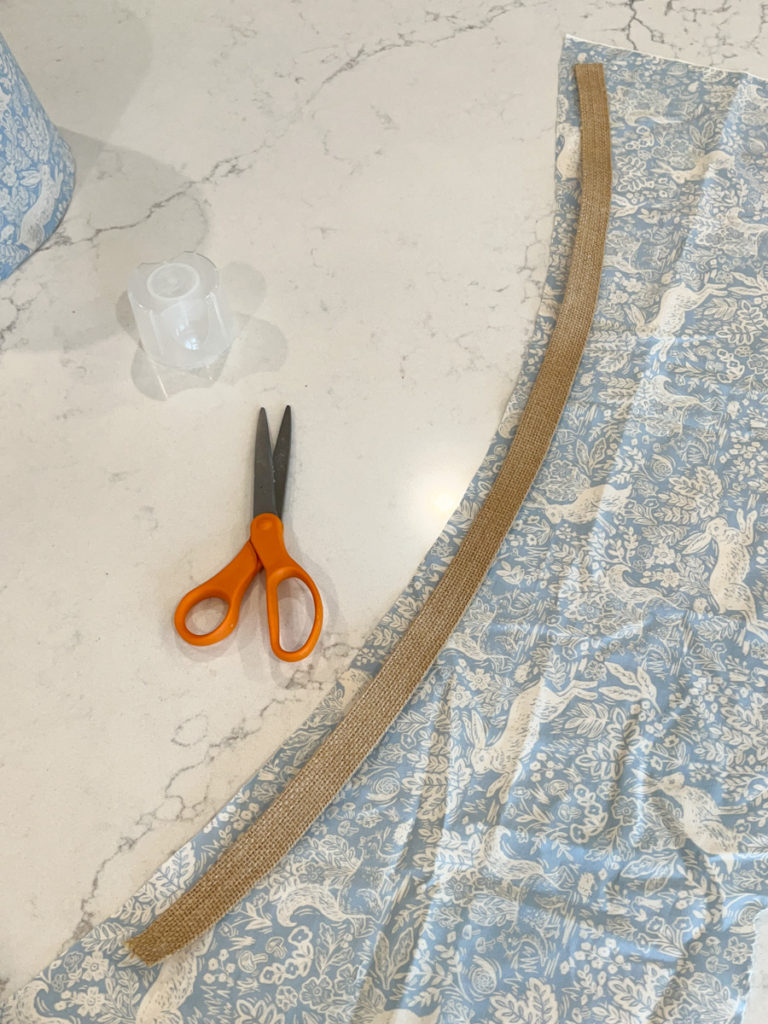
Now it is time to cover the edge banding.
Take the two pieces of edge banding you set aside from step one and lay them flat on top of your fabric.
Use a pencil to trace the edge of the banding. Leave an excess of at least half an inch of fabric on each side.
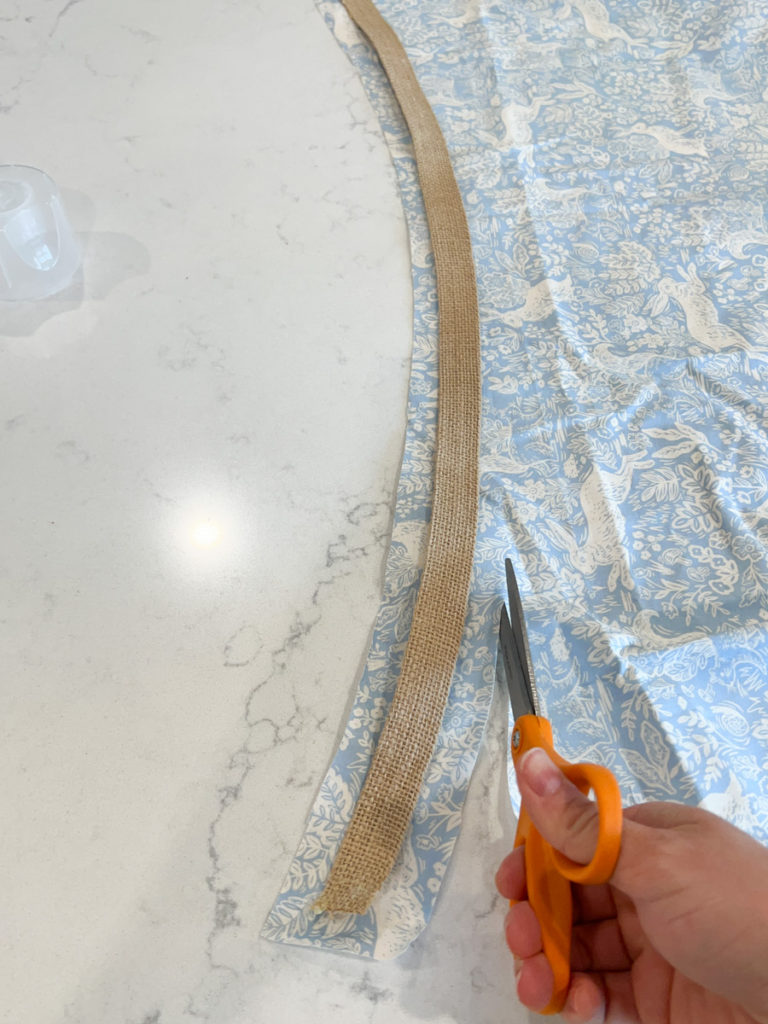
Use fabric scissors to cut the fabric for the edge banding.
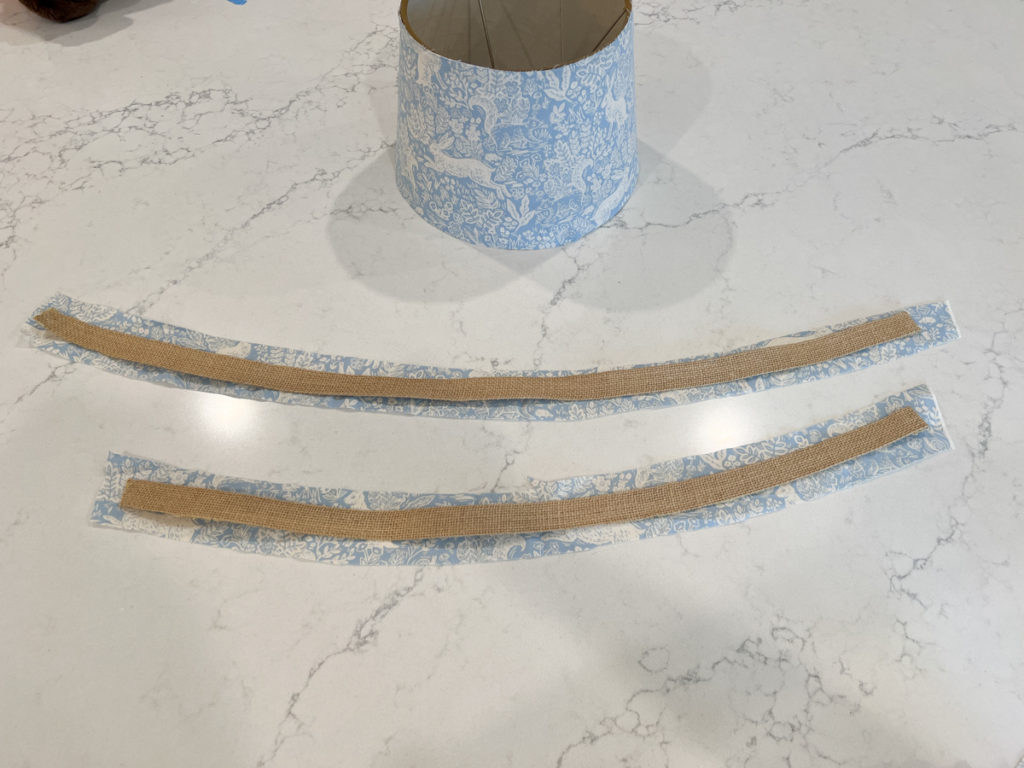
Your edge banding and cut strips of fabric should look similar to the photo above.
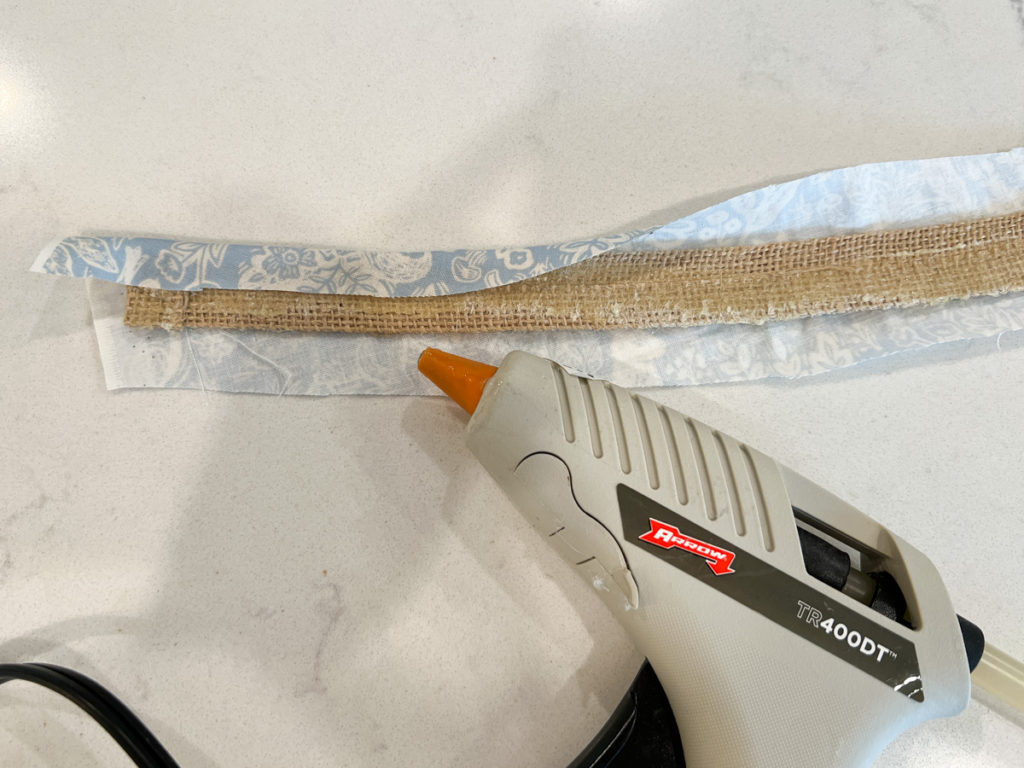
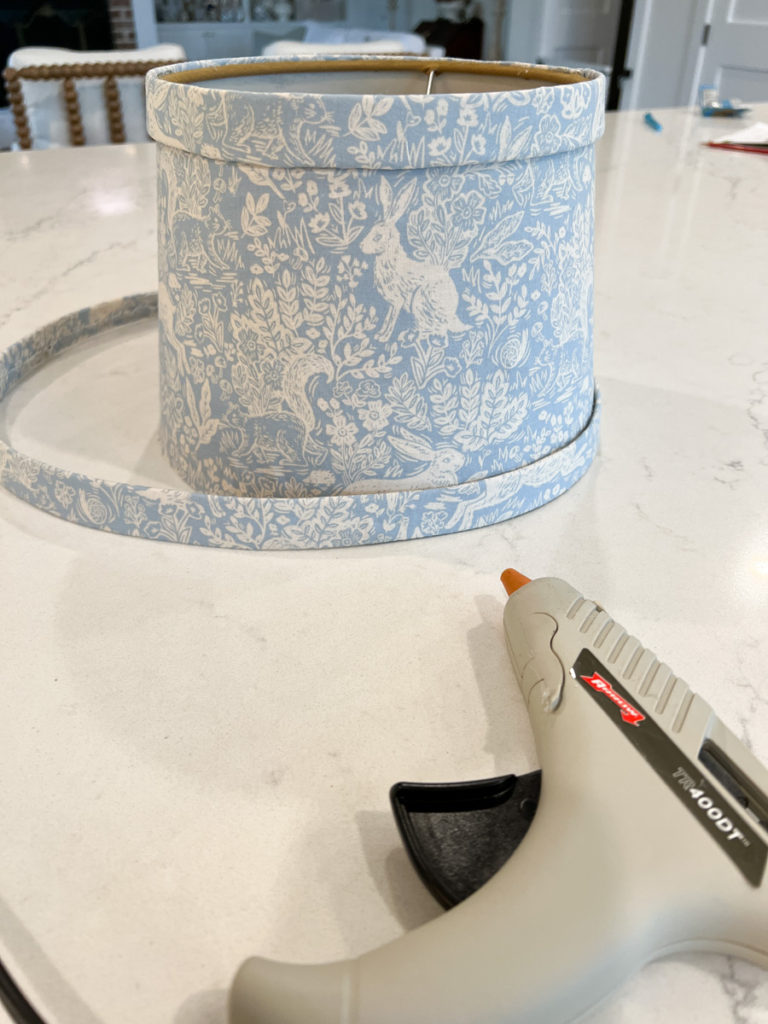
Use a hot glue gun to start folding over and glueing the top edge of the fabric. Continue down the entire length of the edge banding.
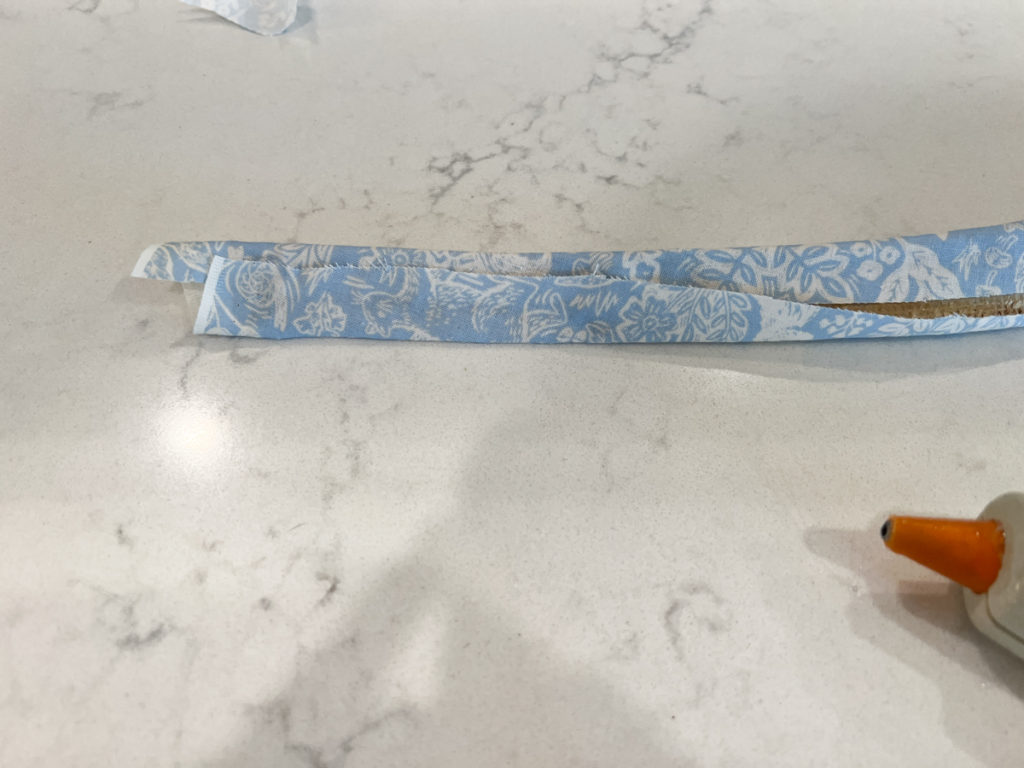
Now use a hot glue gun to fold over and glue the bottom edge of the fabric. Continue down the entire length of the edge banding.
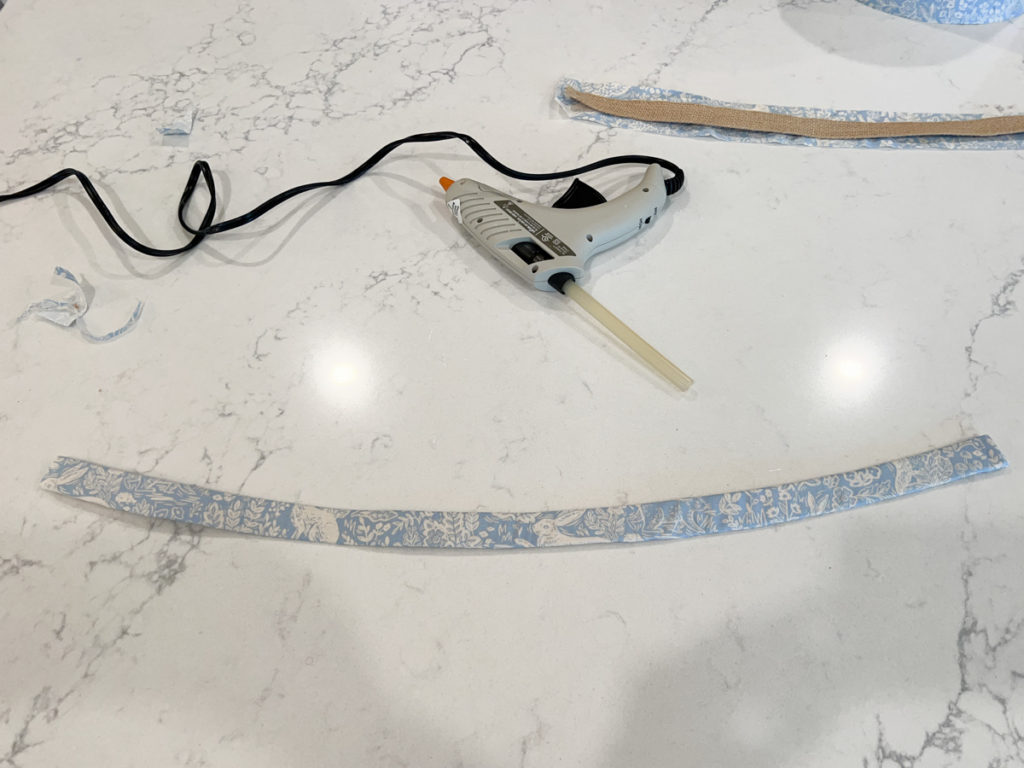
Now your edge banding is completely wrapped in fabric.
Your finished product should look similar to the photo above.
step five: glue fabric to lampshade
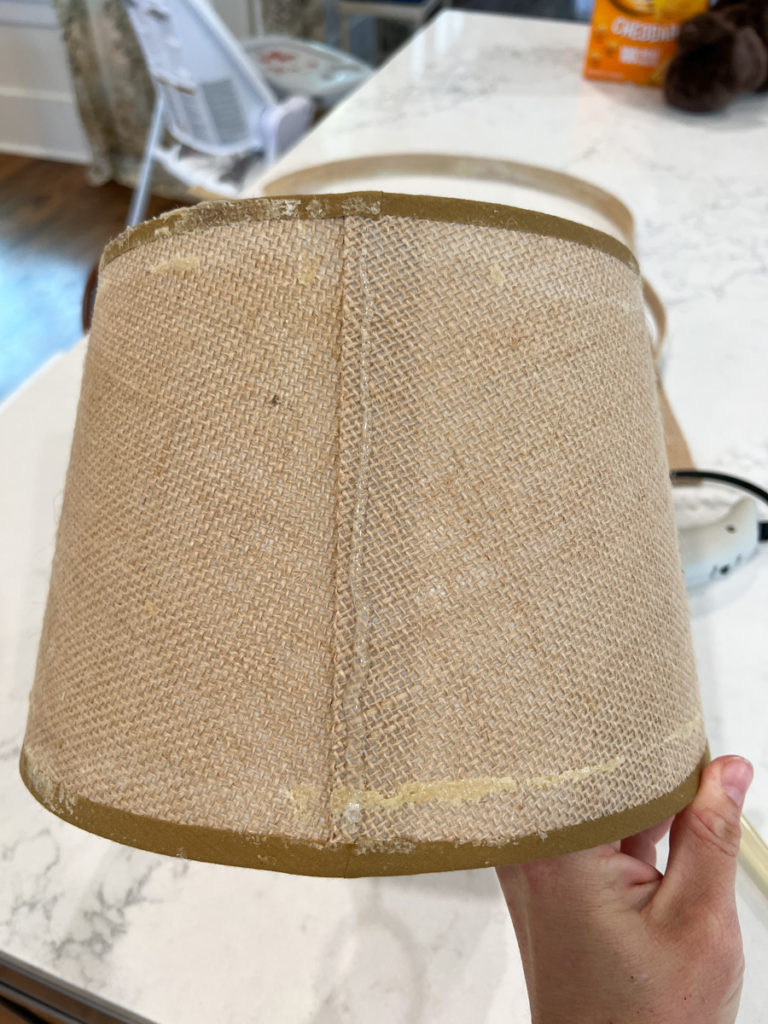
You can use spray adhesive or a hot glue gun to glue your fabric onto the lampshade.
Here I used one bead of hot glue down the existing crease of fabric on the lampshade. This is where I started my edge of fabric.
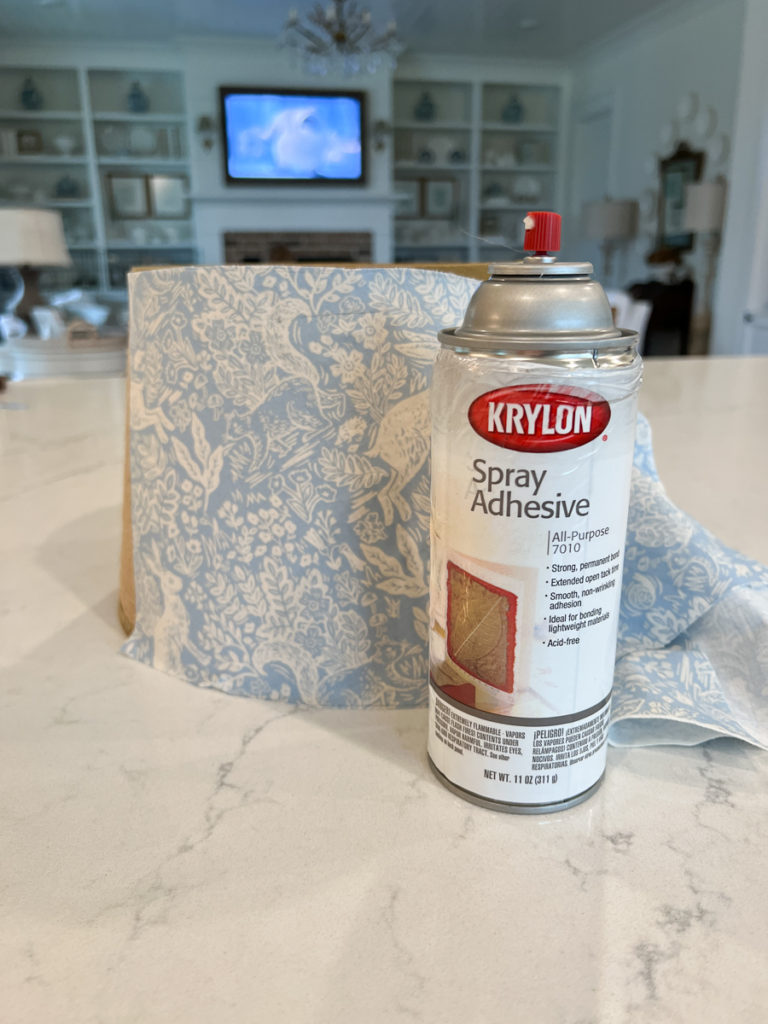
Next apply a light coat of spray adhesive to the rest of the surface of the lampshade.
Press and smooth the fabric to the spray adhesive. Work your way around the entire lampshade.
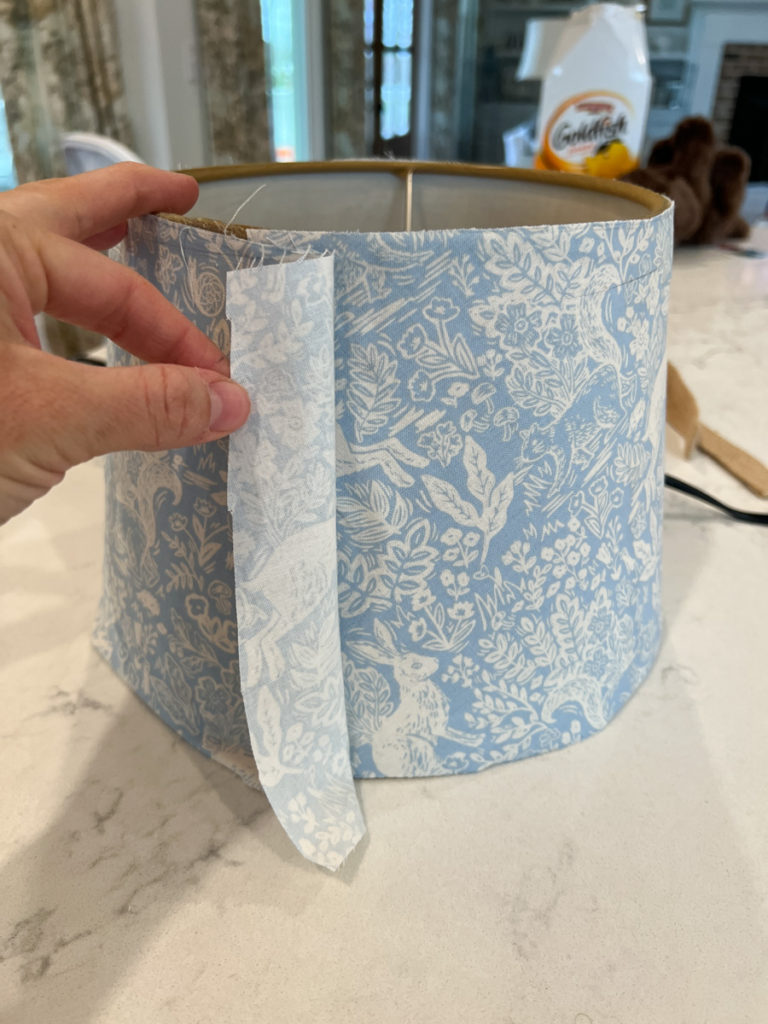
Continue until you reach the beginning of your fabric.
Fold under the raw edge of the fabric to make a “hem”.
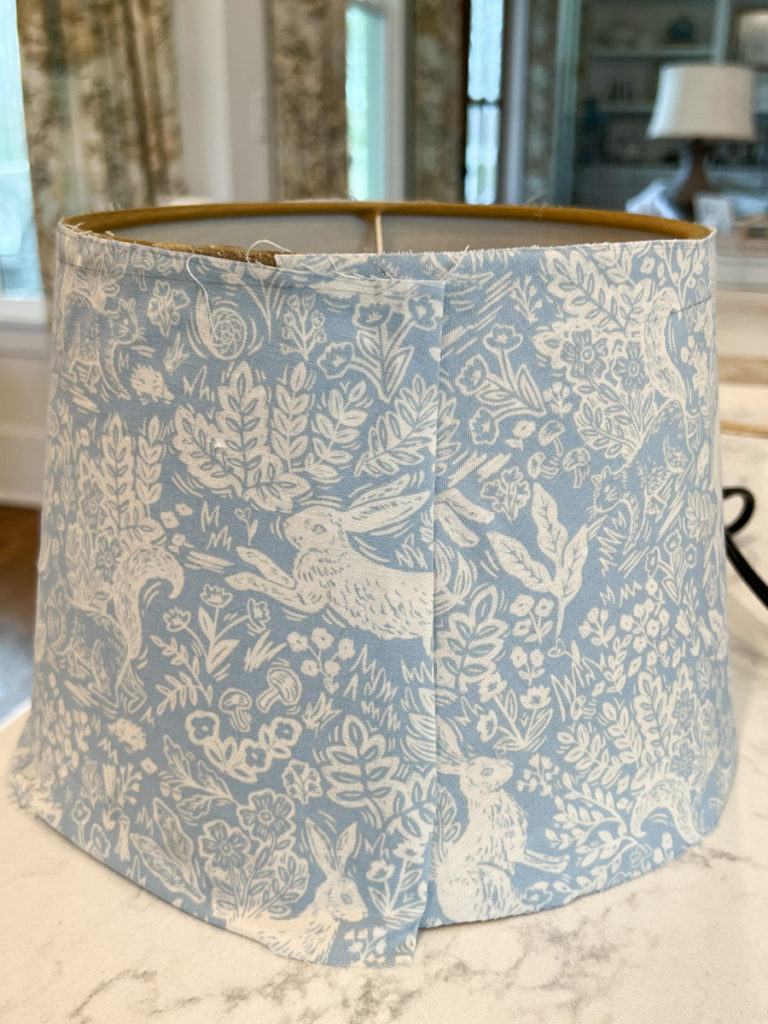
Hot glue the finished hem edge in place.
step six: trim excess fabric
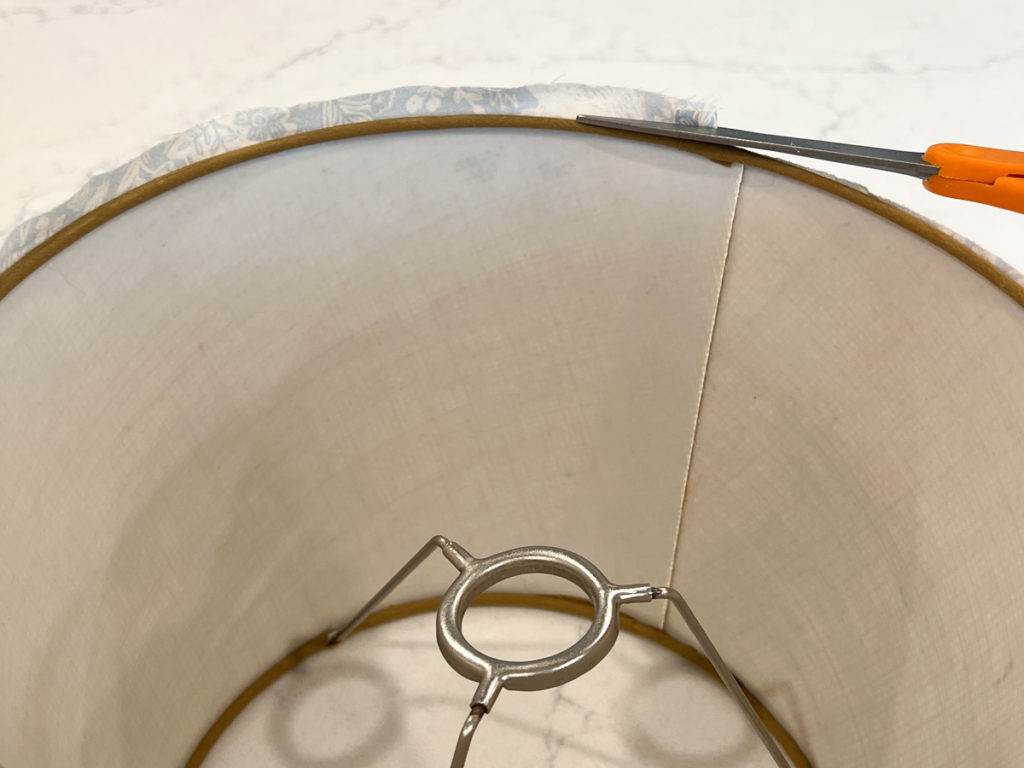
Use fabric scissors to trim any excess fabric that extends beyond the edge of the lampshade.
step seven: glue edge banding to Lampshade
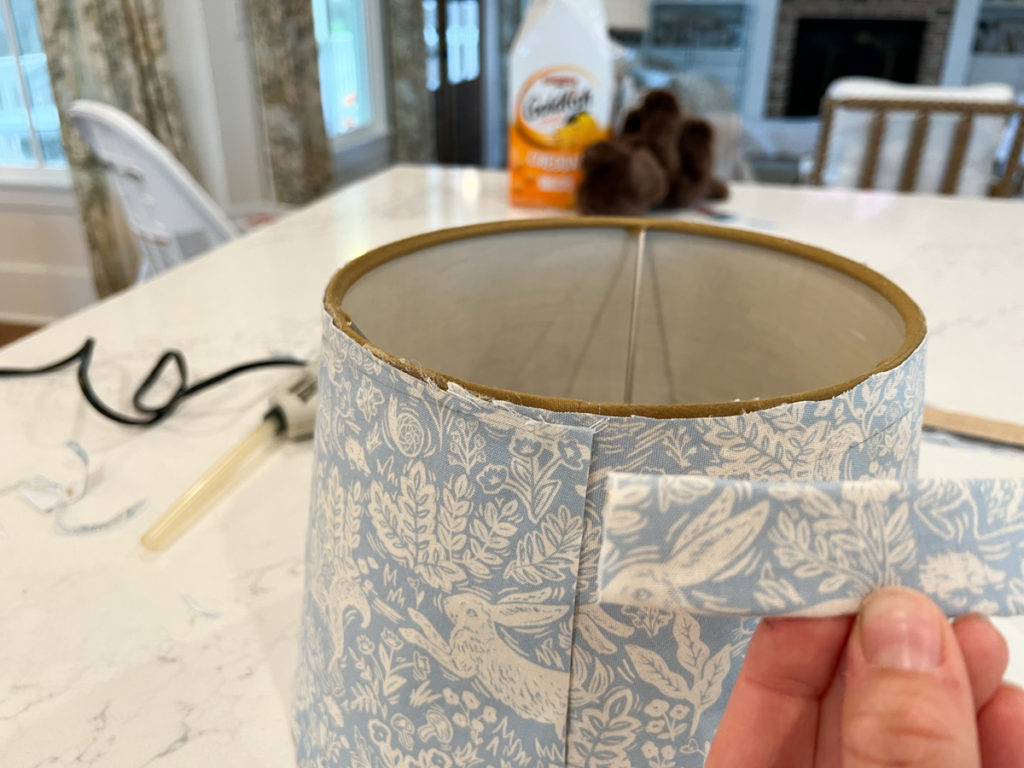
Use a hot glue gun to attach the edge banding on to the top and bottom of the lampshade.
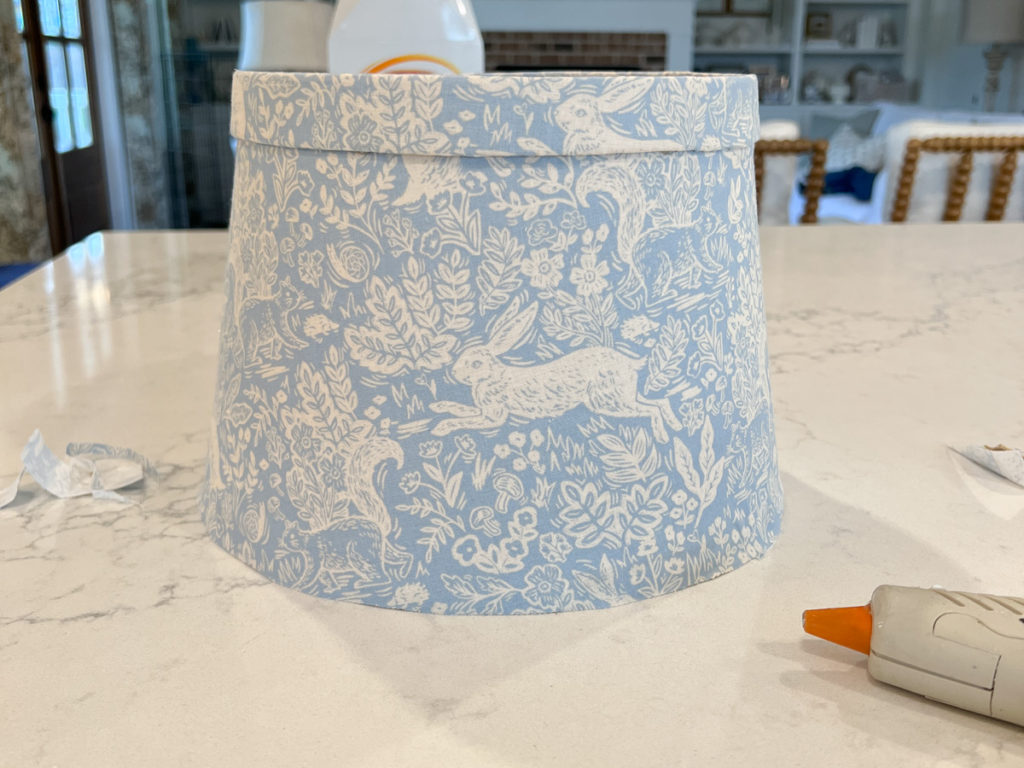
Place the lampshade on a flat surface and use the surface as your guide when adhering the bottom edge banding.
This will ensure that it is attached perfectly straight.
step eight: display your new fabric covered lampshade
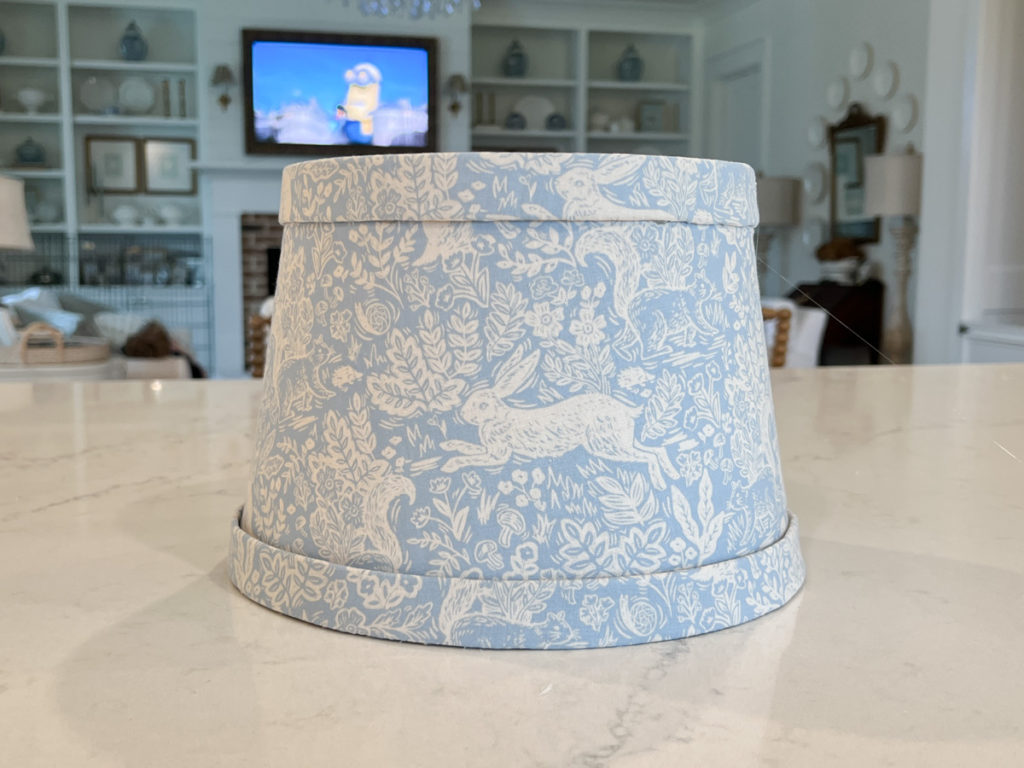
You are now done and ready to display your fabric covered lampshade!

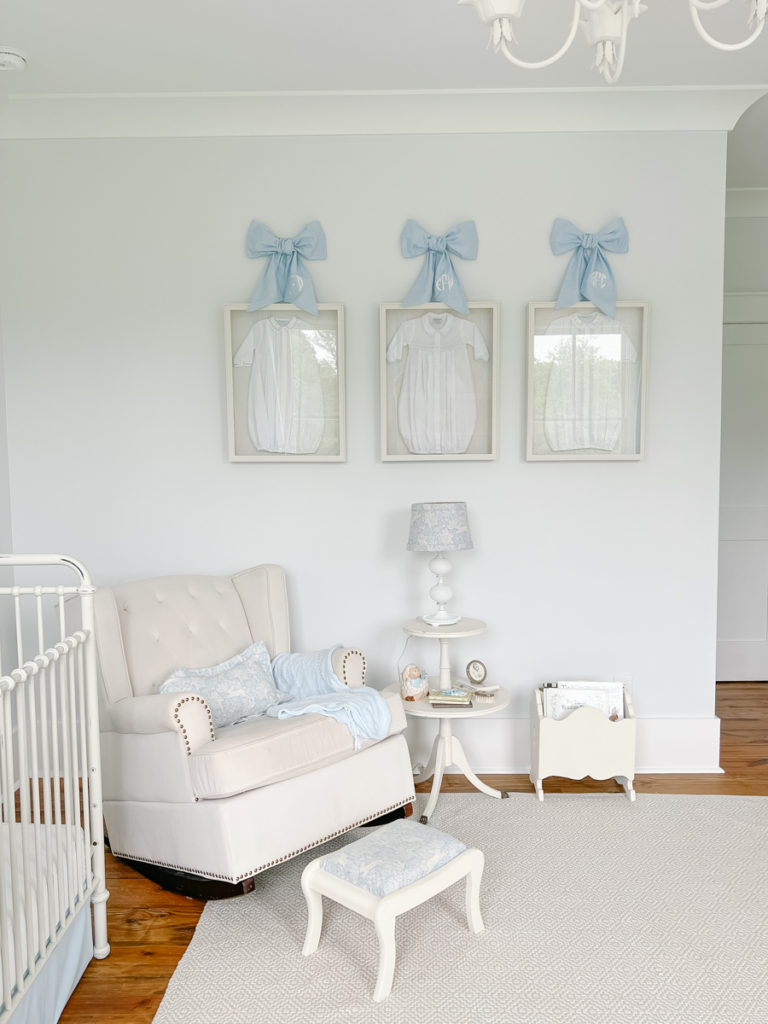
I think my new fabric covered lampshade is the perfect addition to this little corner in the nursery. What do you think?
Pin to Pinterest
Did you enjoy this tutorial? Don’t forget to Pin this image to your favorite Pinterest board!
